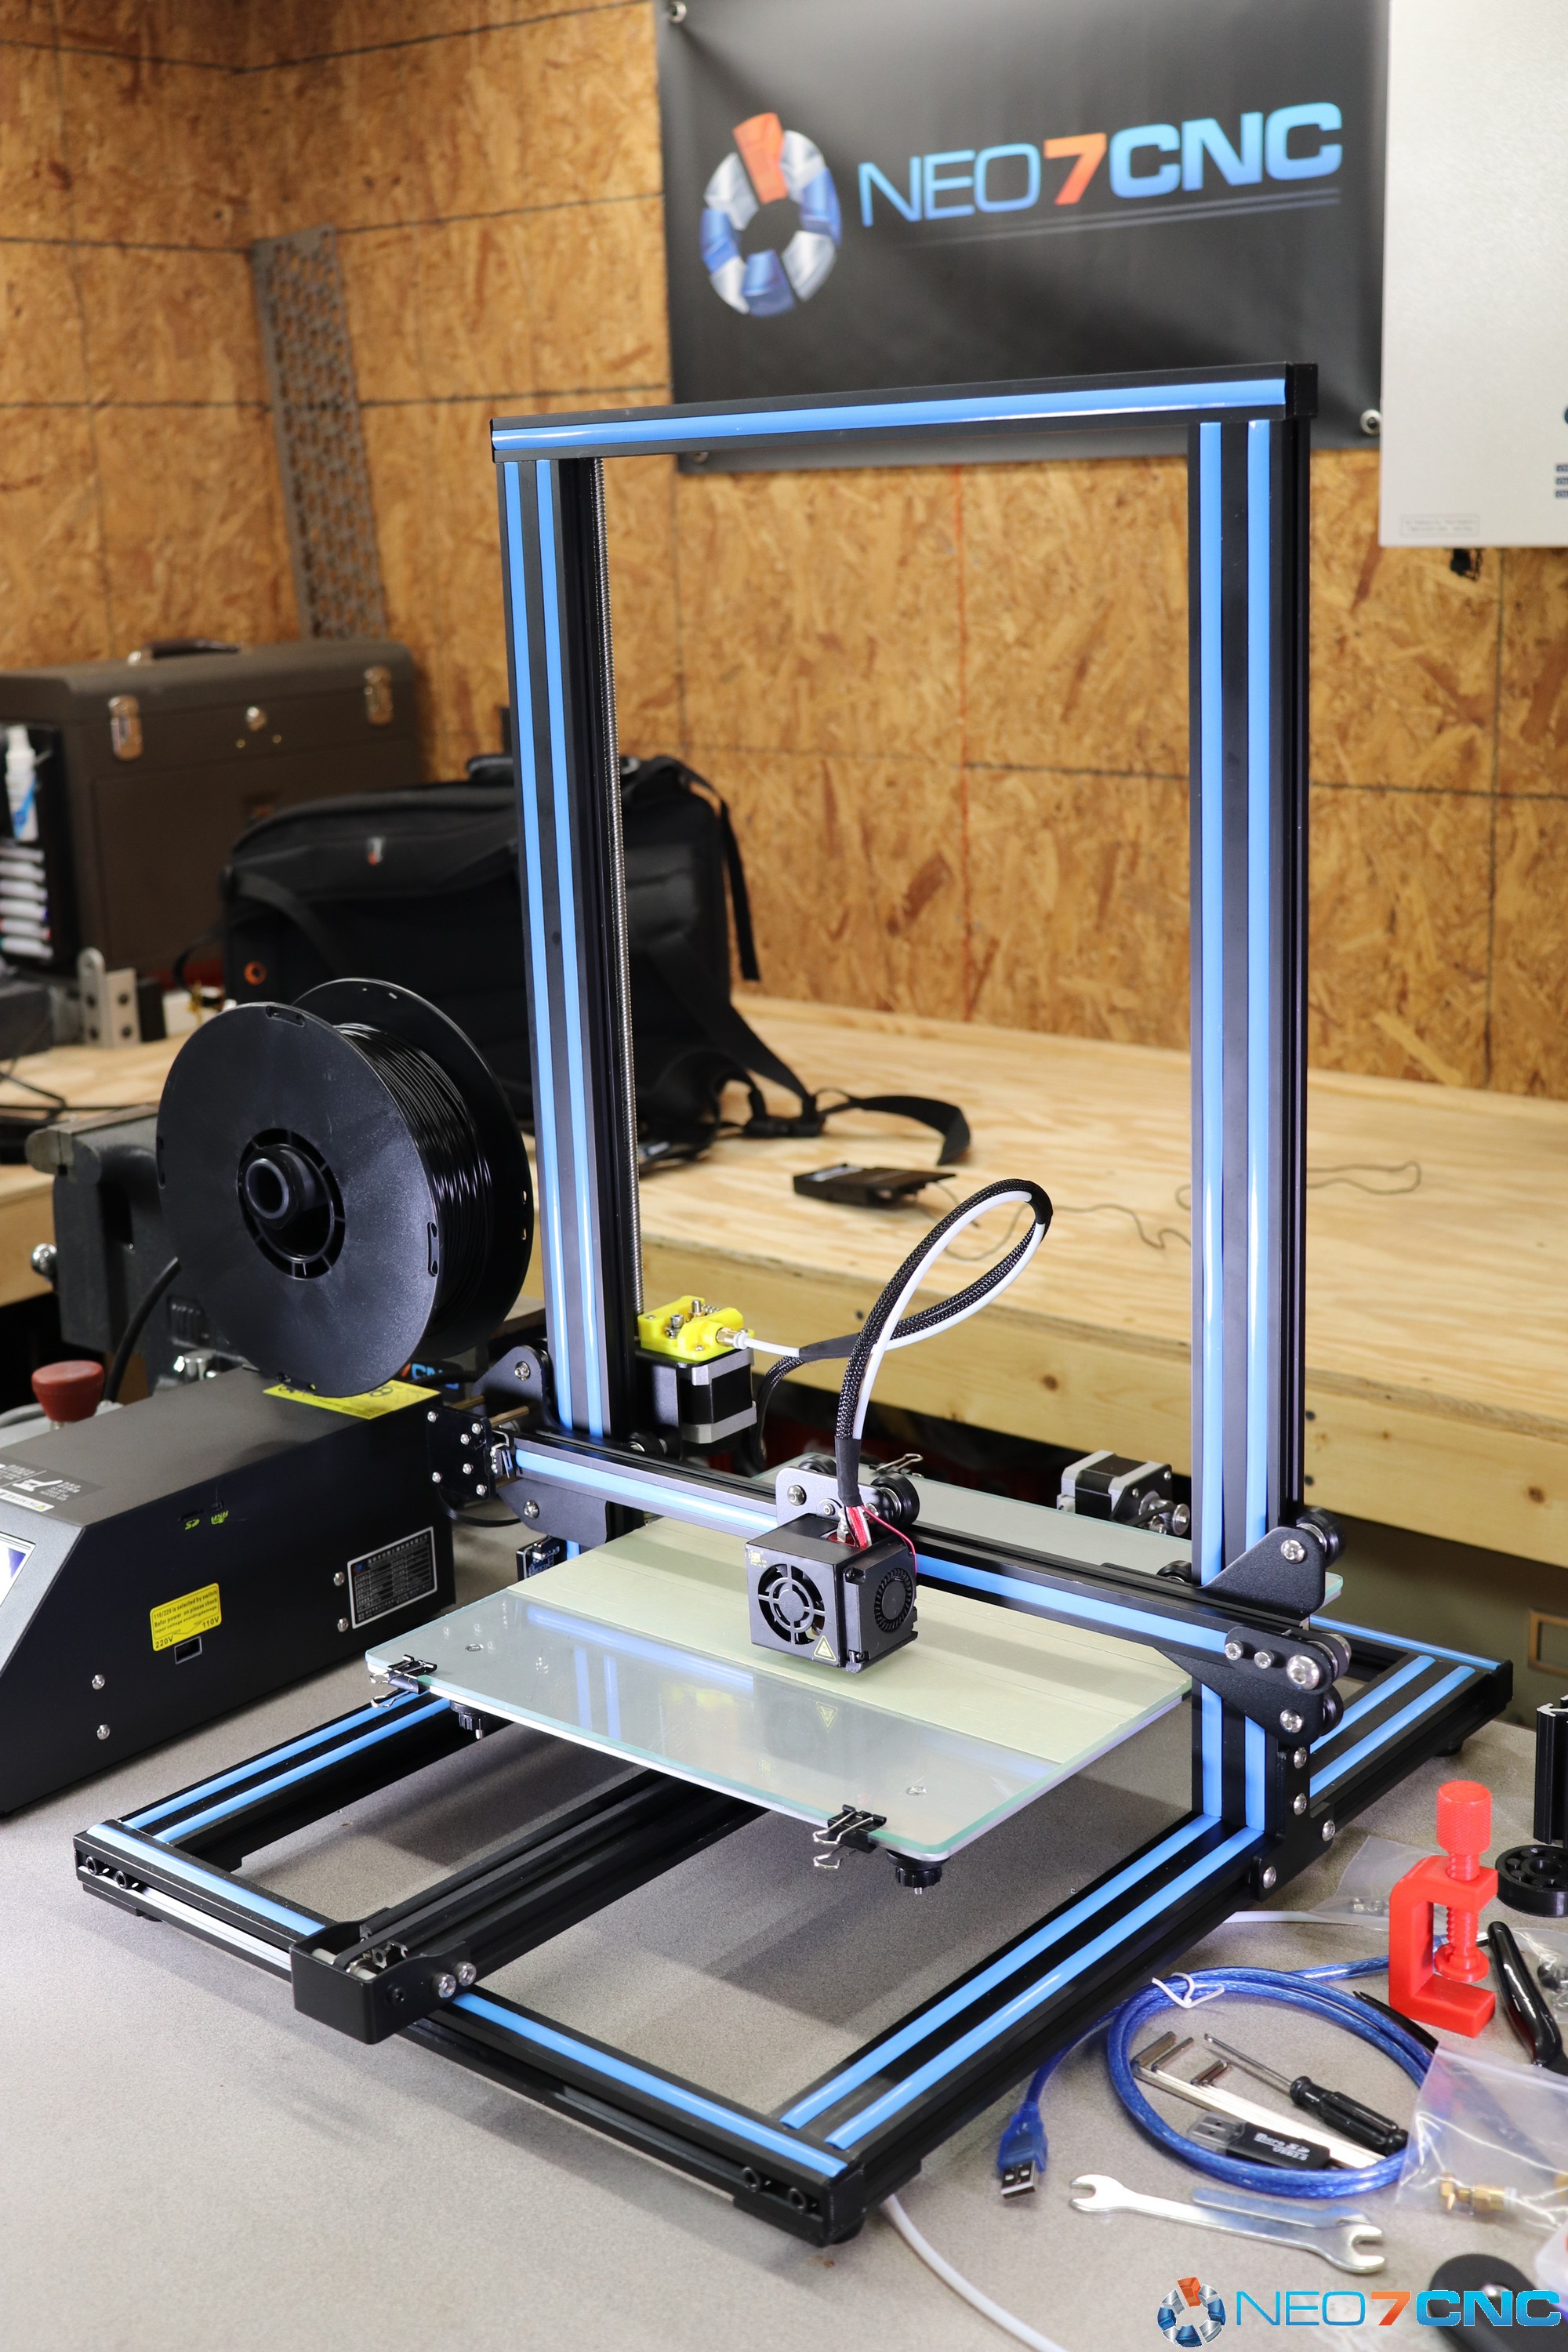
GearBest recently contacted me and asked if I wanted to review a 3d printer for them. I naturally said yes as my existing 3D printer is not so good. I also said yes, as I was planning to do a video on the subject of 3D printing and where it fits in my design style anyway. Two birds with one stone right? They sent me the Creality CR-10 3D printer. It arrived from China in about a week, well packed and intact.
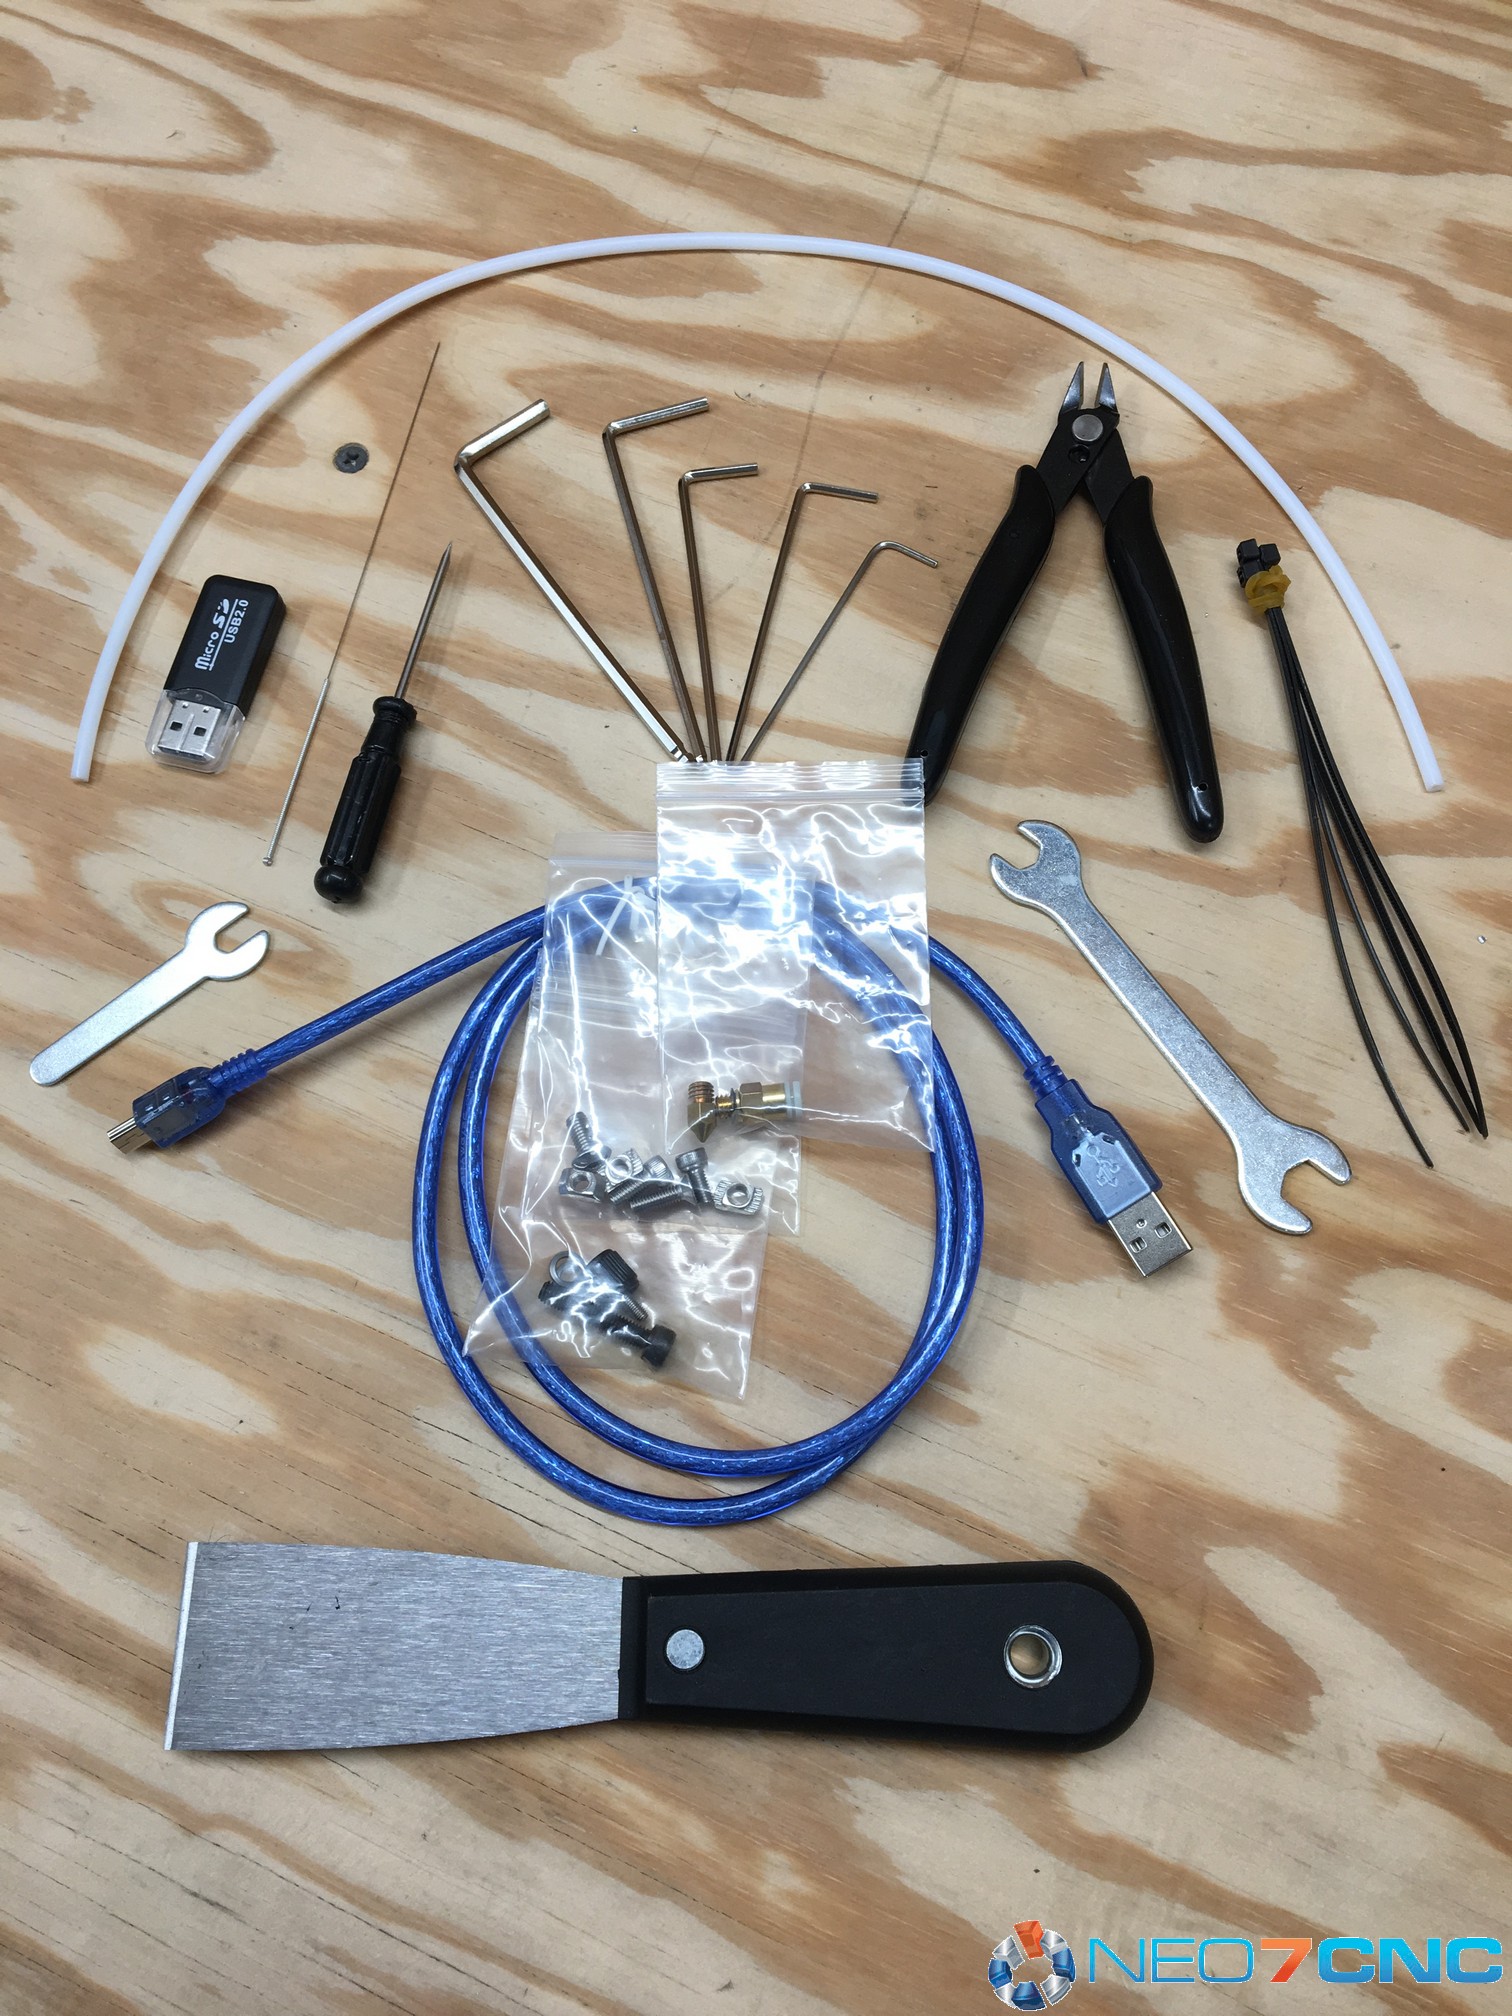
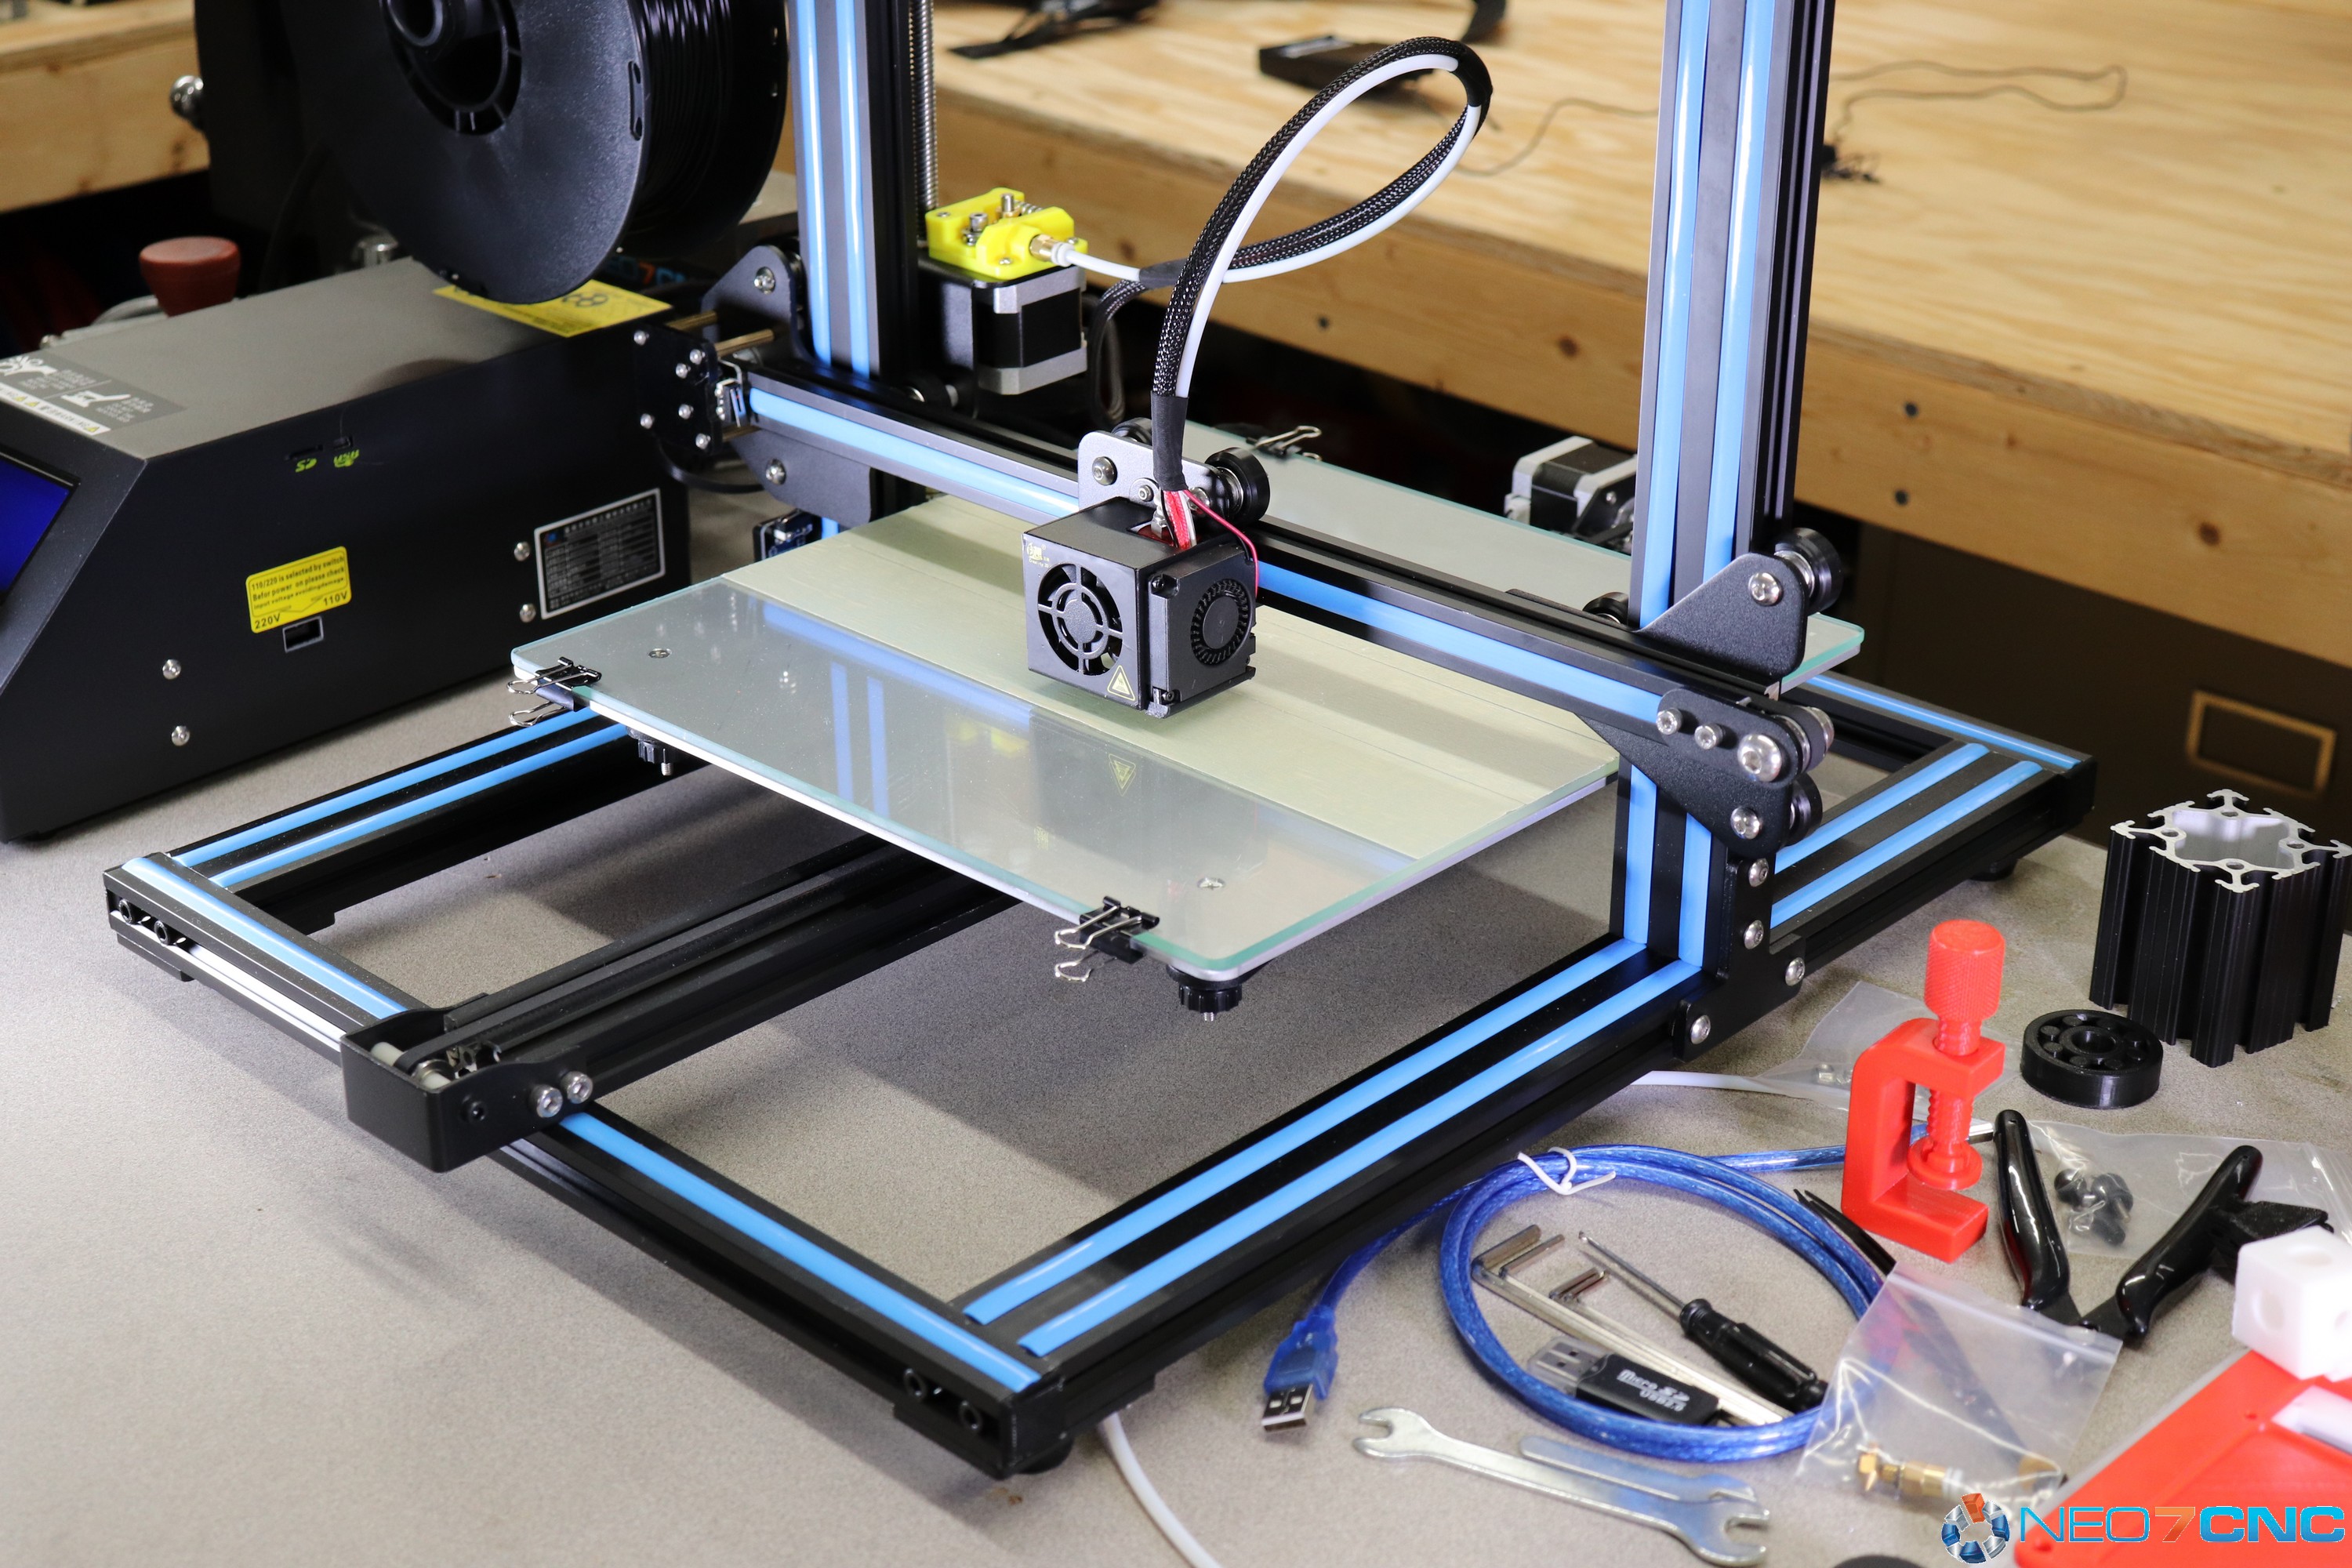
Assembly was very easy and only required me to install install 4 bolts, 2 ‘T’ shaped support brackets, connect the wires that are nicely labeled and install a limit switch. I had it up and running in about 30 minutes. The paper instructions weren’t very clear but there were better instructions on the provided micro SD card. As a plus, EVERY tool I needed was provided with the printer along with plenty of spare parts. Also supplied with the printer is a USB and power cable, micro SD to USB adapter, generous roll of PLA filament and a roll of masking tape.
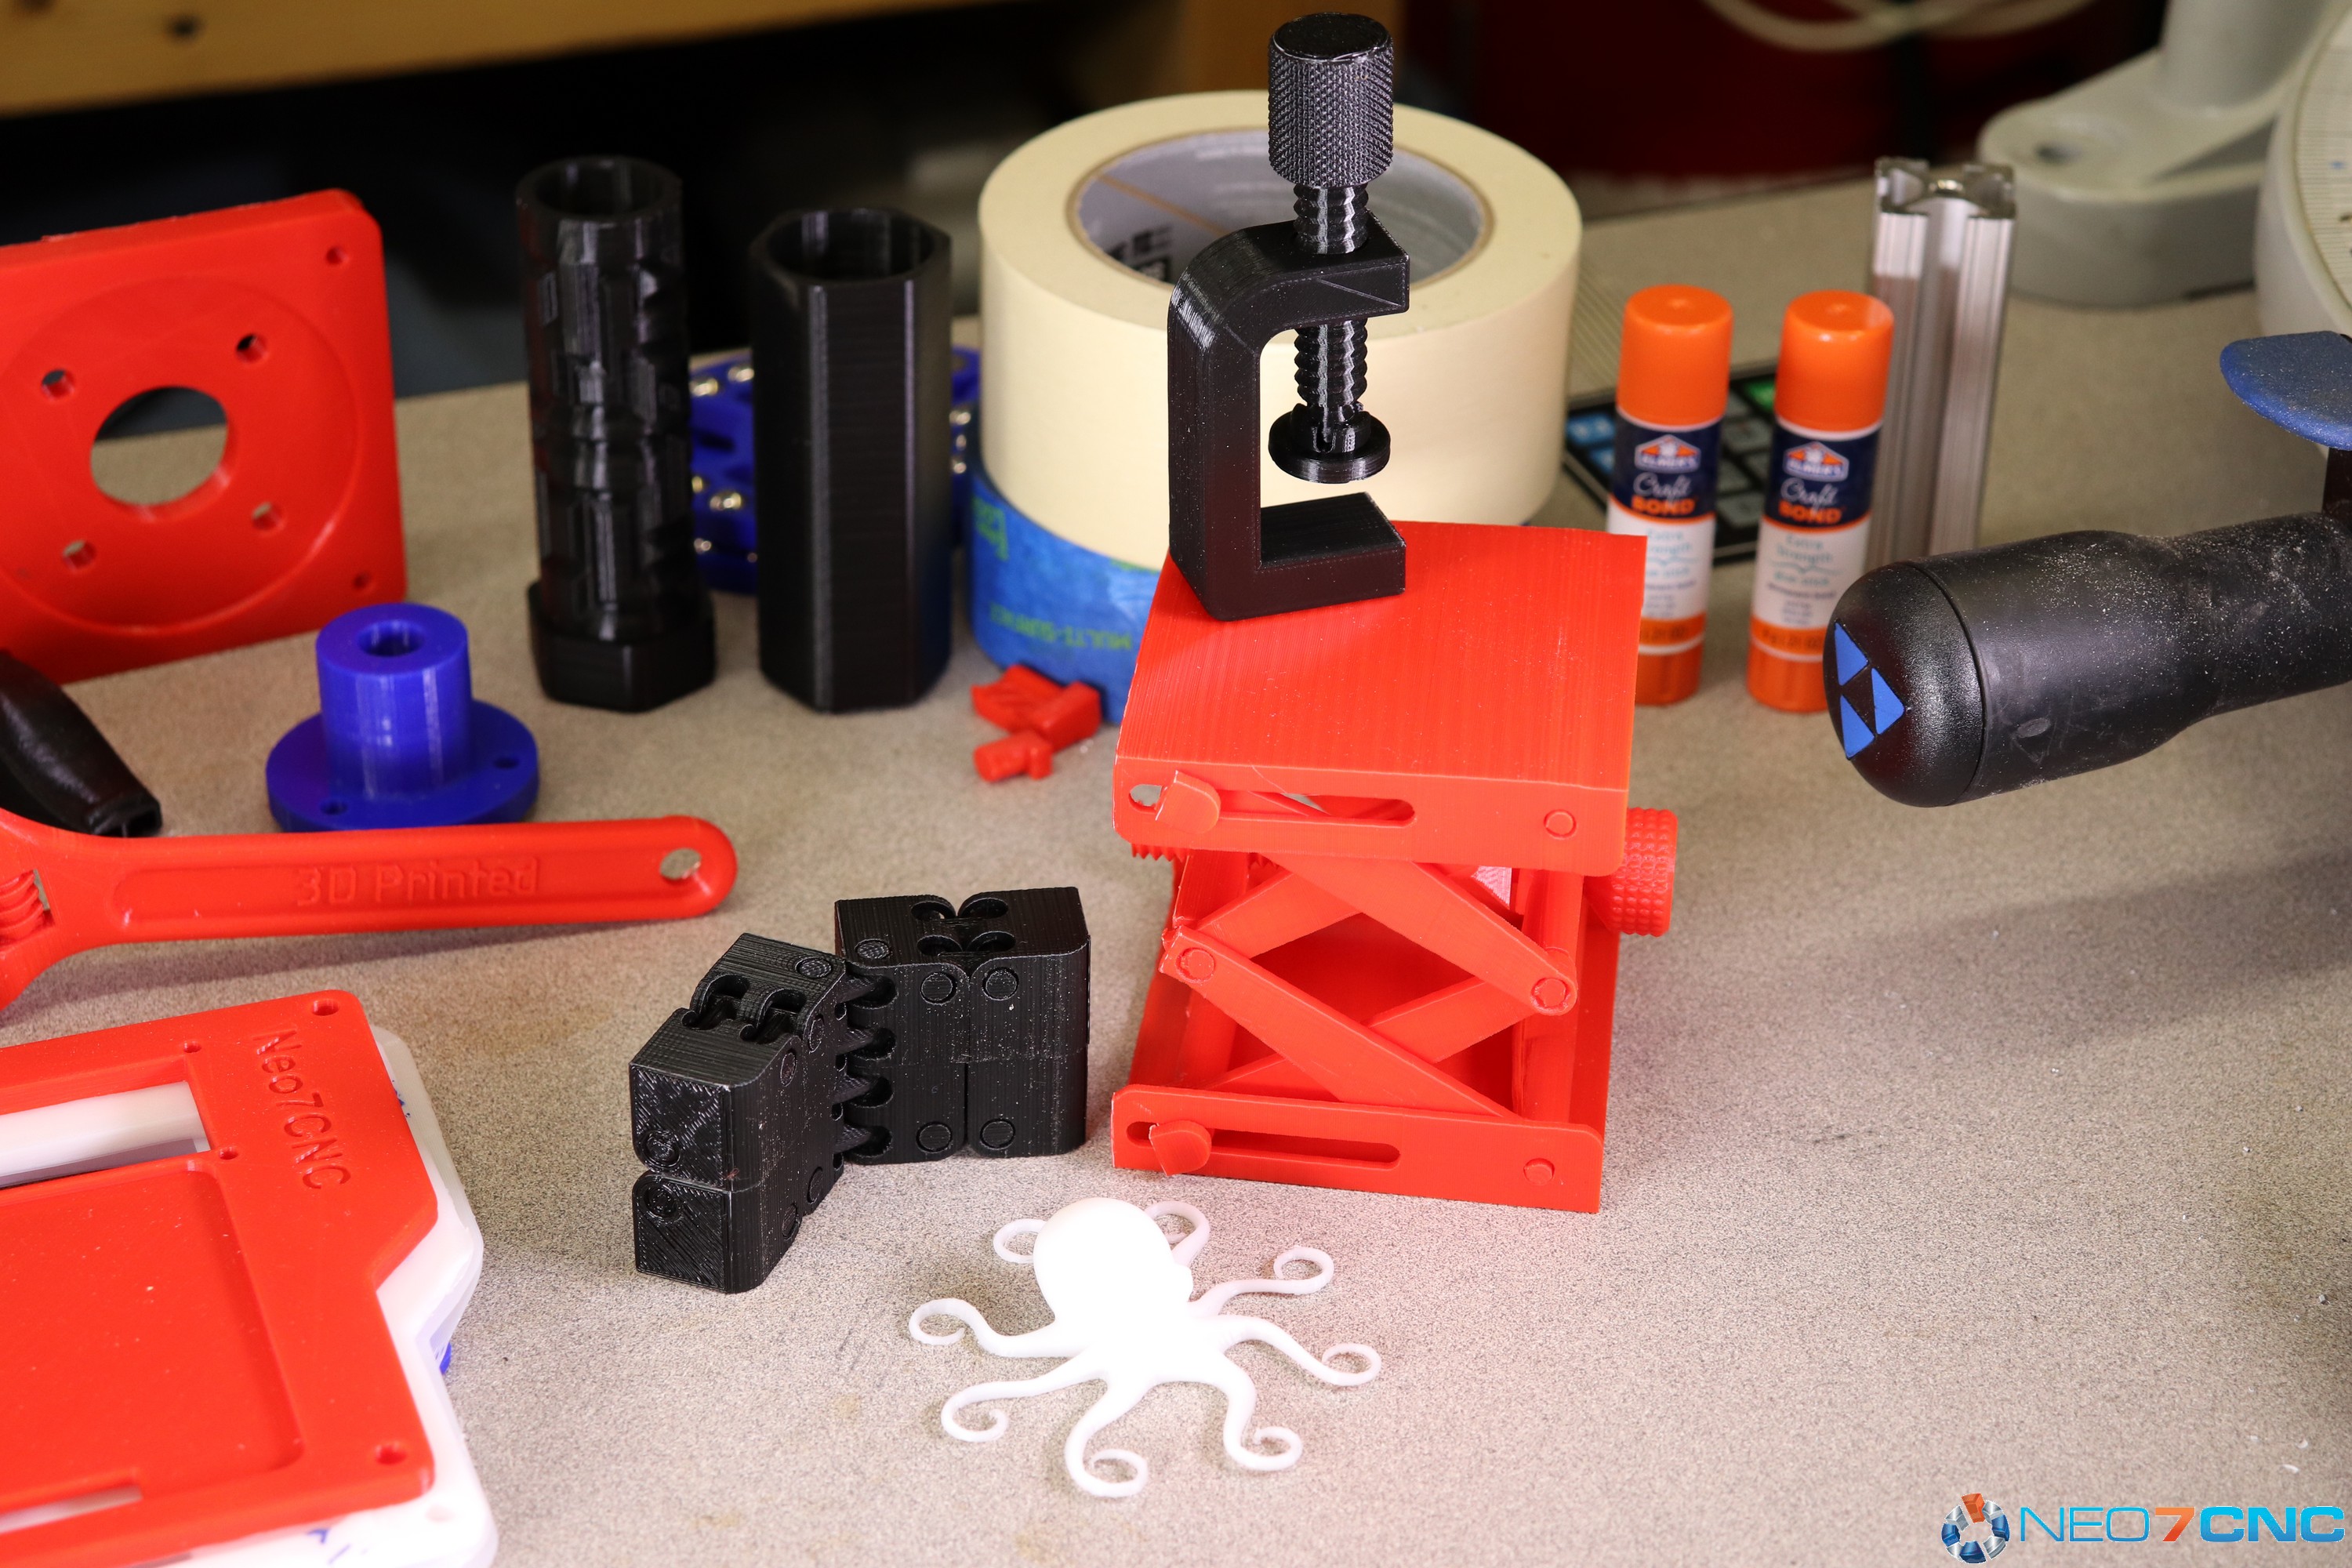
My first print was a white PLA octopus. I did that because I had printed one on my old printer so I thought it would make a good comparison. I then printed a corner cube for some series 10 80/20 aluminum extrusion. The first one failed because I have the filament diameter set to 2.85 in Cura. That starved the printer as the filament was actually 1.75mm. The print turned out more like lace and was rather ghostly. The next print was the white faceplate that I show in the video. I tried 3 time to print it but they all failed. I found out that there were 3 things keeping it from working. The first was the supplied sample PLA. It seemed a little more brittle than it should be. I switched to some 1.75mm black PLA from Hatchbox. The second issue was the tape. It had a lot of bubbles in it so I removed all I could. The third thing was a trick that I’ve never tried and that was to apply glue stick to the area of the bed that’s going to get printed on. All printing done after these changes proved successful.
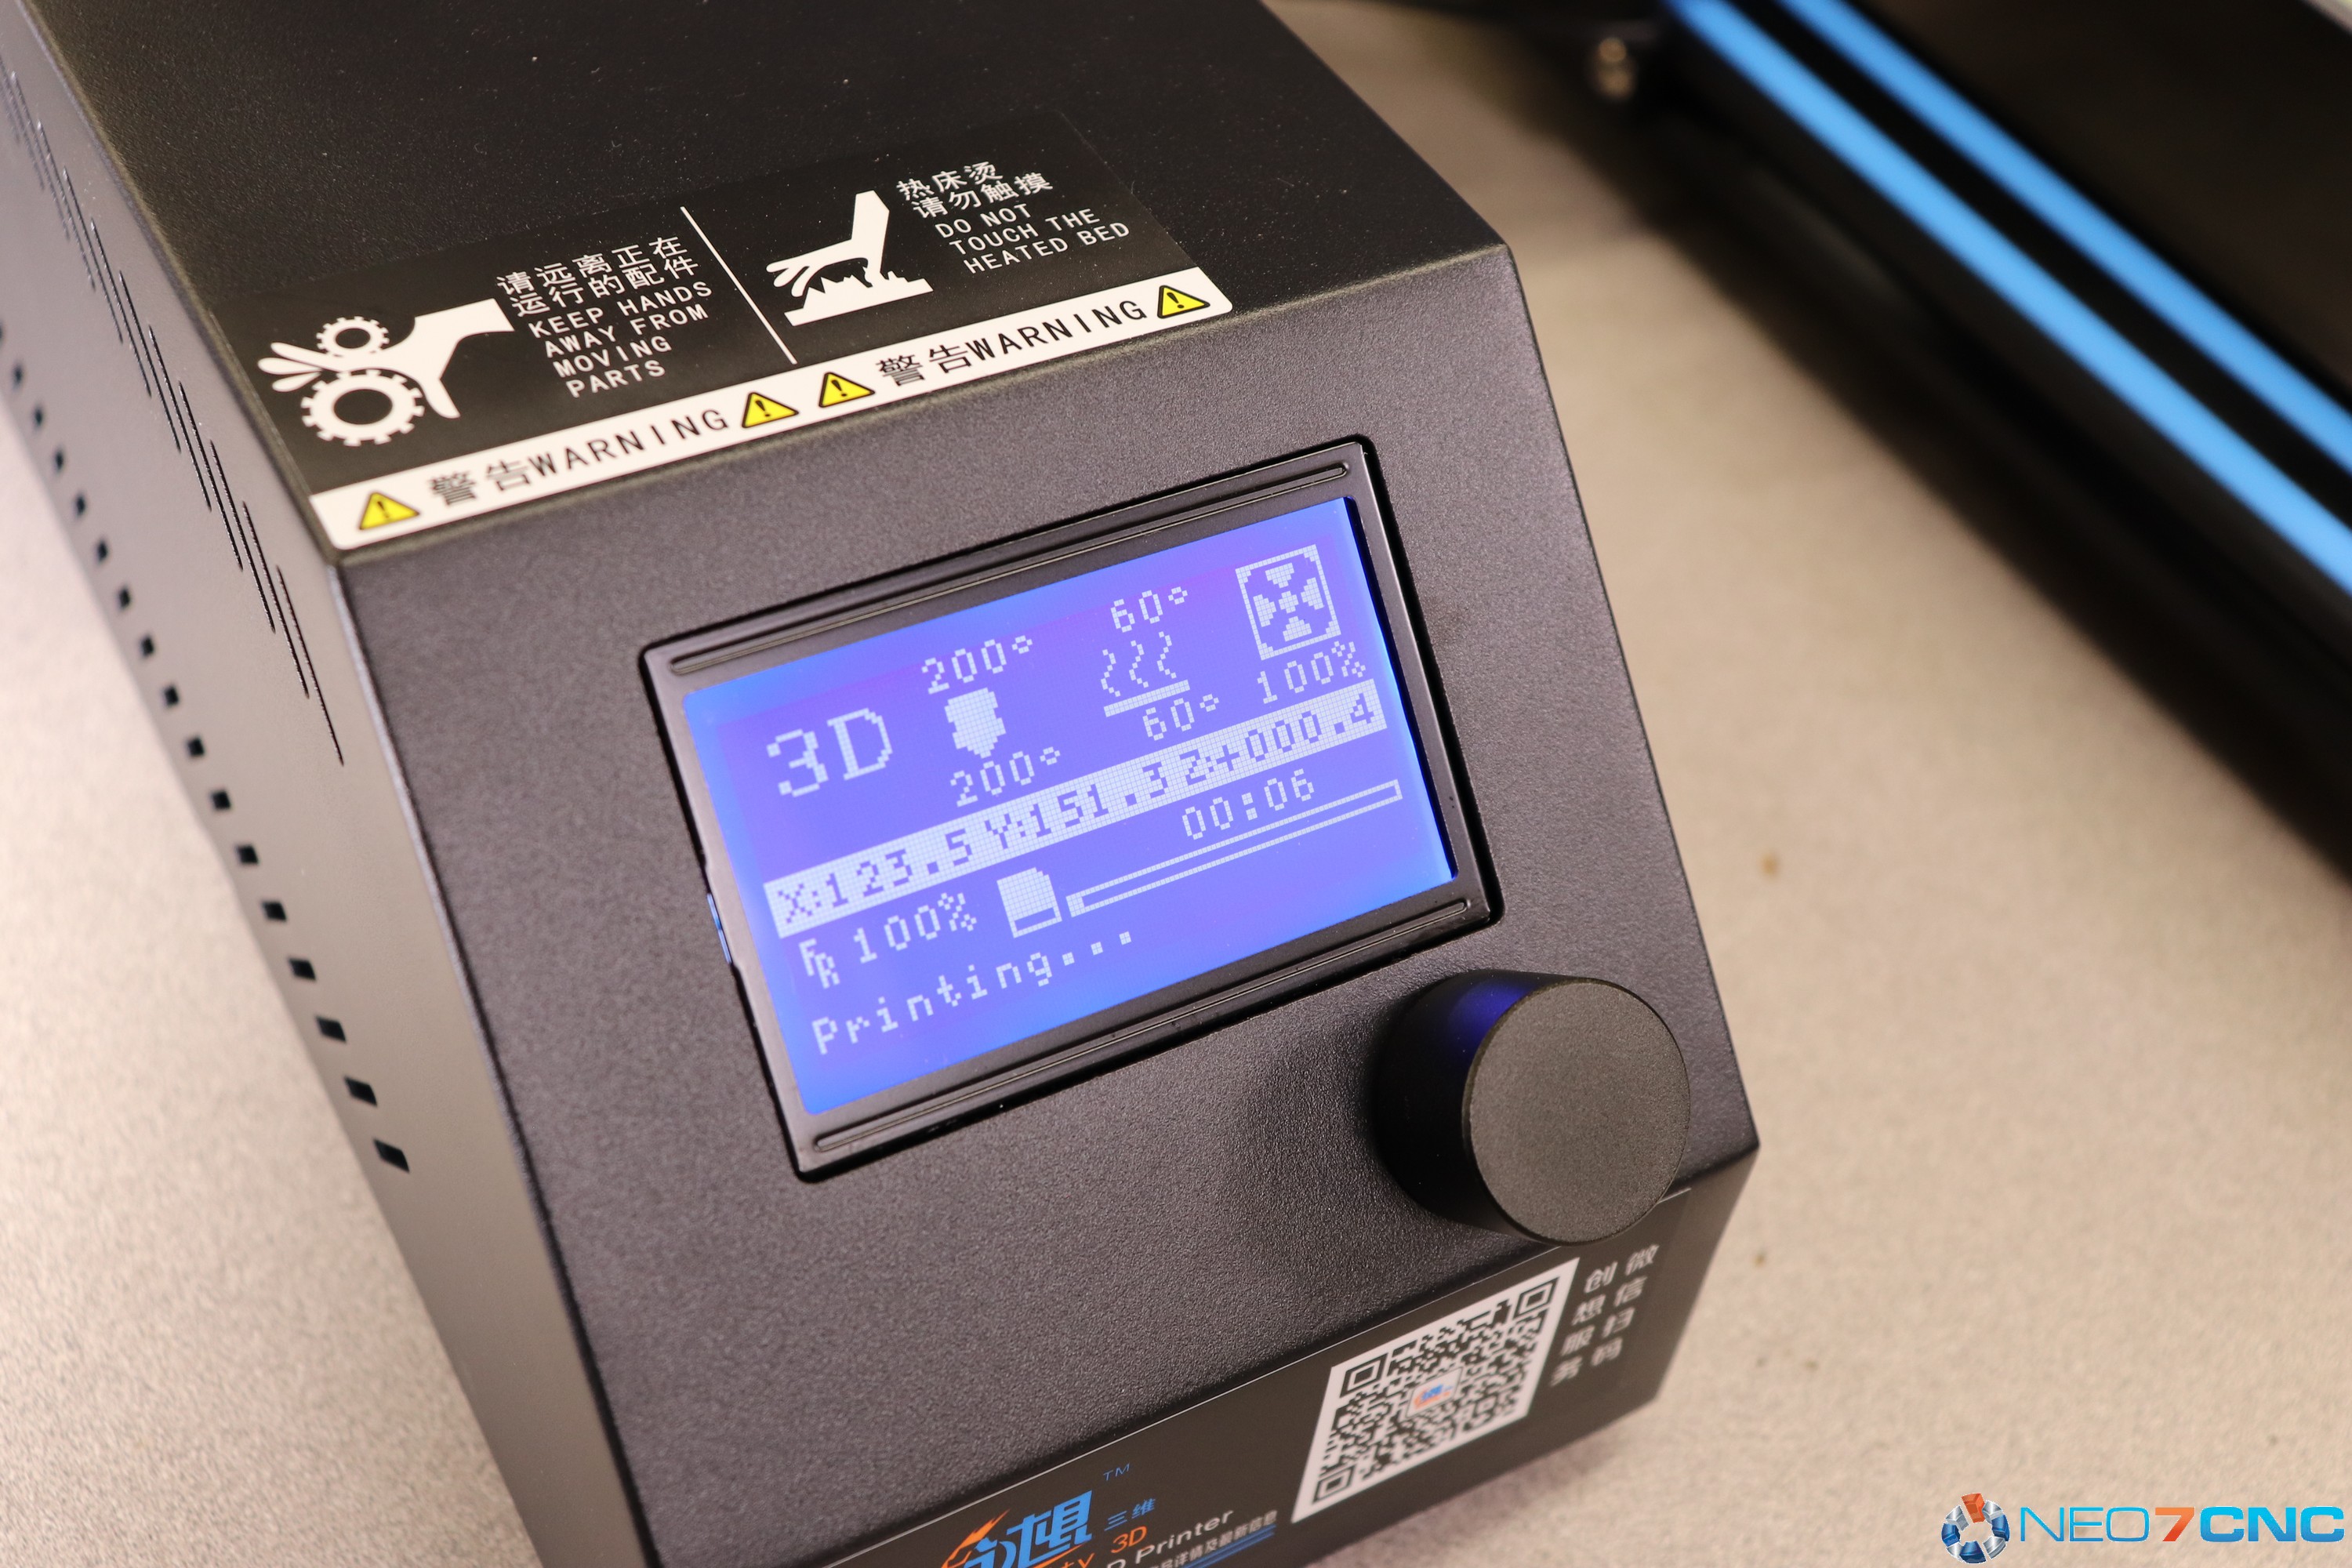
The printer is fast and the quality was great but the enormous build volume of 300mm x 300mm x 400mm (11.8in x 11.8in x 15.7in) is the real winner for this printer. I ran the printer for 8-9 days (and nights) straight much to the chagrin of my family. The printer make typical noise and didn’t bother me at night but I sleep pretty hard. The shortest print was about 1.5 hours and the longest was 27 hours. The 27 hours print was the red “Lab Jack” that I show in the video. It’s an impressive piece especially since it’s printed all in one and is fully functional once the support is removed.
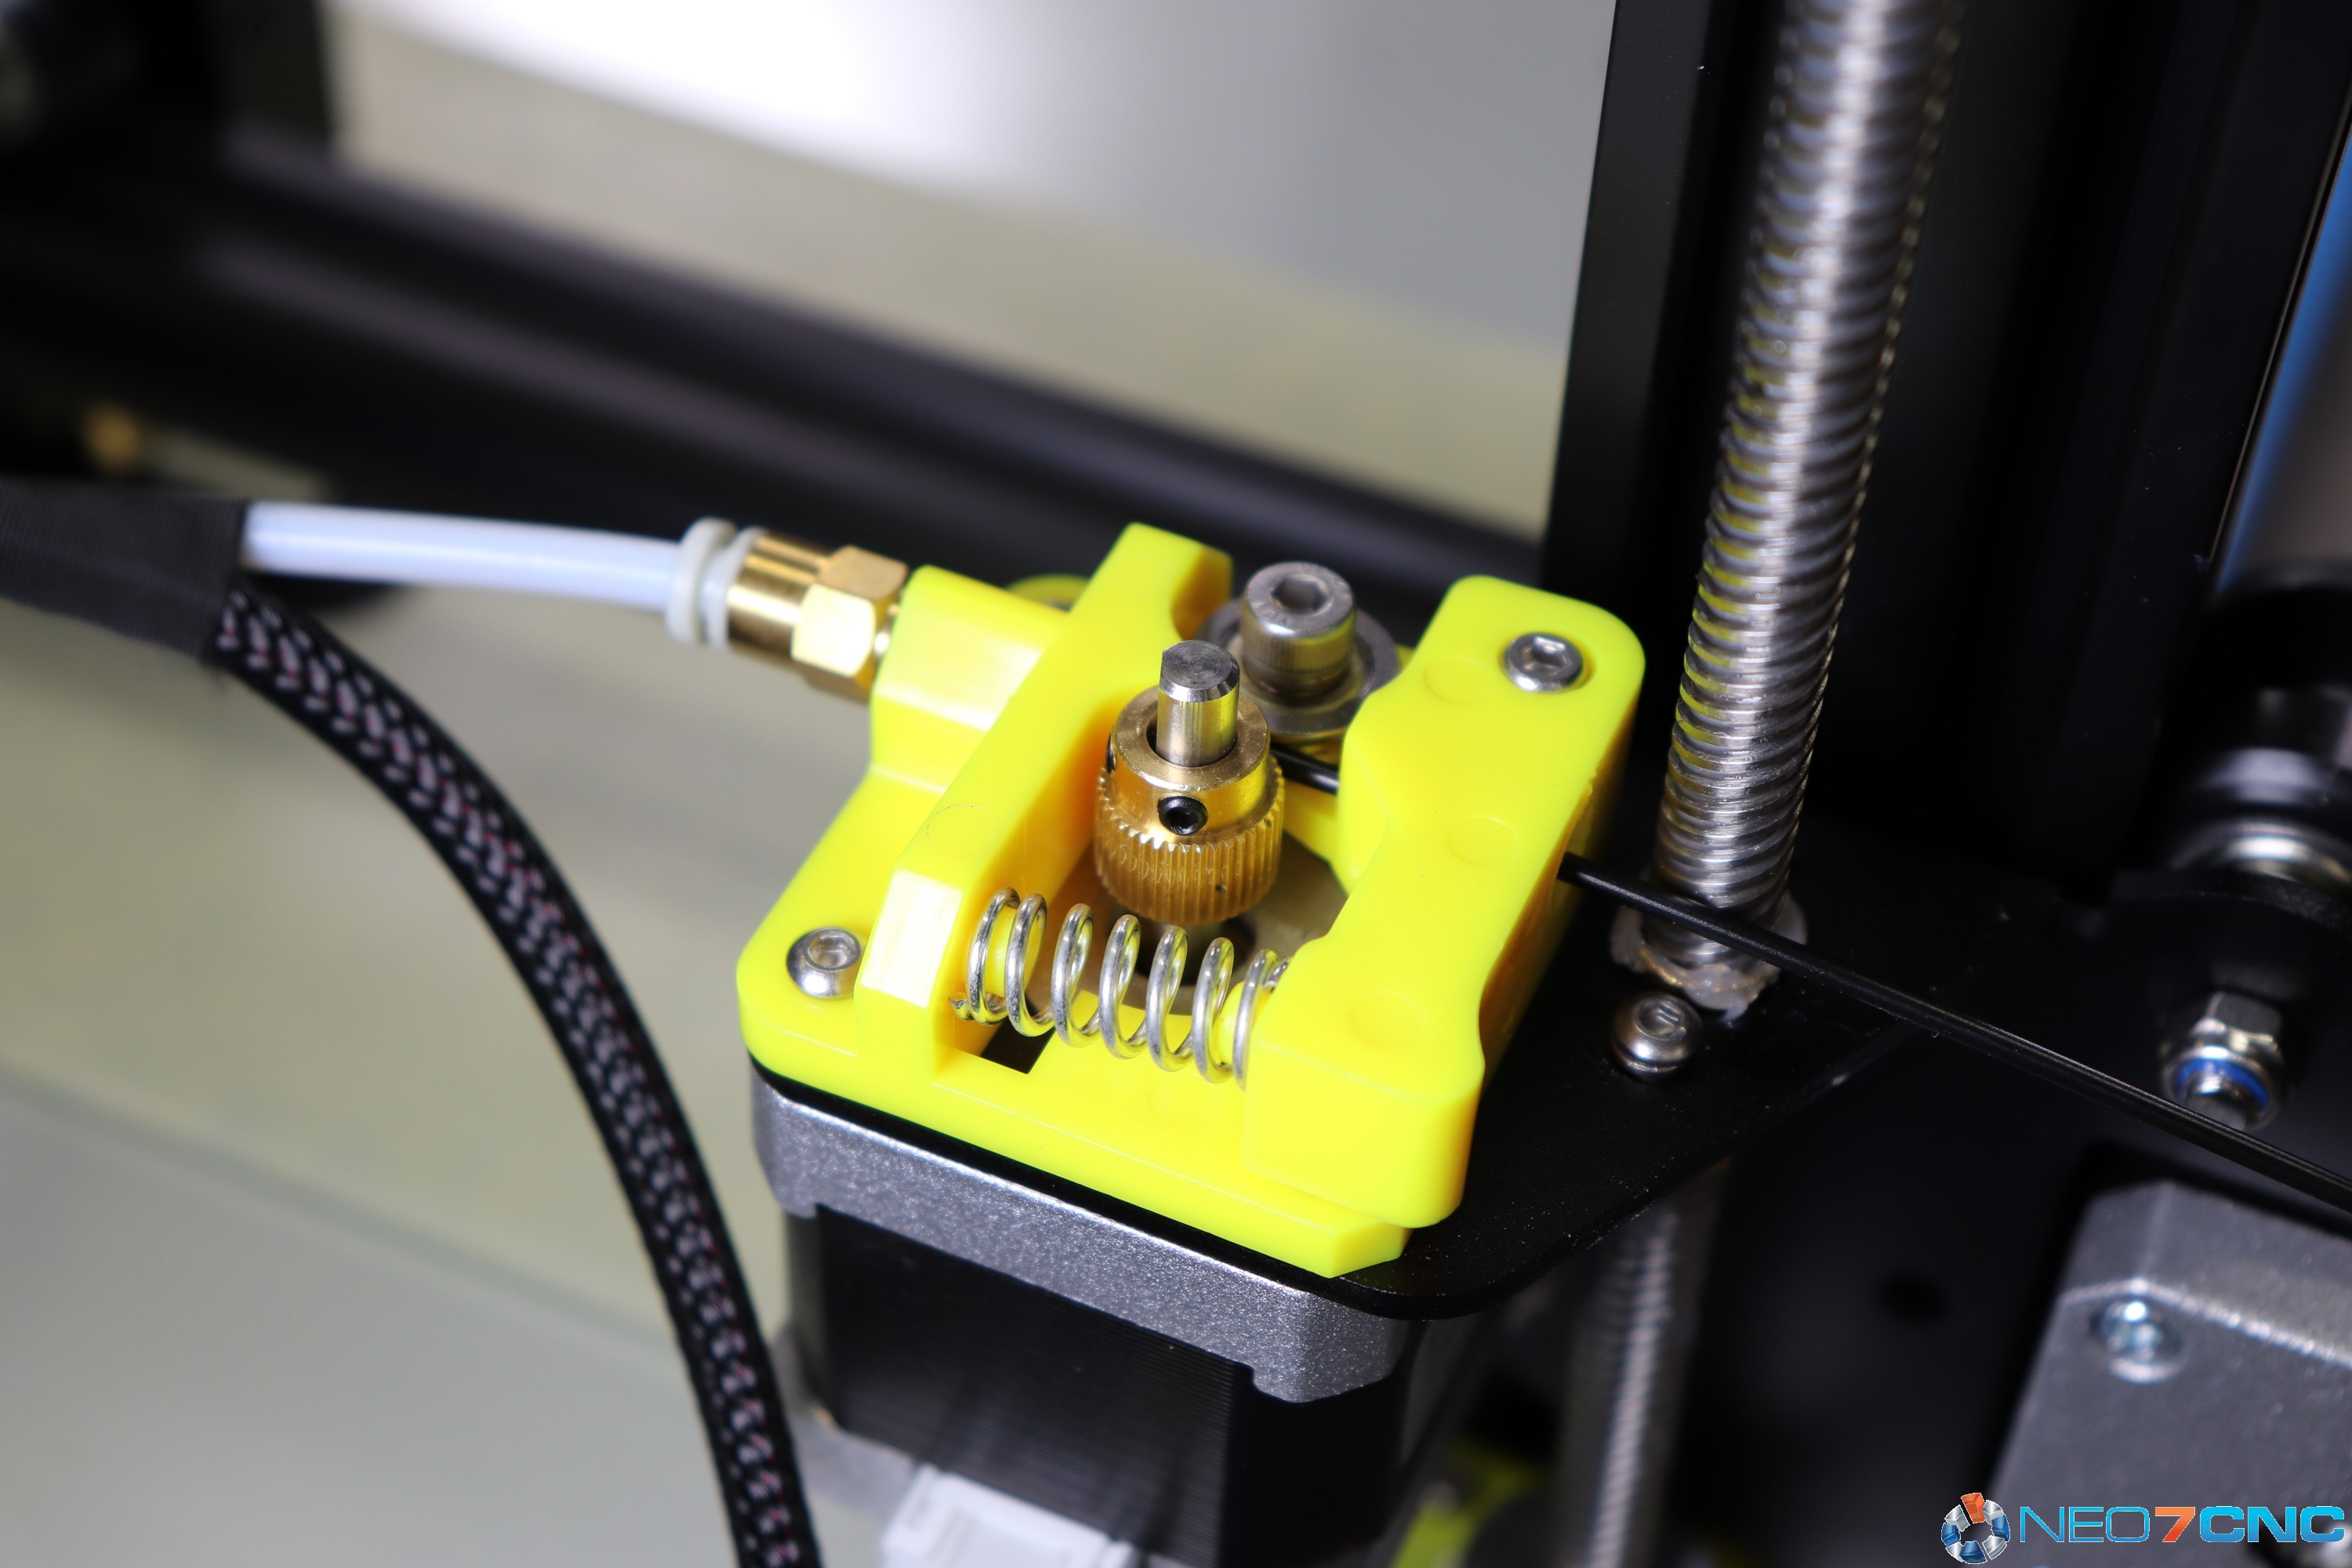
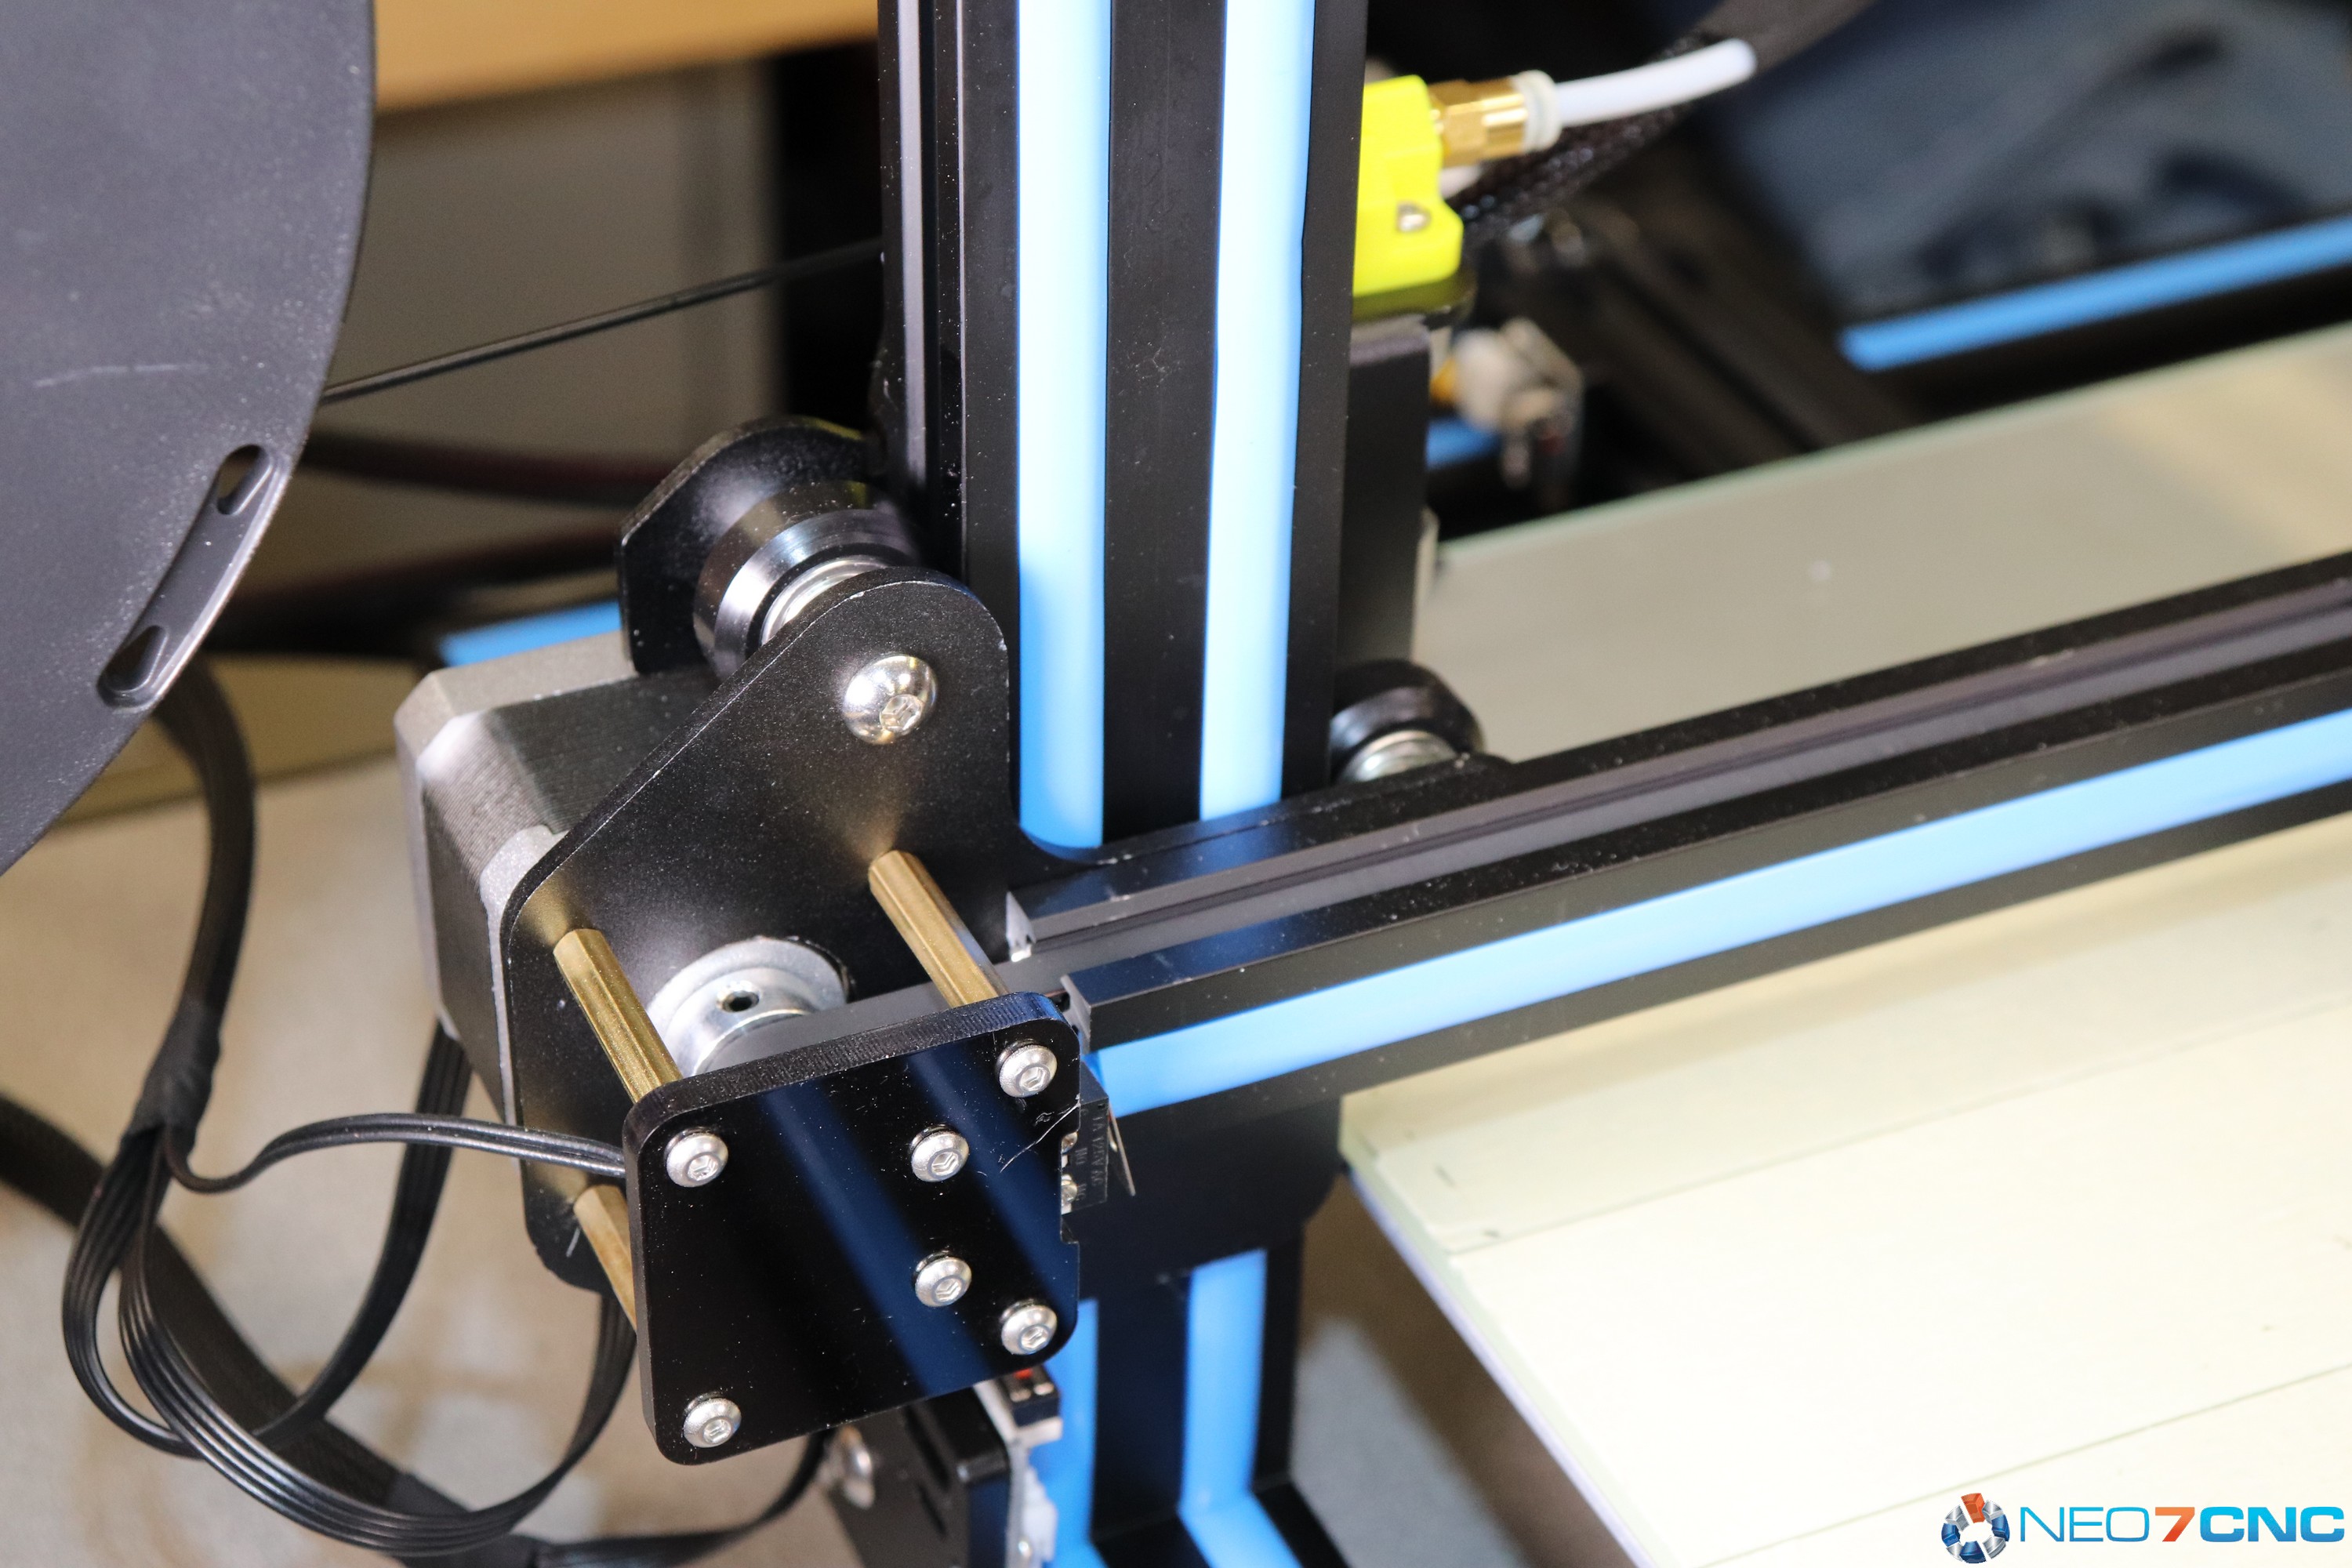
There are many “hop up” parts on Thingiverse but the only one I’ve seen that is needed at this point is the strain relief for the wires that connect to the heated bed.
All in all this is a great printer to be in the sub $500 price range. As I mention in the video below, this technology is rapidly evolving and the prices will continue to come down and features rise for these types of basic FDM printers. Be sure to check out the photo gallery for the fine details of the prints and a better look at the printer. Link to the GearBest printer and the review video is below.


One Comment