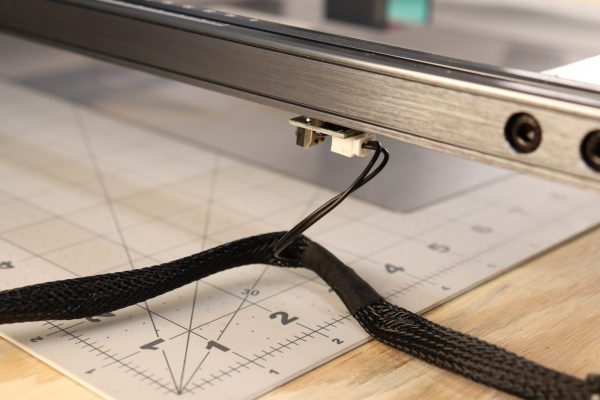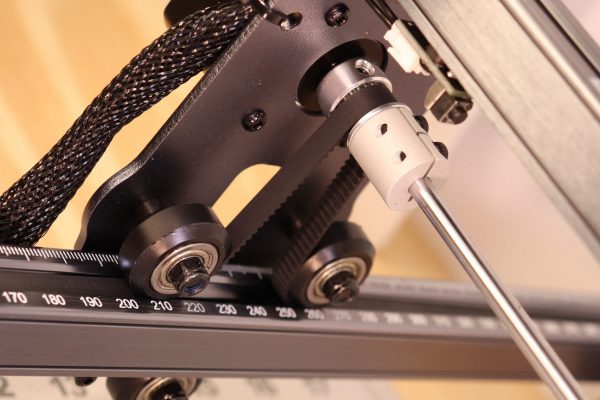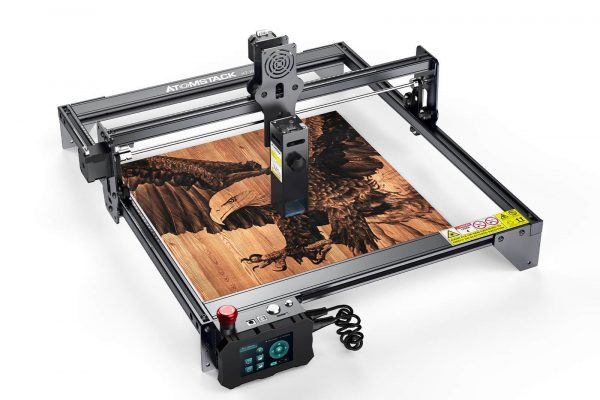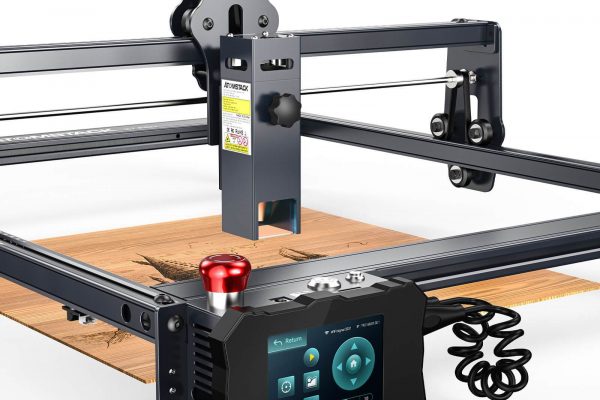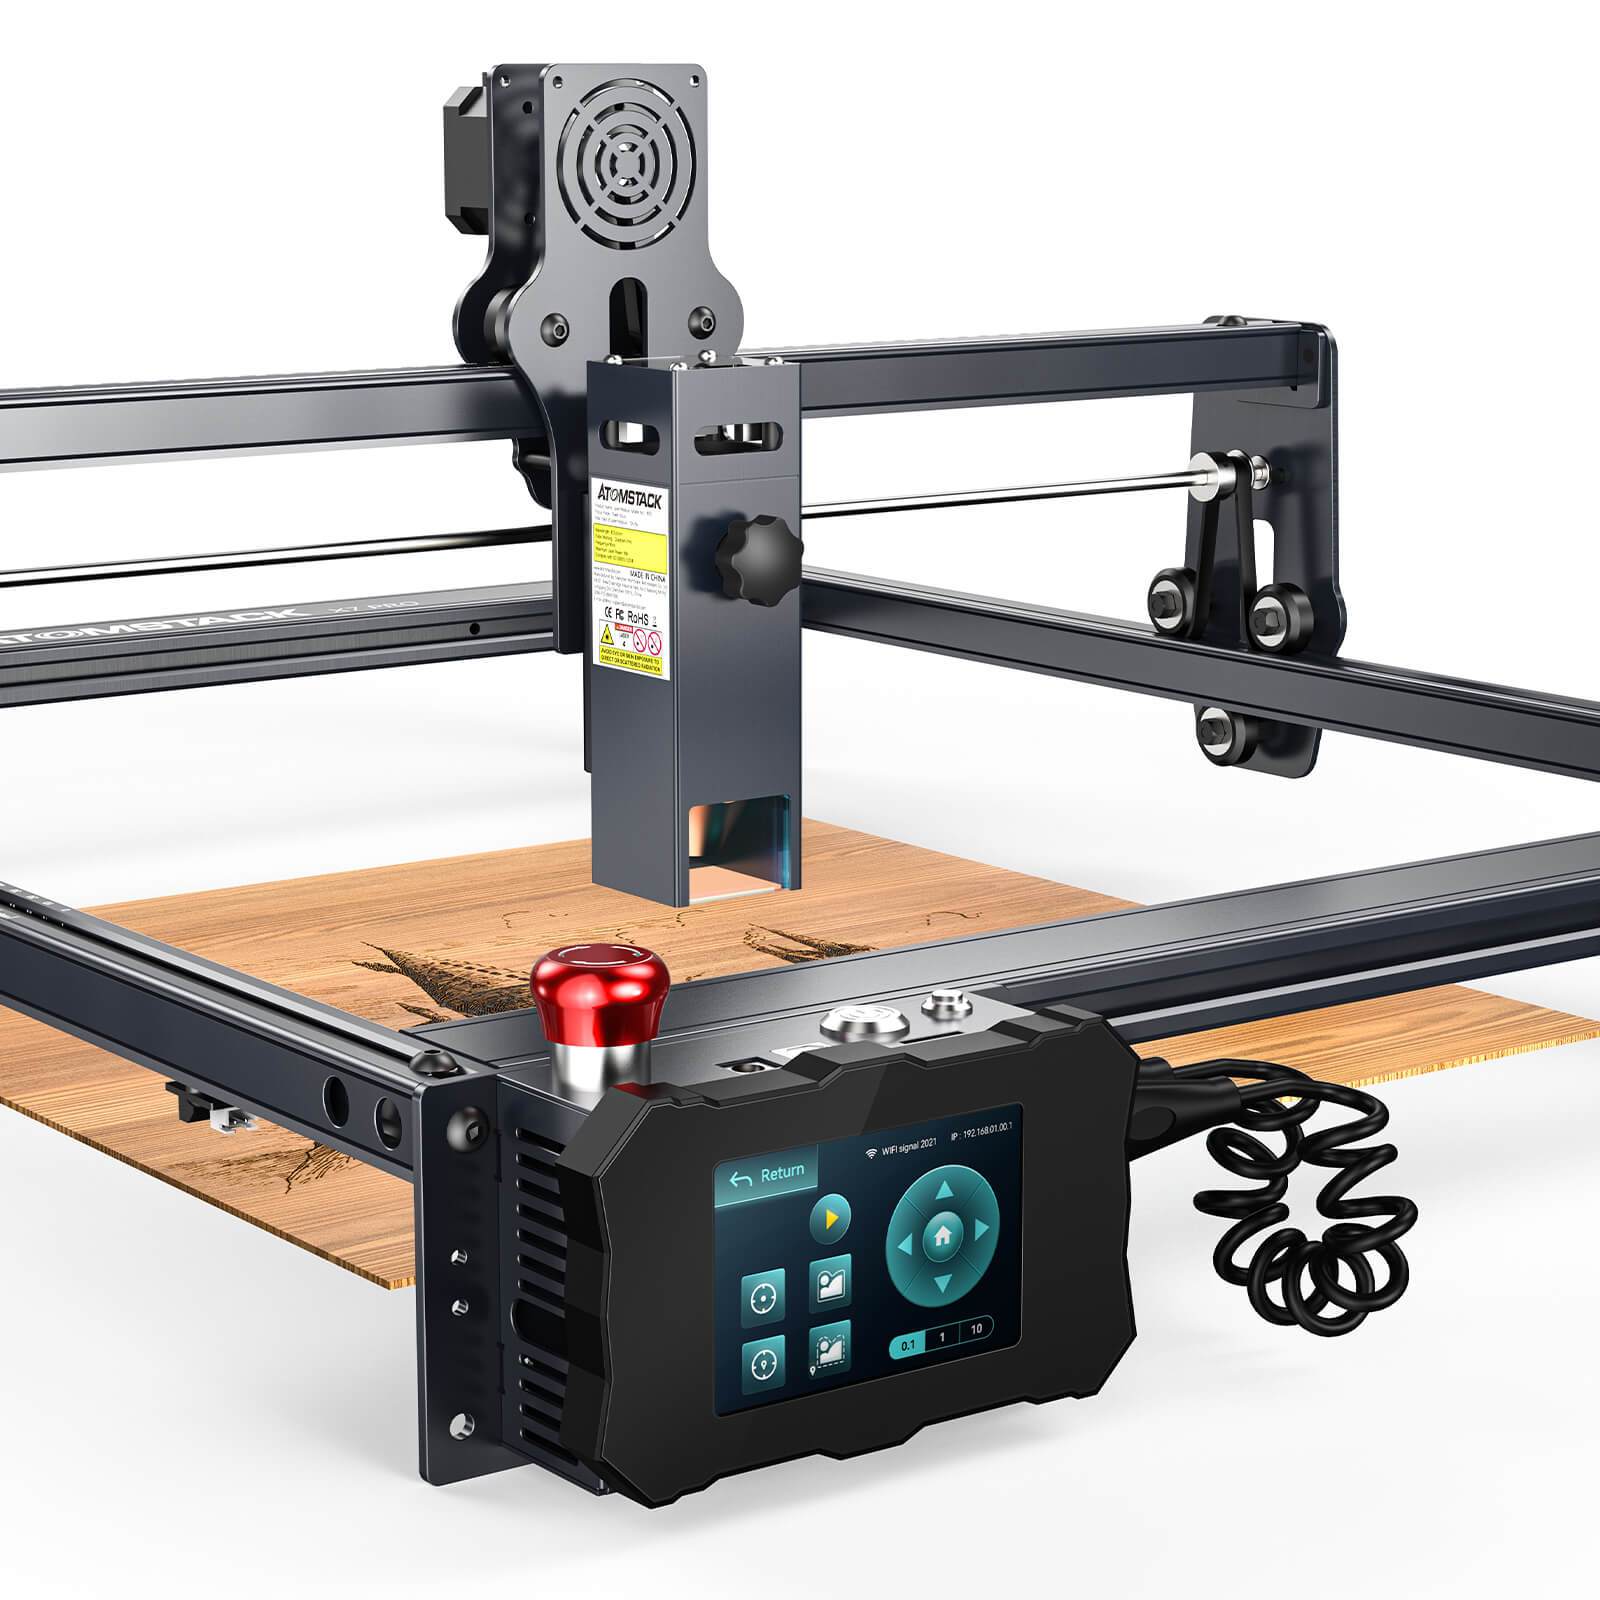
Atomstack contacted me to see if I was interested in reviewing their new flagship Atomstack X7 Pro desktop laser engraver. I said yes just thinking there would be some basic upgrades over the A5 Pro but I was very wrong. The X7 Pro has the initial same footprint and axis construction as the A5 Pro, but that’s where the similarities end.
Packaging
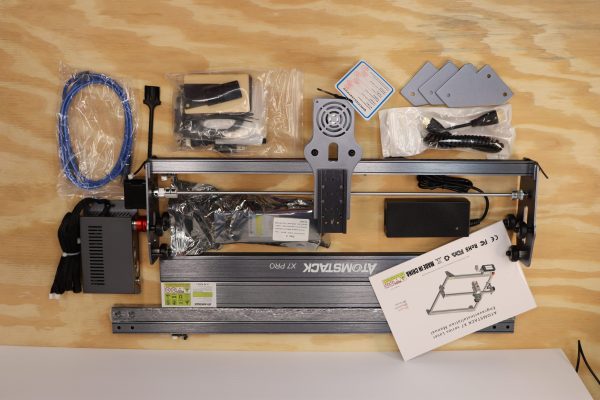
The unit arrived extremely well packed. All the parts and accessories were tucked neatly into a foam enclosure with double stacked pieces like the side rails separated with additional foam. A desiccant pack and extra sturdy corner protectors were also found, adding to the already substantial packaging.
Assembly
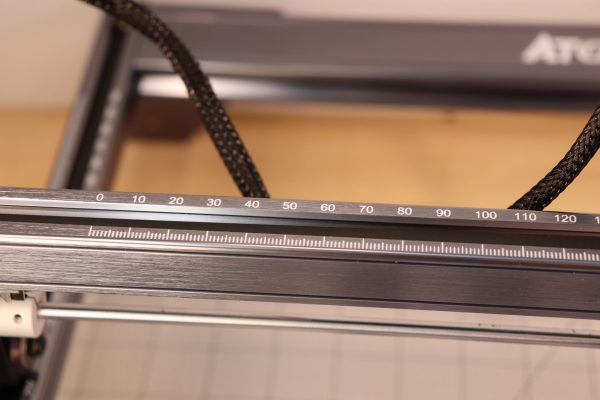
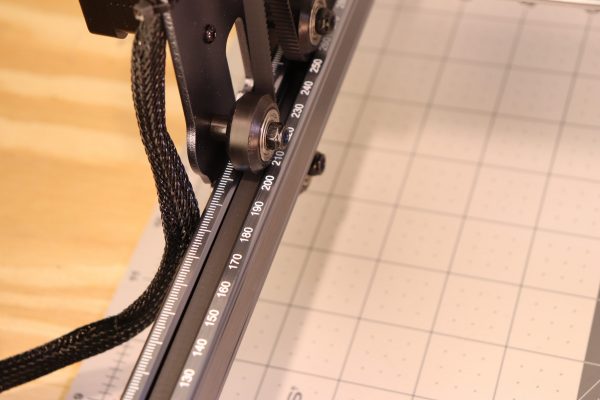
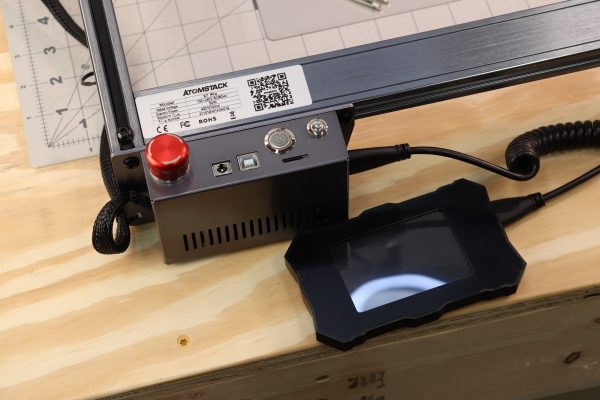
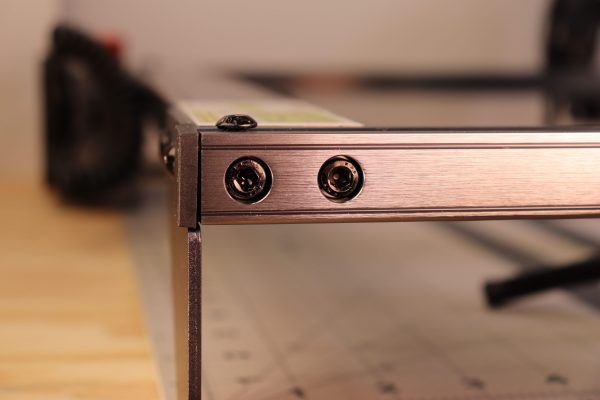
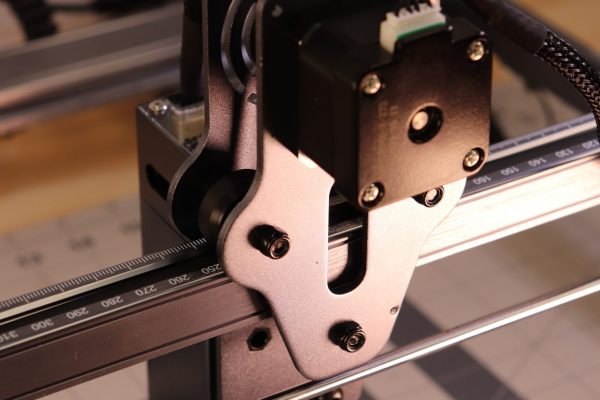
Assembly was a straightforward, with all the needed tools being included. It took me about 30 minutes to have the unit fully assembled only because I did a few things wrong the first time (it’s hard to follow directions when you’re making videos at the same time… don’t judge :). The X axis (bridge) comes pre-assembled, so only the front, back and side rails have to be assemble with a total of 16 small bolts (4 per corner) connected to the feet. The front left foot is actually the new controller with a magnetically attachable touch screen display (nice touch). Like the younger brother A5 Pro model, the X7 Pro fits nicely into a 26x26x12 inch (660x660x304mm) area not including any enclosure for fume extraction. This footprint is expandable, allowing you to double the work area with an upgrade kit. The assembly guide is very easy to follow.
Some of the notable new features
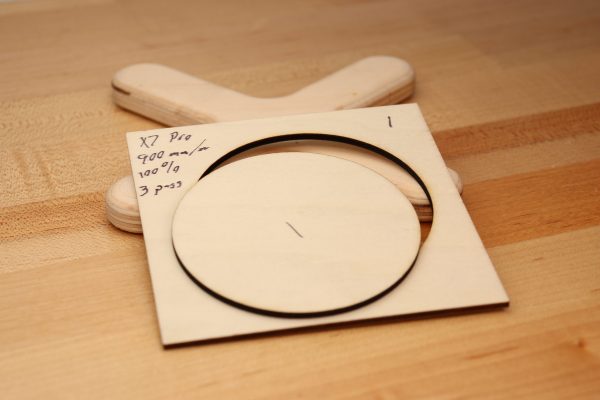
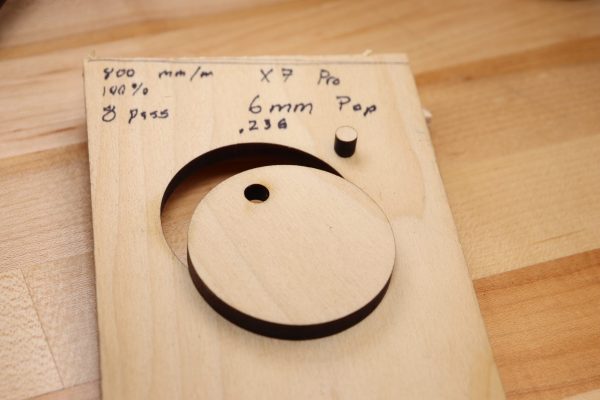
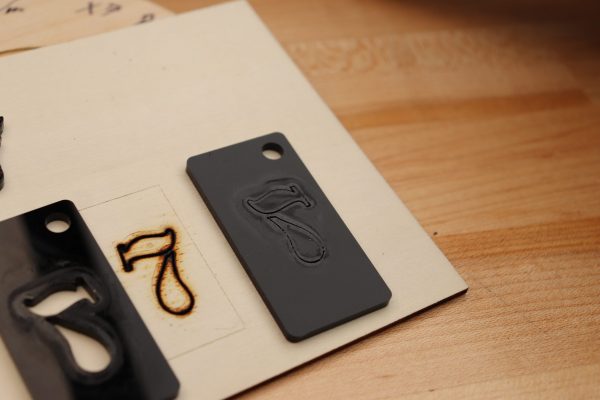
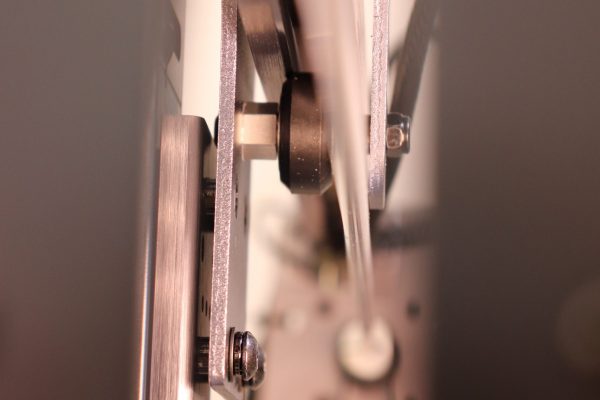
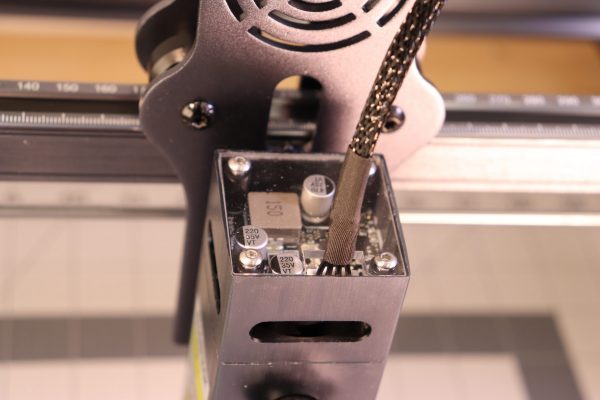
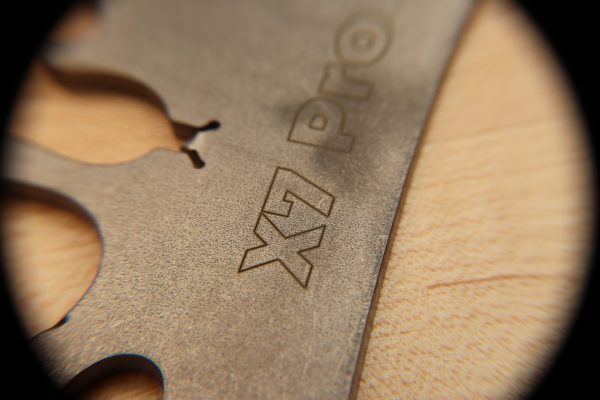
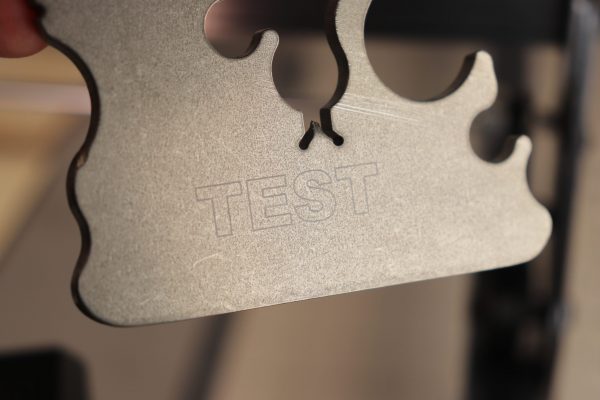
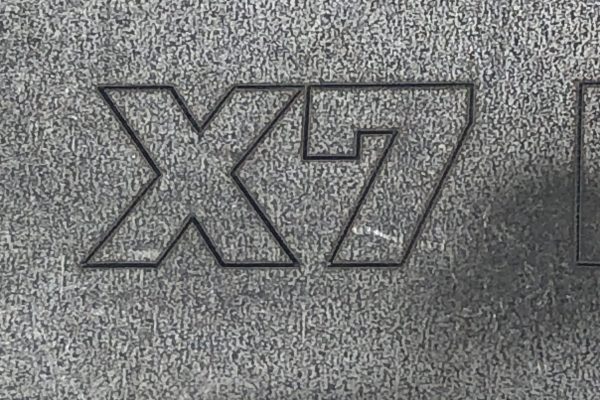
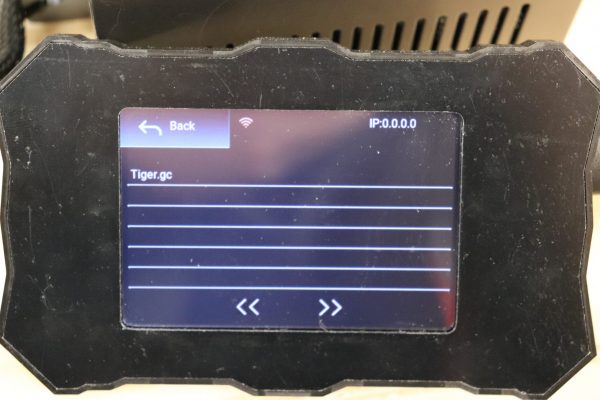
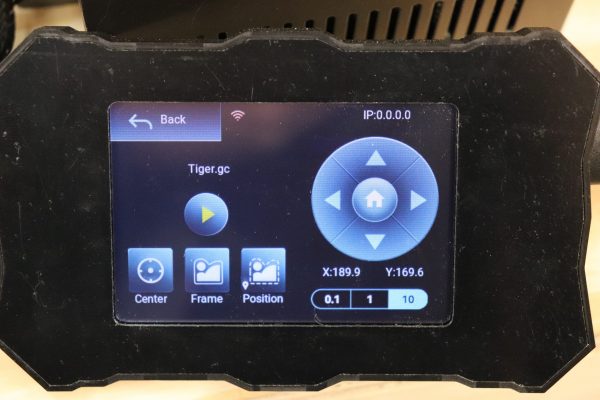
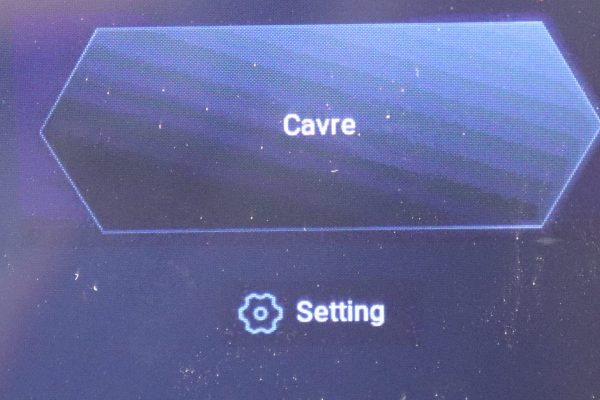
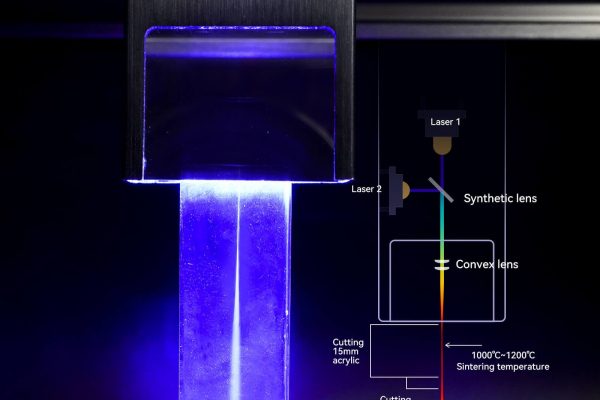
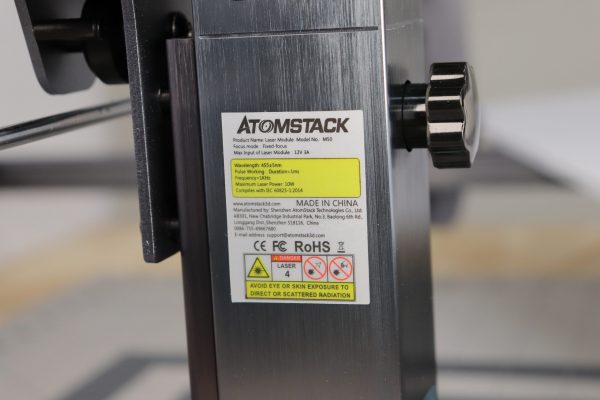
The X7 Pro has some very interesting new features. The easiest to see is the new controller with its touchscreen interface. The new controller has an E-stop (emergency stop), power and reset switch. It also has an SD card slot and the USB and power connectors. The SD slot allows you to save laser gcode files to the SD card and keep them local to the laser. This allows you to run laser jobs in a standalone mode. There’s no need to have a computer attached to the laser when you run it this way. There is a software update scheduled for December of 2021 that will allow connectivity over local WiFi but it wasn’t available at the time of this posting. A second enhancement to the X7 Pro is the new dual beam laser head. The dual beam makes this head a 10-11w total optical power head compared to the 5.5w heads I’ve reviewed in the past including the Atomstack A5 Pro. The 10-11w optical output is achieved by combining 2 standard 5.5w laser diodes. This is done using a mirror. One laser is pointed straight down and the other is at 90 degrees or parallel to the work surface. With the mirror, these two beams combine. The picture I included in the photo gallery should help explain this better. Needless to say, 10-11w is better than 5.5w. It allows much faster cutting and engraving as well as opening up more choices in materials. I was able to actually etch grade 5 Titanium. Pretty impressive. Atomstack offers a kit that allows you to double the lasers work area. The kit replaces some of the frame members allowing you to stretch the machine out to a 410x800mm work area for those bigger projects. There is also a rotary option if you need to engrave round objects.
Safety
The manual also covers the very important aspects of safety and they can’t be repeated enough. Though small, this is a laser that can cause serious damage. Read and follow all the safety warnings. As a basic rule, don’t look at the laser light at all, make sure what you’re cutting won’t give off toxic fumes (like PVC, ABS, Epoxies, etc.), Use only in an extremely well ventilated space and don’t stare at the beam. Safety is your responsibility… you have been warned.
Fume Extraction
I setup a basic fume extraction system with an 6″ inline fan, some 6″ ducting and a 6″ blast gate. I created a simple enclosure with some 24×36 inch sheets of corrugated plastic. I was pleased with how well it works. The fan pulls from the enclosure and vents to the outside. the blast gate is used to allow fresh air in from the outside (well away from the exhaust) so that the fan has the ability to pull freely.
Software
I used Lightburn ($40 version) for all these test jobs. It’s feature rich compared to LaserGRBL but both will work. I like Lightburn because I can create pretty much anything inside it. It’s great for cutting or on the fly creation as it allows you to draw, type, scale, etc right in the program.
Summary
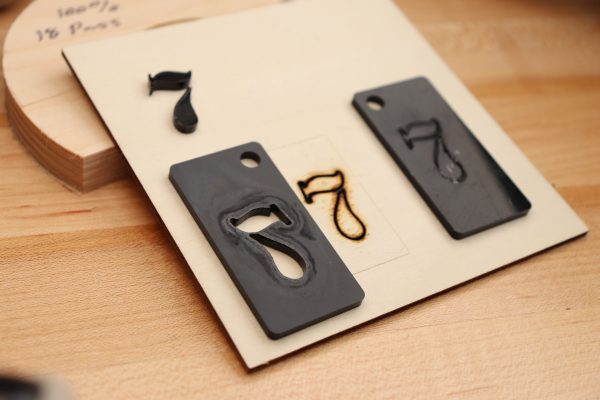
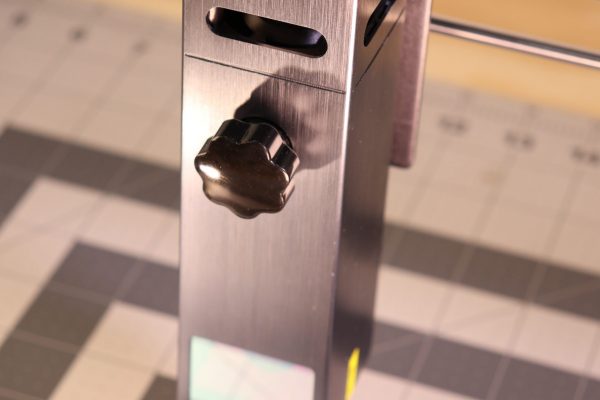
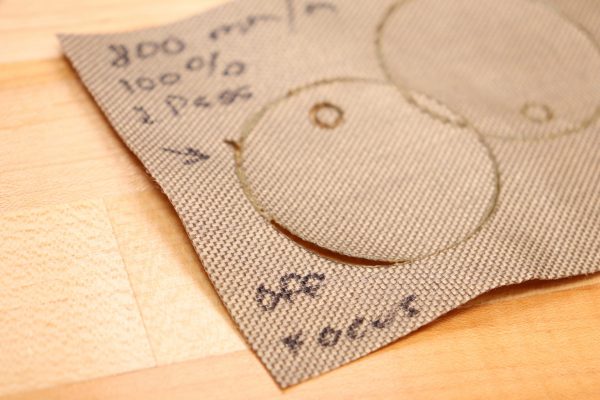
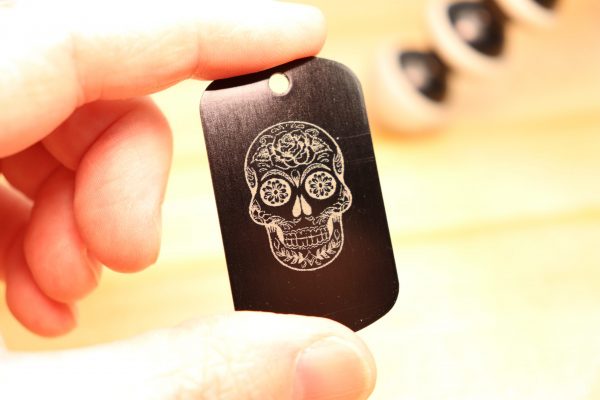
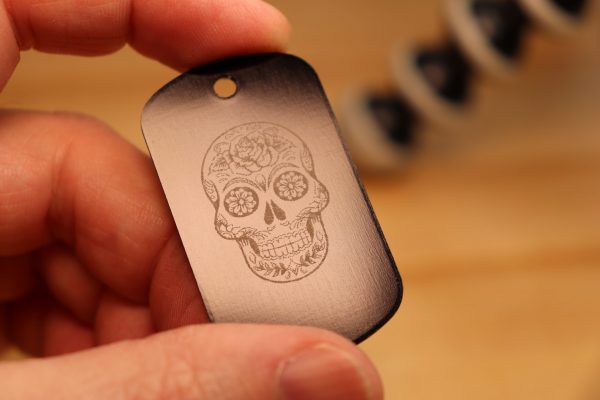
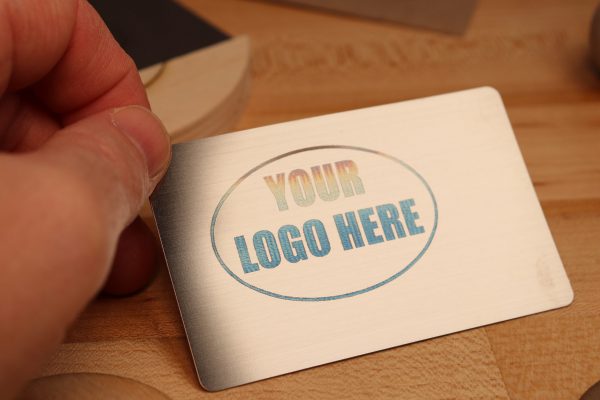
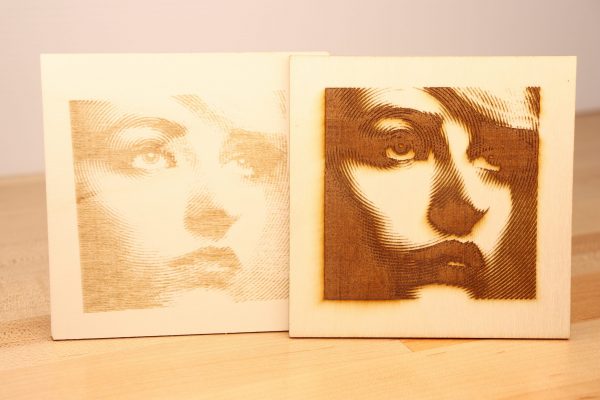
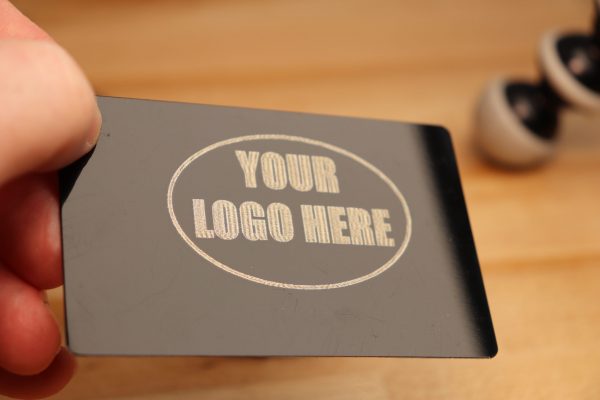
This machine is truly a giant step above the A5 Pro. The X7 Pro has the same if not better build quality, the new laser height adjusting knob, the new touchscreen controller, you can expand it’s working area and use a rotary. The laser power is phenomenal for an LED based laser engraver/cutter. It does every job I’ve done before (and a few new ones) but faster than the A5 Pro. The great results I was able to achieve in the anodized and painted aluminum cards, the super dark marks on the stainless steel and the actual etching of the titanium are amazing results for a $599 machine. Be sure to view the pictures below and watch the YouTube video if you haven’t already. As always links are below.
Atomstack X7 Pro Laser Engraver (check each for best price)
Amazon https://amzn.to/3ypZD7y
Direct from Atomstack https://bit.ly/3dKSd5A
Software: LaserGRBL Software (free) https://lasergrbl.com/download/
LightBurn Software (free trial/$40 to buy) https://lightburnsoftware.com/
Addition items used in the video:
Wood squares – https://amzn.to/33RUNBW
Kraft paper tags – https://amzn.to/3foiLK9
Painted aluminum business card blanks – https://amzn.to/3yj6q2E
Stainless steel business card blanks – https://amzn.to/3bAn0RL
Anodized aluminum blank dog tags – 10 pack – https://amzn.to/33h8HAg
To create you own fume extraction system
6″ inline blower – https://amzn.to/3ftxCmu
6″ duct kit – https://amzn.to/3eWjVh0
6″ flange – https://amzn.to/33UlbuG
6″ blast gate – https://amzn.to/3hyPNKs
Atomstack website https://www.atomstack.net/products/atomstack-x7-pro-50w-flagship-laser-engraving-machine
Support the channel: – PayPal https://www.paypal.me/neo7cnc
