xTool contacted me to see if I was interested in reviewing their xTool D1 desktop laser engraver. I was intrigued about the D1 because it has many differences from what’s commonly in the LED based desktop laser arena. I agreed to do a review and I’m very glad I did.
Packaging
The unit arrived extremely well packed but the package was damaged. The carrier had managed to put a nice gash in the top of the package. Once I opened the box, I realized that only 3 of the 8 extension legs that should have been in the box were still in the box. the other 5 are sprinkled across the USA I guess. I did reach out to xTool and they said they’d ship me replacements once they’re back in stock. All the remaining parts and accessories were tucked neatly into a foam cocoons and arrived in perfect condition.
Assembly
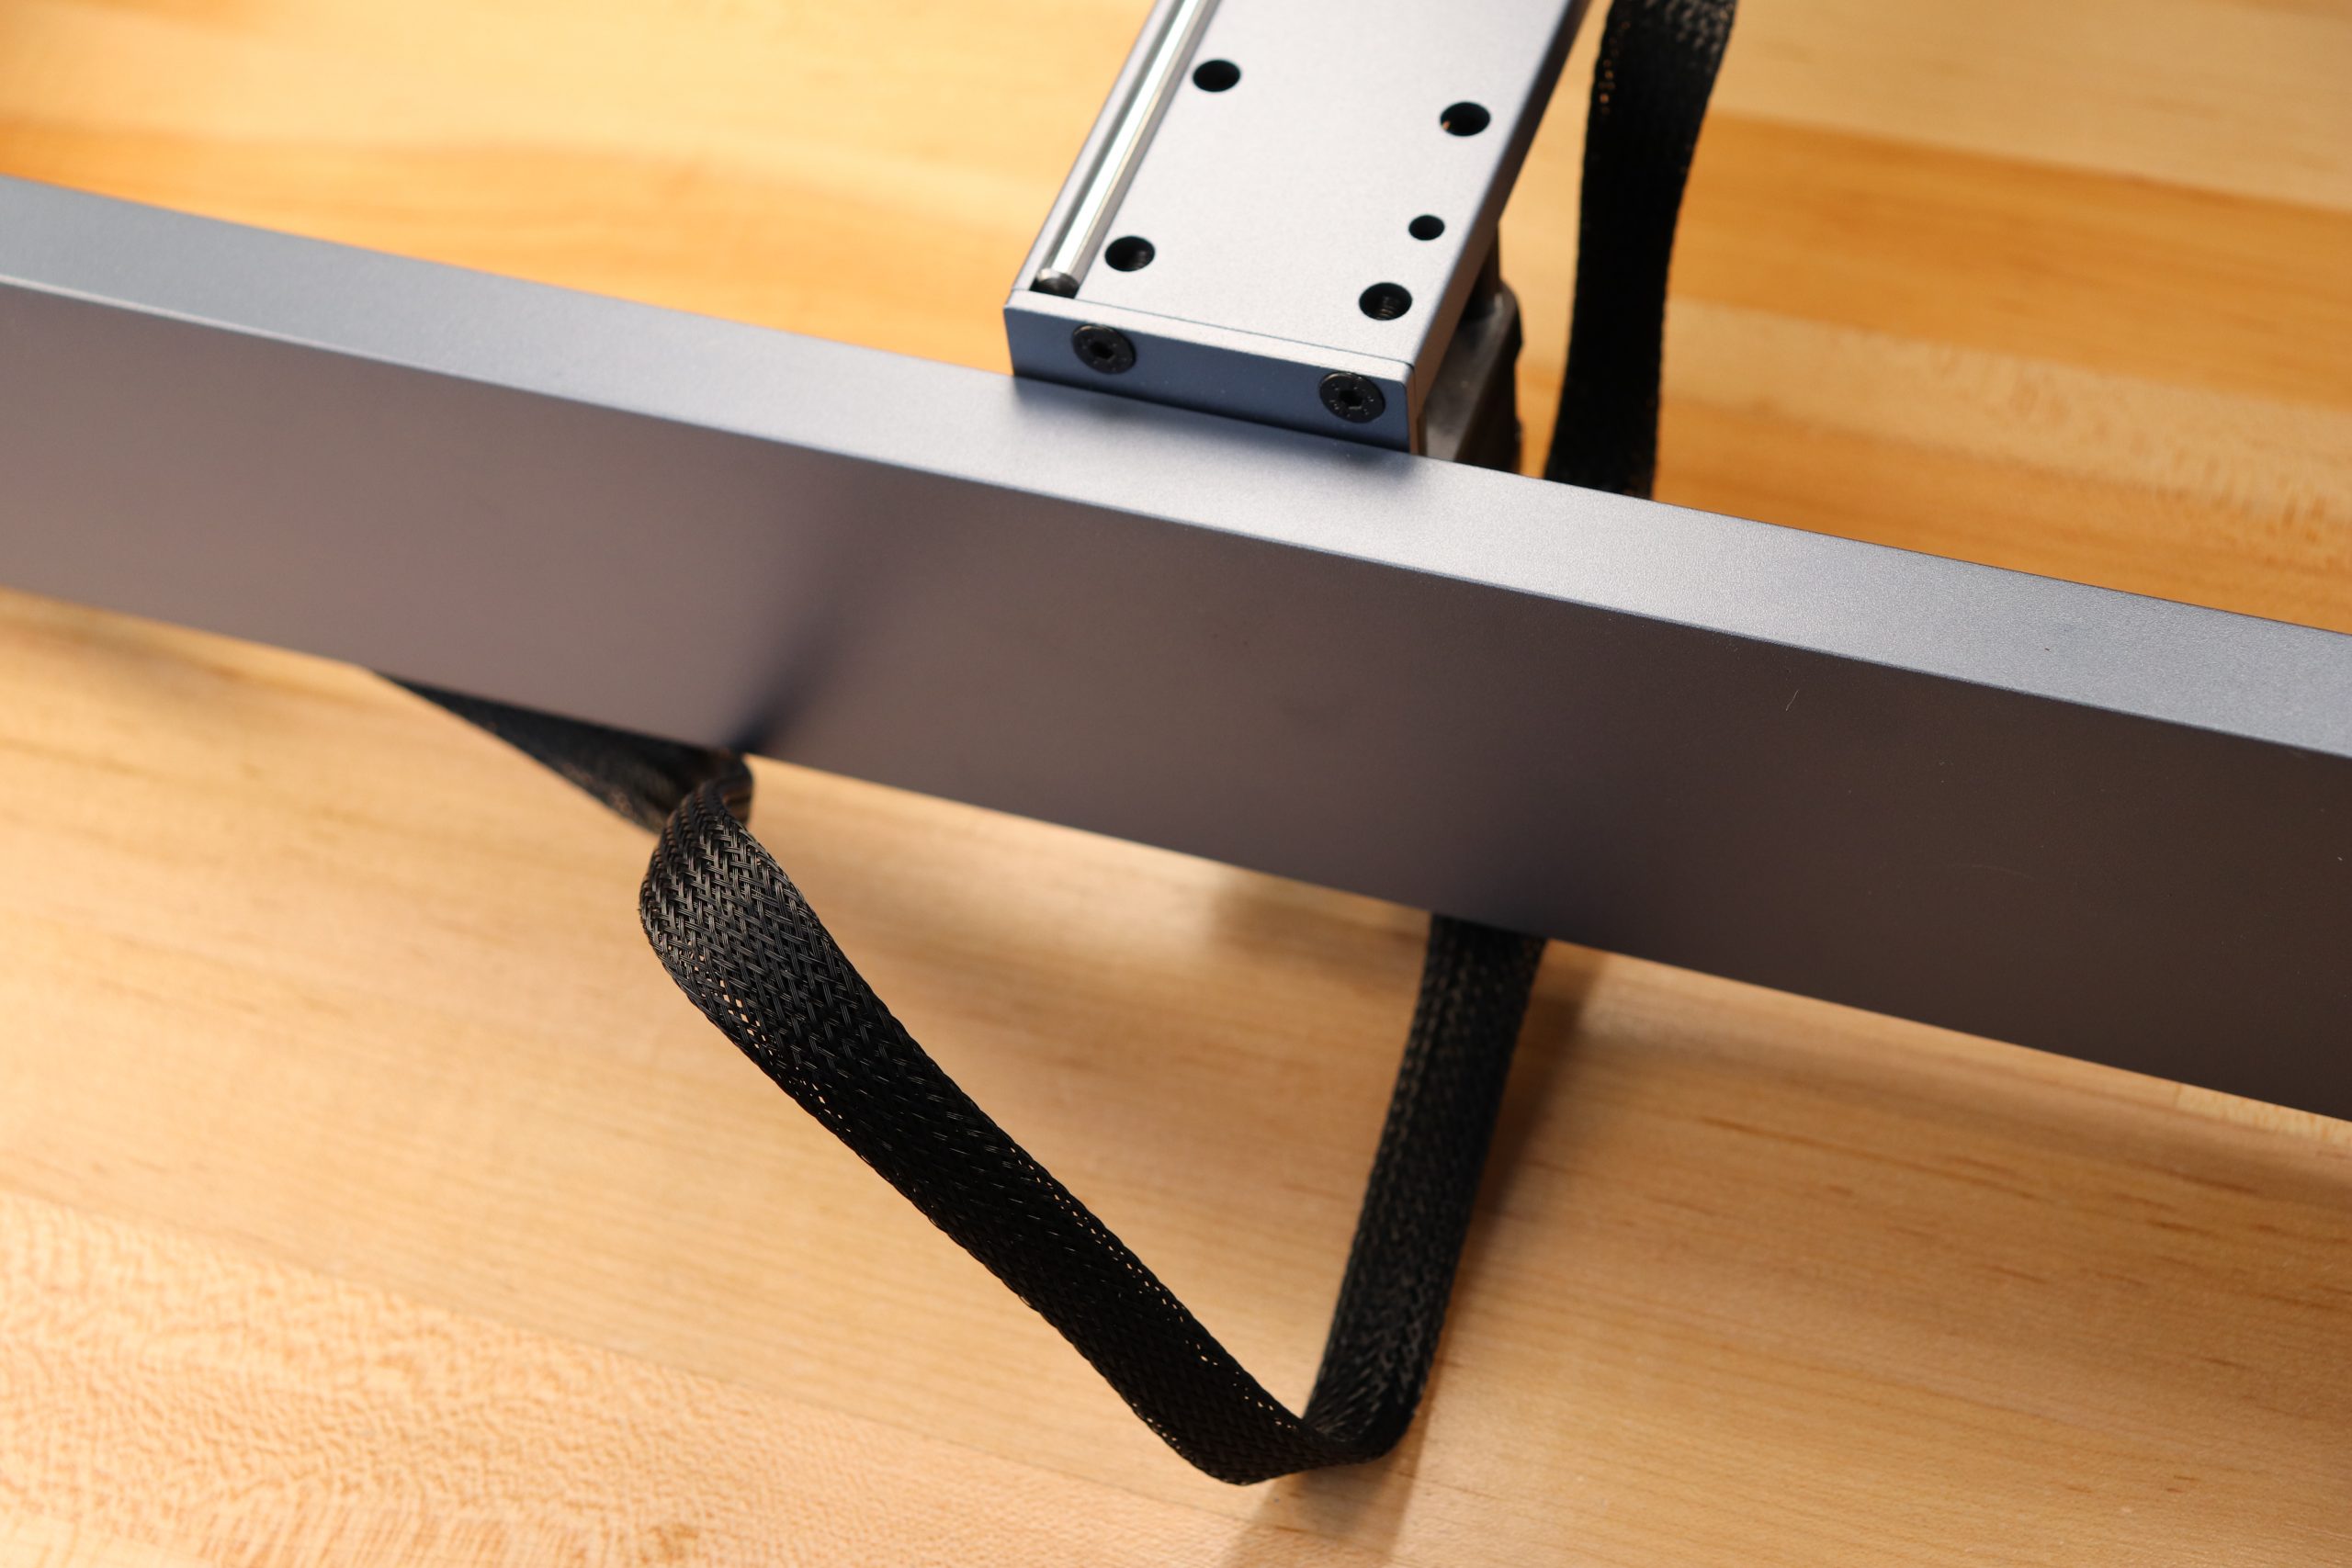
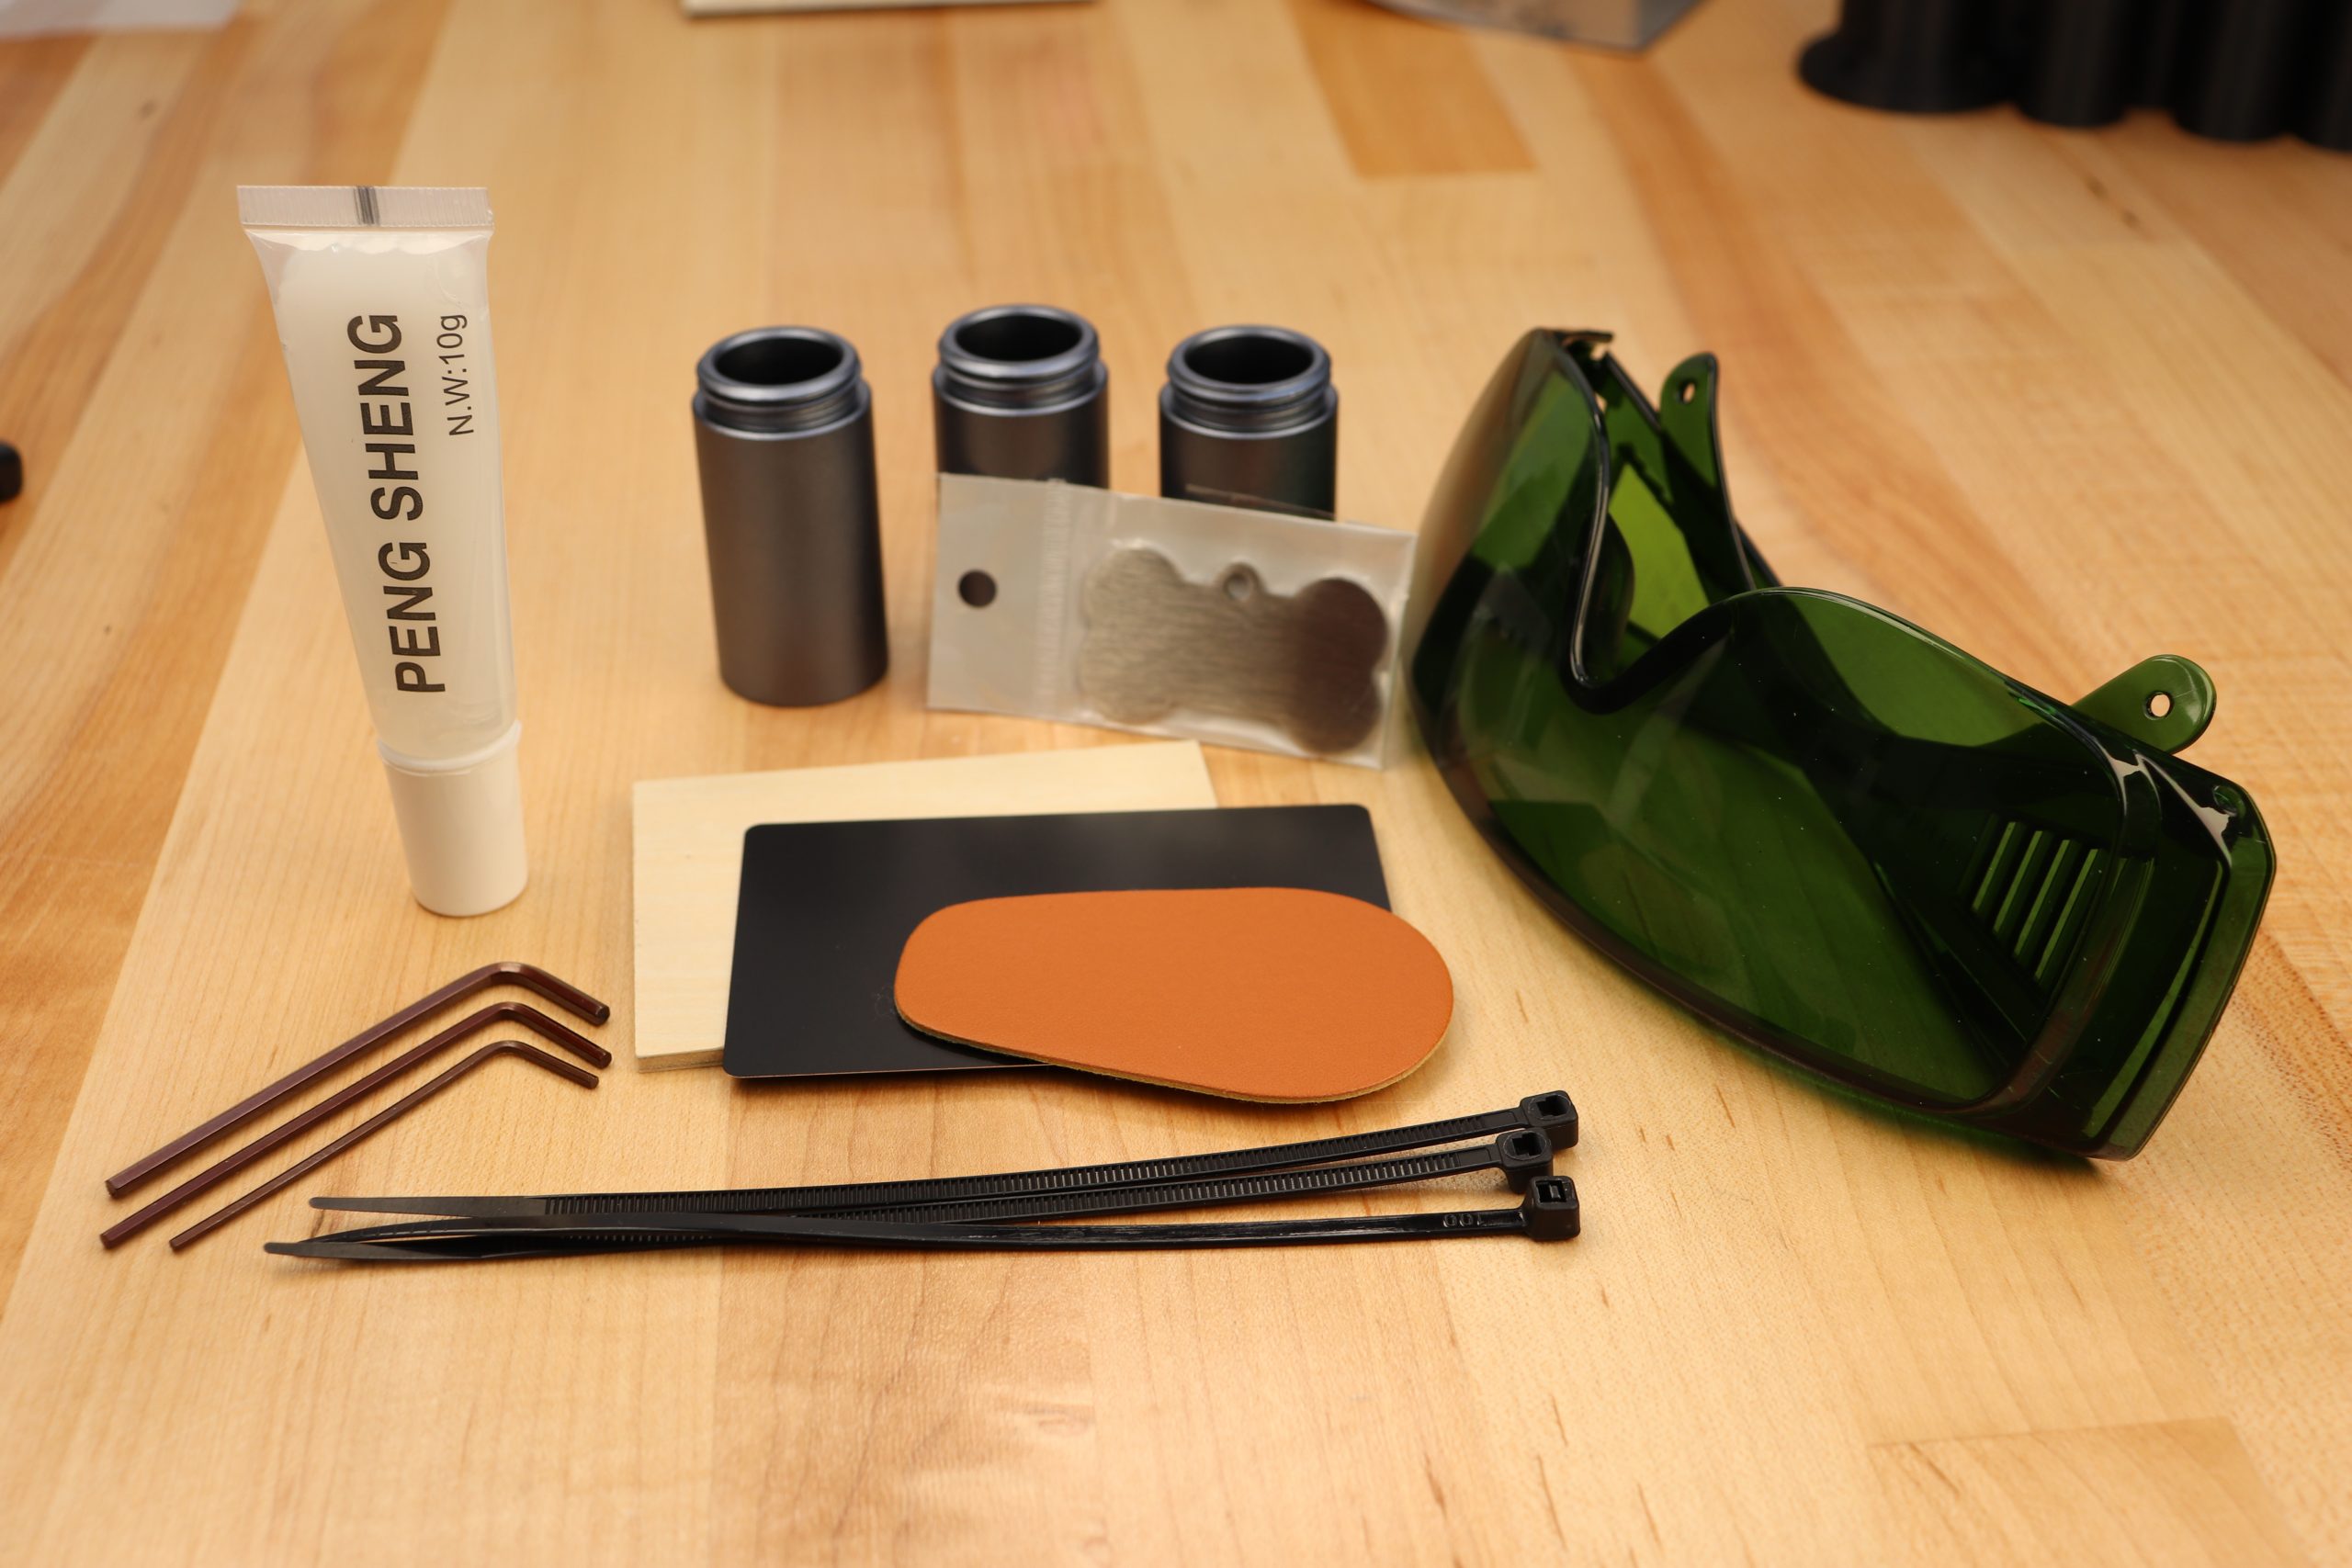
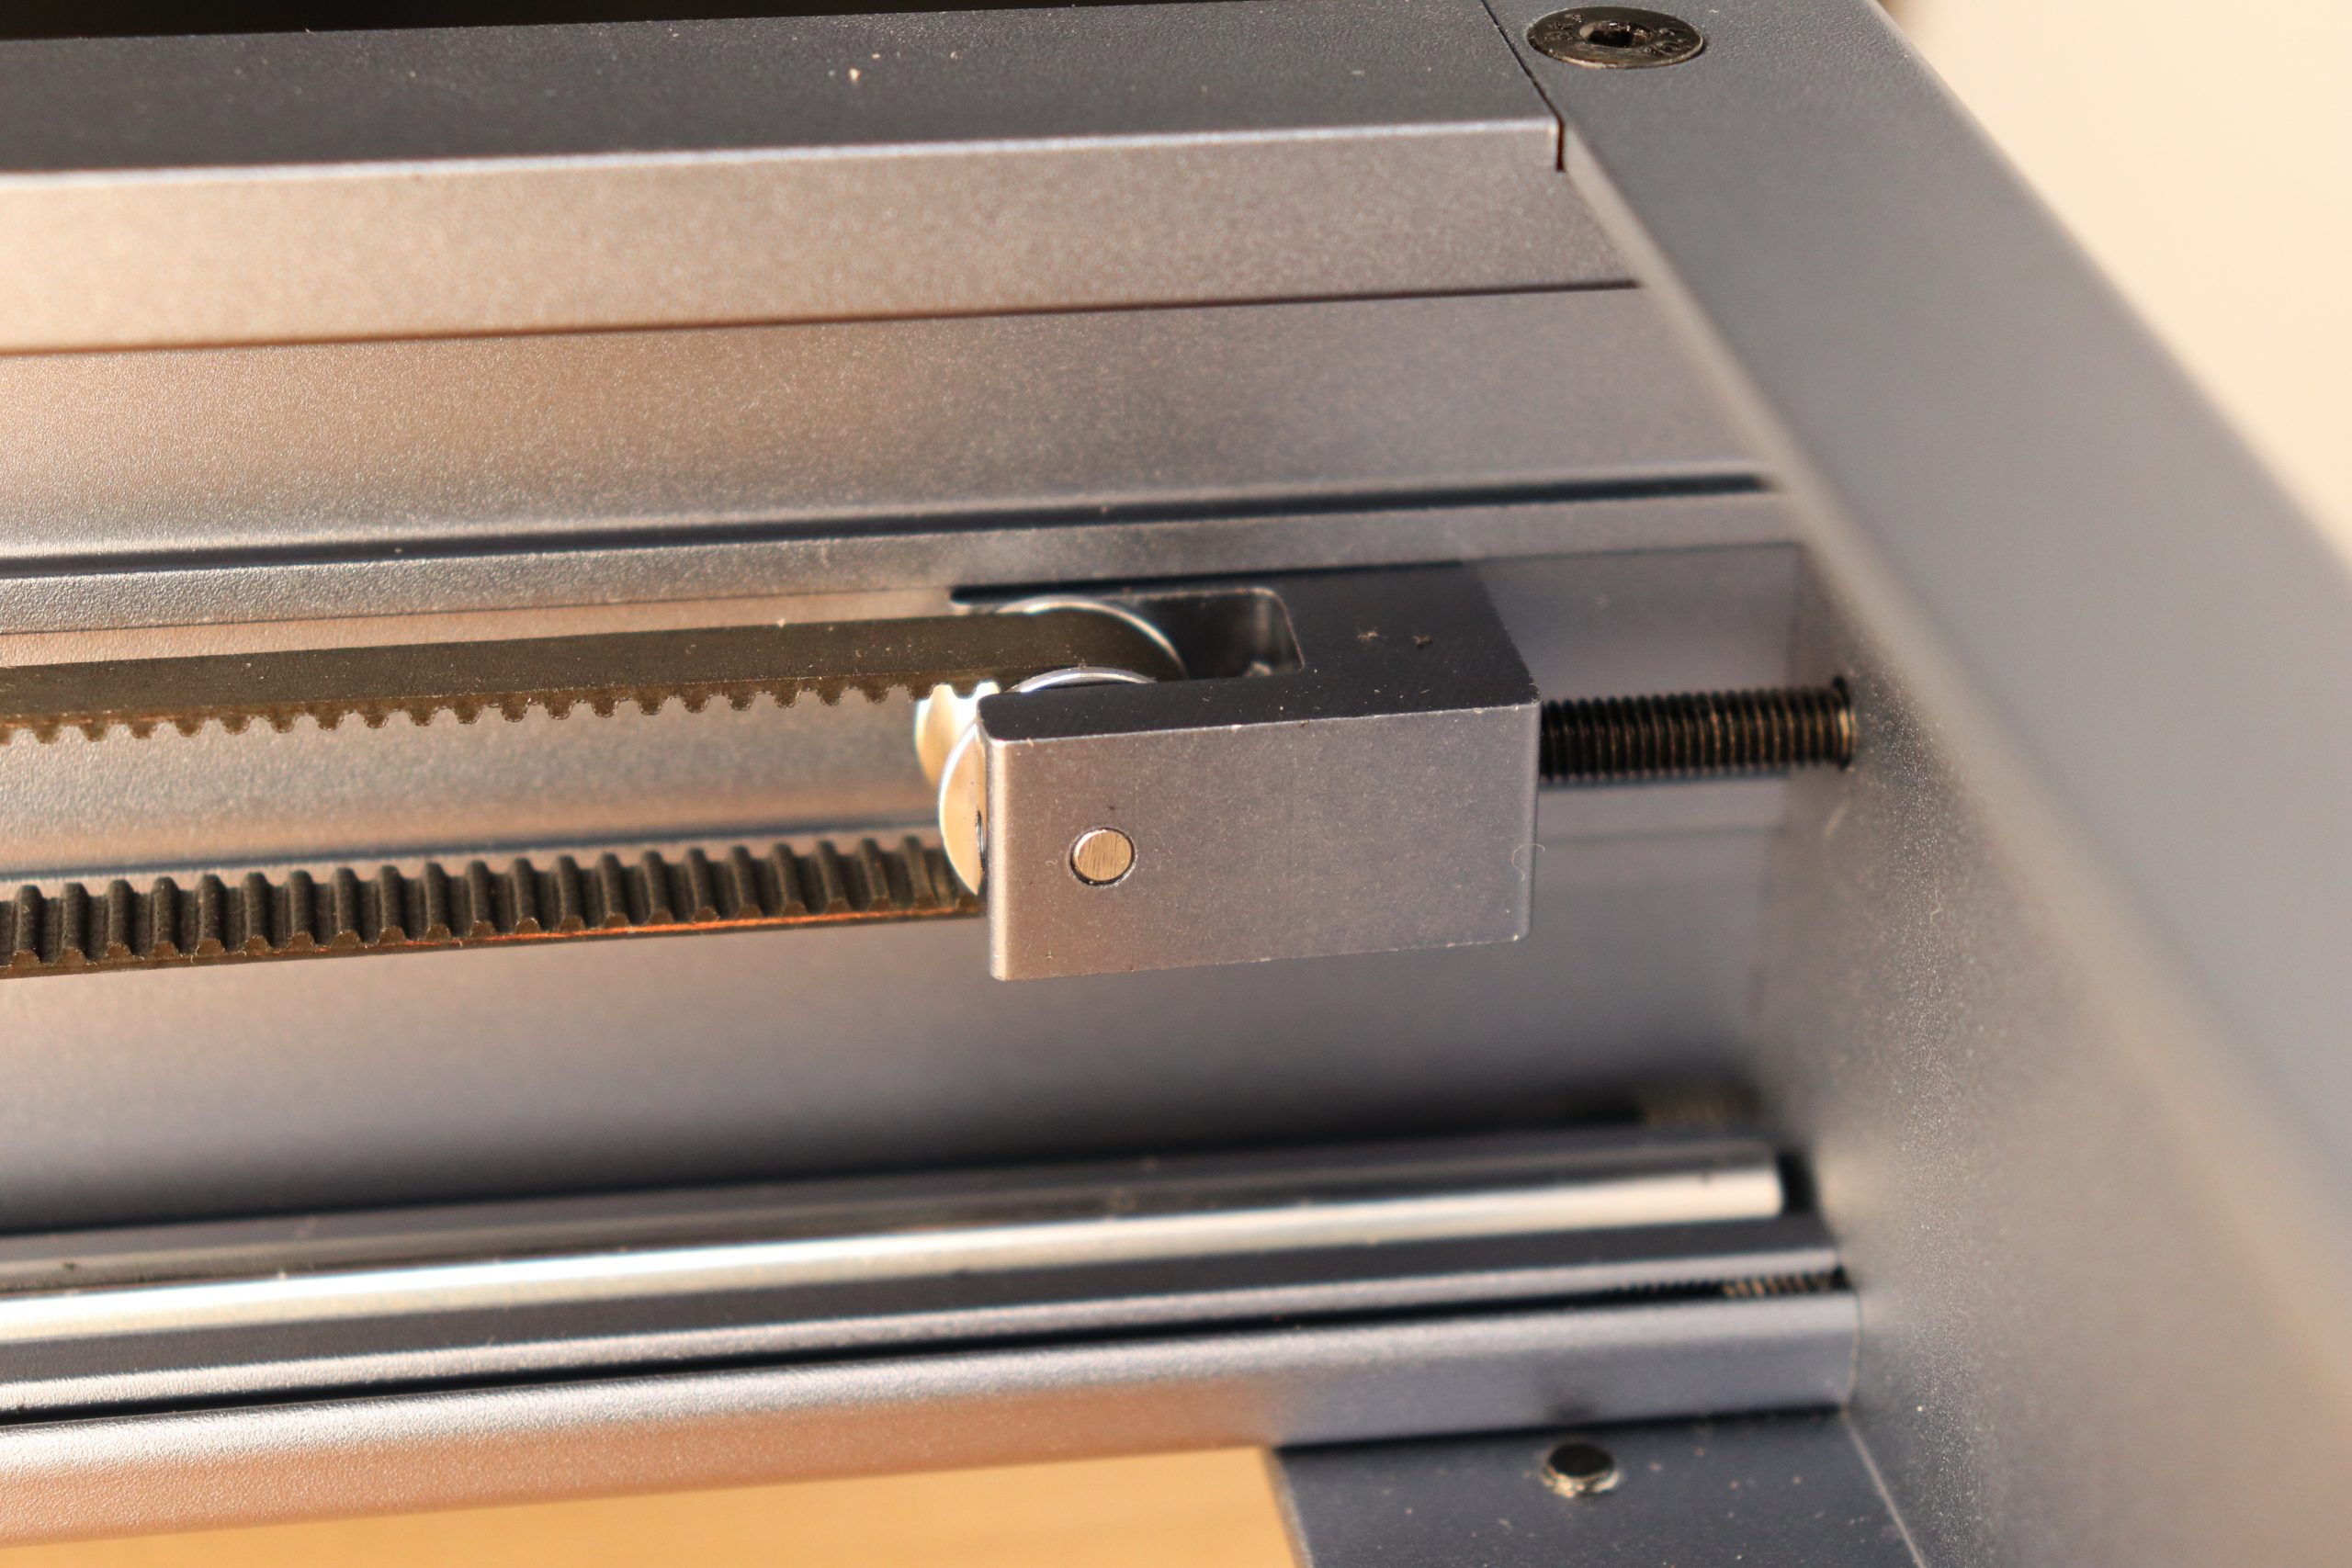
Assembly was a straightforward, with all the needed tools being included. The manual had all the instructions I needed to assemble without me having to look it up on the Internet which was nice. It took me about 25 minutes to assembled the unit. The way the xTool D1 goes together it squares the frame by itself. The assembly guide is very easy to follow. The only parts that cause a slowdown of the assembly process were installing the cables to the controller and installing the shaft that connects the two Y axis sections together.
New features of the xTool D1
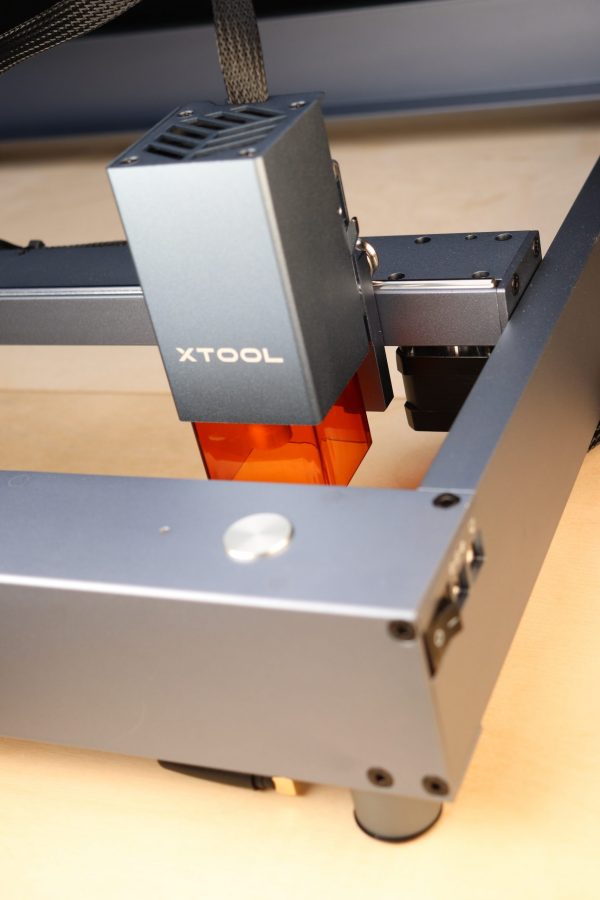
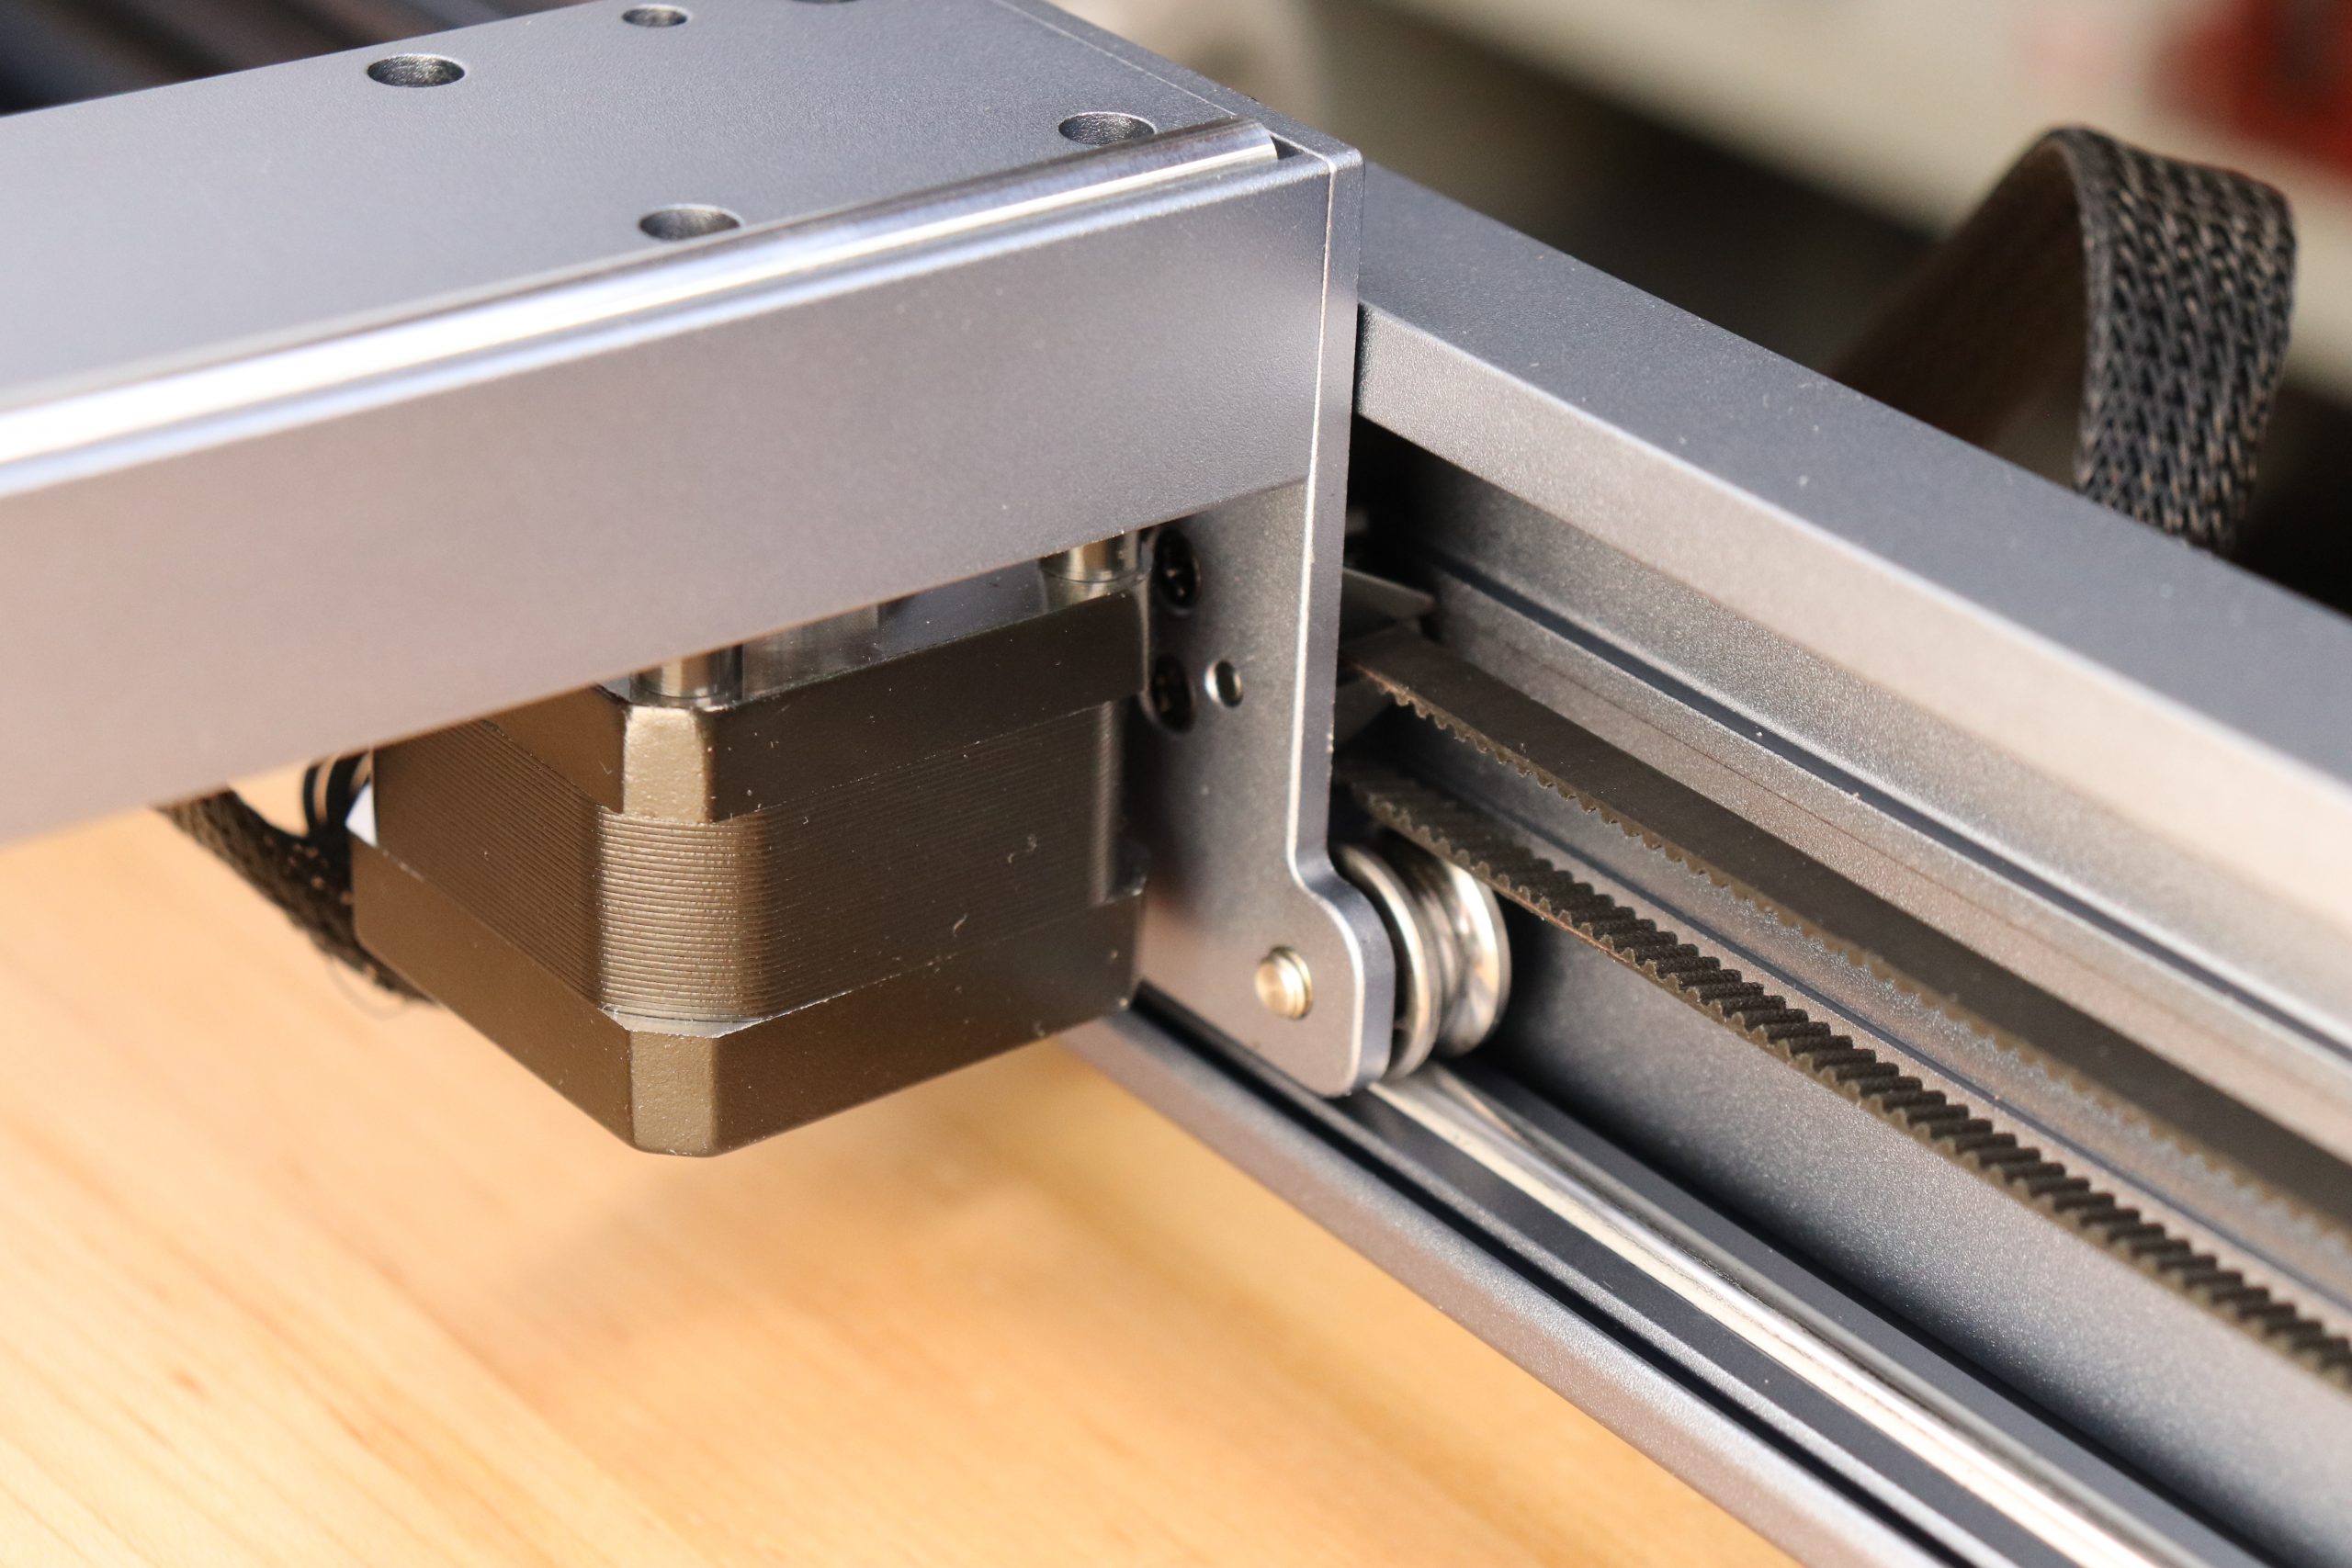
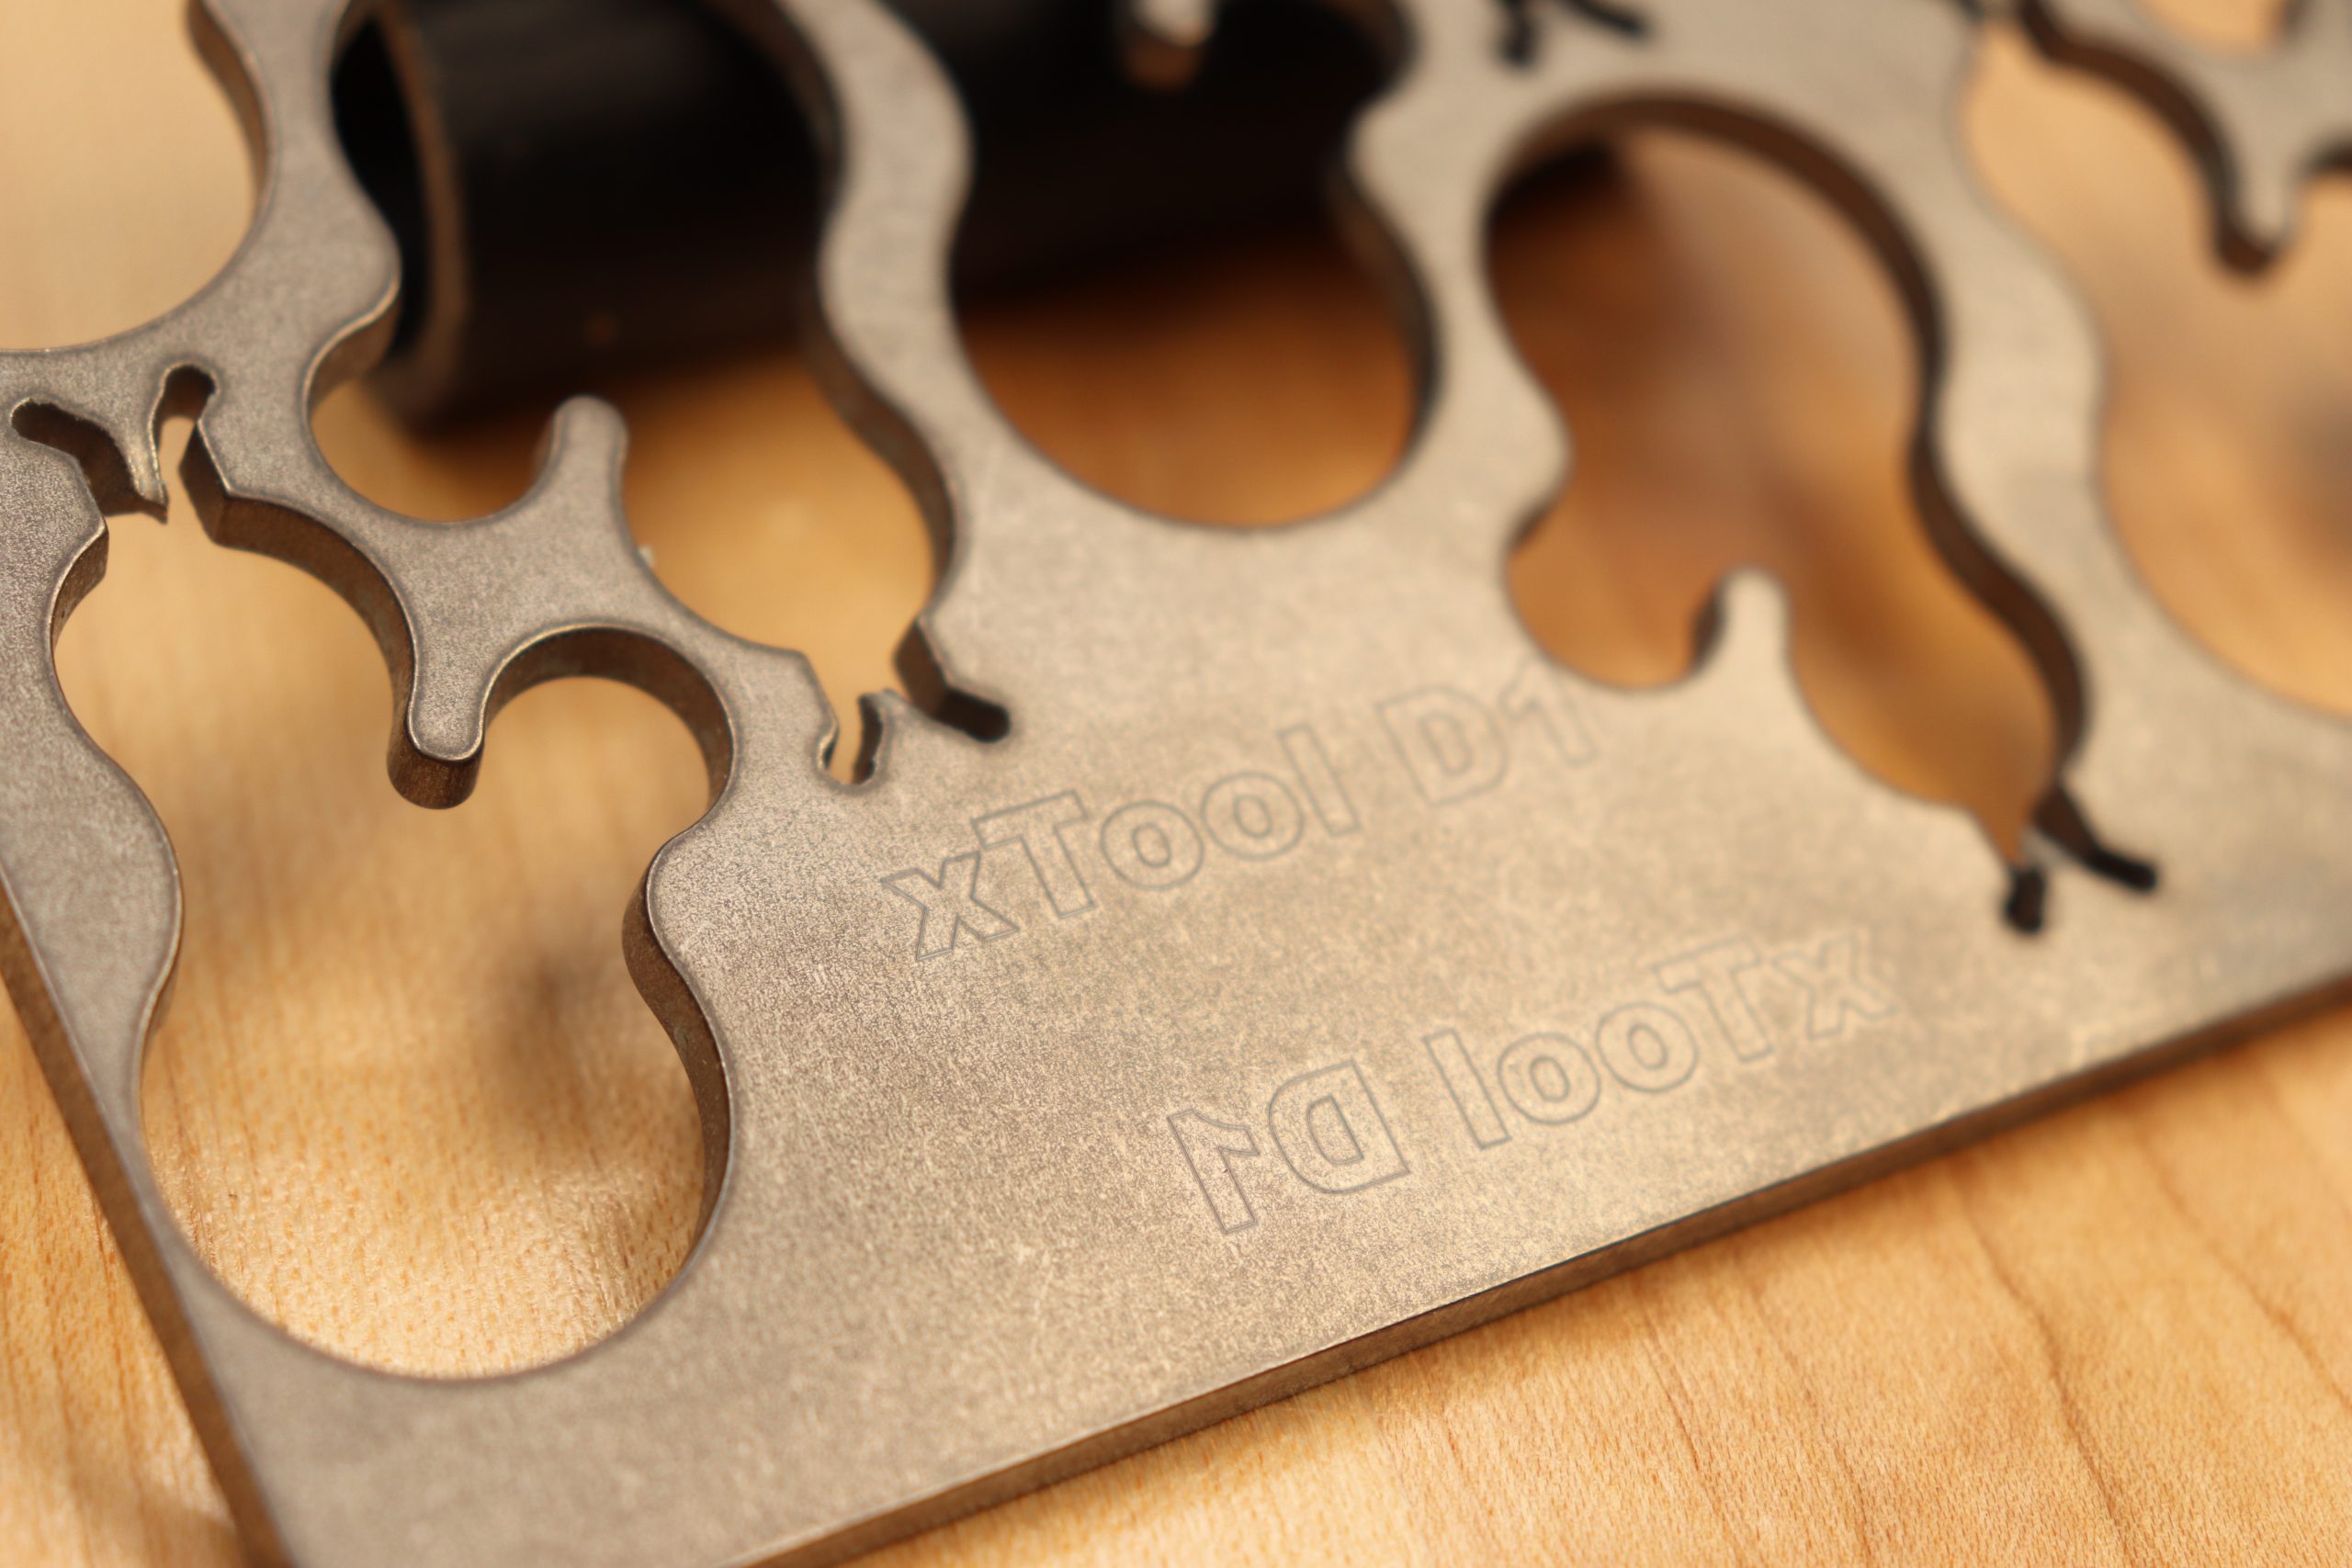
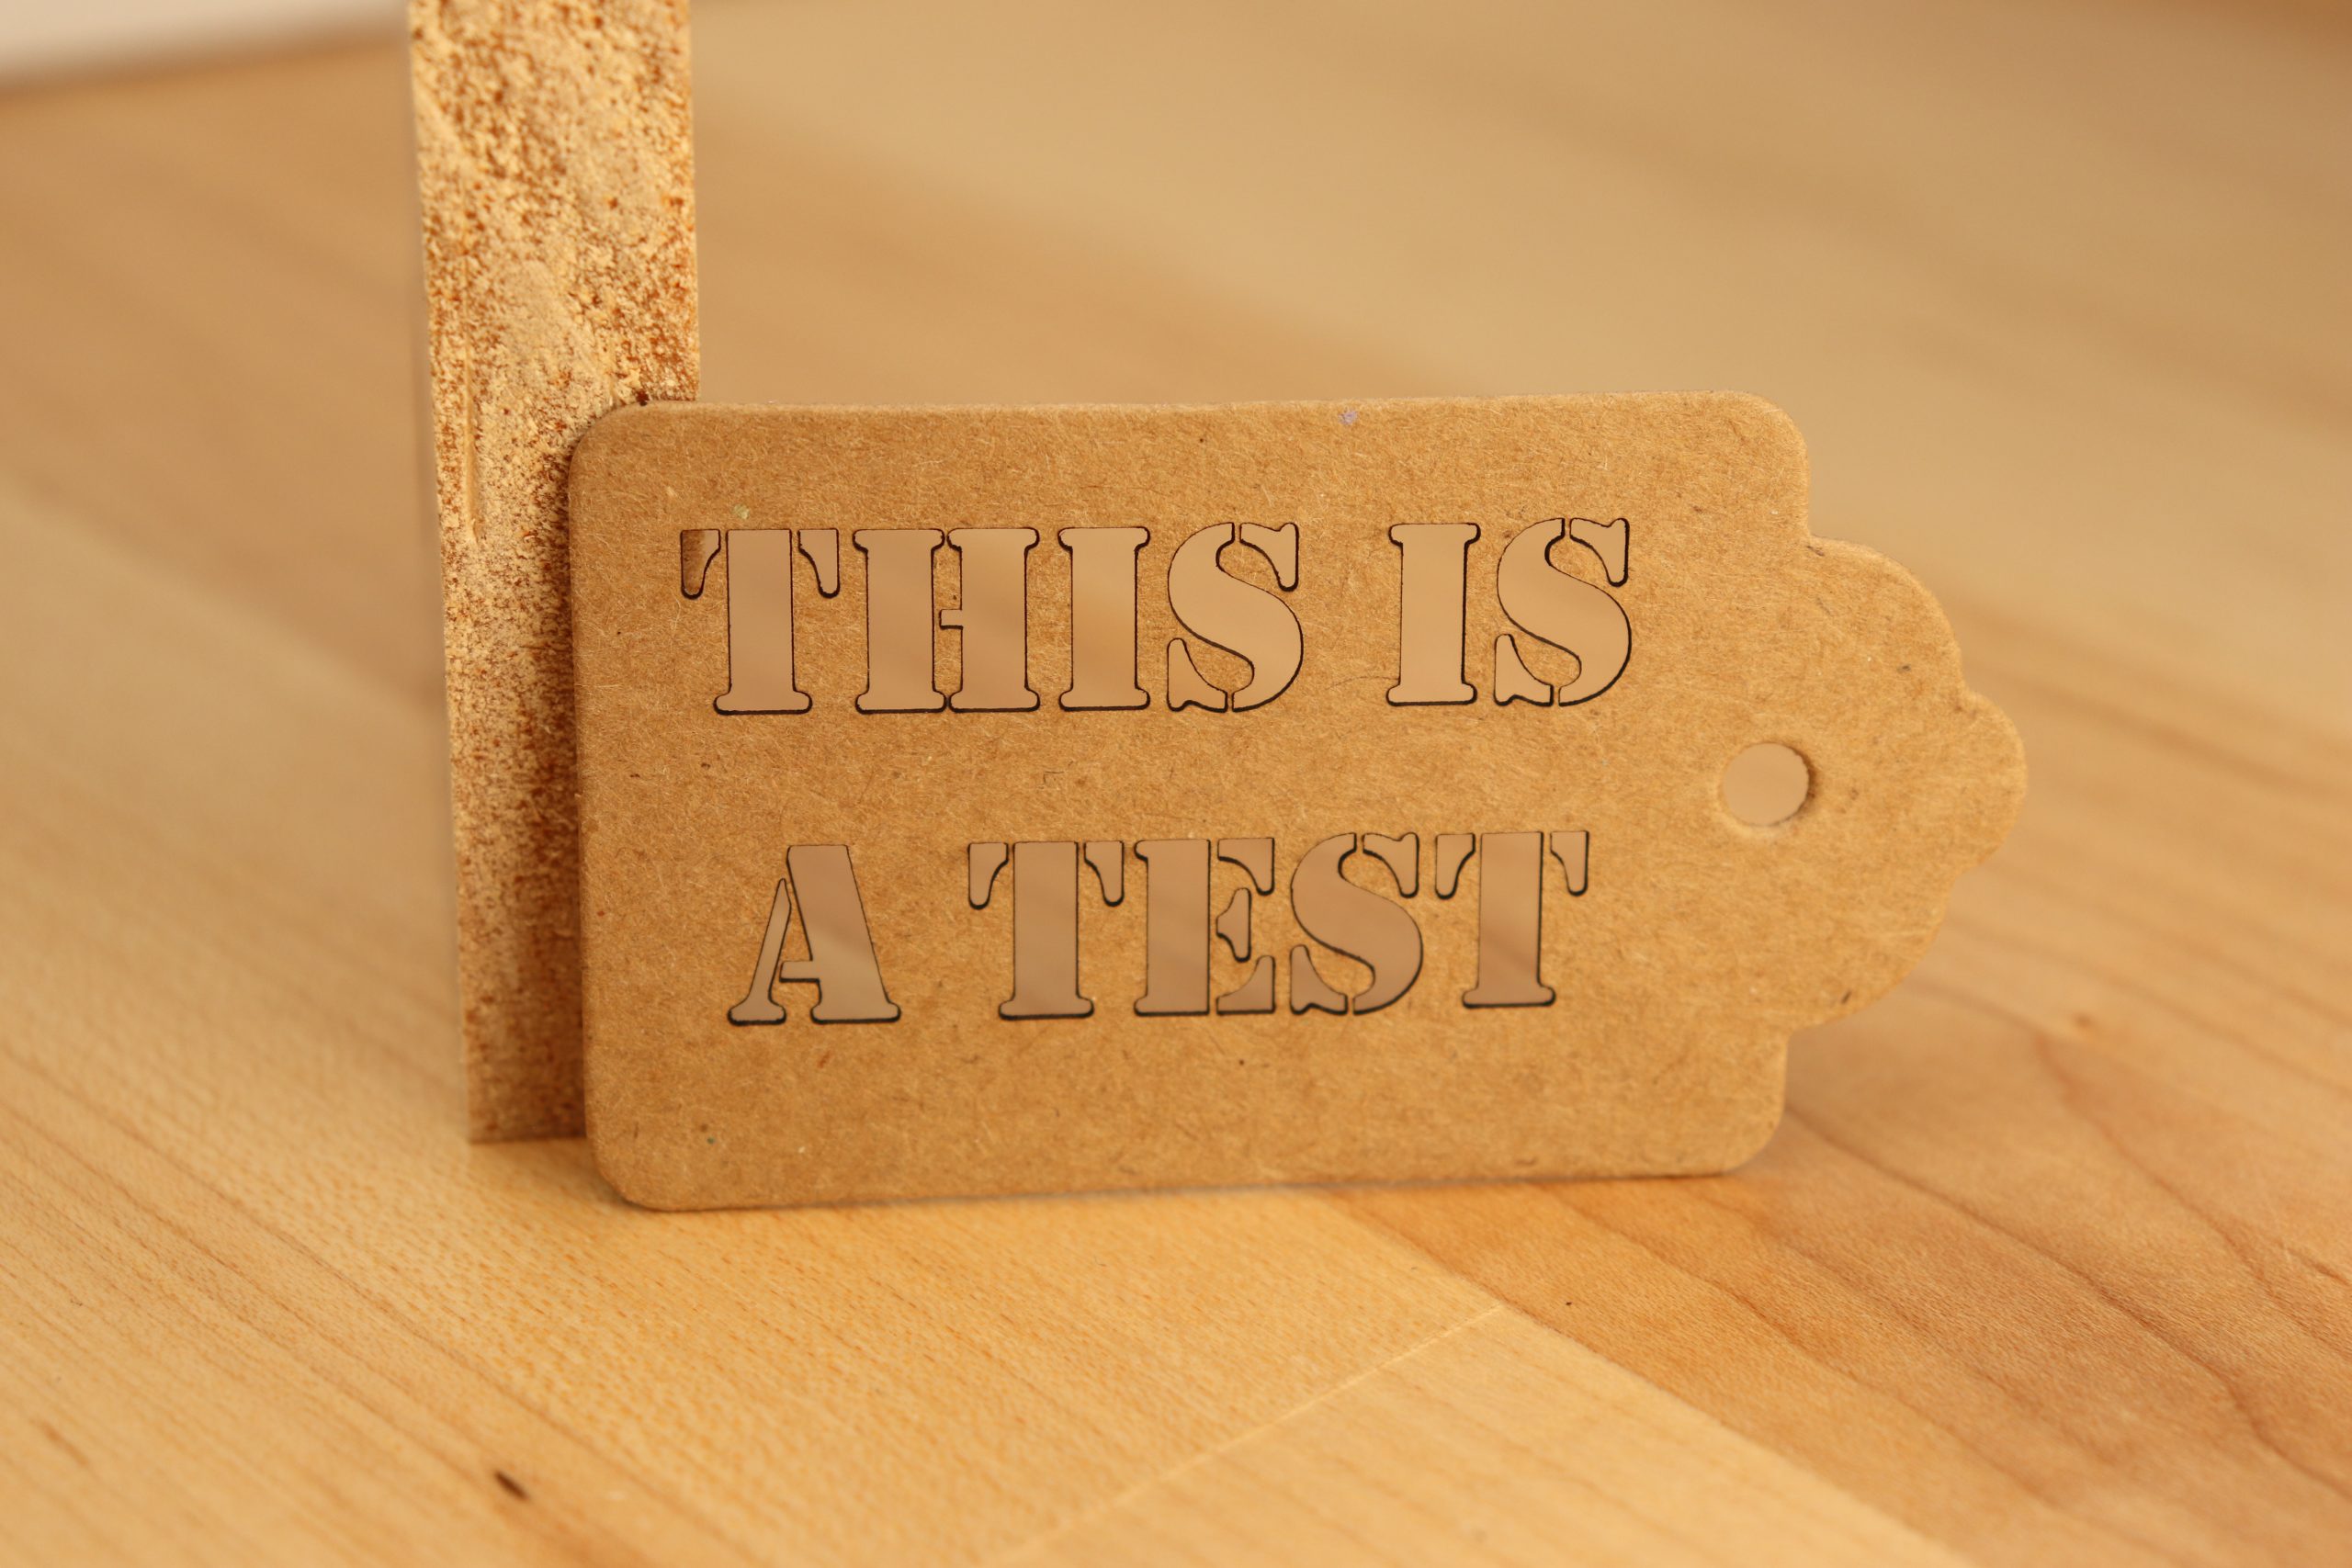
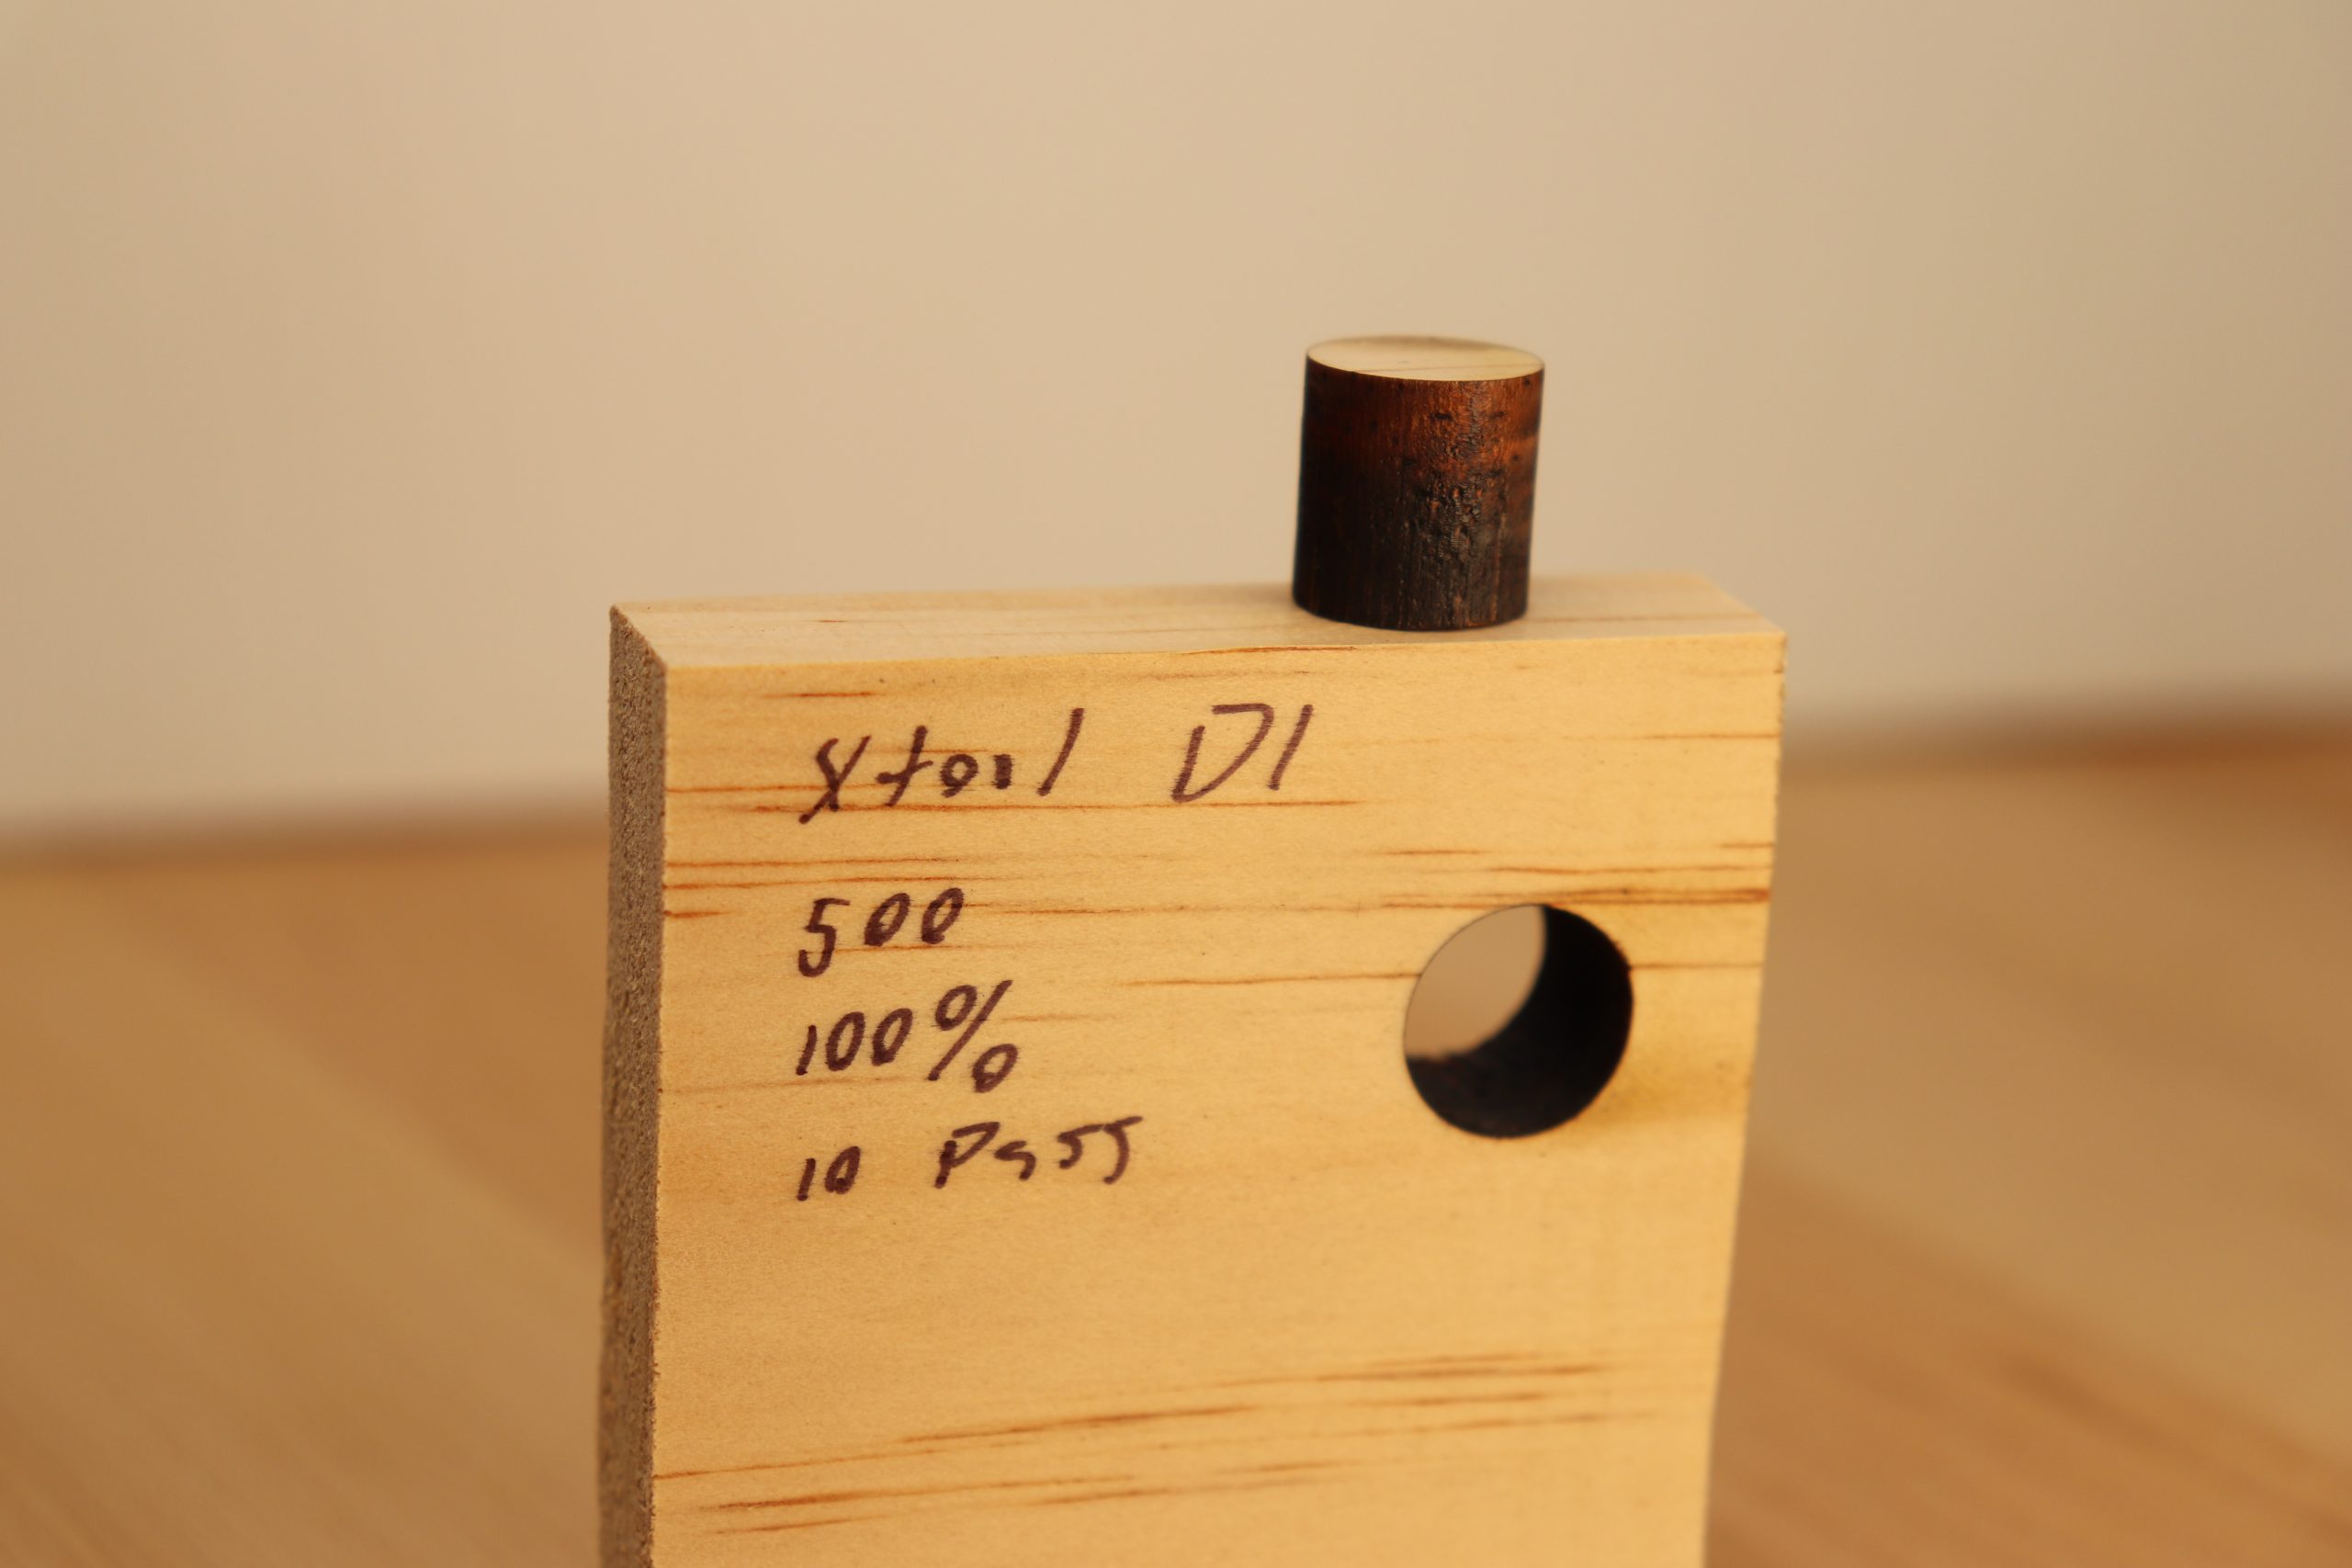
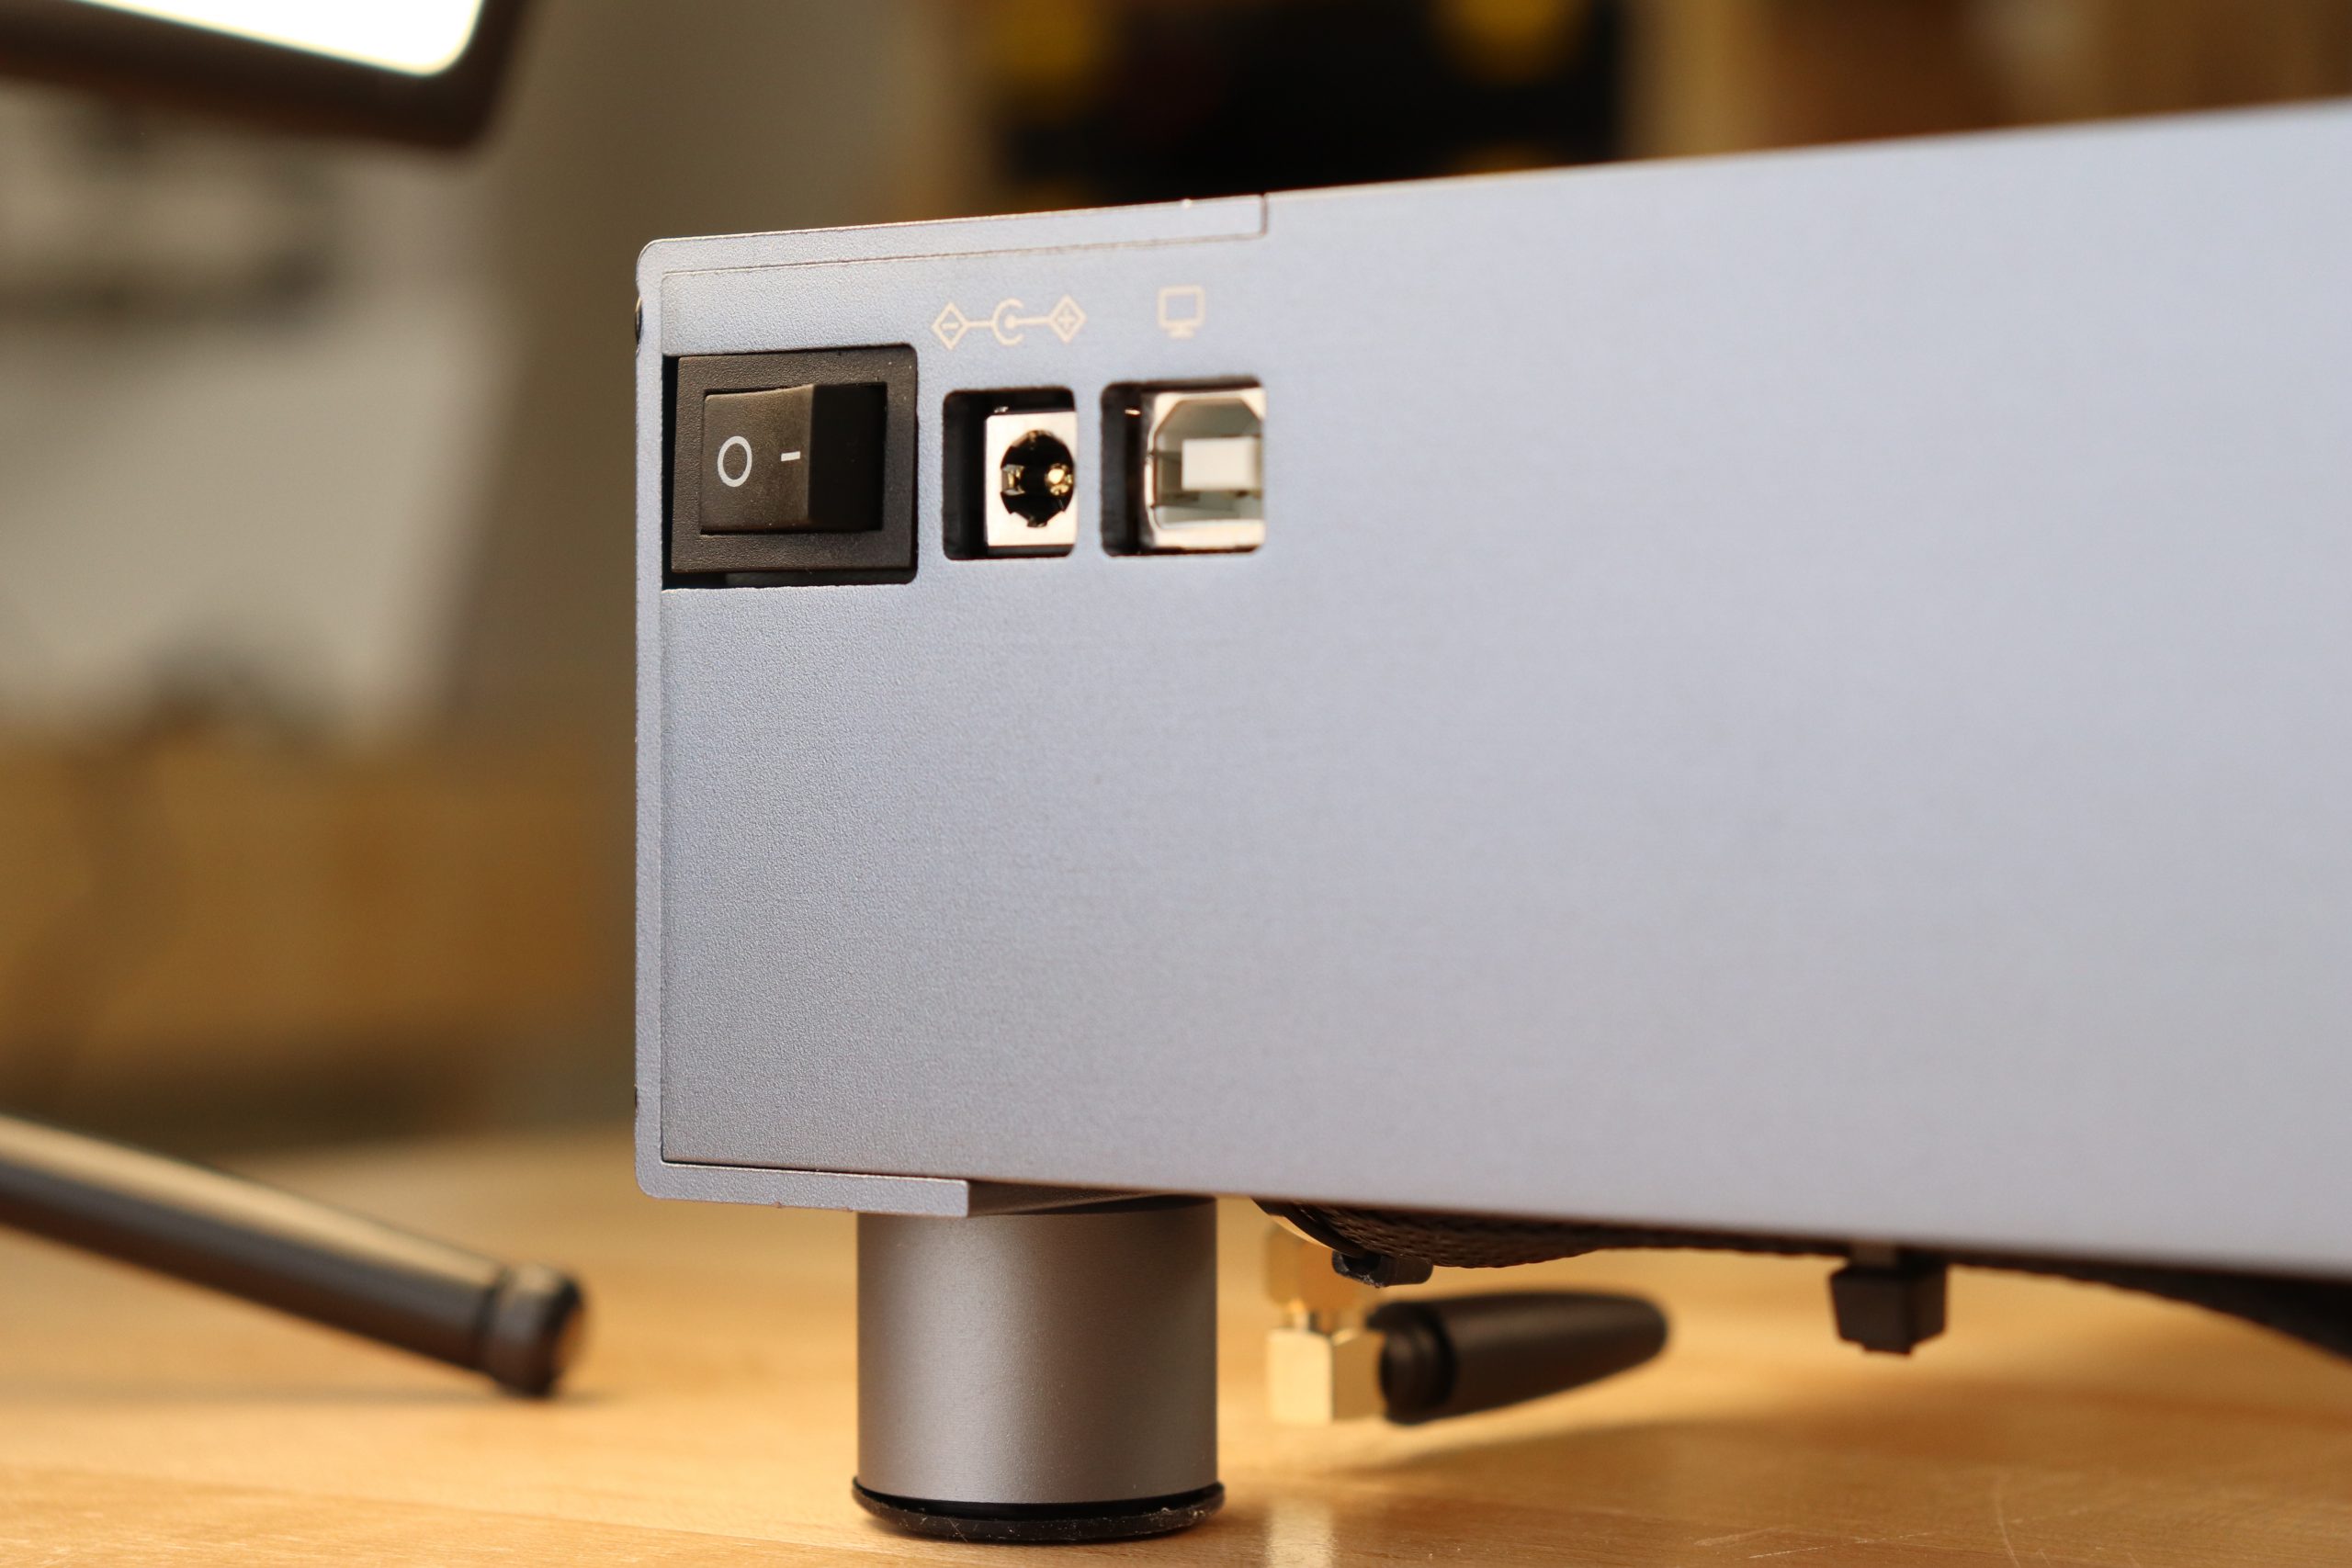
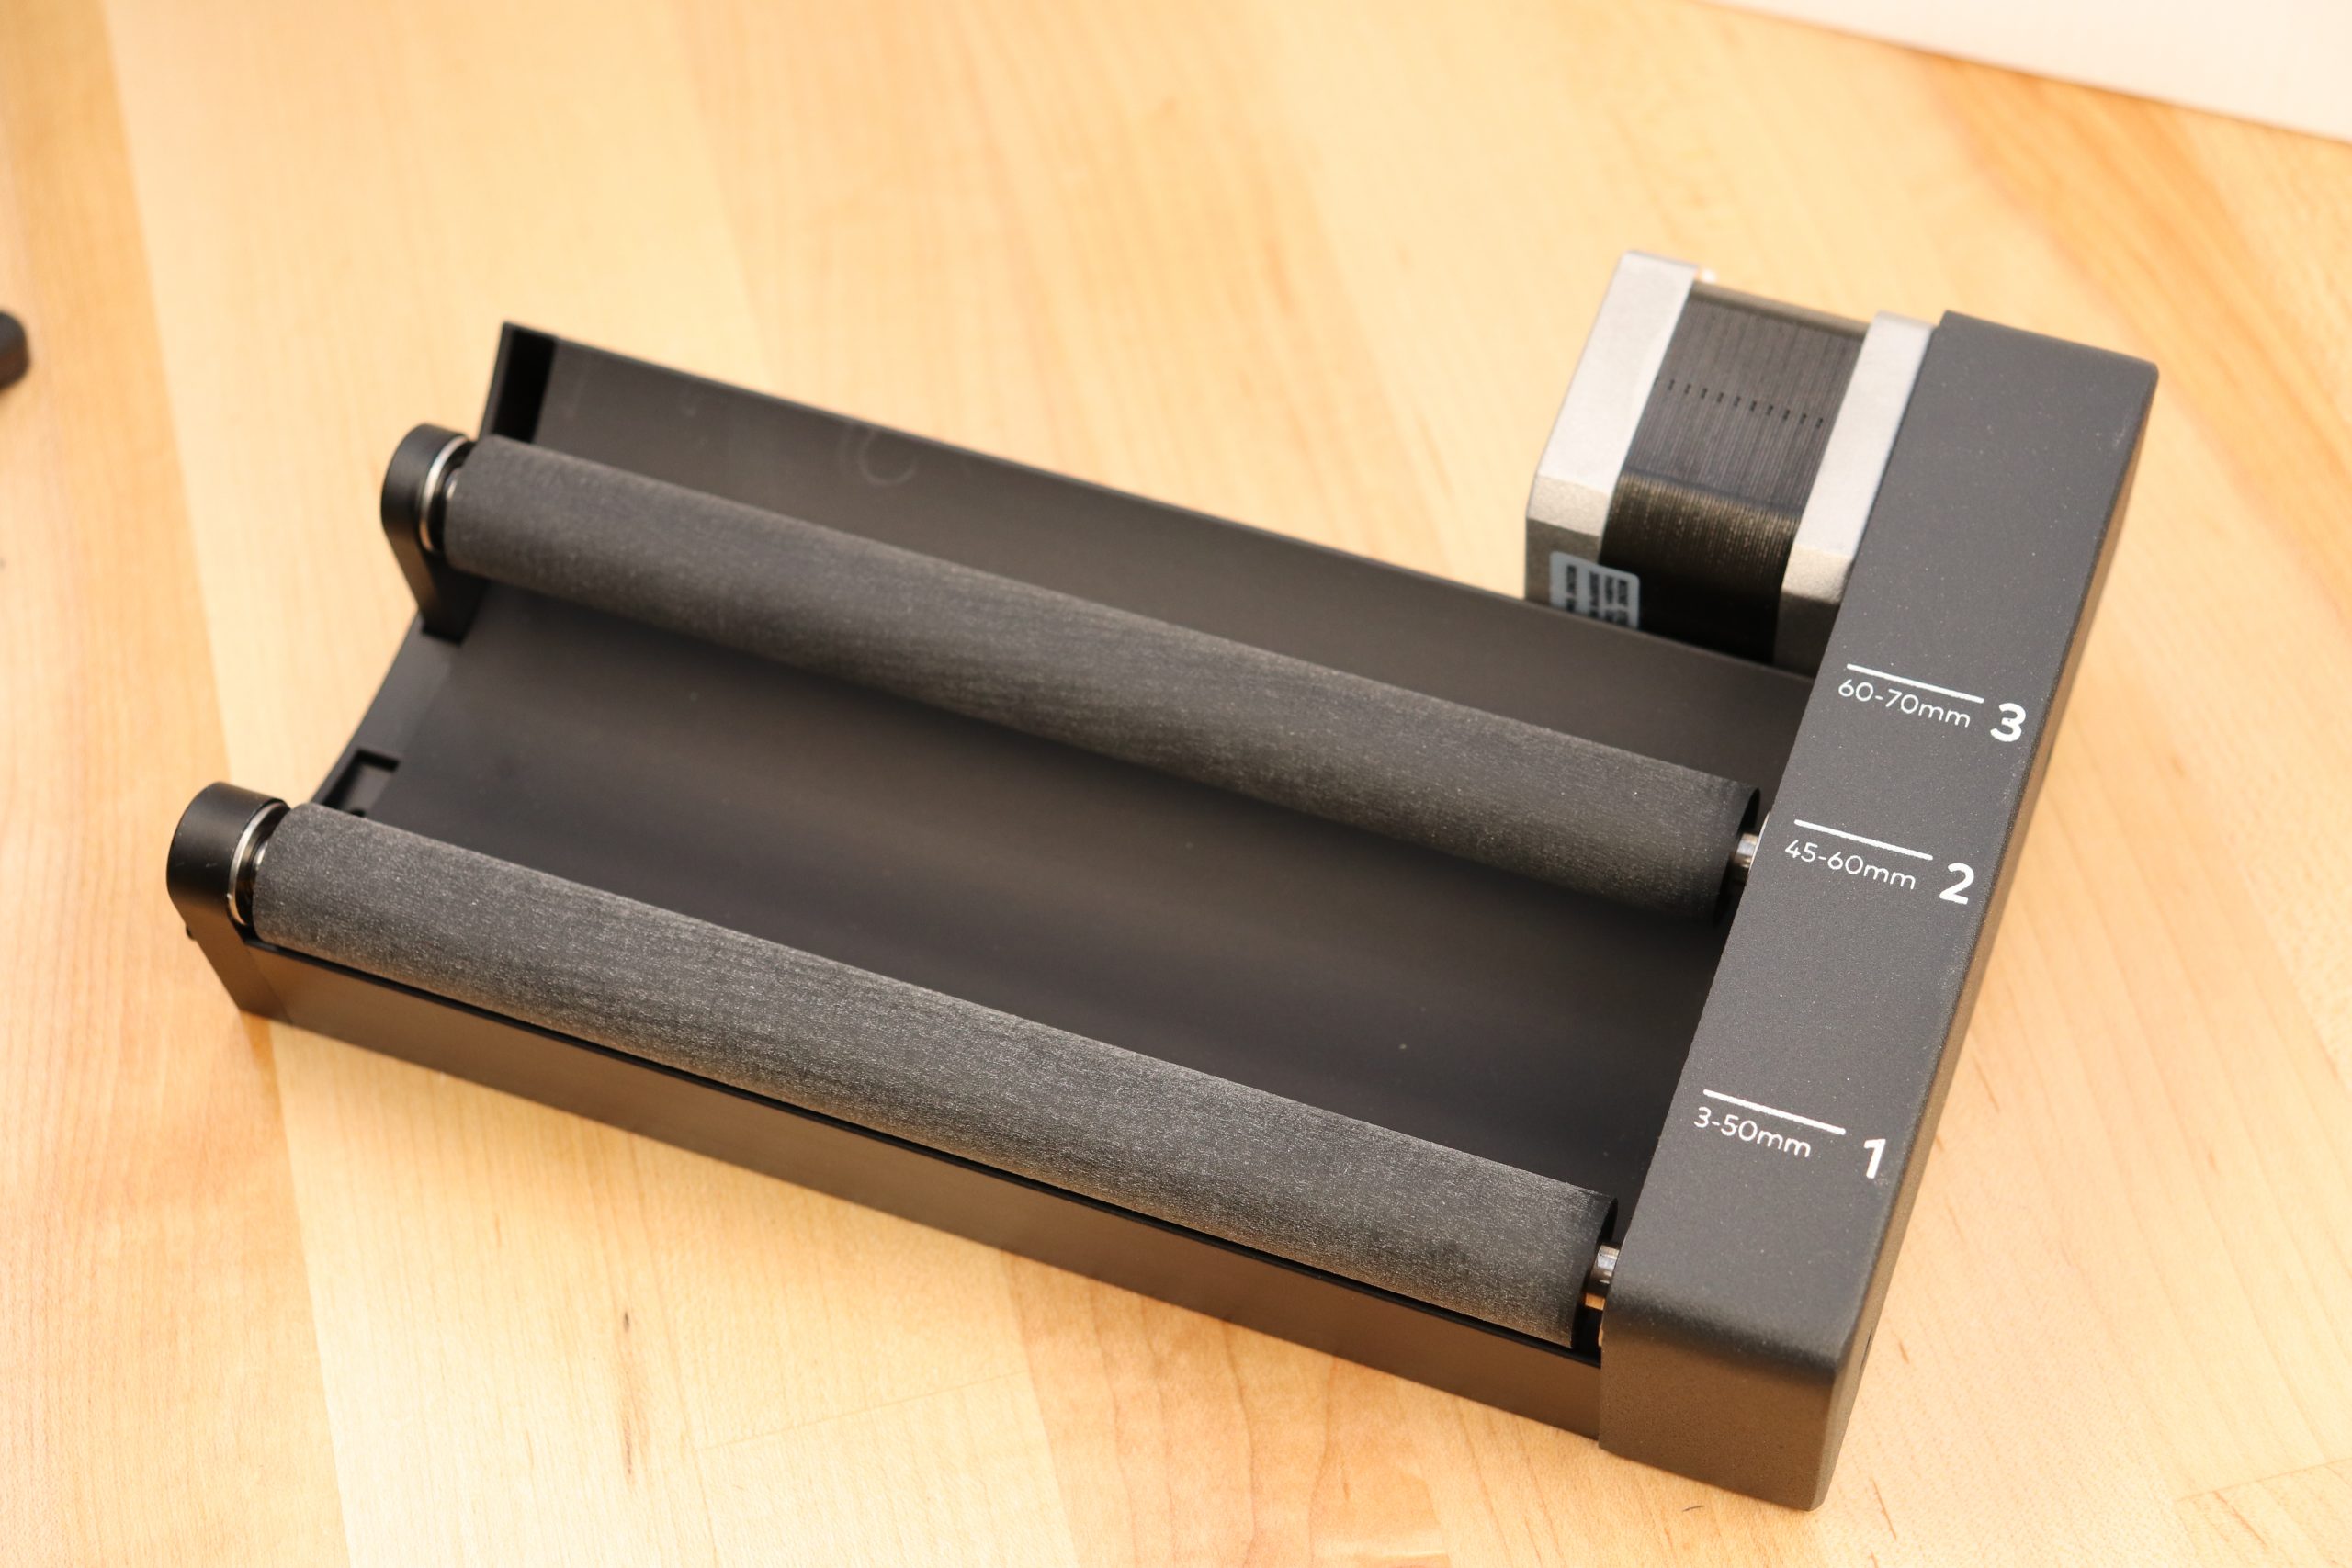
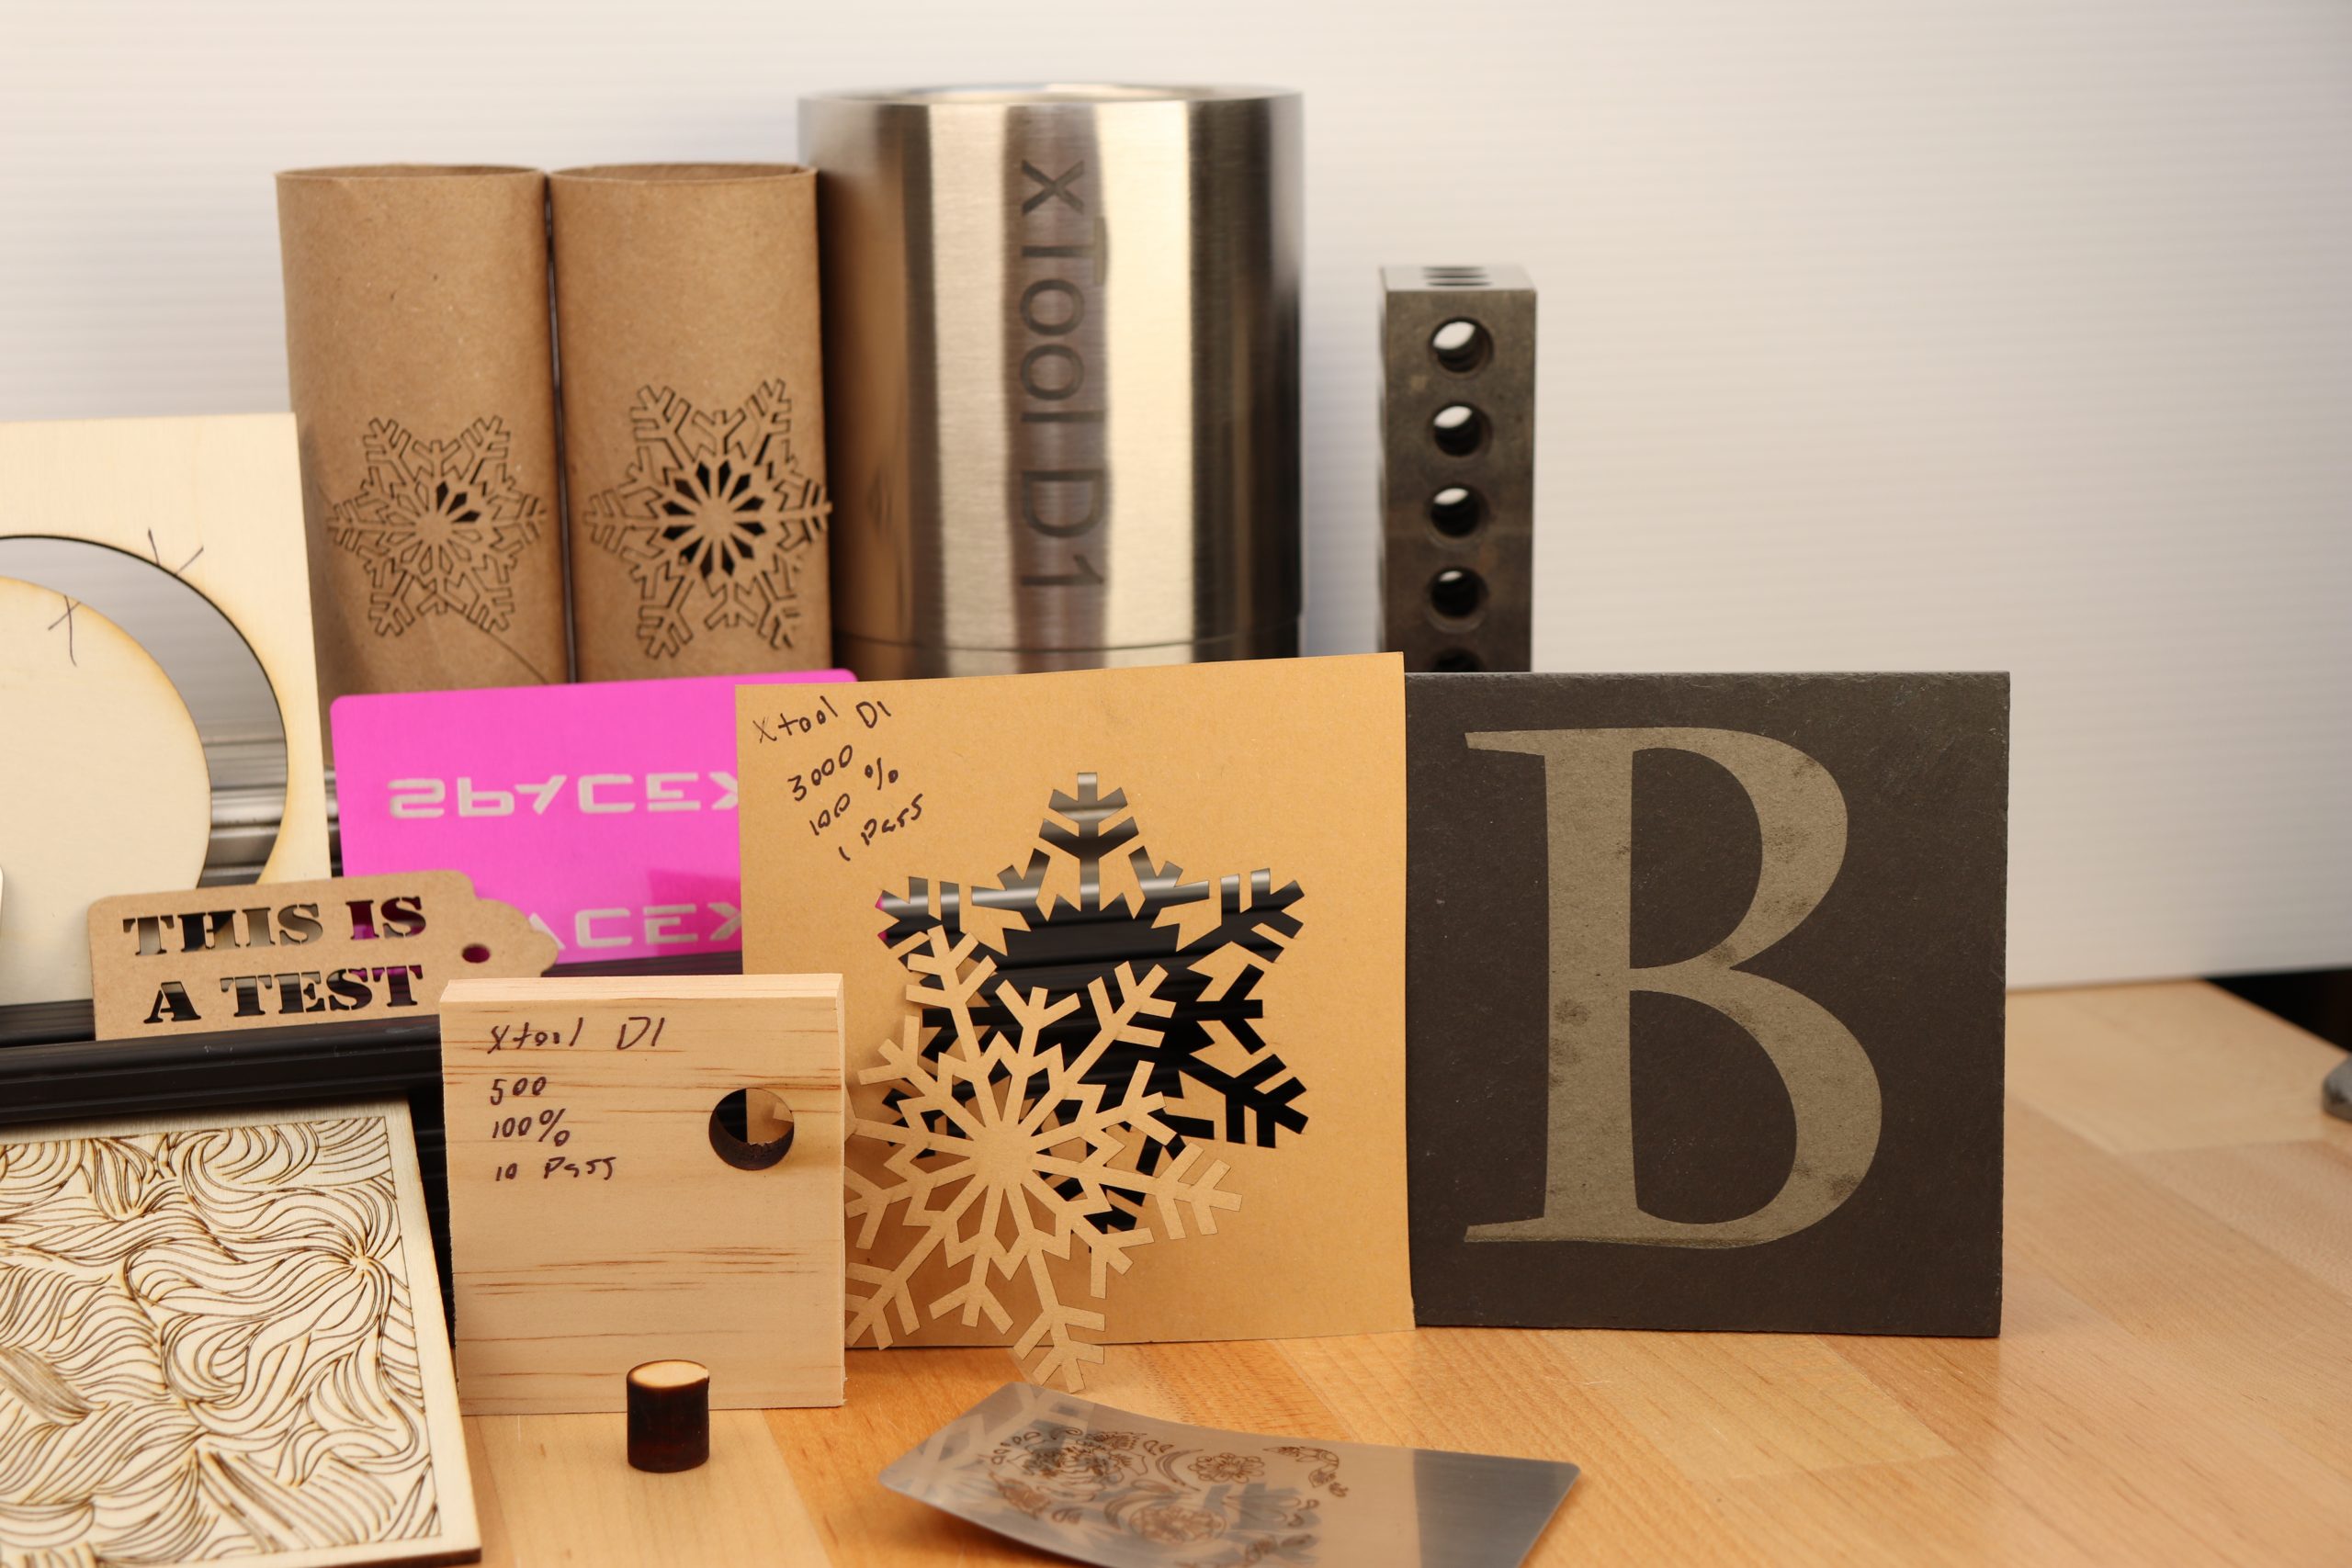
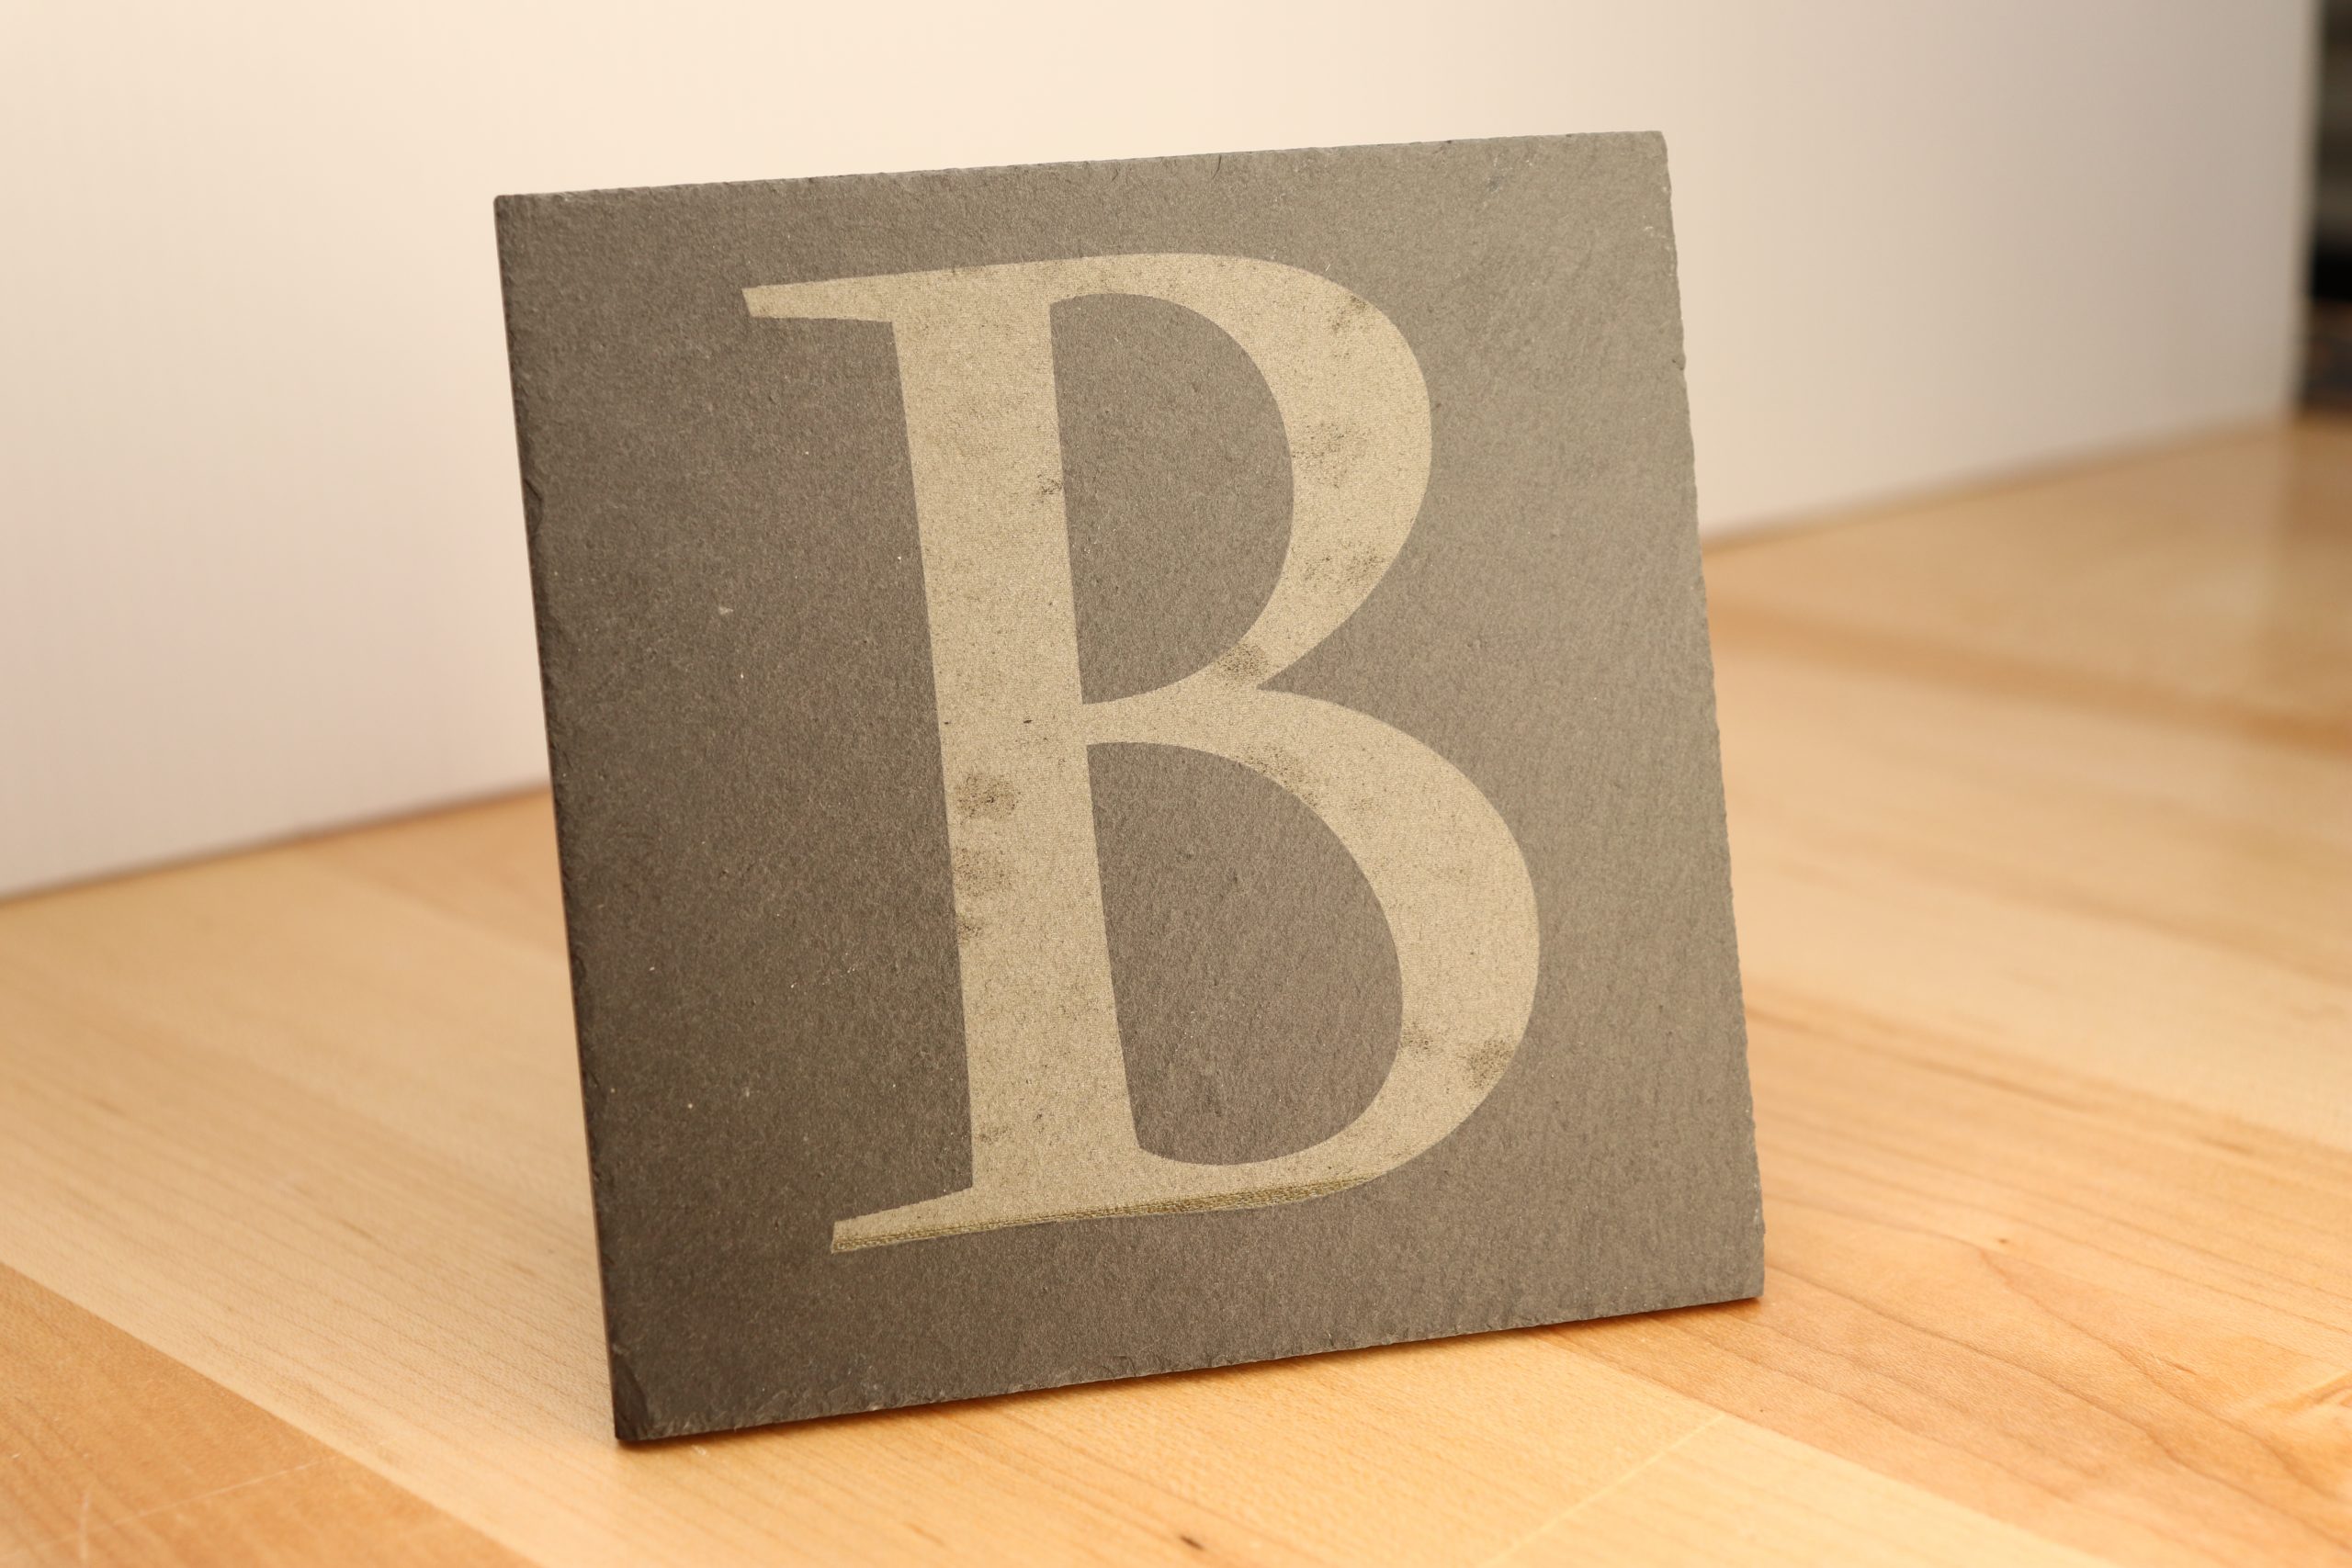
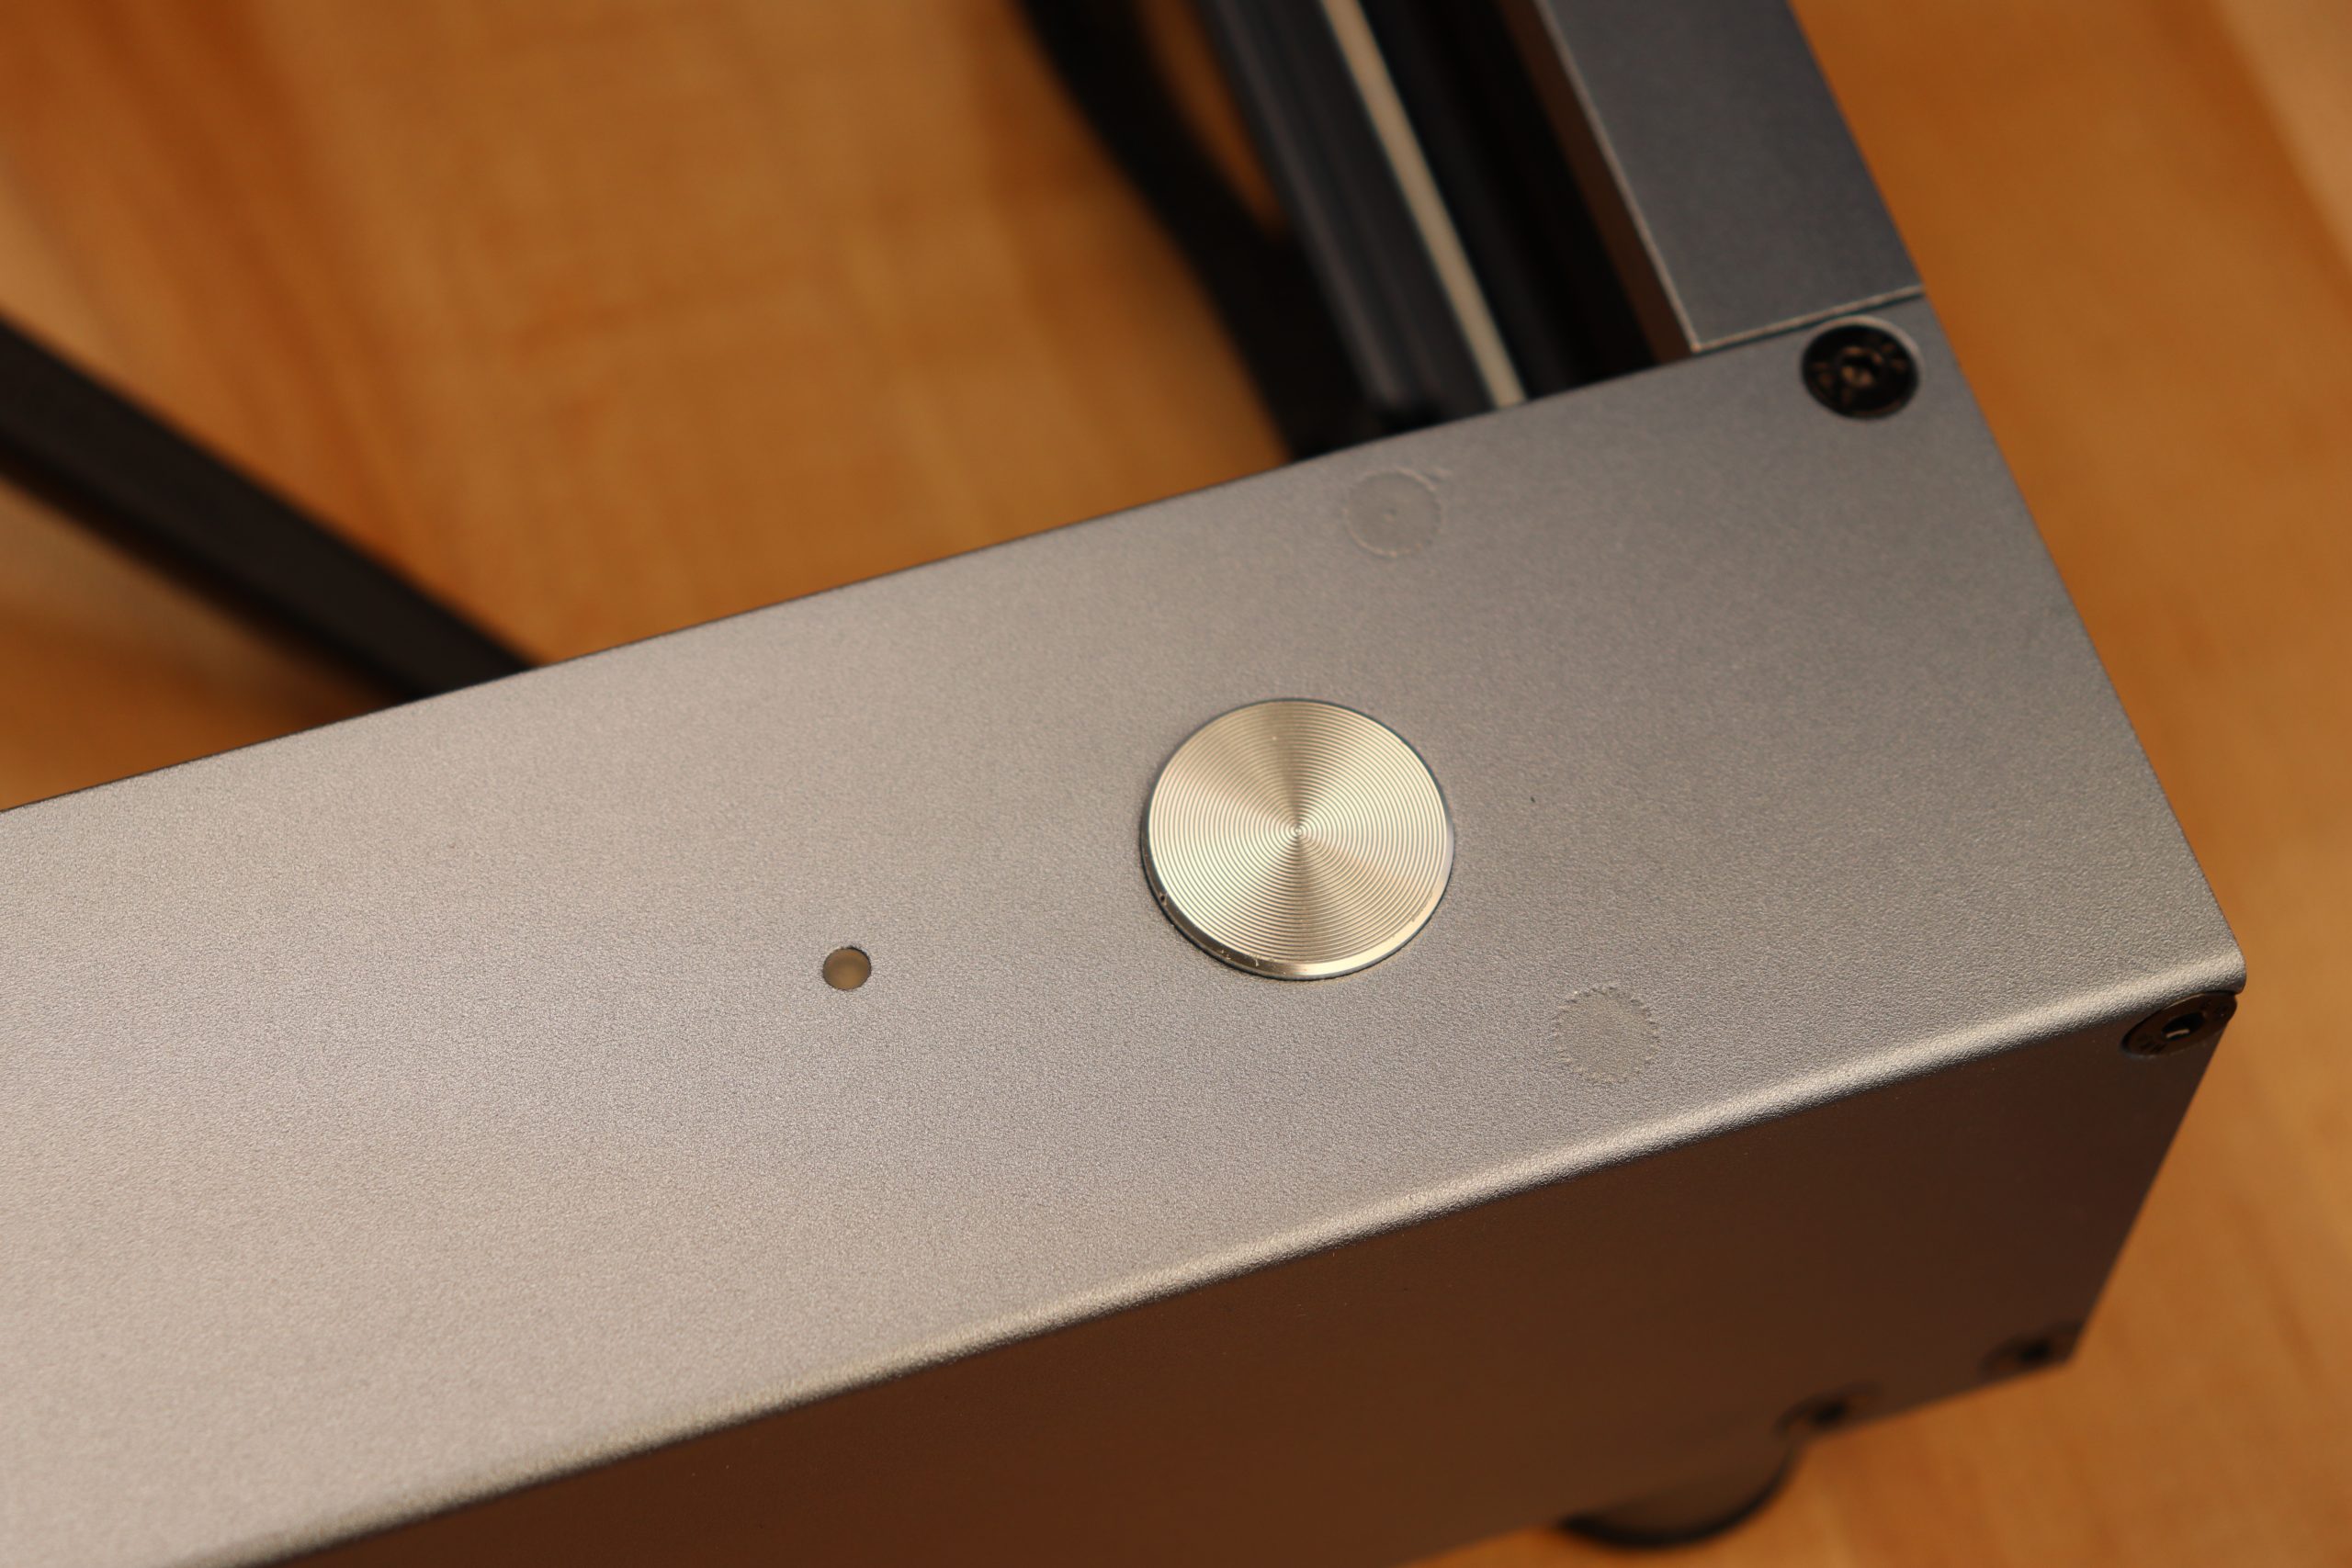
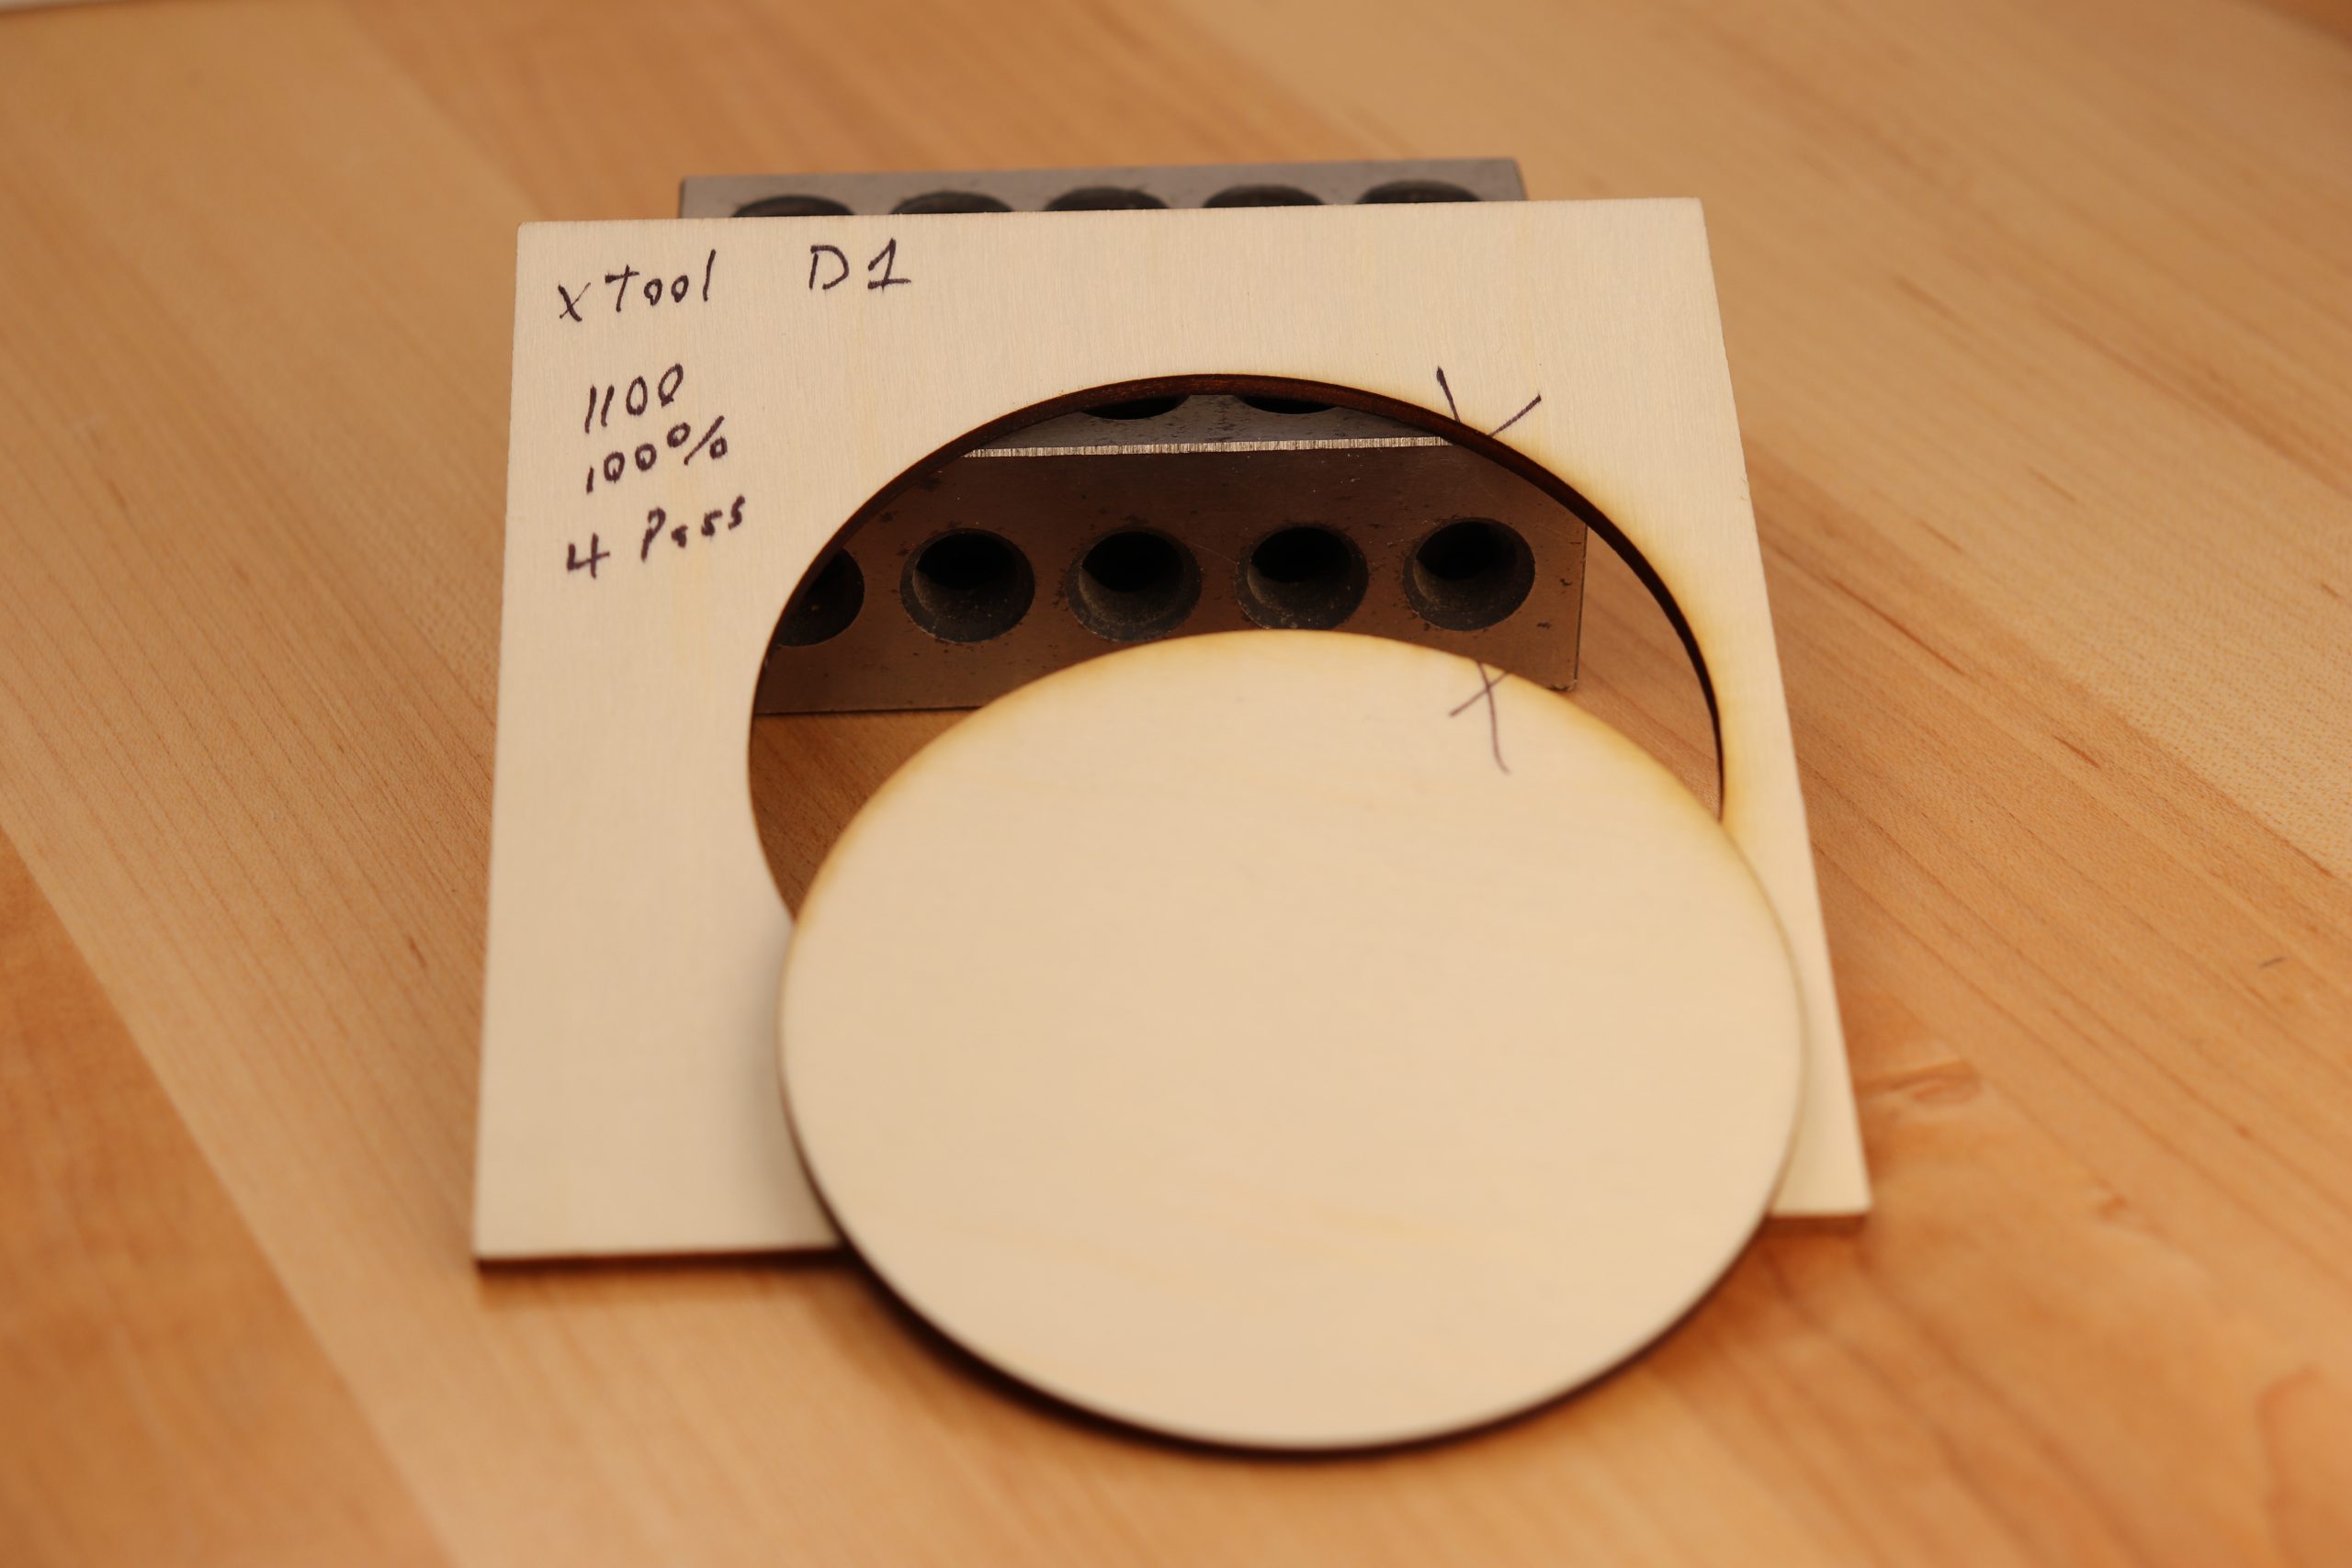
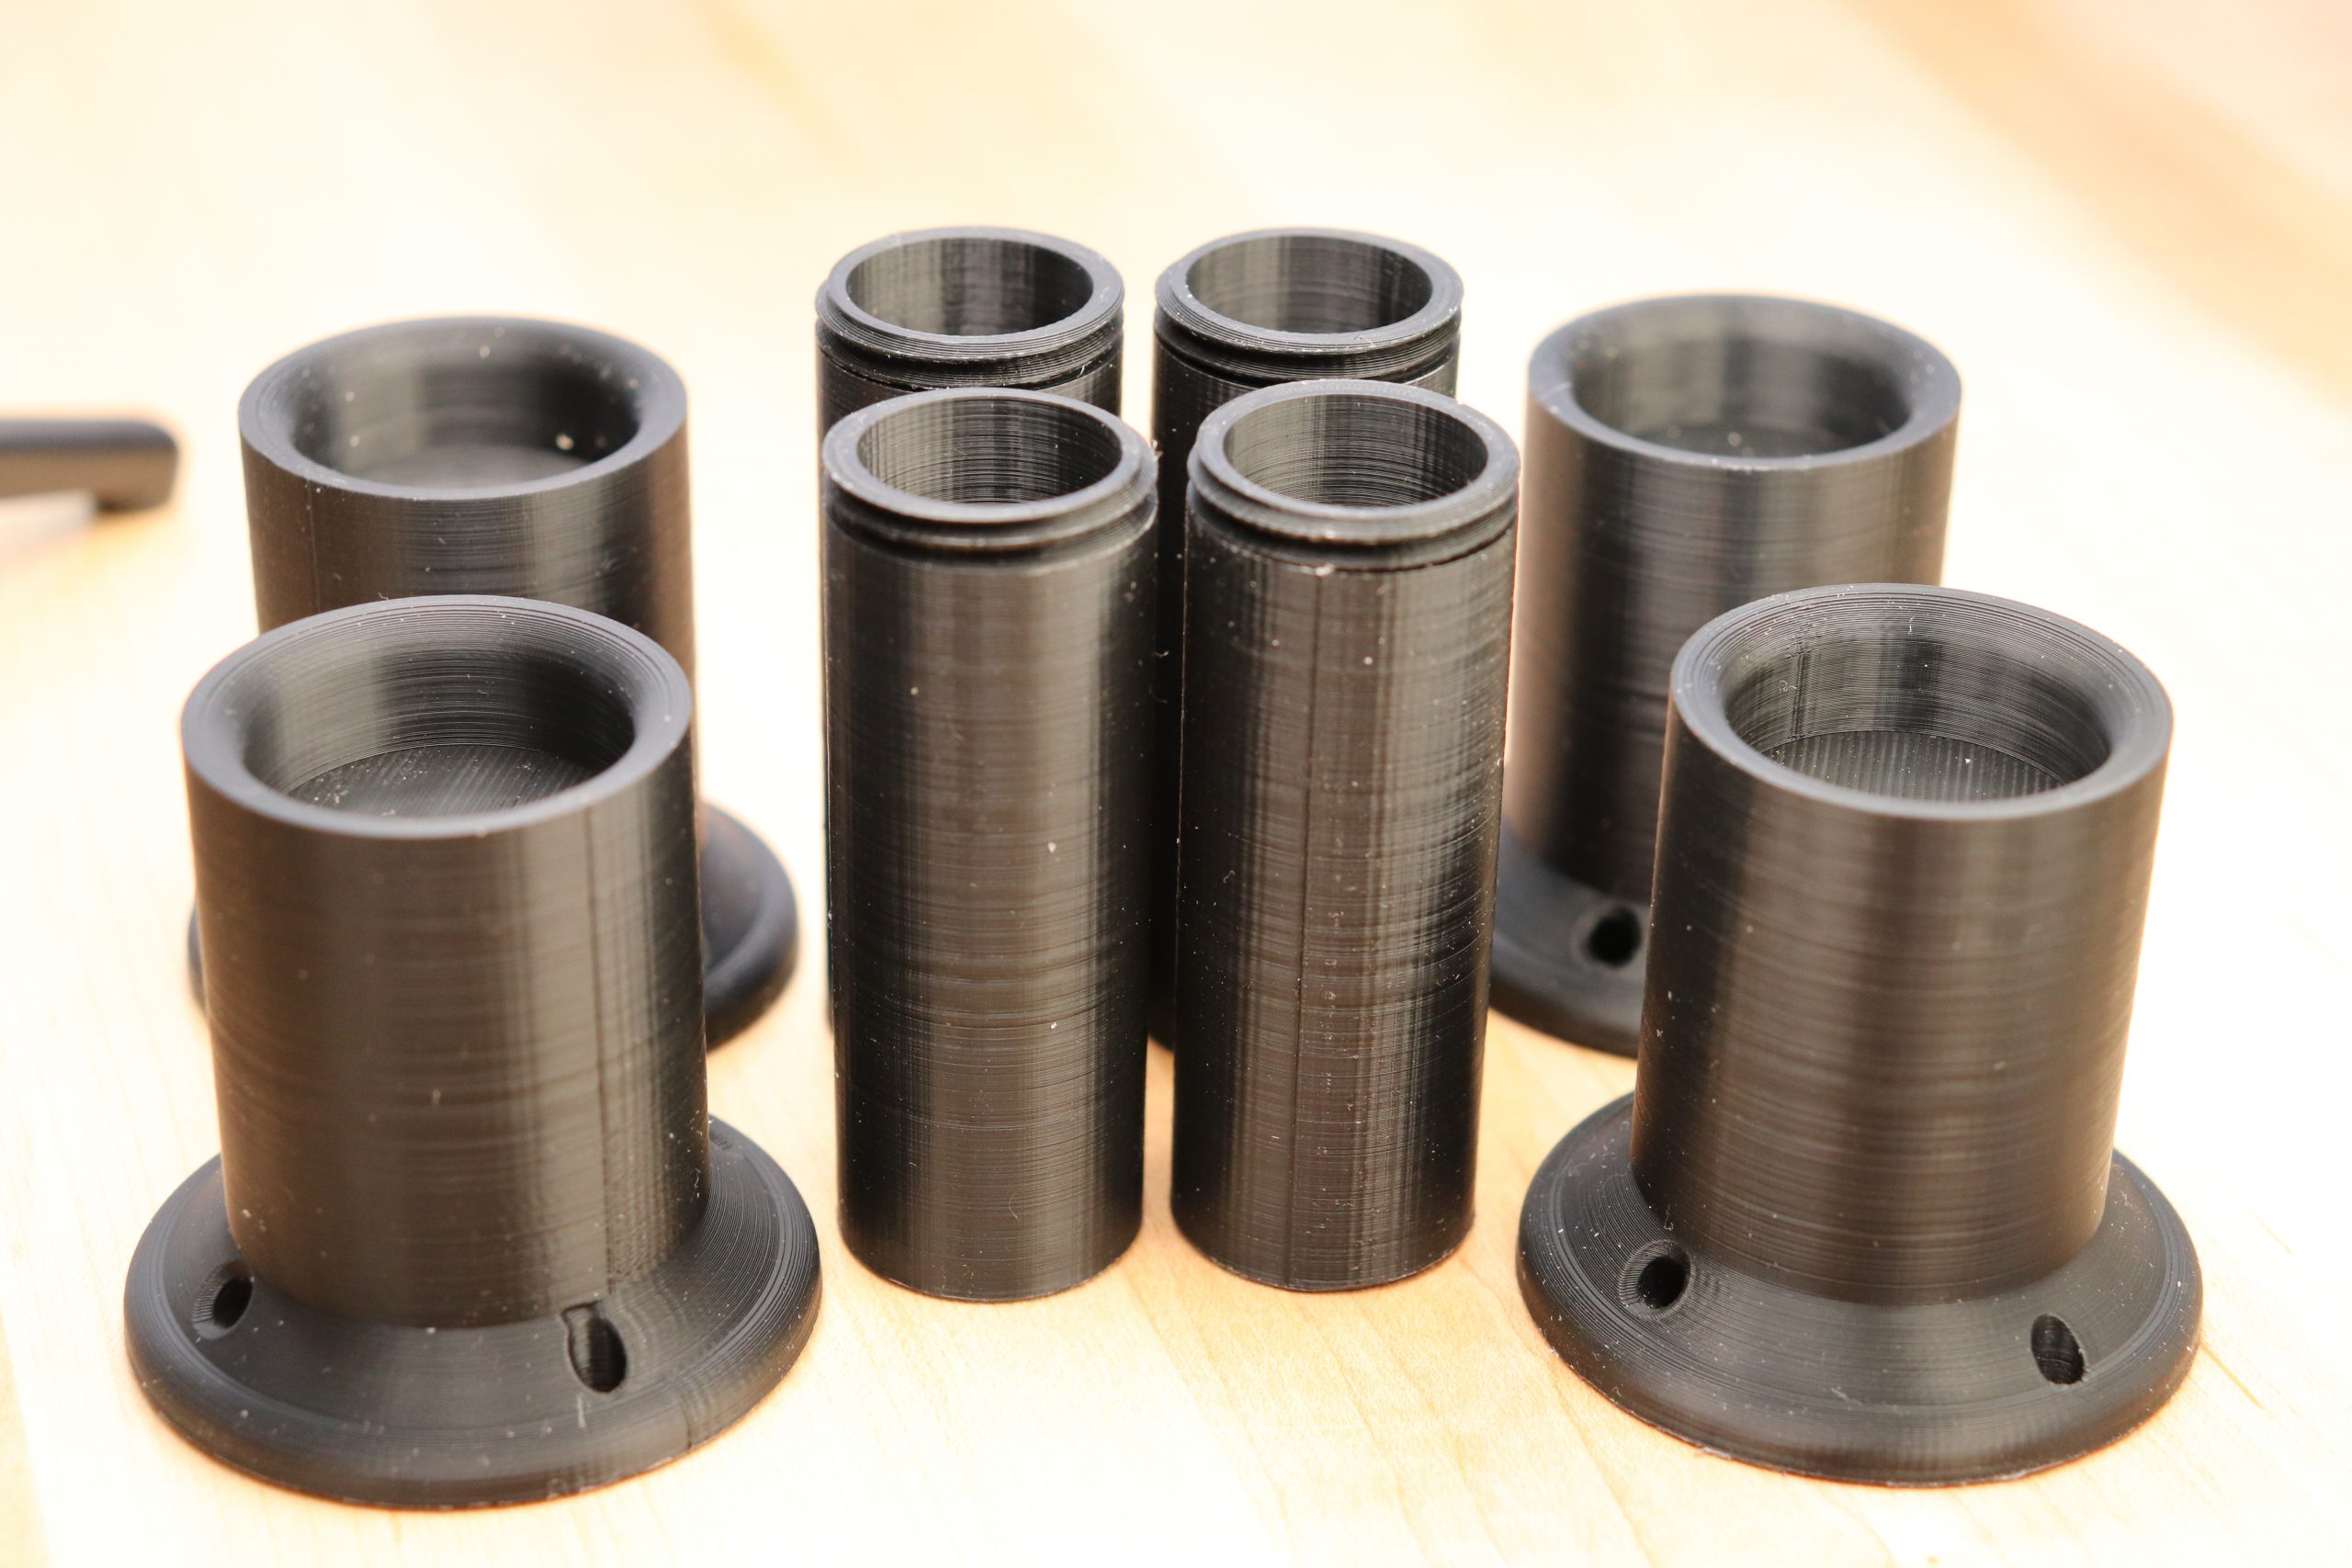
The xTool D1 has some features that were new to me. One feature new to me is the laser cross-hair that allows you to line up where you want the laser to do its work. After realizing that the cross-hair is offset from the actual engraving laser and then further understanding that software compensates for that difference I quickly loved using it. In short, you put the cross-hairs on where you want the job to start and the machine will do the rest. The second feature is what I affectionately call the “focus kickstand”. Rather than having a focus card or rod to set the focus height, the xTool D1 has a focusing rod built in to the laser head itself. It’s hinged and held in the up and down position with magnets. You just flip it down and slide the laser head down until the kickstand touches the material, then you lock the head at that height with the thumbscrew and flip the kickstand back up and you’re ready to go. Another feature of the machine construction is that it’s extremely accurate. They claim that it’s accurate to 0.02mm. I didn’t have a way to test that but I can tell you that it cuts a circle when you tell it to (and not an oval), you’ll need to watch the video to truly appreciate this. The xTool D1 does have the option for an air assist but my unit did not come with that. The xTool D1 also has WiFi capability but I was unable to test that due to the security setting on my network. I hope to install an WiFi access point that will allow me to test this functionality soon. The D1 uses an compressed laser head that is made up of two 5w lasers. Their beams are combined to give you 10w total laser optical output. this is comparable to the Atomstack X7 Pro I reviewed a few months ago. The working area of the xTool D1 is 17×16 inches which is slightly larger than most machines in this class. This kit also included a rotary axes for engraving or cutting round objects. Extension legs were also included to be used when using the rotary or when you need extra height when engraving or cutting thicker objects.
Safety
The manual also covers the very important aspects of safety and they can’t be repeated enough. Though small, this is a laser that can cause serious damage. Read and follow all the safety warnings. As a basic rule, don’t look at the laser light at all, make sure what you’re cutting won’t give off toxic fumes (like PVC, ABS, Epoxies, etc.), Use only in an extremely well ventilated space and don’t stare at the beam. Safety is your responsibility… you have been warned.
Fume Extraction
I setup a basic fume extraction system with an 6″ inline fan, some 6″ ducting and a 6″ blast gate. I created a simple enclosure with some 24×36 inch sheets of corrugated plastic. I was pleased with how well it works. The fan pulls from the enclosure and vents to the outside. the blast gate is used to allow fresh air in from the outside (well away from the exhaust) so that the fan has the ability to pull freely.
Software
I used Lightburn ($40 version) for all these test jobs. It’s feature rich compared to LaserGRBL but both will work. I like Lightburn because I can create pretty much anything inside it. It’s great for cutting or on the fly creation as it allows you to draw, type, scale, etc right in the program. The xTool D1 has it’s own software that is basic but good for someone just getting into this technology.
Summary
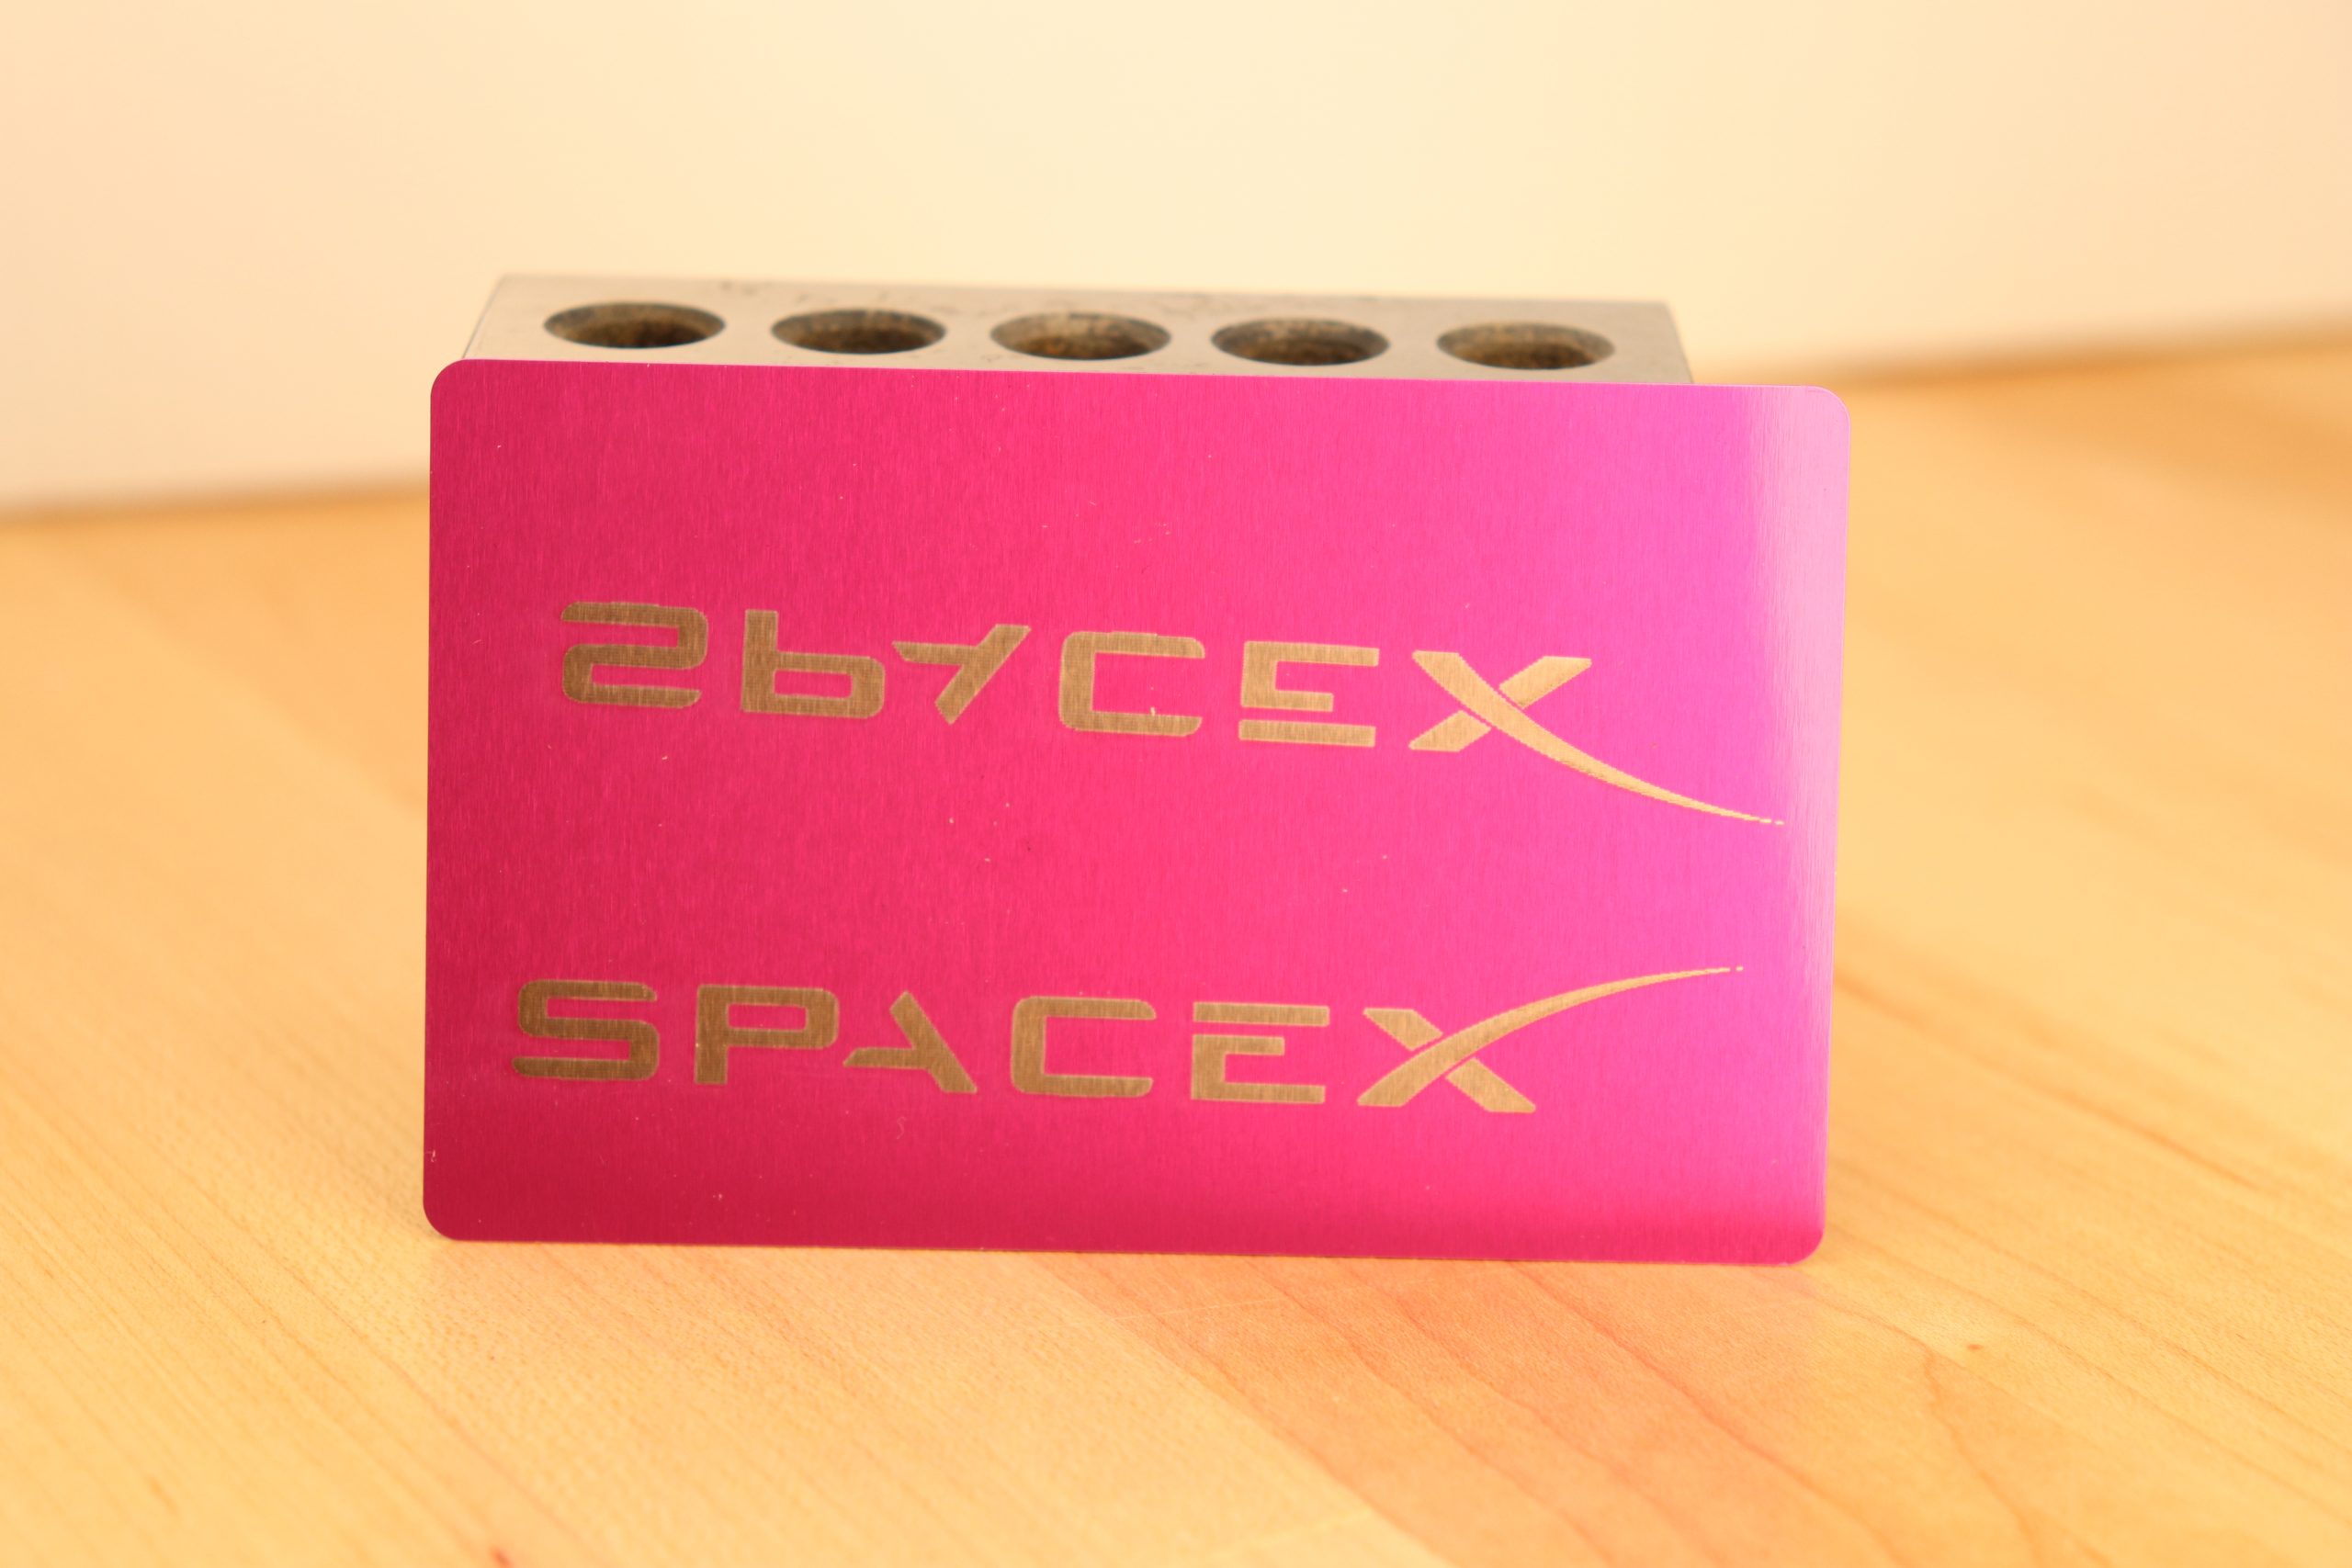
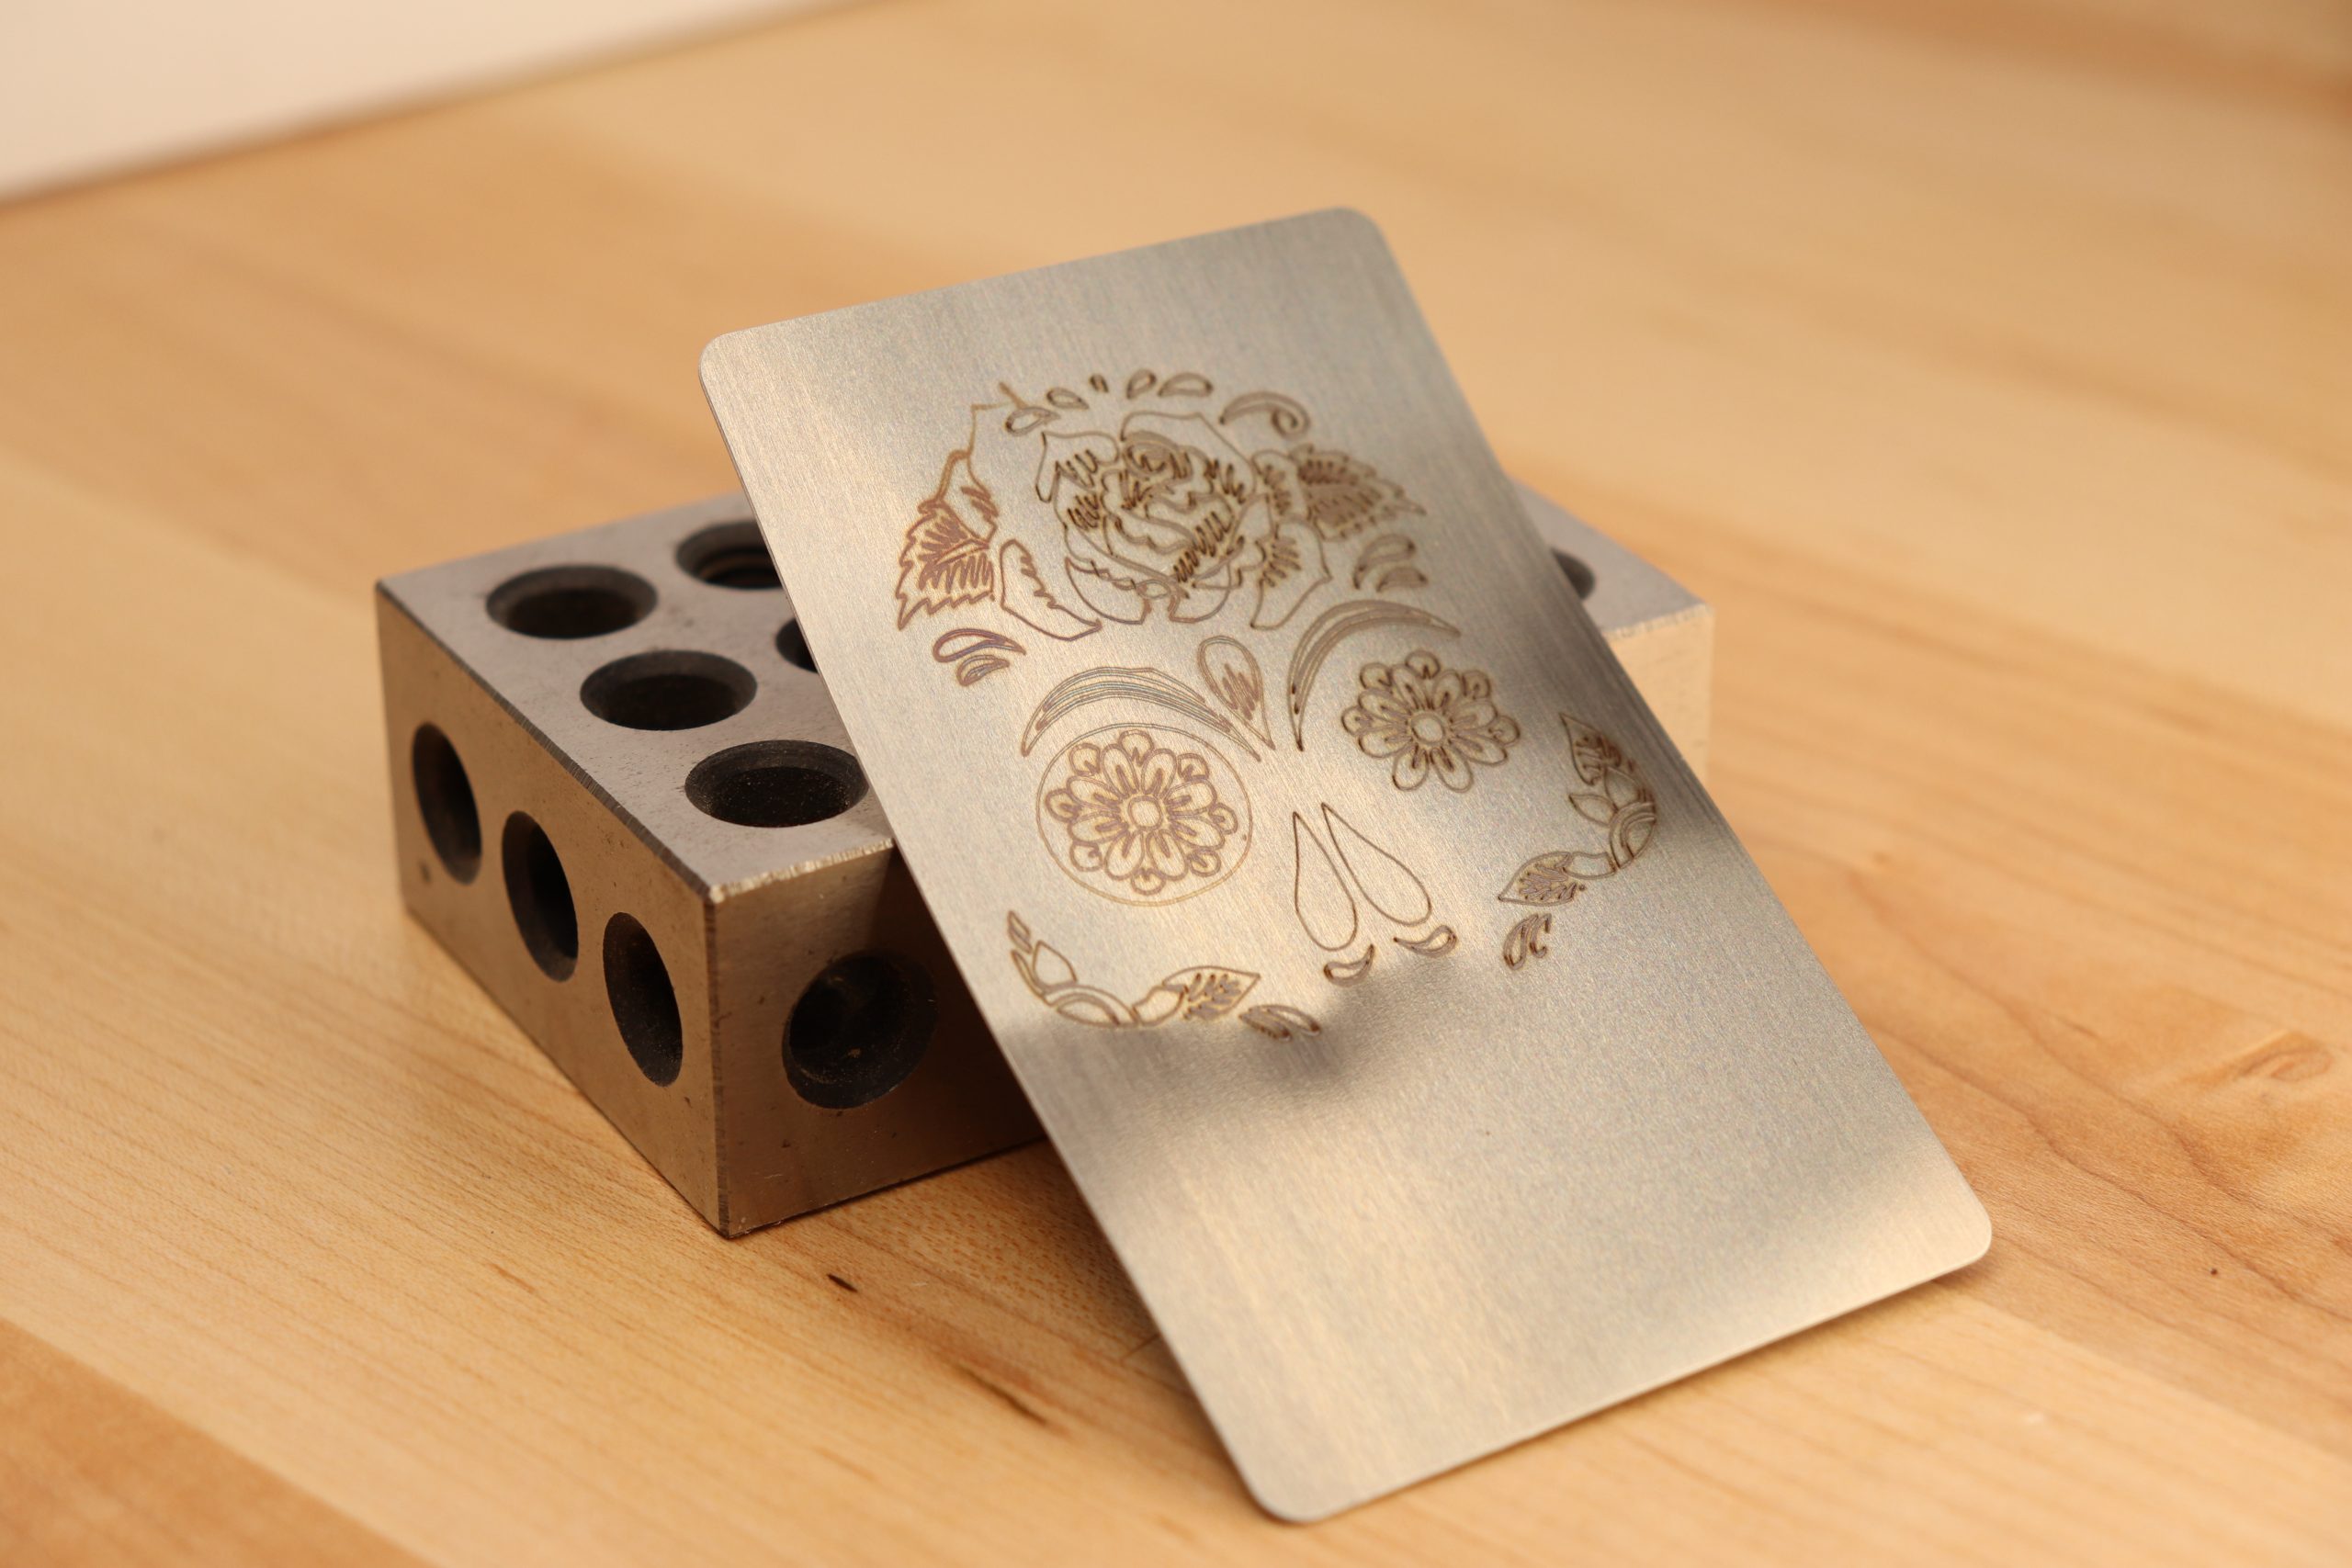
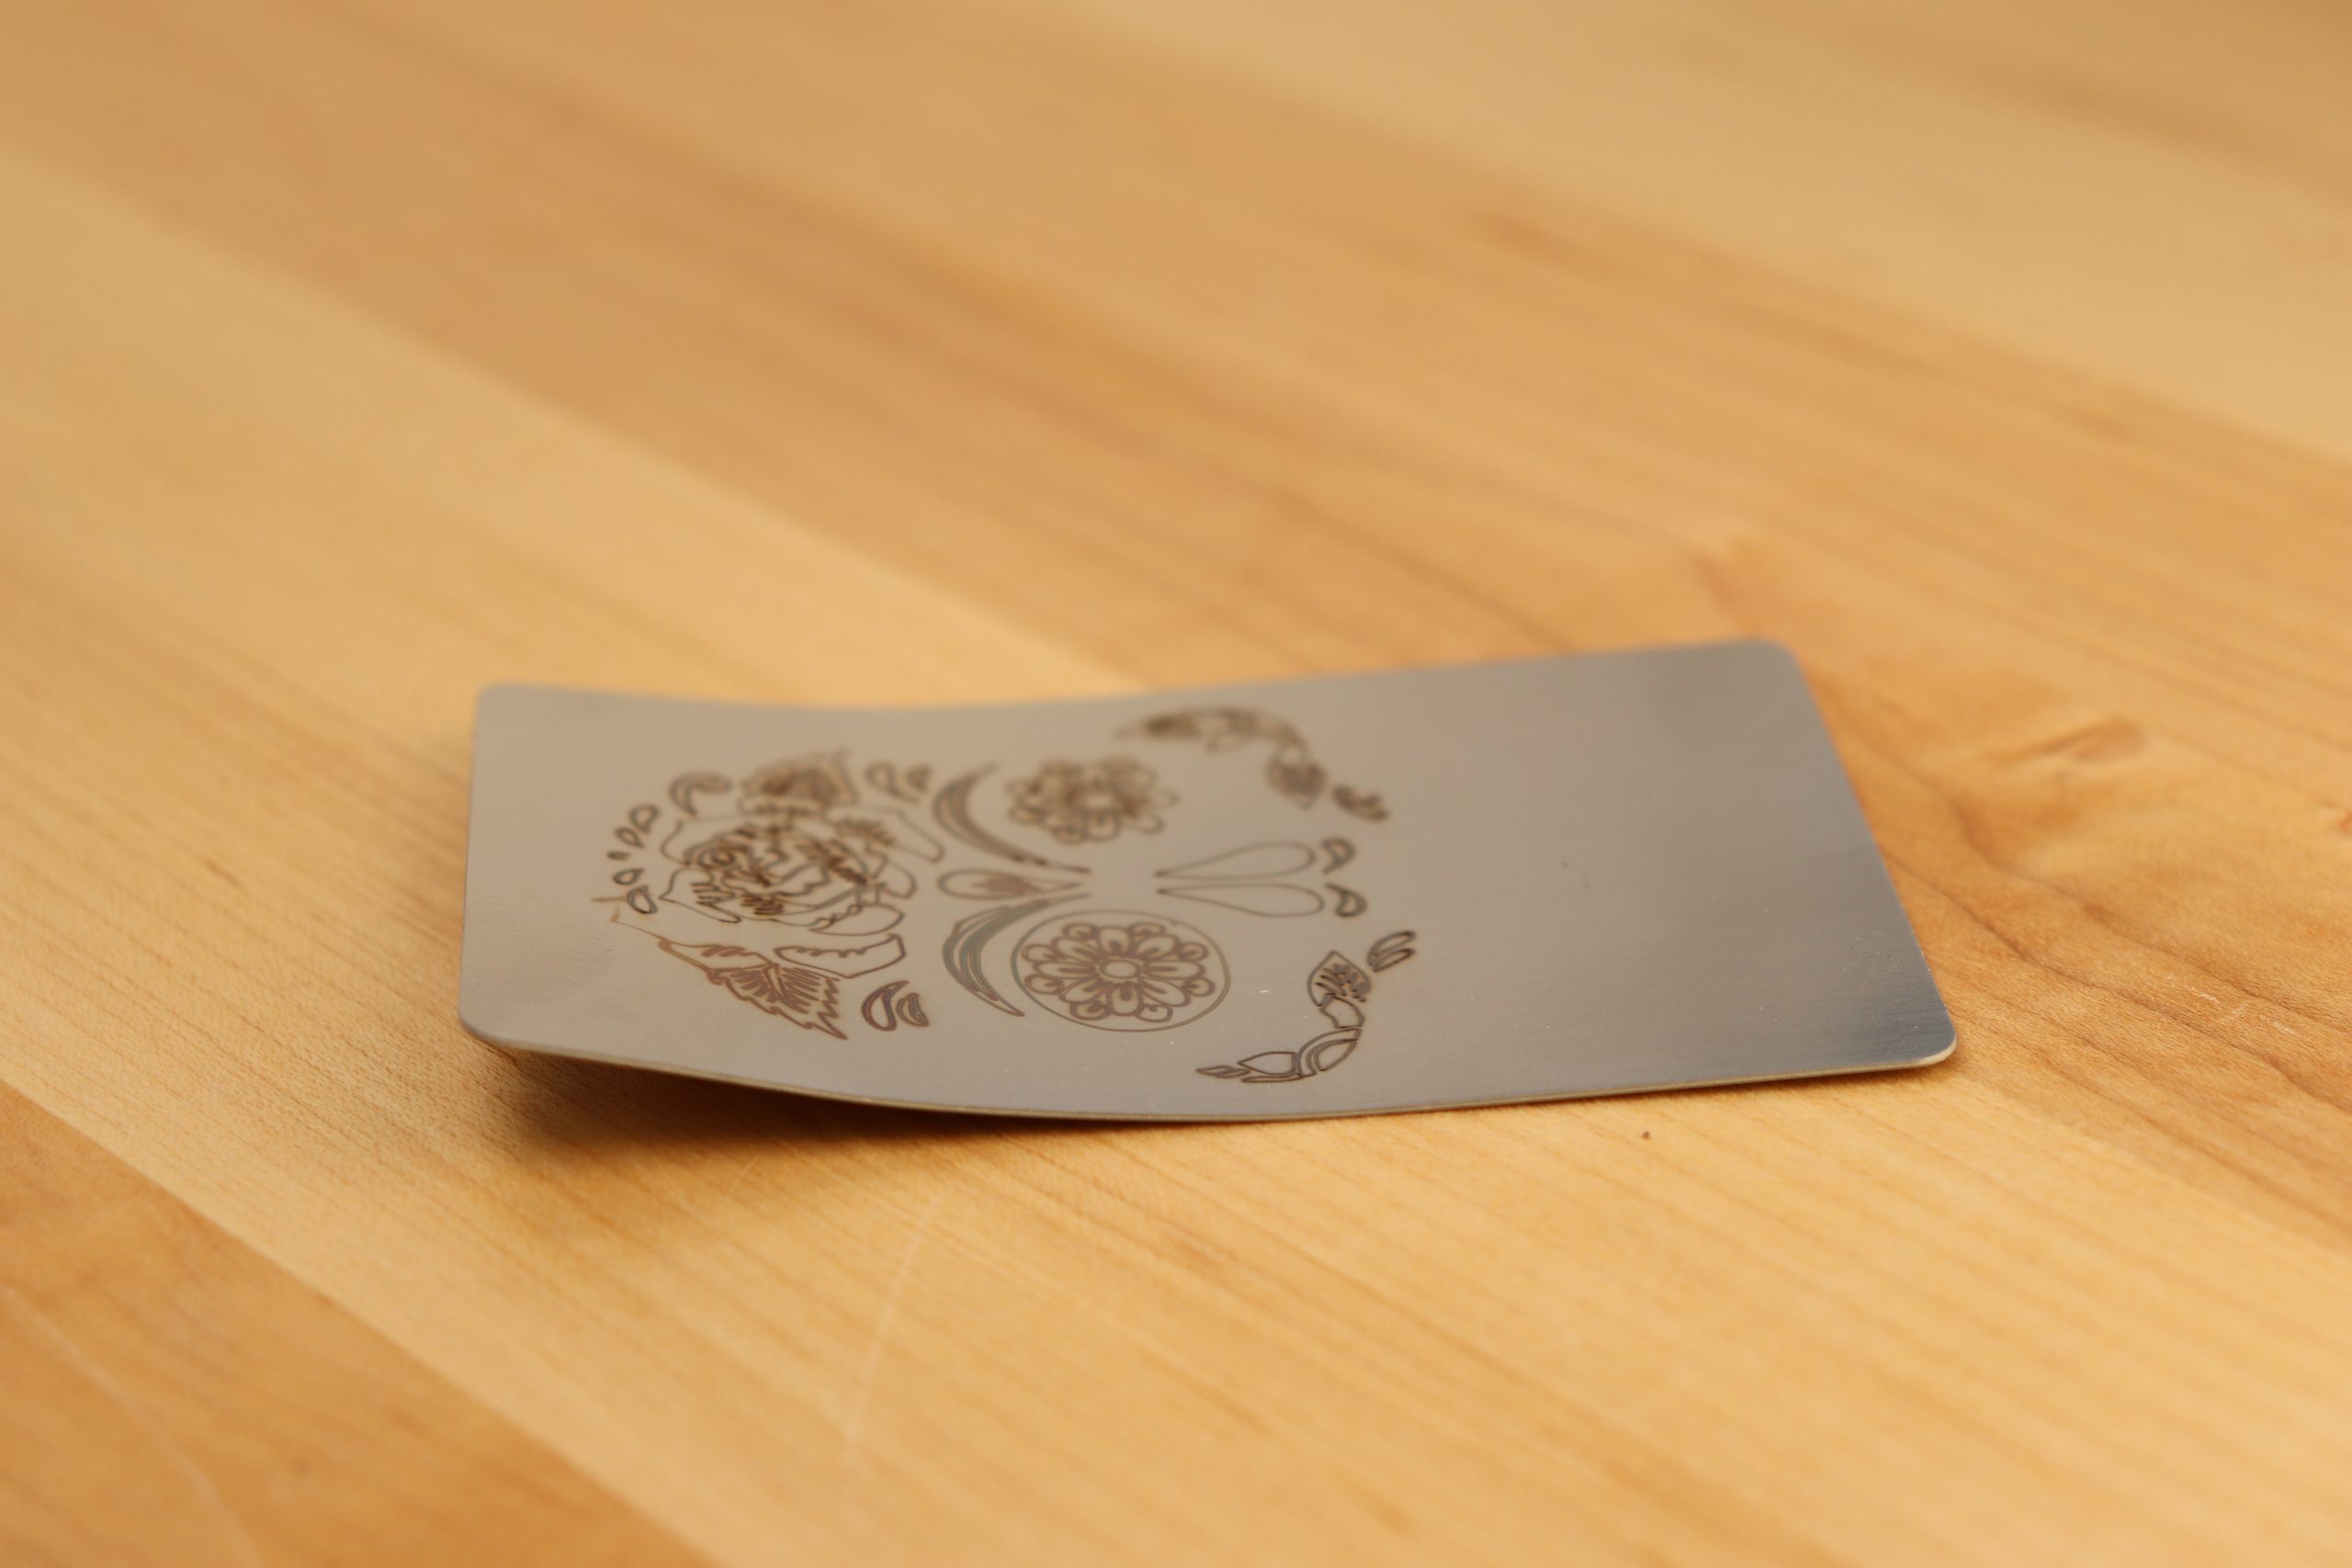
This machine was a pleasure to assemble and use. The new features make using it easier than most. Its clean lines, precision and quality make it feel refined and finished. The 10w version (like I tested here) is the highest LED based laser output currently available so if it can be done with a LED based laser, the xTool D1 can do it. I do a price comparison between the xTool D1 and the Atomstack X7 Pro (both are 10w lasers) towards the end of the video if you’re interested. SPOILER ALERT – there’s a price difference of $3.03 with comparable accessories. You’ll have to make your decision based on what features you value most :). Be sure to view the pictures below and watch the YouTube video if you haven’t already. As always links are below.
Makeblock xTool D1 website HERE: https://store.xtool.com/?ref=1s81Hq3o1-GNJ3
Software: LaserGRBL Software (free) https://lasergrbl.com/download/
LightBurn Software (free trial/$40 to buy) https://lightburnsoftware.com/
Addition items used in the video:
Stainless steel tumbler – https://amzn.to/3gwJoO4
Stainless steel military style dog tags (qty 100) – https://amzn.to/3B7fVDY
Slate drink coaster set – https://amzn.to/3GQr3GF
Anodized aluminum cards (qty 120) – https://amzn.to/3uAcu7x
Wood squares – https://amzn.to/33RUNBW
Kraft paper tags – https://amzn.to/3foiLK9
Painted aluminum business card blanks – https://amzn.to/3yj6q2E
Stainless steel business card blanks – https://amzn.to/3bAn0RL
Anodized aluminum blank dog tags – 10 pack – https://amzn.to/33h8HAg
To create you own fume extraction system
6″ inline blower – https://amzn.to/3ftxCmu
6″ duct kit – https://amzn.to/3eWjVh0
6″ flange – https://amzn.to/33UlbuG
6″ blast gate – https://amzn.to/3hyPNKs
Like my Fibonacci T-shirt? Find it and many more here – https://bit.ly/3HHEb25
Thingiverse links for the 3d printer files for the extension legs and riser feet
xTool D1 leg extension – https://www.thingiverse.com/thing:5125144
xTool D1 riser foot – https://www.thingiverse.com/thing:5202964
Support the channel: – PayPal https://www.paypal.me/neo7cnc


