Hekka.com reached out to me to see if I was interested in reviewing the Artillery Hornet 3d printer to help spread the word about Hekka.com. I was interested to test a new 3d printer seeing that up until receiving the Artillery Hornet, I was using an old Creality CR10 from several years ago. I was curious to see what improvements had found their way into 3d printers over the years.
Packaging
The printer arrived extremely well packed in a large, sturdy box. The Artillery Hornet has some weight to it, but since it was well pack inside foam, there was no damage.
Assembly
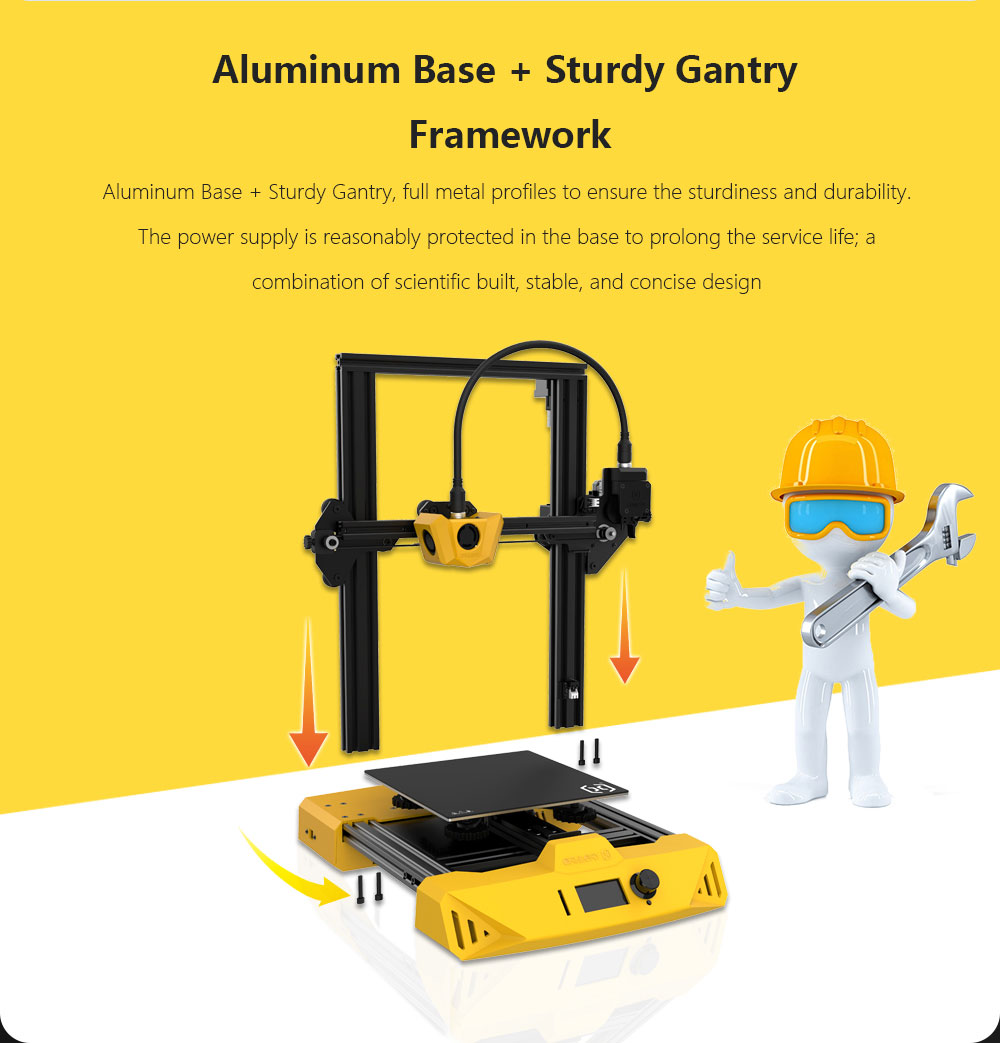
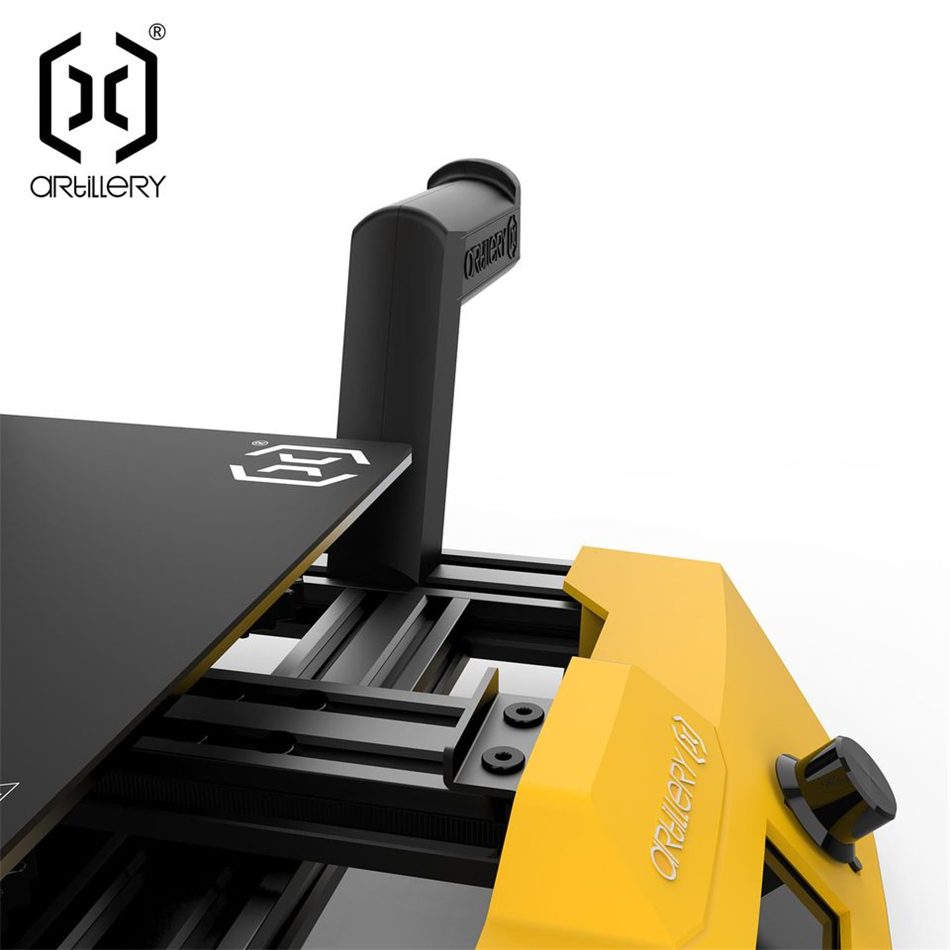
Assembly was easy and straightforward with all the needed tools being included. The manual had all the instructions I needed to assemble the printer without me having to look it up on the Internet, which was nice. It took me and my son about 10 minutes to assembled. The upper frame has some weight to it and is top heavy so and extra set of hands was helpful. Once we had the upper Z and X axis assembly installed, we then installed the plastic spool holder. When trying to snap the holder into the t-slot extruded aluminum frame, the locking tab for the spool hold broke off. Not a huge deal as the spool holder still does its job. As long as you have weight on it, it will stay put. We had no issues with it over the 200+ hours of printing with multiple spools, as of writing this. The only other items to install were the hot end and the combination feeder tube and wiring cable assembly from the extruder to the hot end.
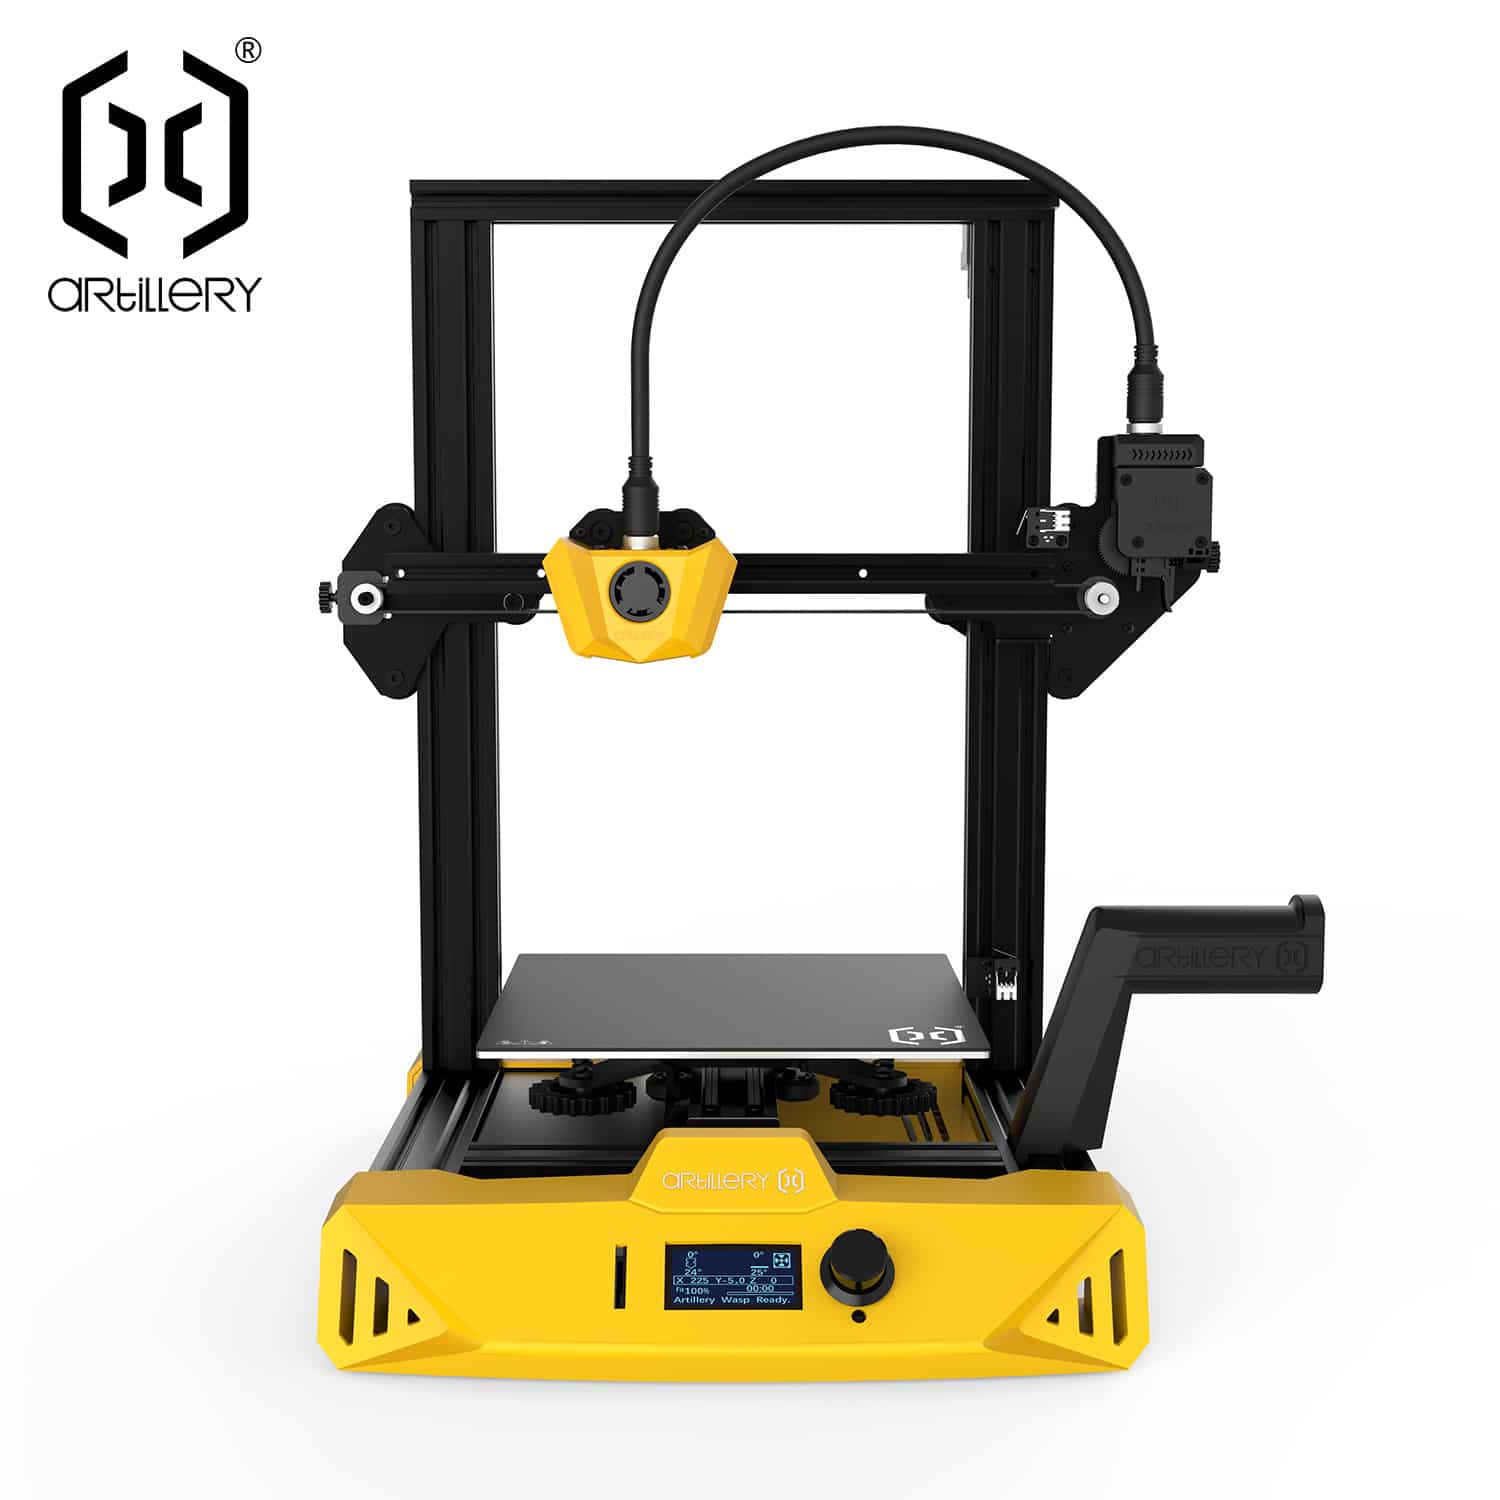
Features of the Artillery Hornet 3d printer
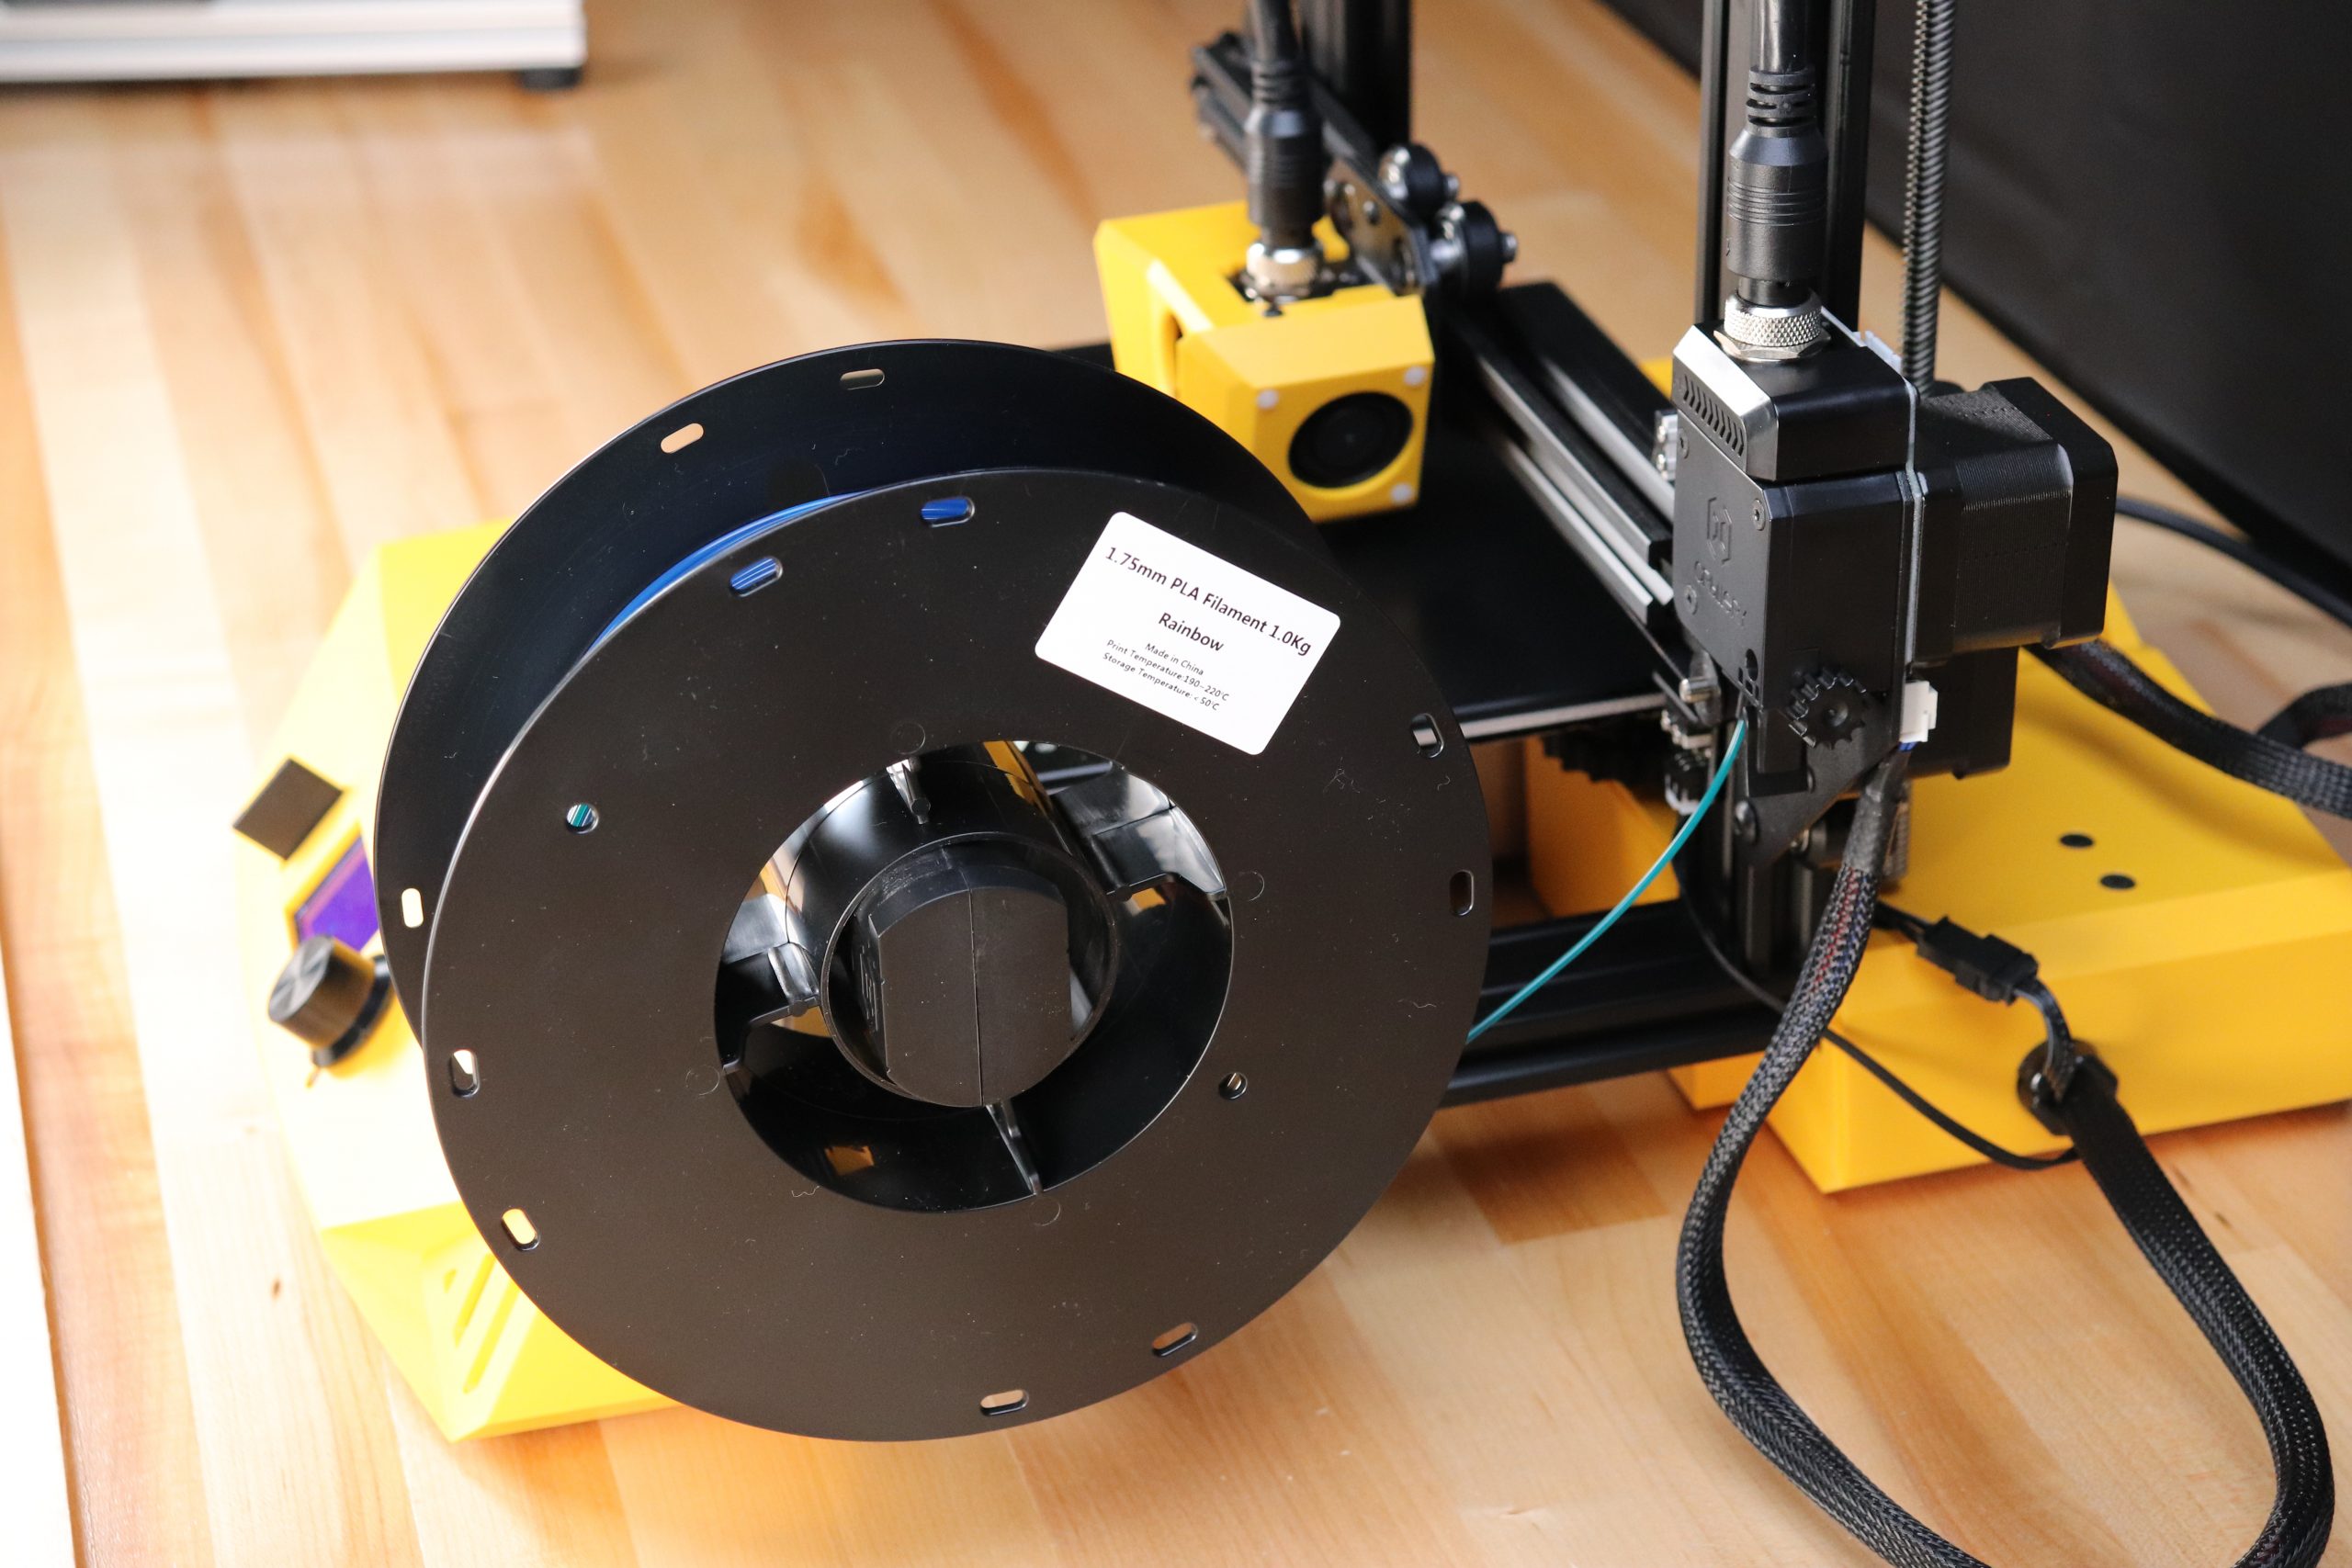
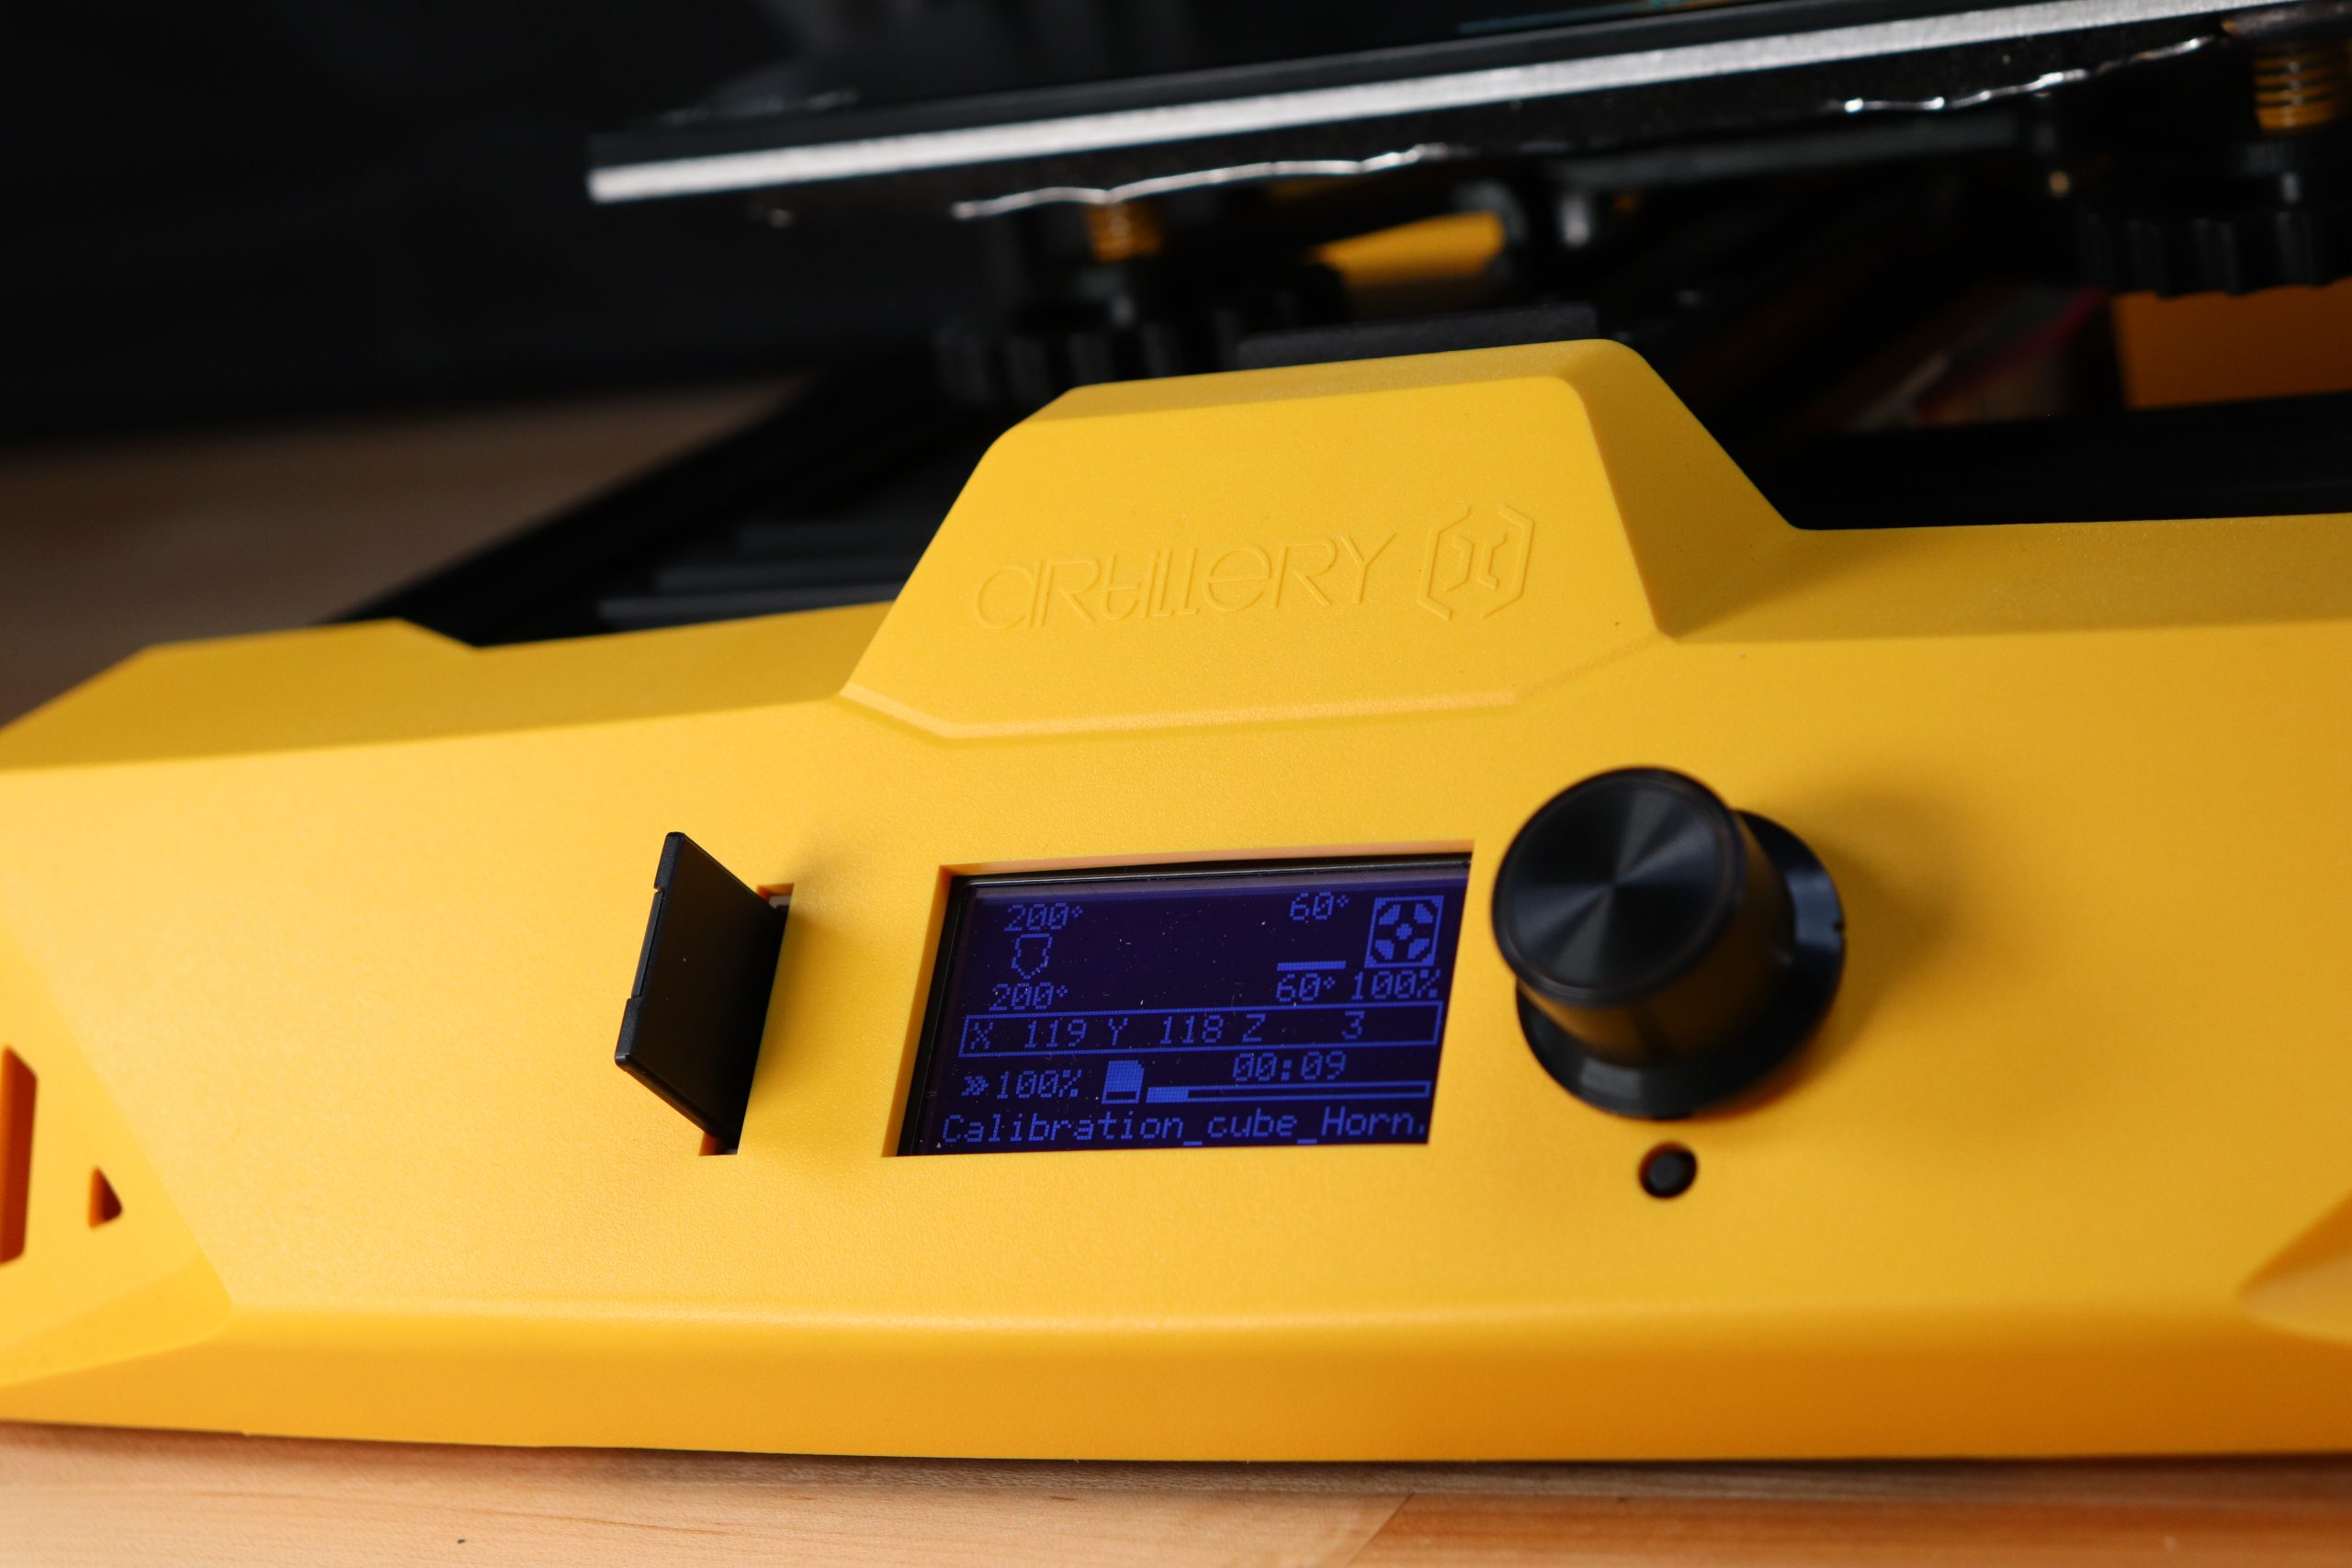
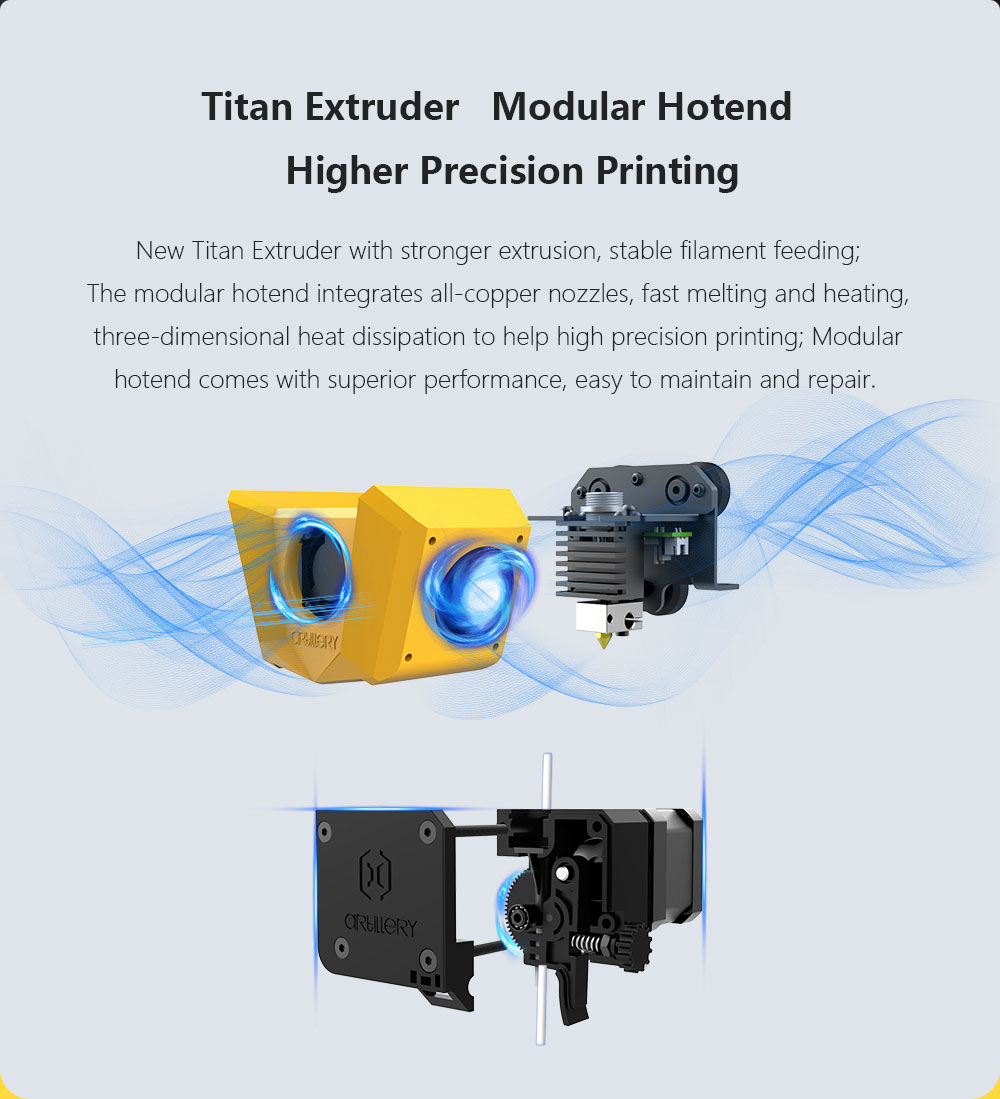
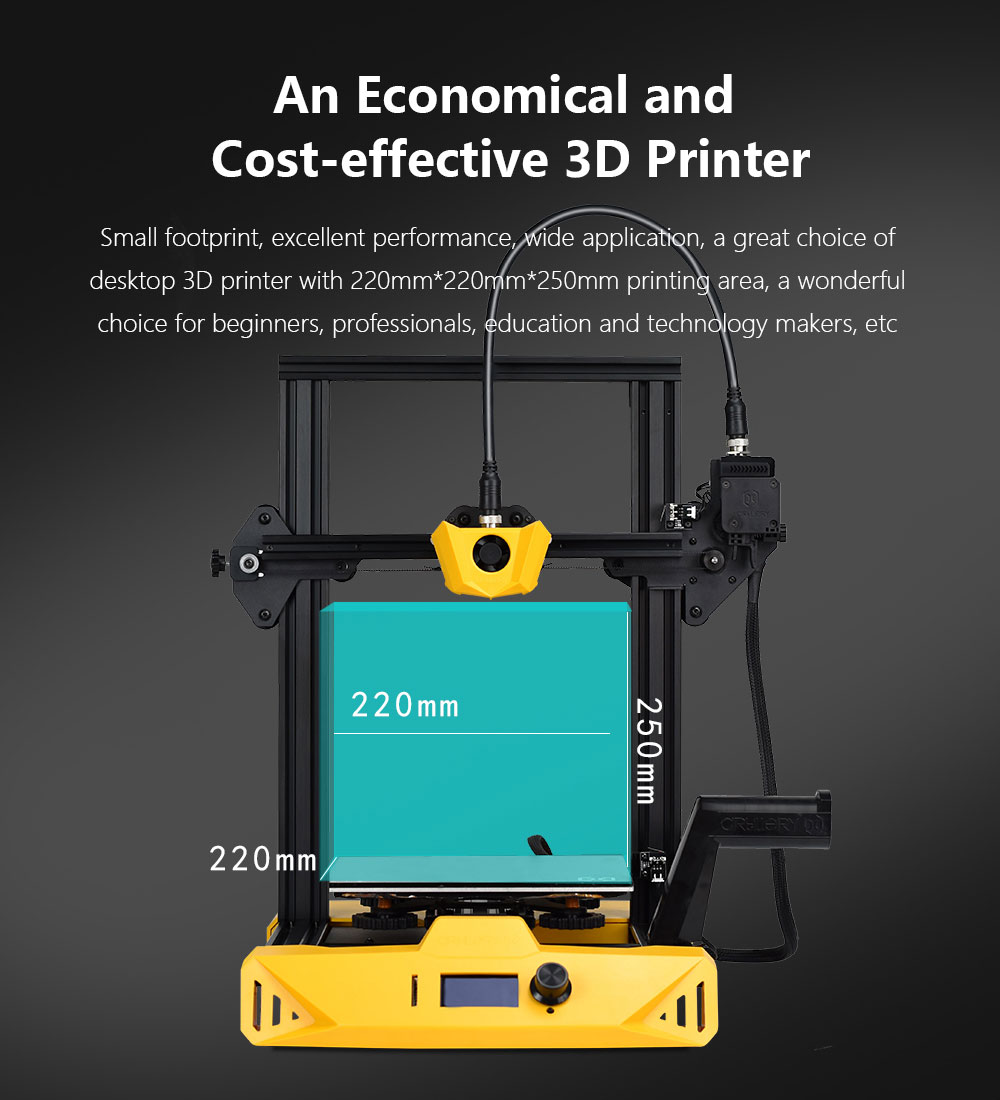
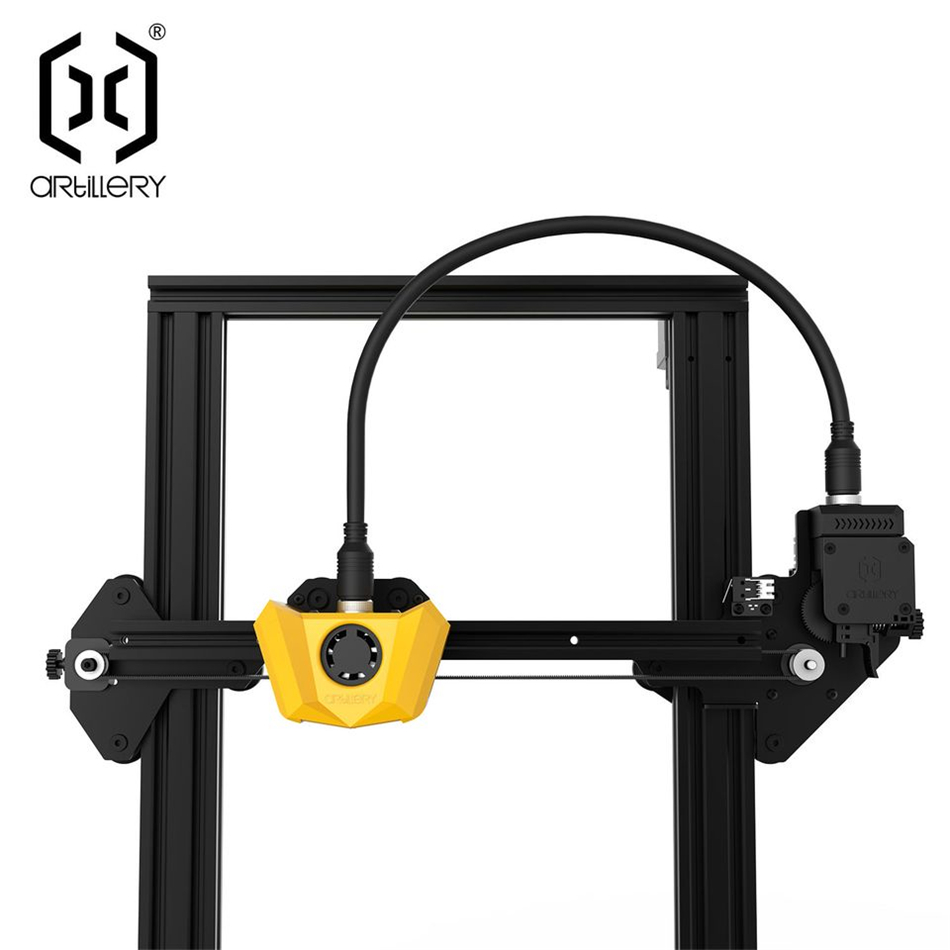
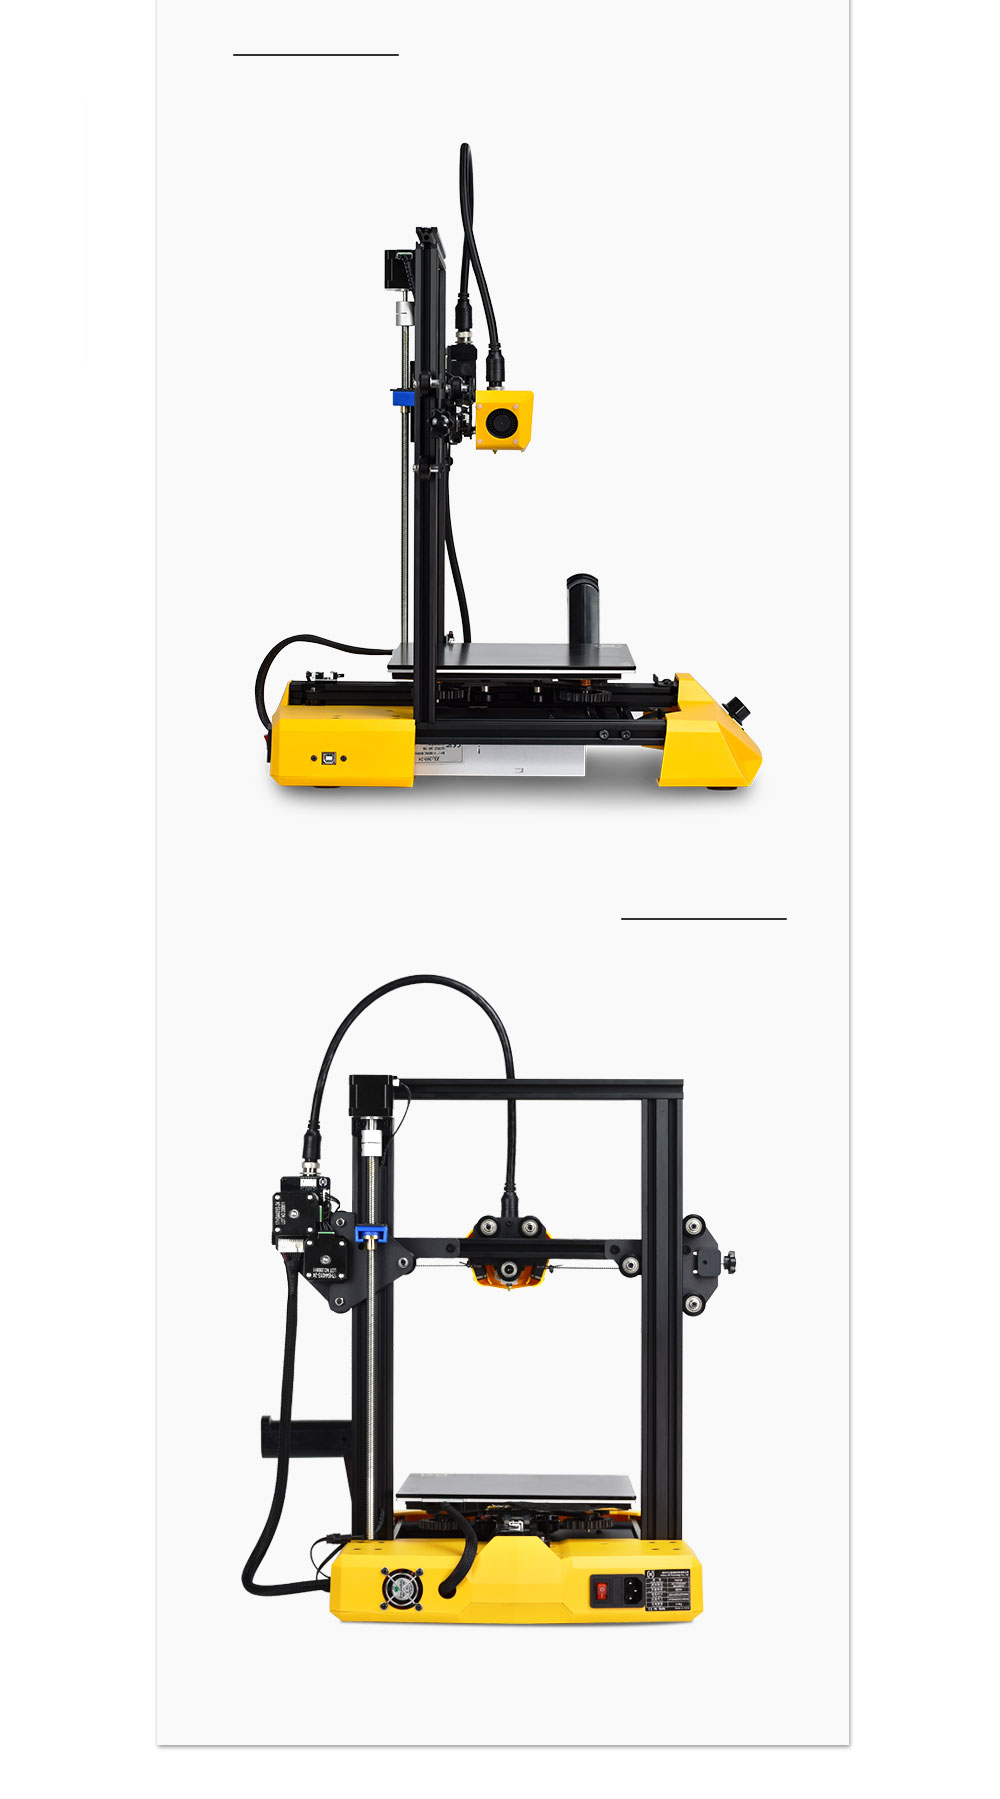
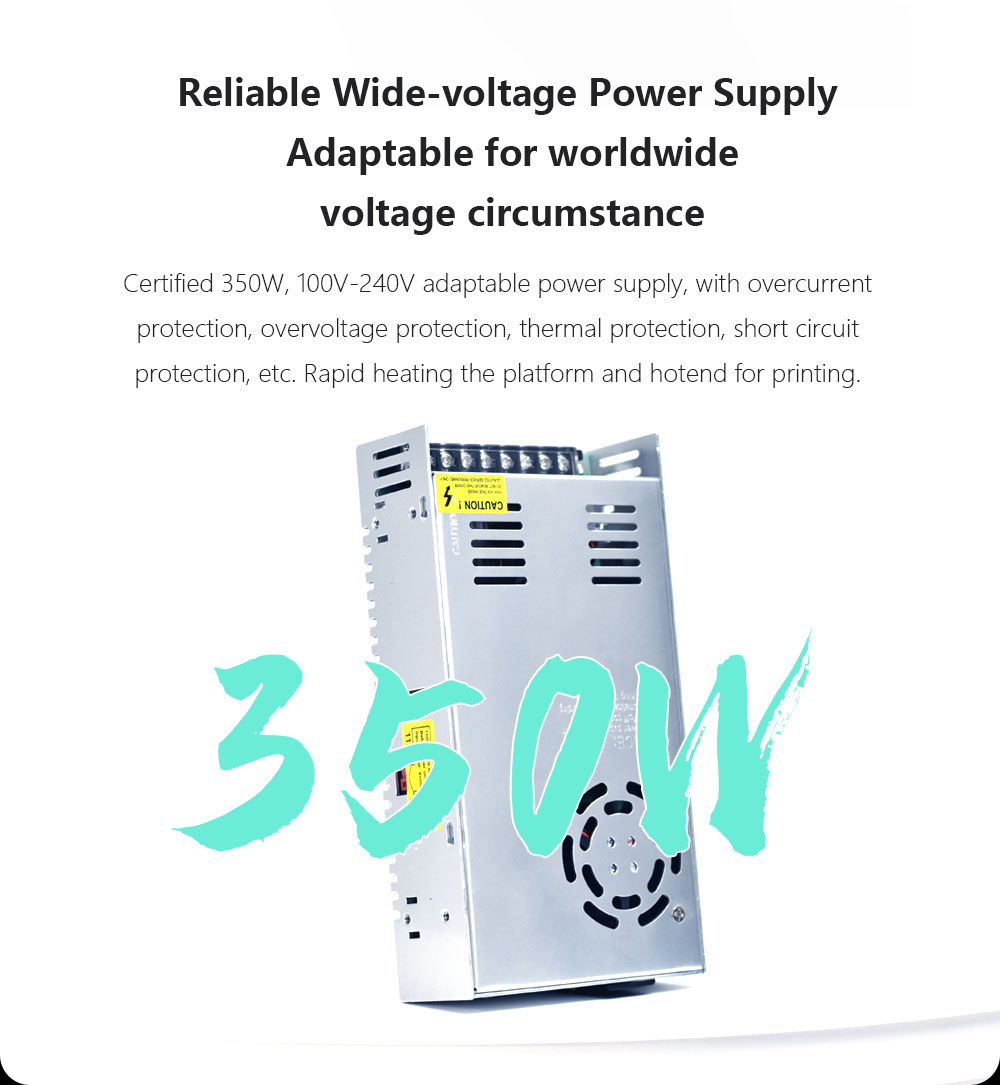
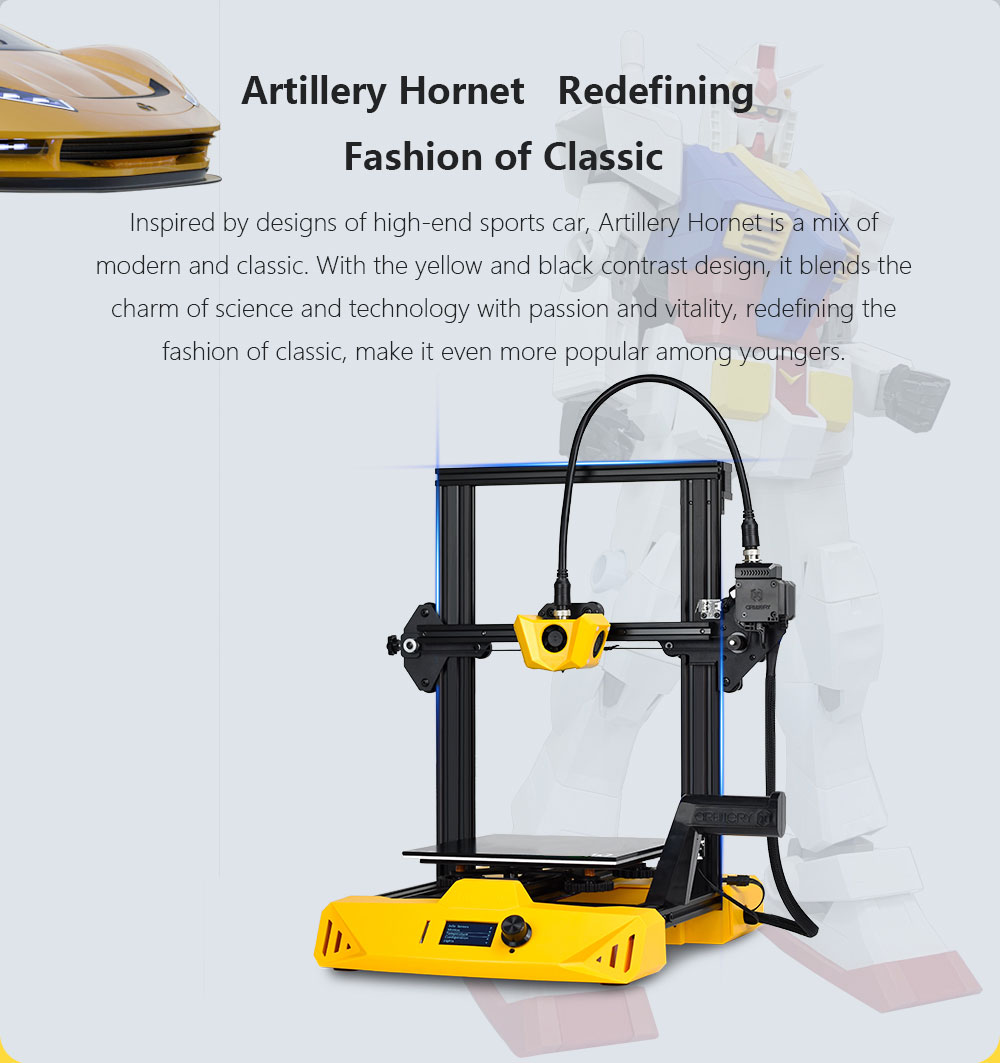
The Artillery Hornet is very quiet! You will hear (or not hear) that when you watch the review video. The bed of the printer is glass with some kind of frit or coating on it. The bed adhesion with the prints was refreshingly fantastic. I say this because with my old Creality CR10, I had to use blue painters tape and glue sticks to attempt to get the prints to stay stuck to the bed. One of the more noticeable features is the combination filament feed tube and wiring assembly. This feature cleans up the look of the printer as well as making the assembly easier. The printer has a large 110/220 selectable power supply on the bottom that provides plenty of power to get the printer up to temperature in about 2 minutes and 15 seconds. This is much faster than the 7+ minutes I’m used to with my old printer. The clean screen, controls and SD card slot are well placed, front and center on the machine. Menu navigation is a breeze with the jog and “push to select” wheel control. There is a USB port on the left rear side if you run your printers directly connected to a PC or laptop. All my testing was done transferring the jobs to the printer with the 4Gb micro SD card, micro SD to standard SD card adapter and SD USB card reader all of which are conveniently included with the printer. The printer has a respectable build volume of 220x220x250mm (8.6 x 8.6 x 9.8in) and is compatible with the very common 1.75mm sized PLA, PETG and TPU filaments.
What’s Included
The Artillery Hornet 3d printer comes with all the needed tools to put the printer together, You get several Allen wrenches, an open end wrench, a oddly short USB cable, power cable, spool holder, paper manual, micro SD card, micro SD to standard SD card adapter, SD card USB reader, spare 0.4mm nozzle, 2 spare wheels, spare filament guide tube, spare home switch and a nice, zippered pouch to keep all the tools in. As great as this list of what’s included is, there was one thing missing that I’d liked to have seen. I’d like to see a length of test filament included with the printer. I’ve always received test or starter filament with printers in the past. This allows you to hit the ground running so to speak and creates a better out of the box user experience. I’d compare it to getting a remote control car as a present and opening it up to find that it doesn’t come with the batteries. 🙁
Setup
Setup went better than I expected. Leveling the bed on my past 3d printers has been a chore to say the least and it’s not something I look forward to. I followed the instructions in the manual to level the printer bed in preparation for doing the first print. The manual said to go into the printers menu and preheat the nozzle and bed for PLA. Then from the printer menu, go to the option called level corners. This places the nozzle in one corner of the bed at what it thinks is it’s Z zero height position. That Z zero height should normally be about 0.004 (4 thou) inches or 0.10mm above the bed. The instructions then tell you to use a piece of typing paper to set the Z zero height around the corners and center of the print bed. A piece of typing paper is typically around 0.004in (0.10mm) which makes it a very convenient spacing tool. Using the paper, I adjusted the bed height until the gap between the bed and nozzle just barely grabbed the paper. Once I did this in every corner, the next position is the bed center. I repeated this process 3 times until the feel of the paper dragging between the nozzle and bed where the same for all 5 test positions. The process being repeated several times is necessary because when you move one corner up or down, it has a small impact on the other position heights. So more setup cycles you do averages out the overall level of the bed.
Printing Tests
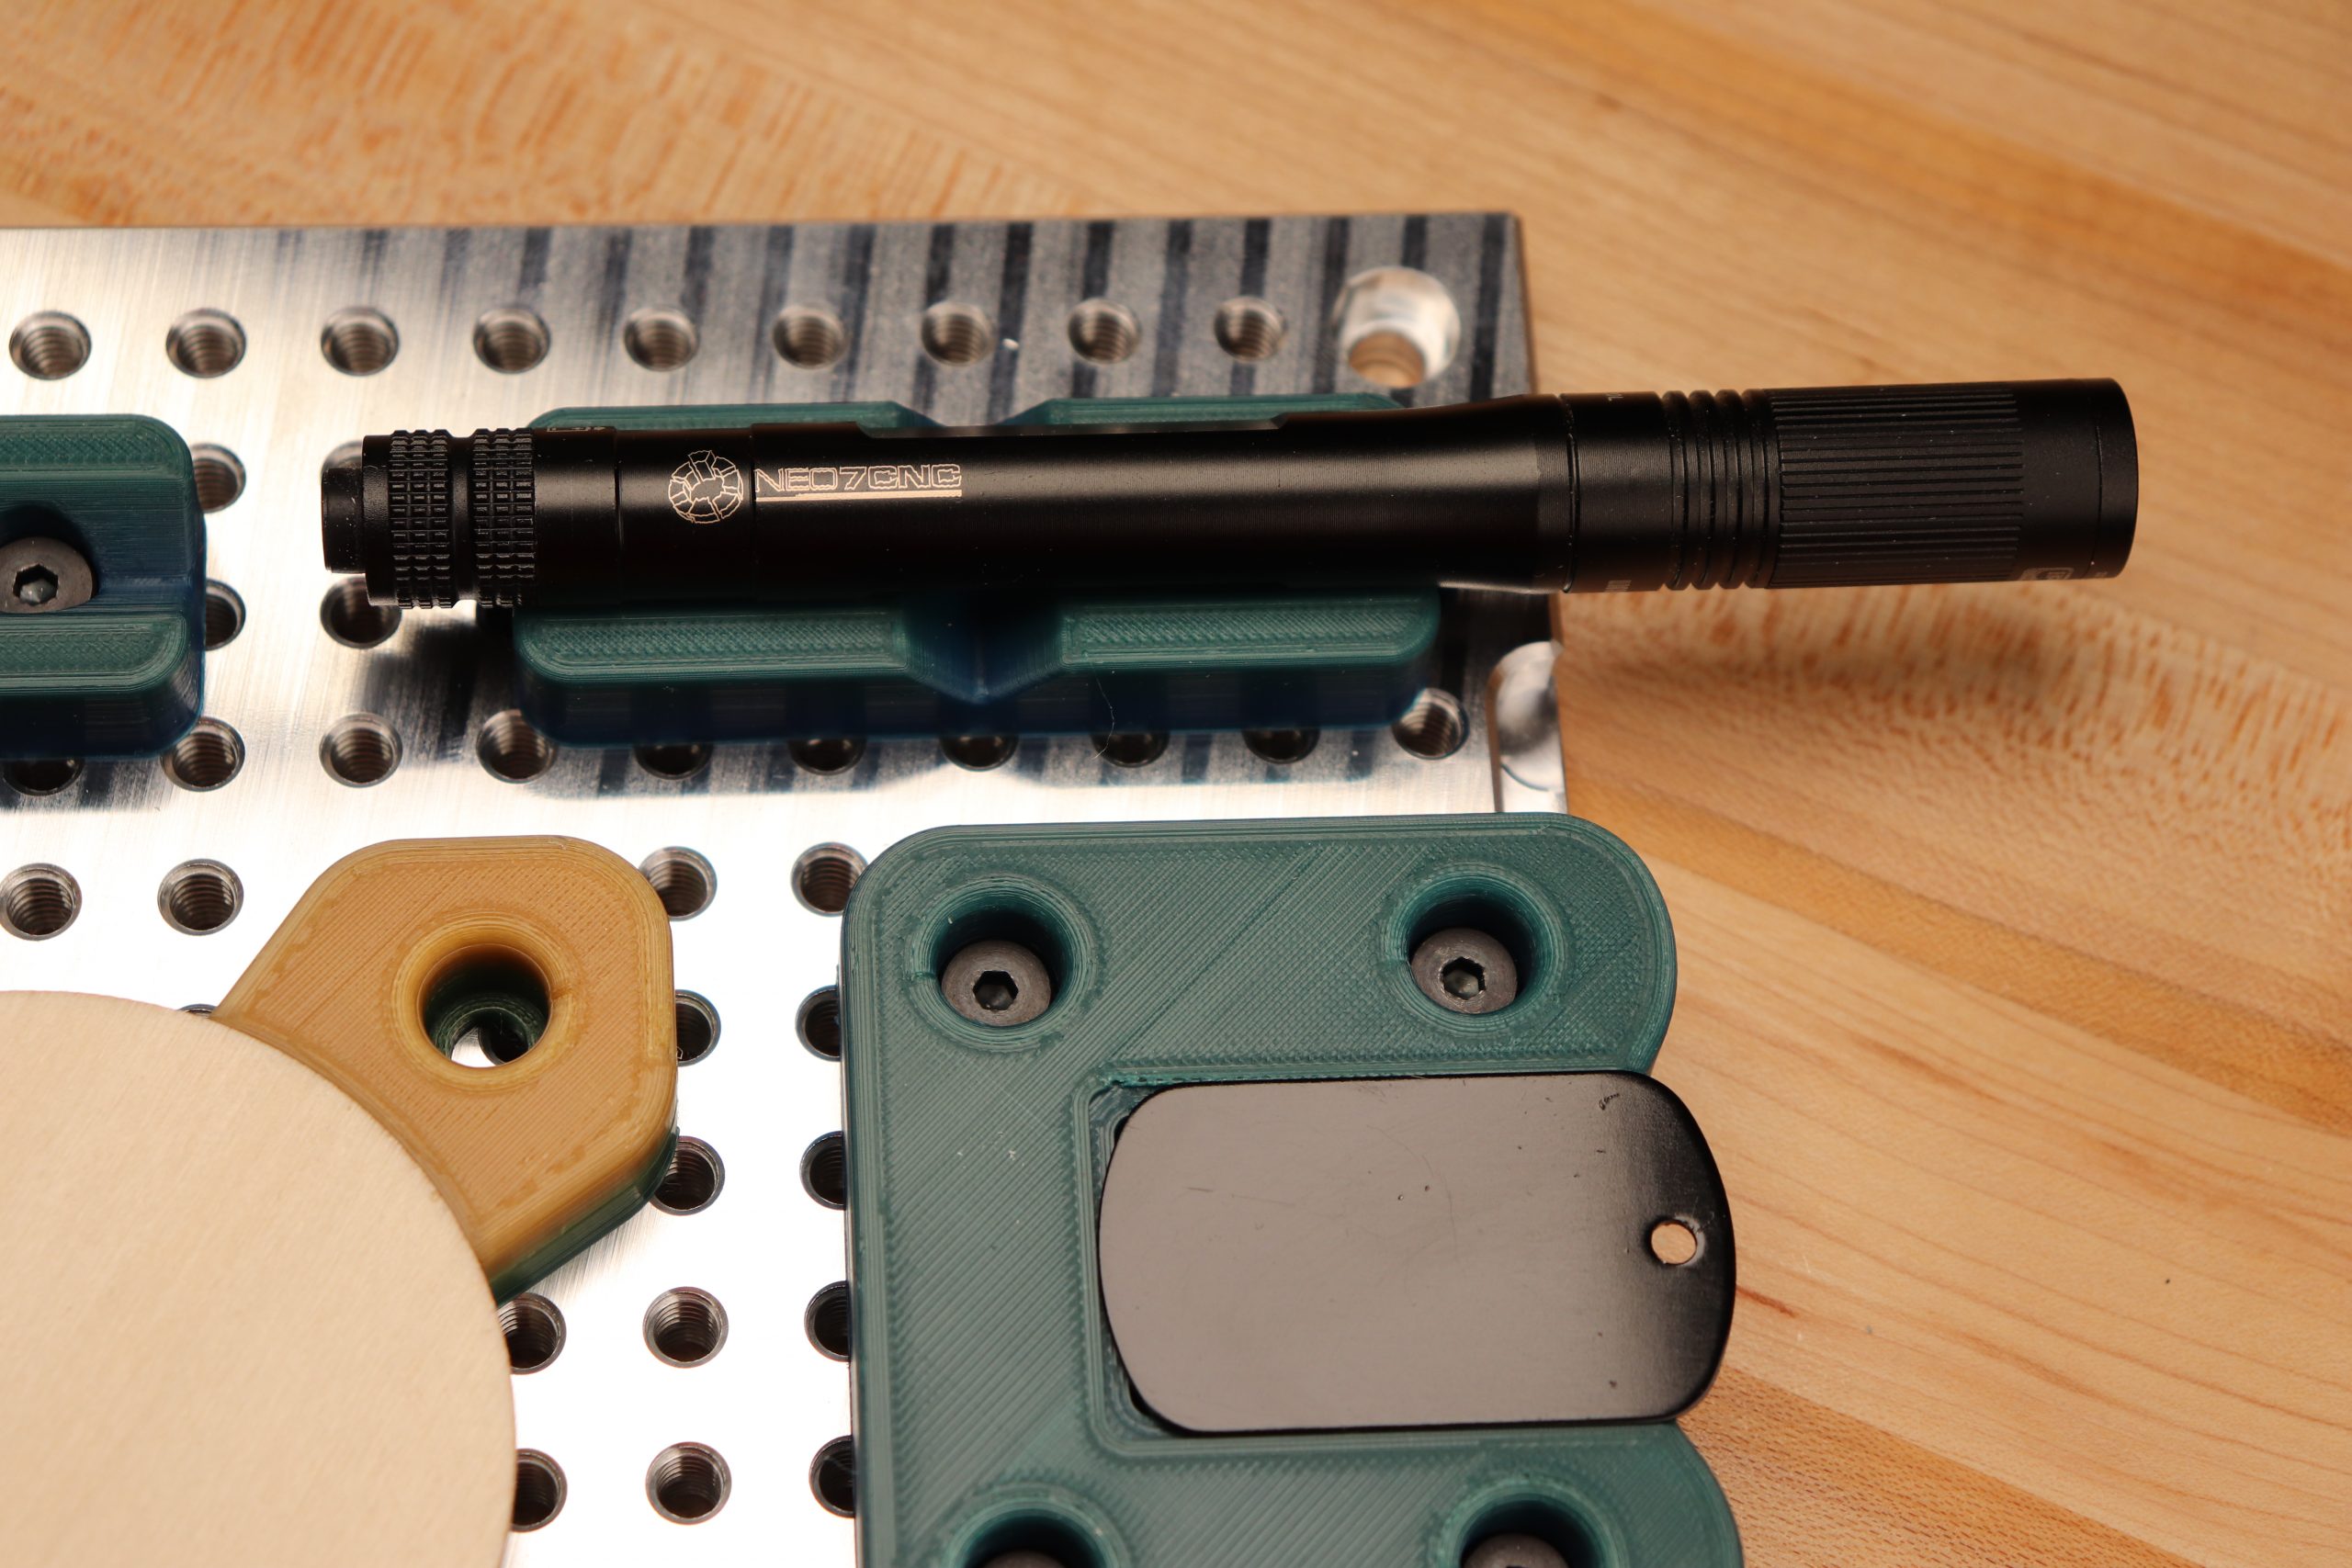
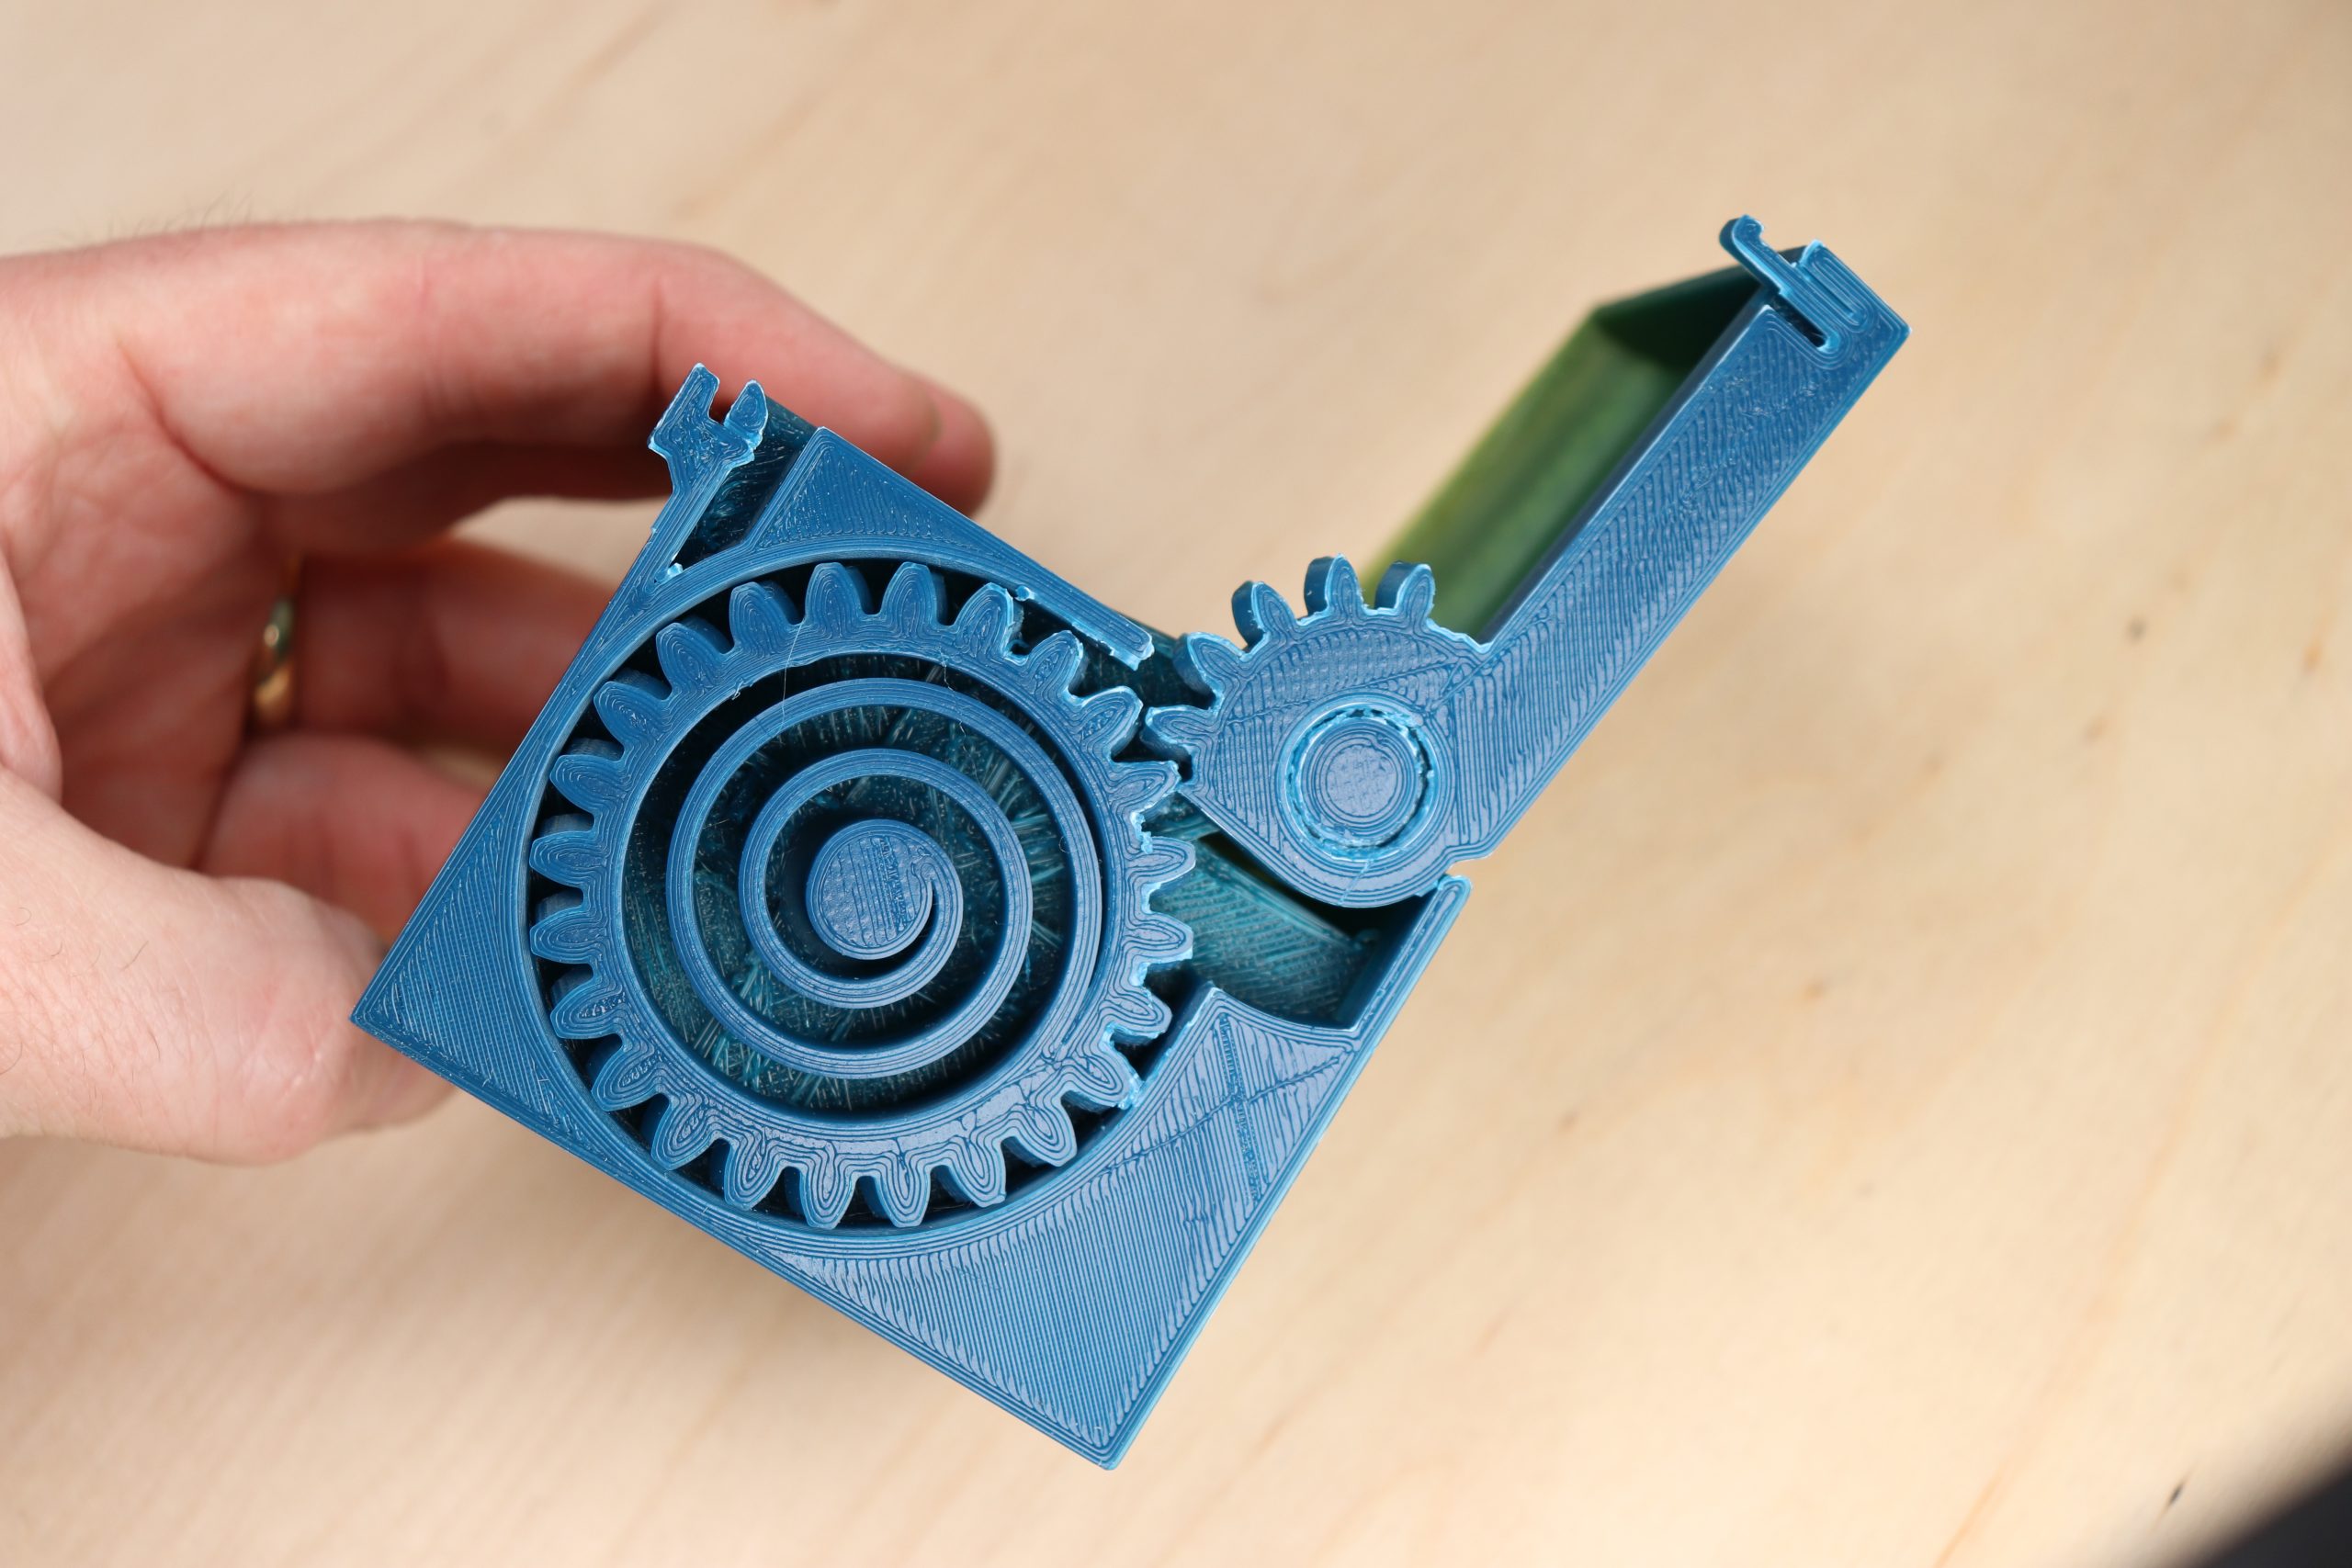
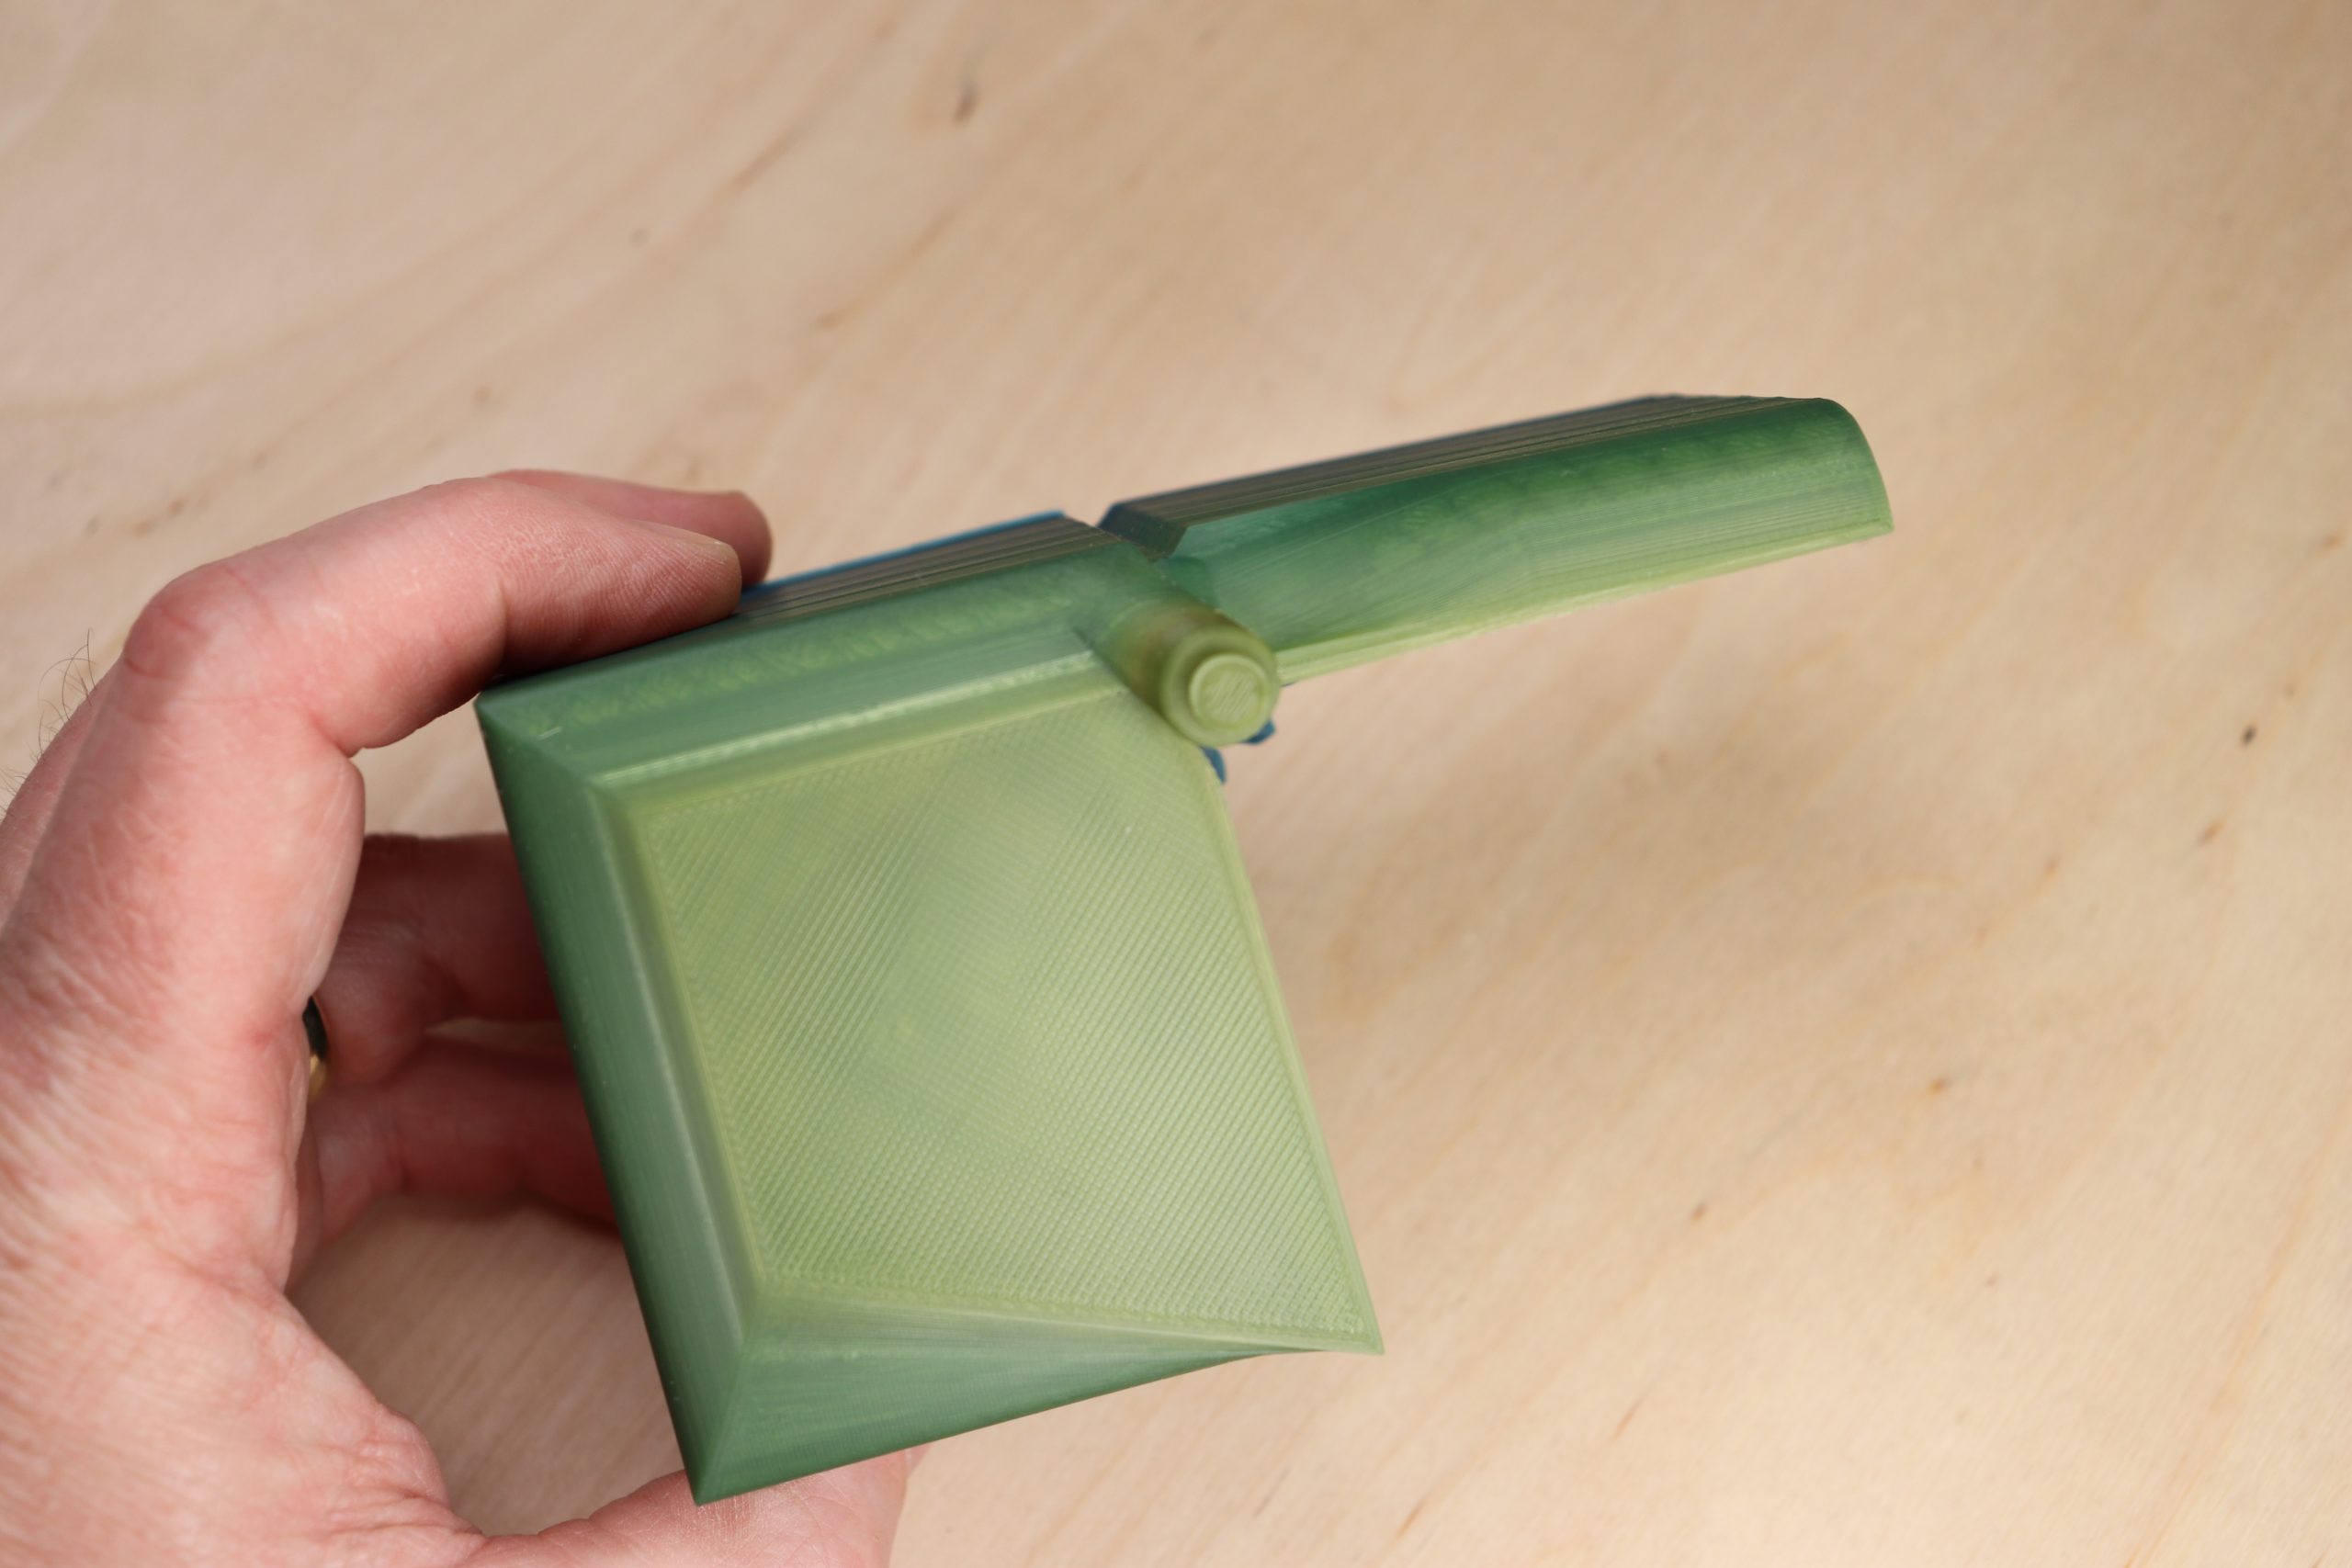
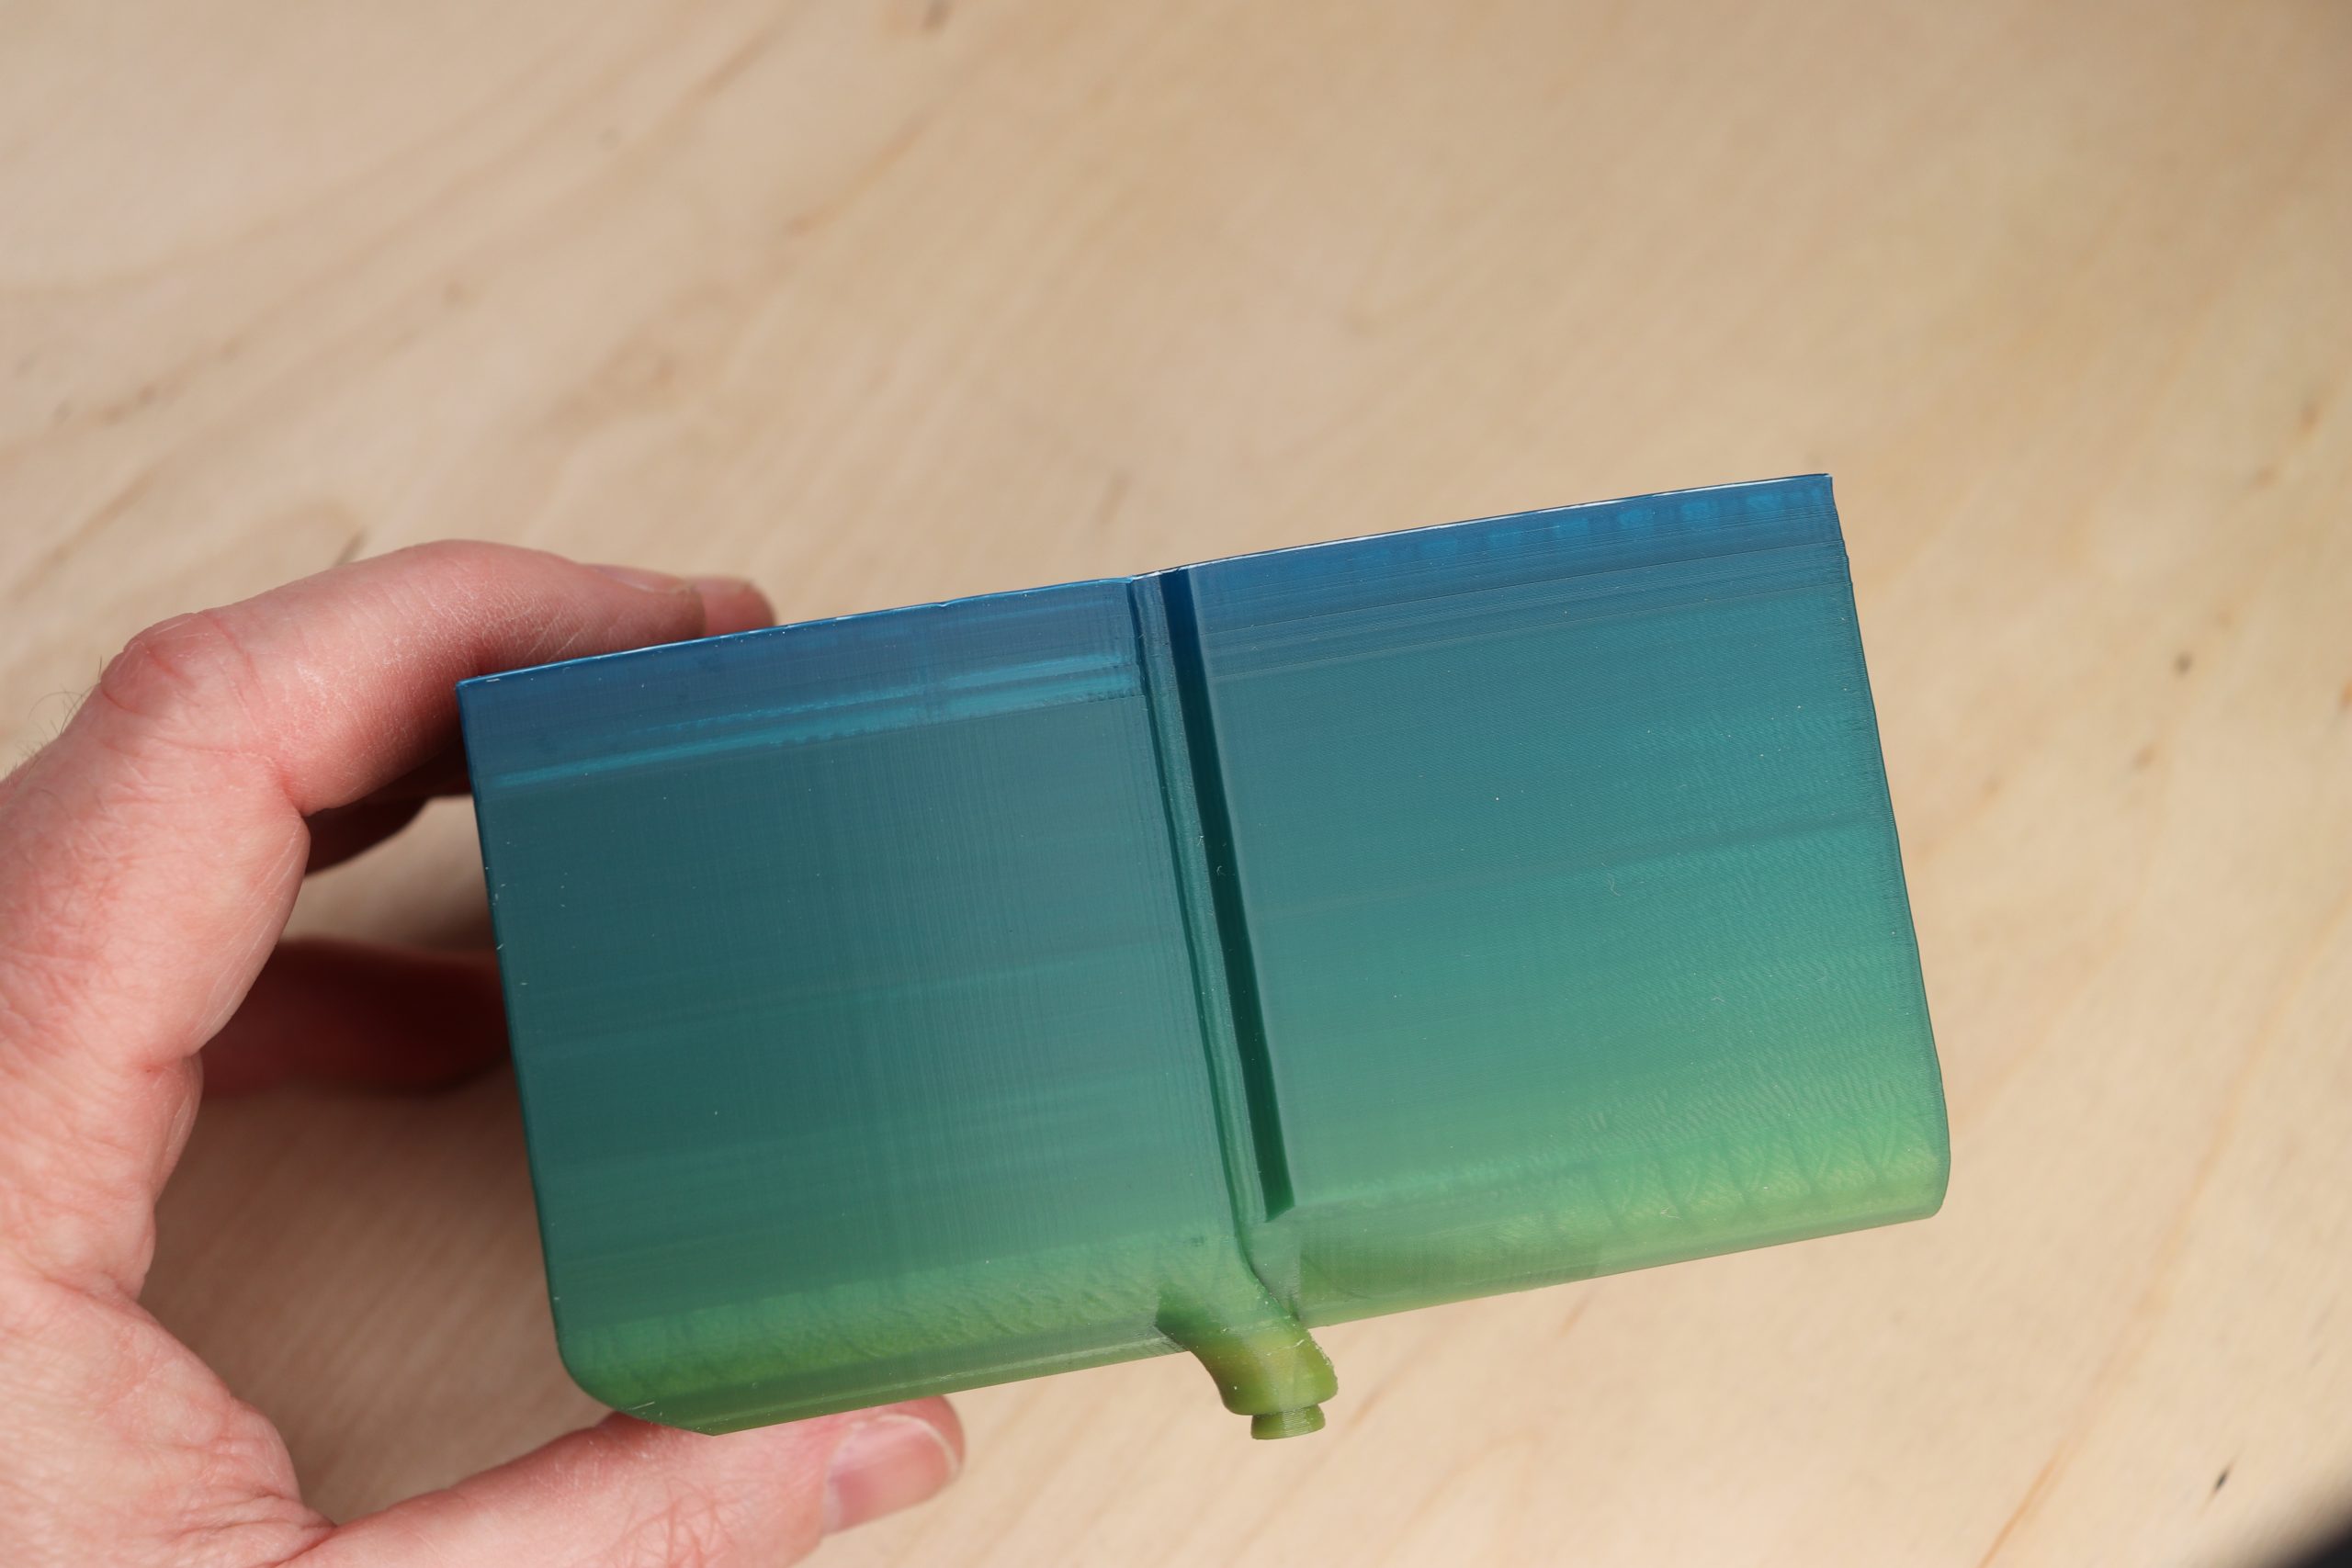
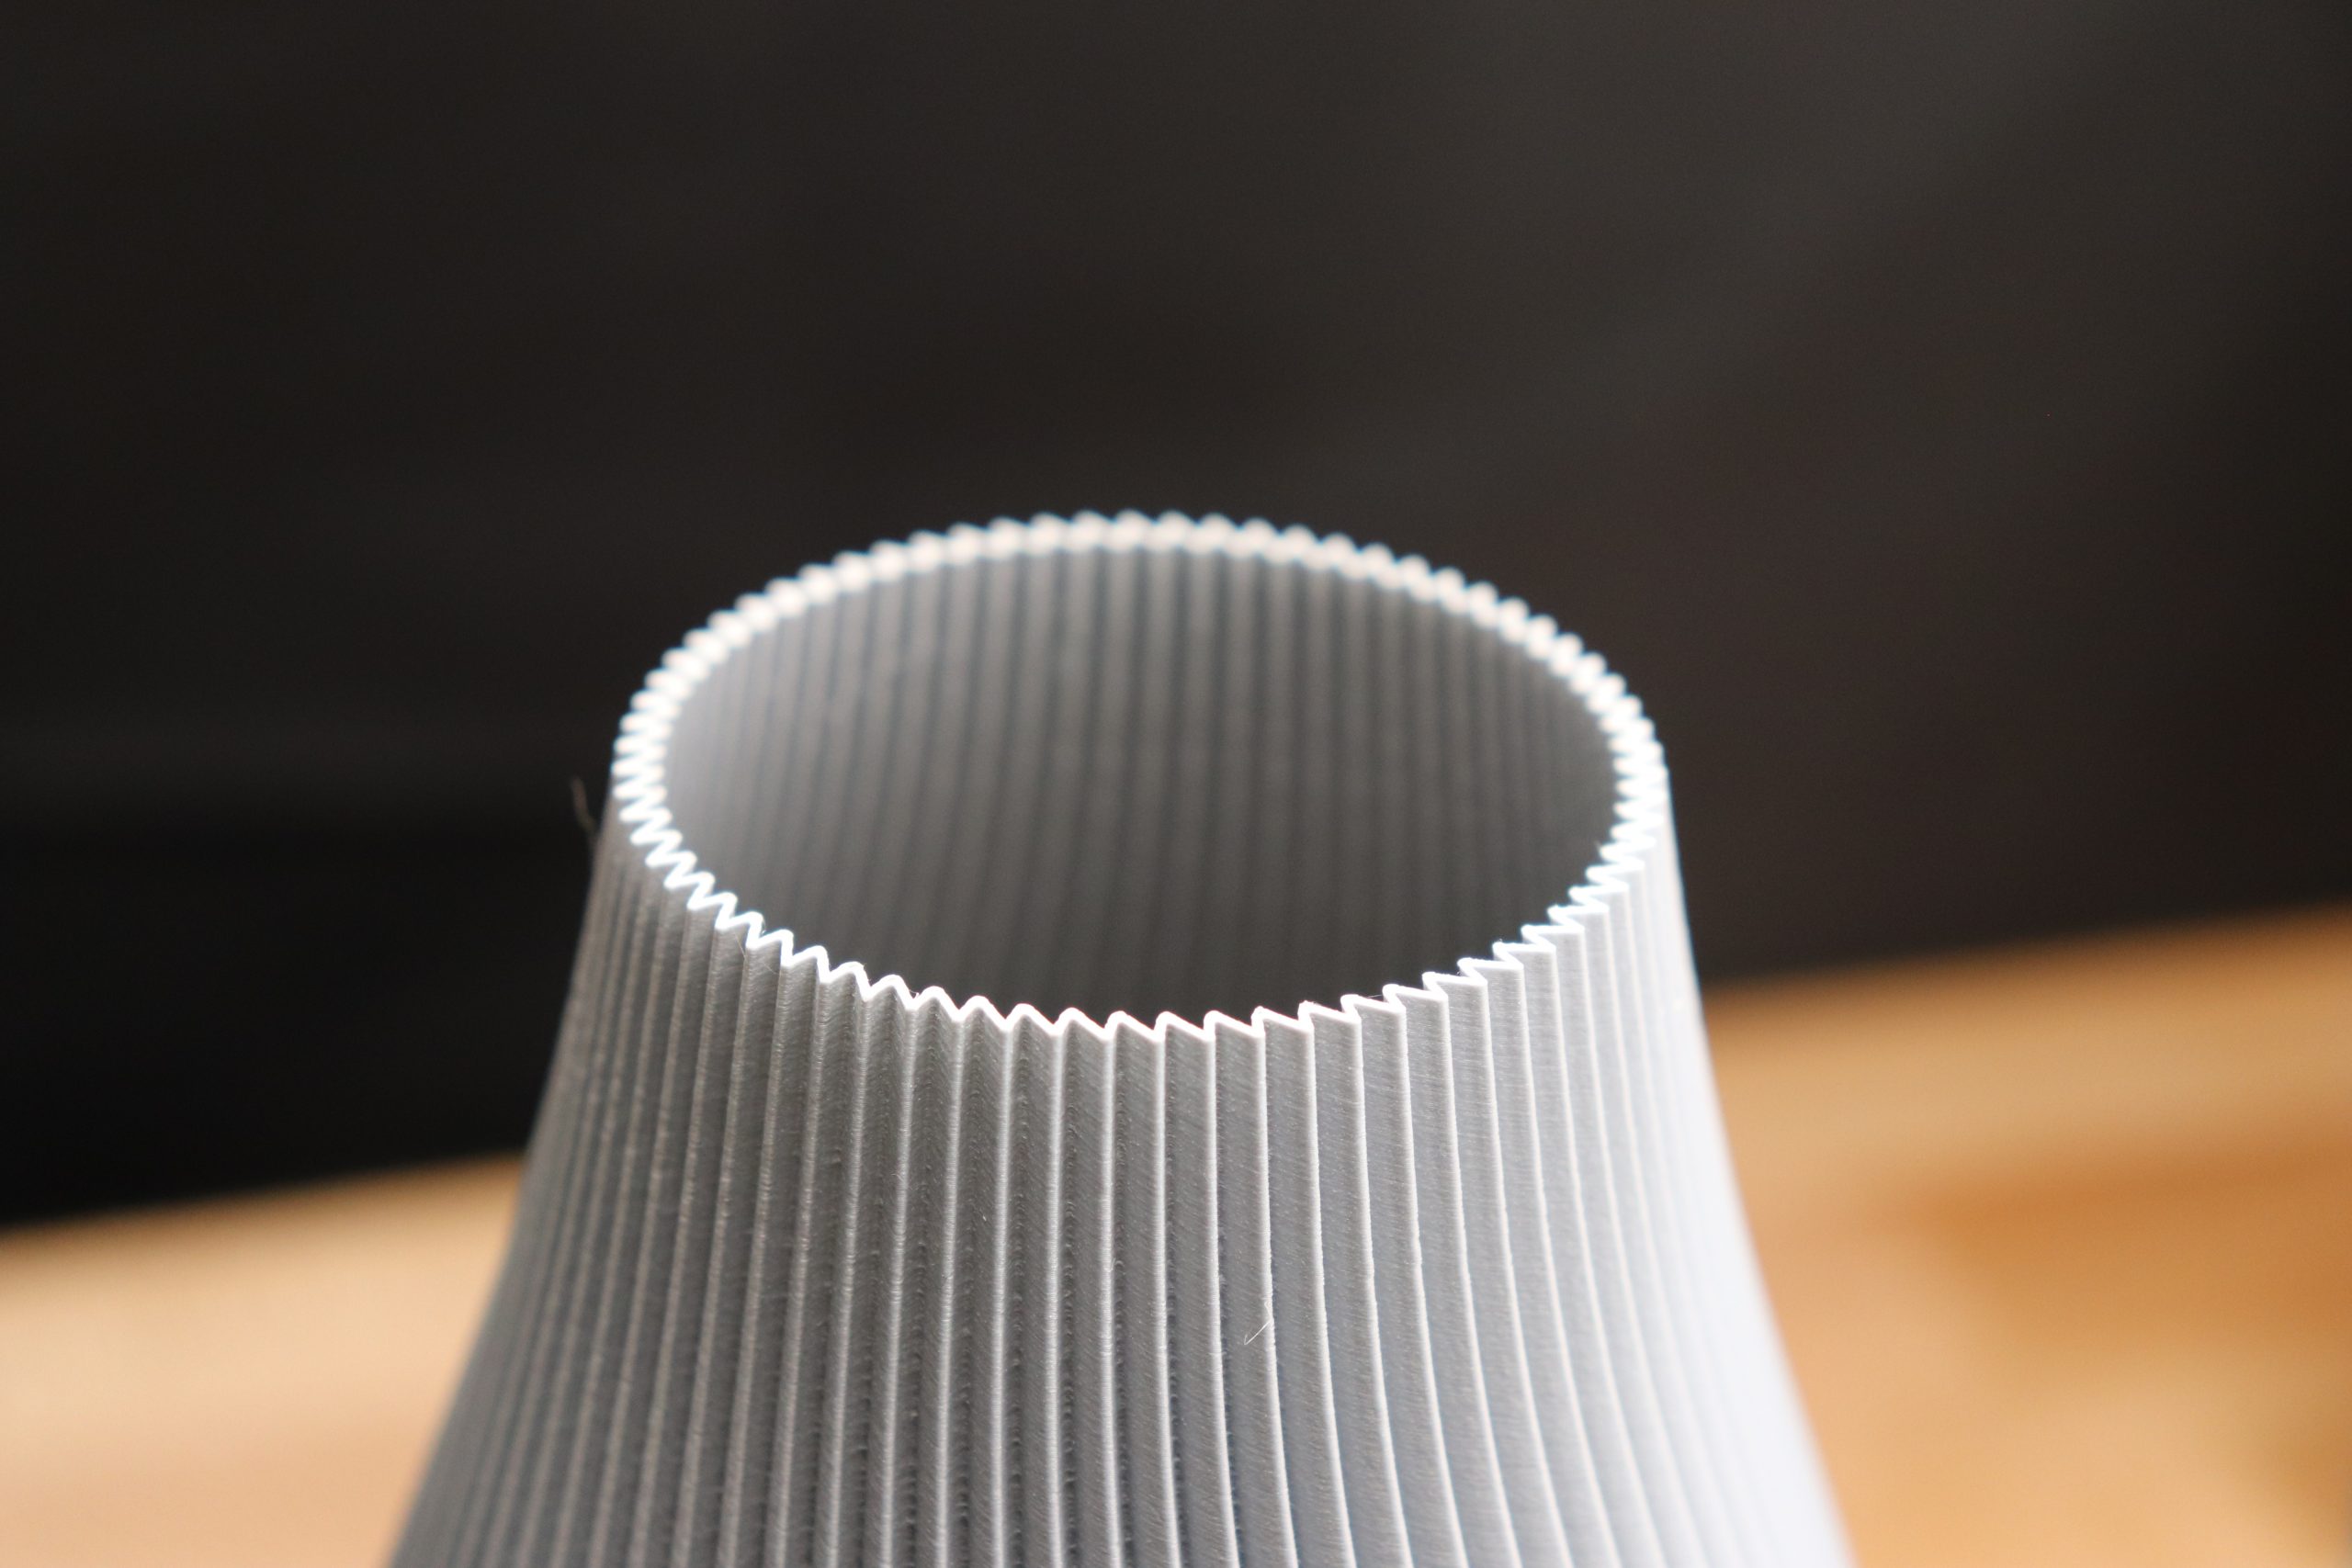
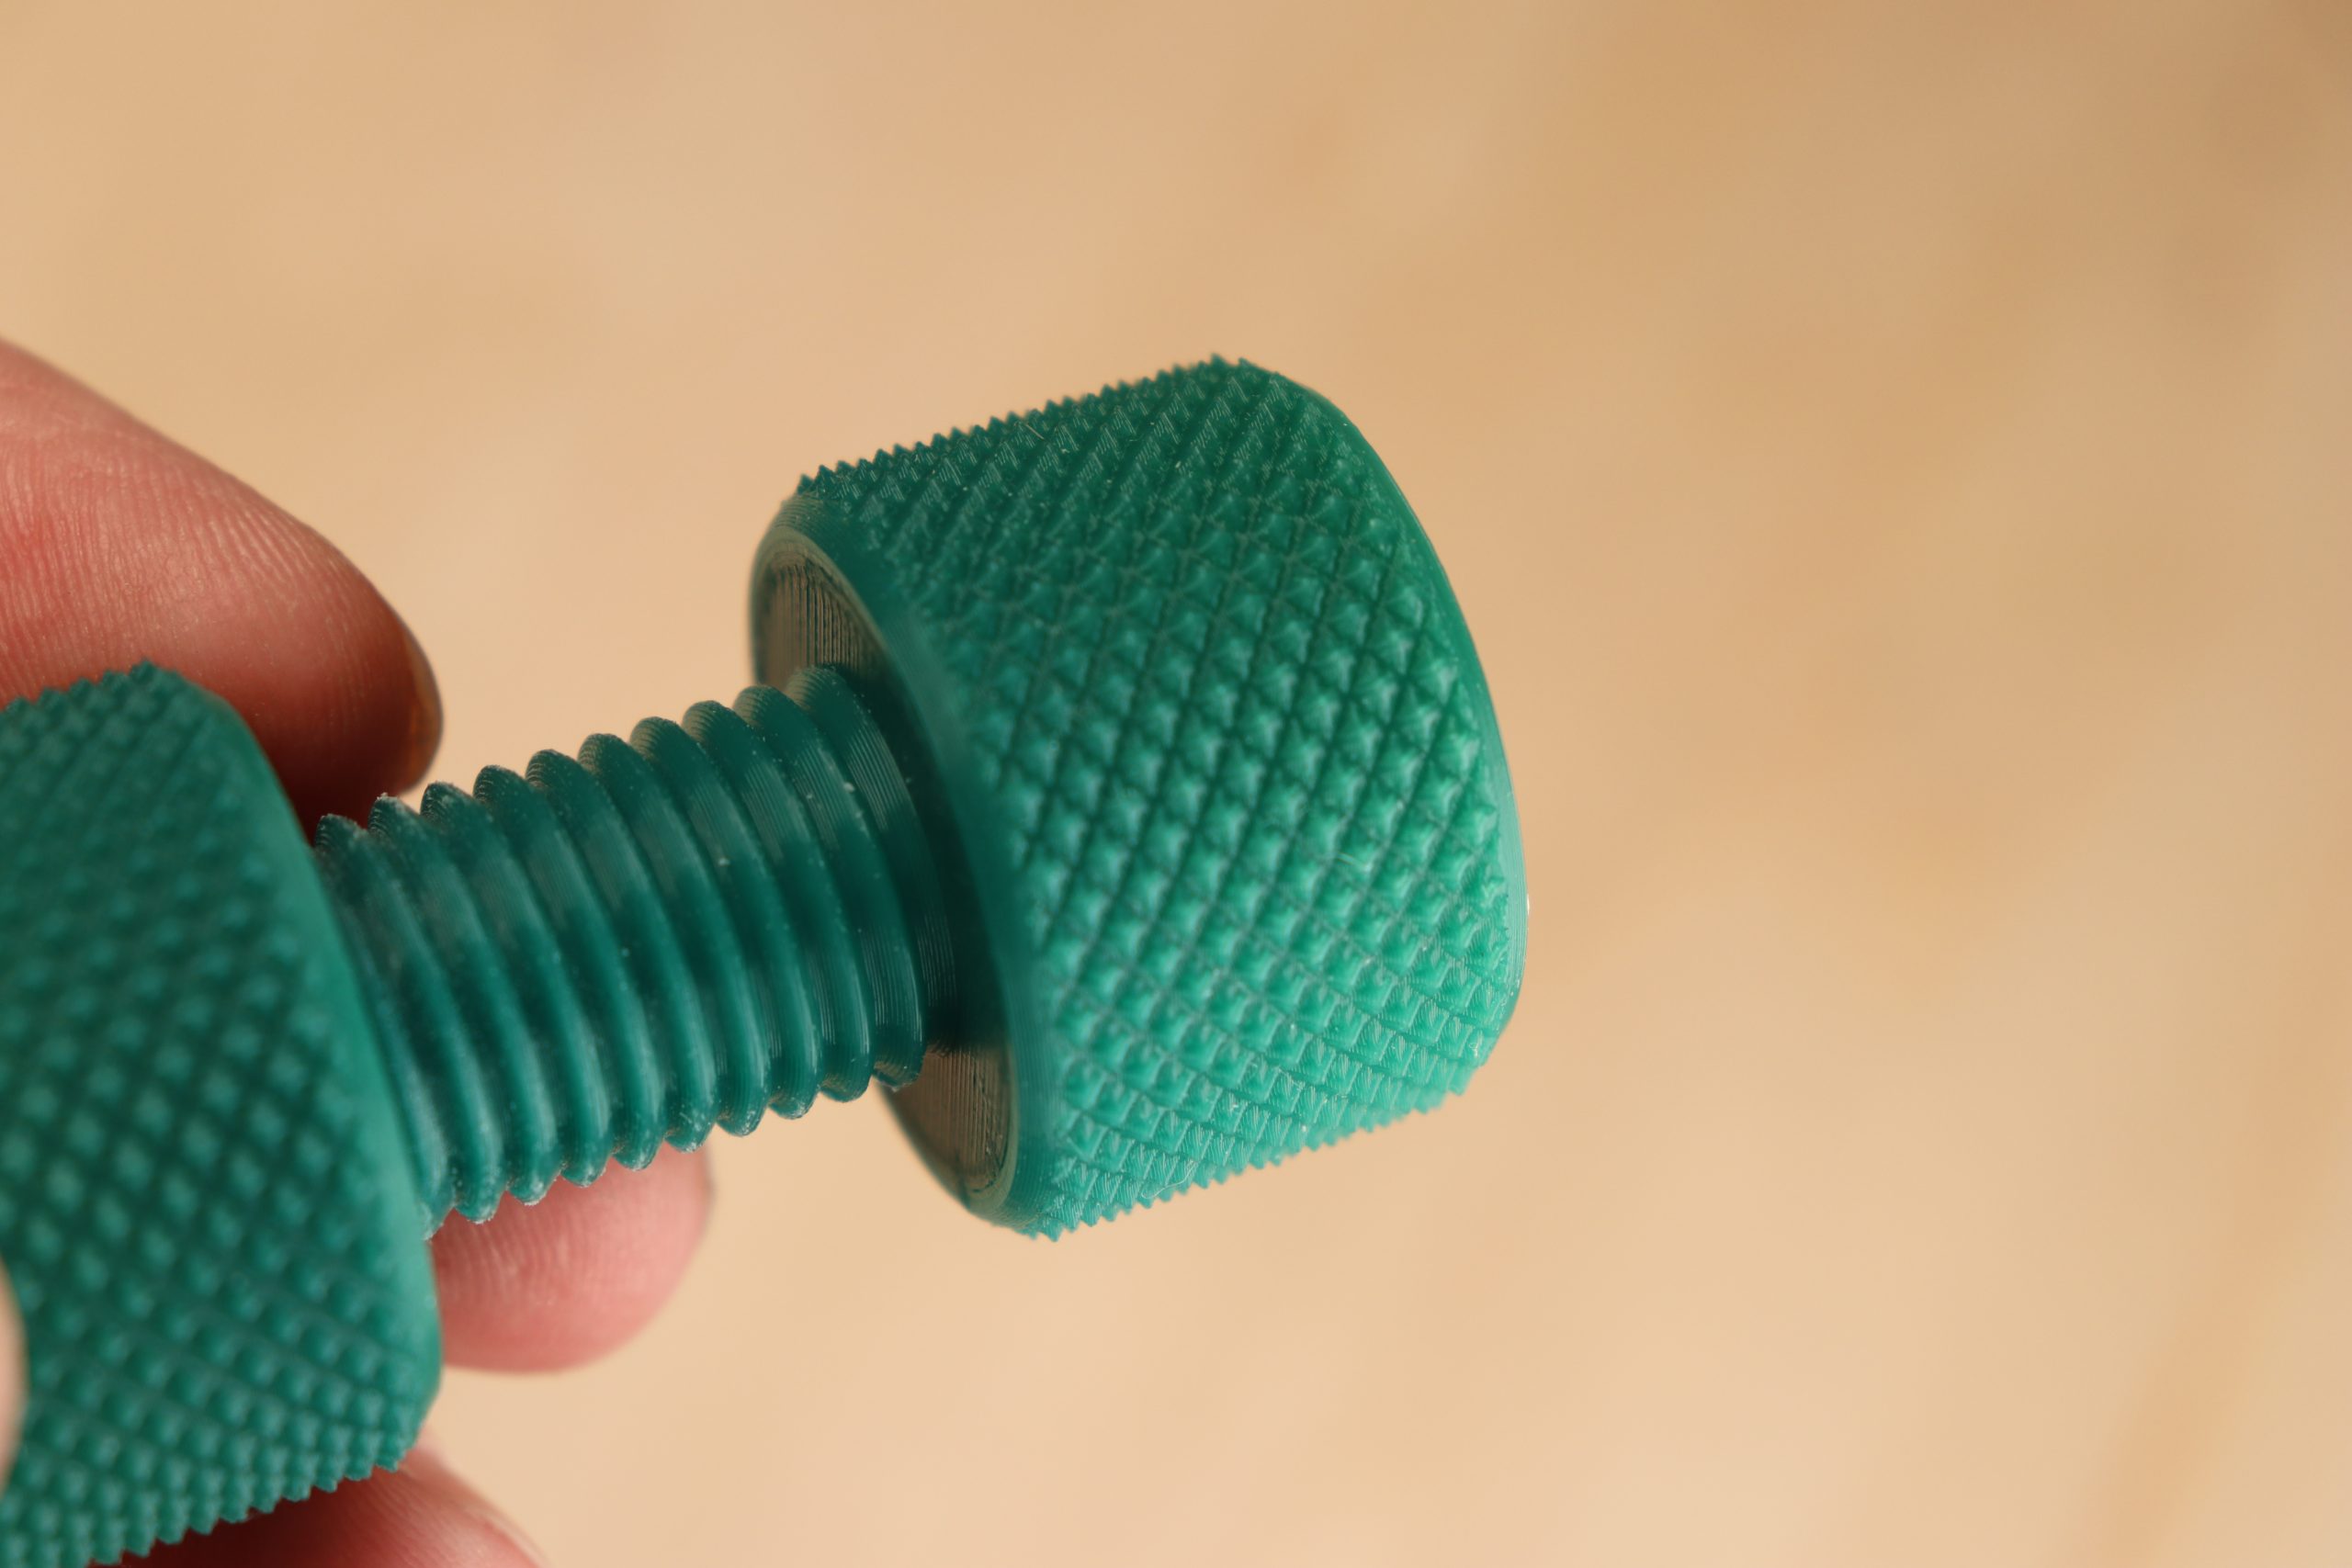
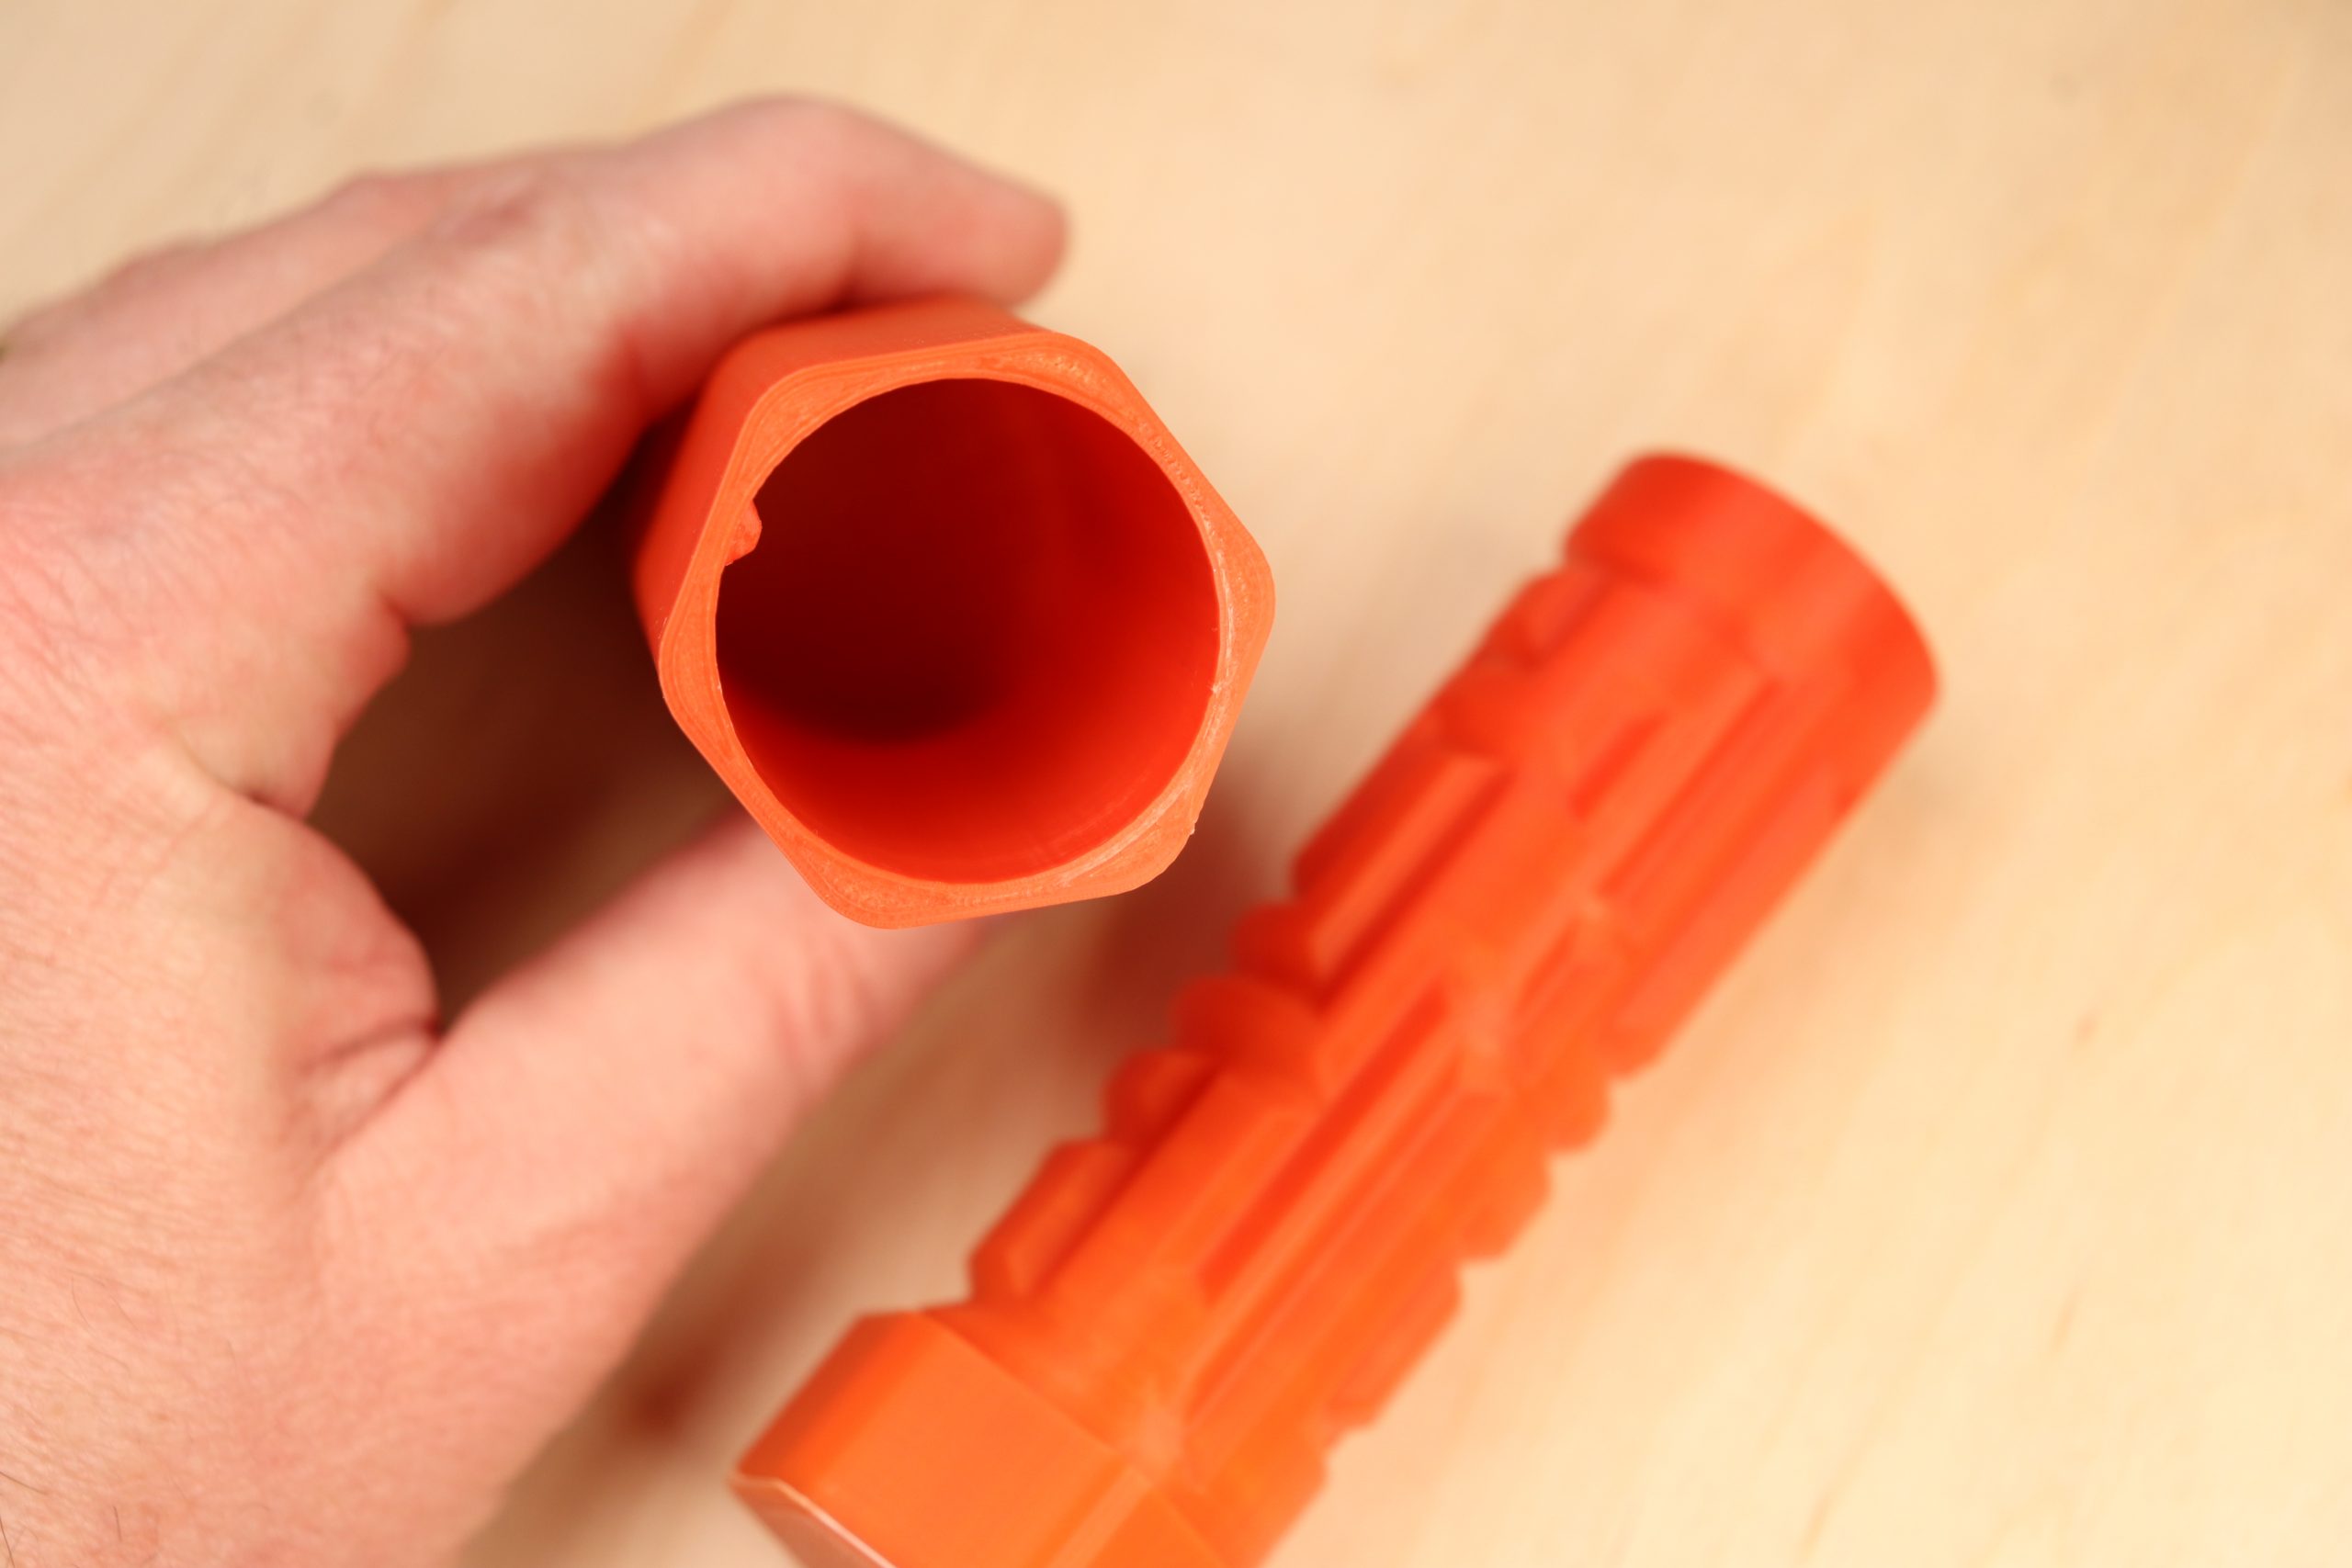
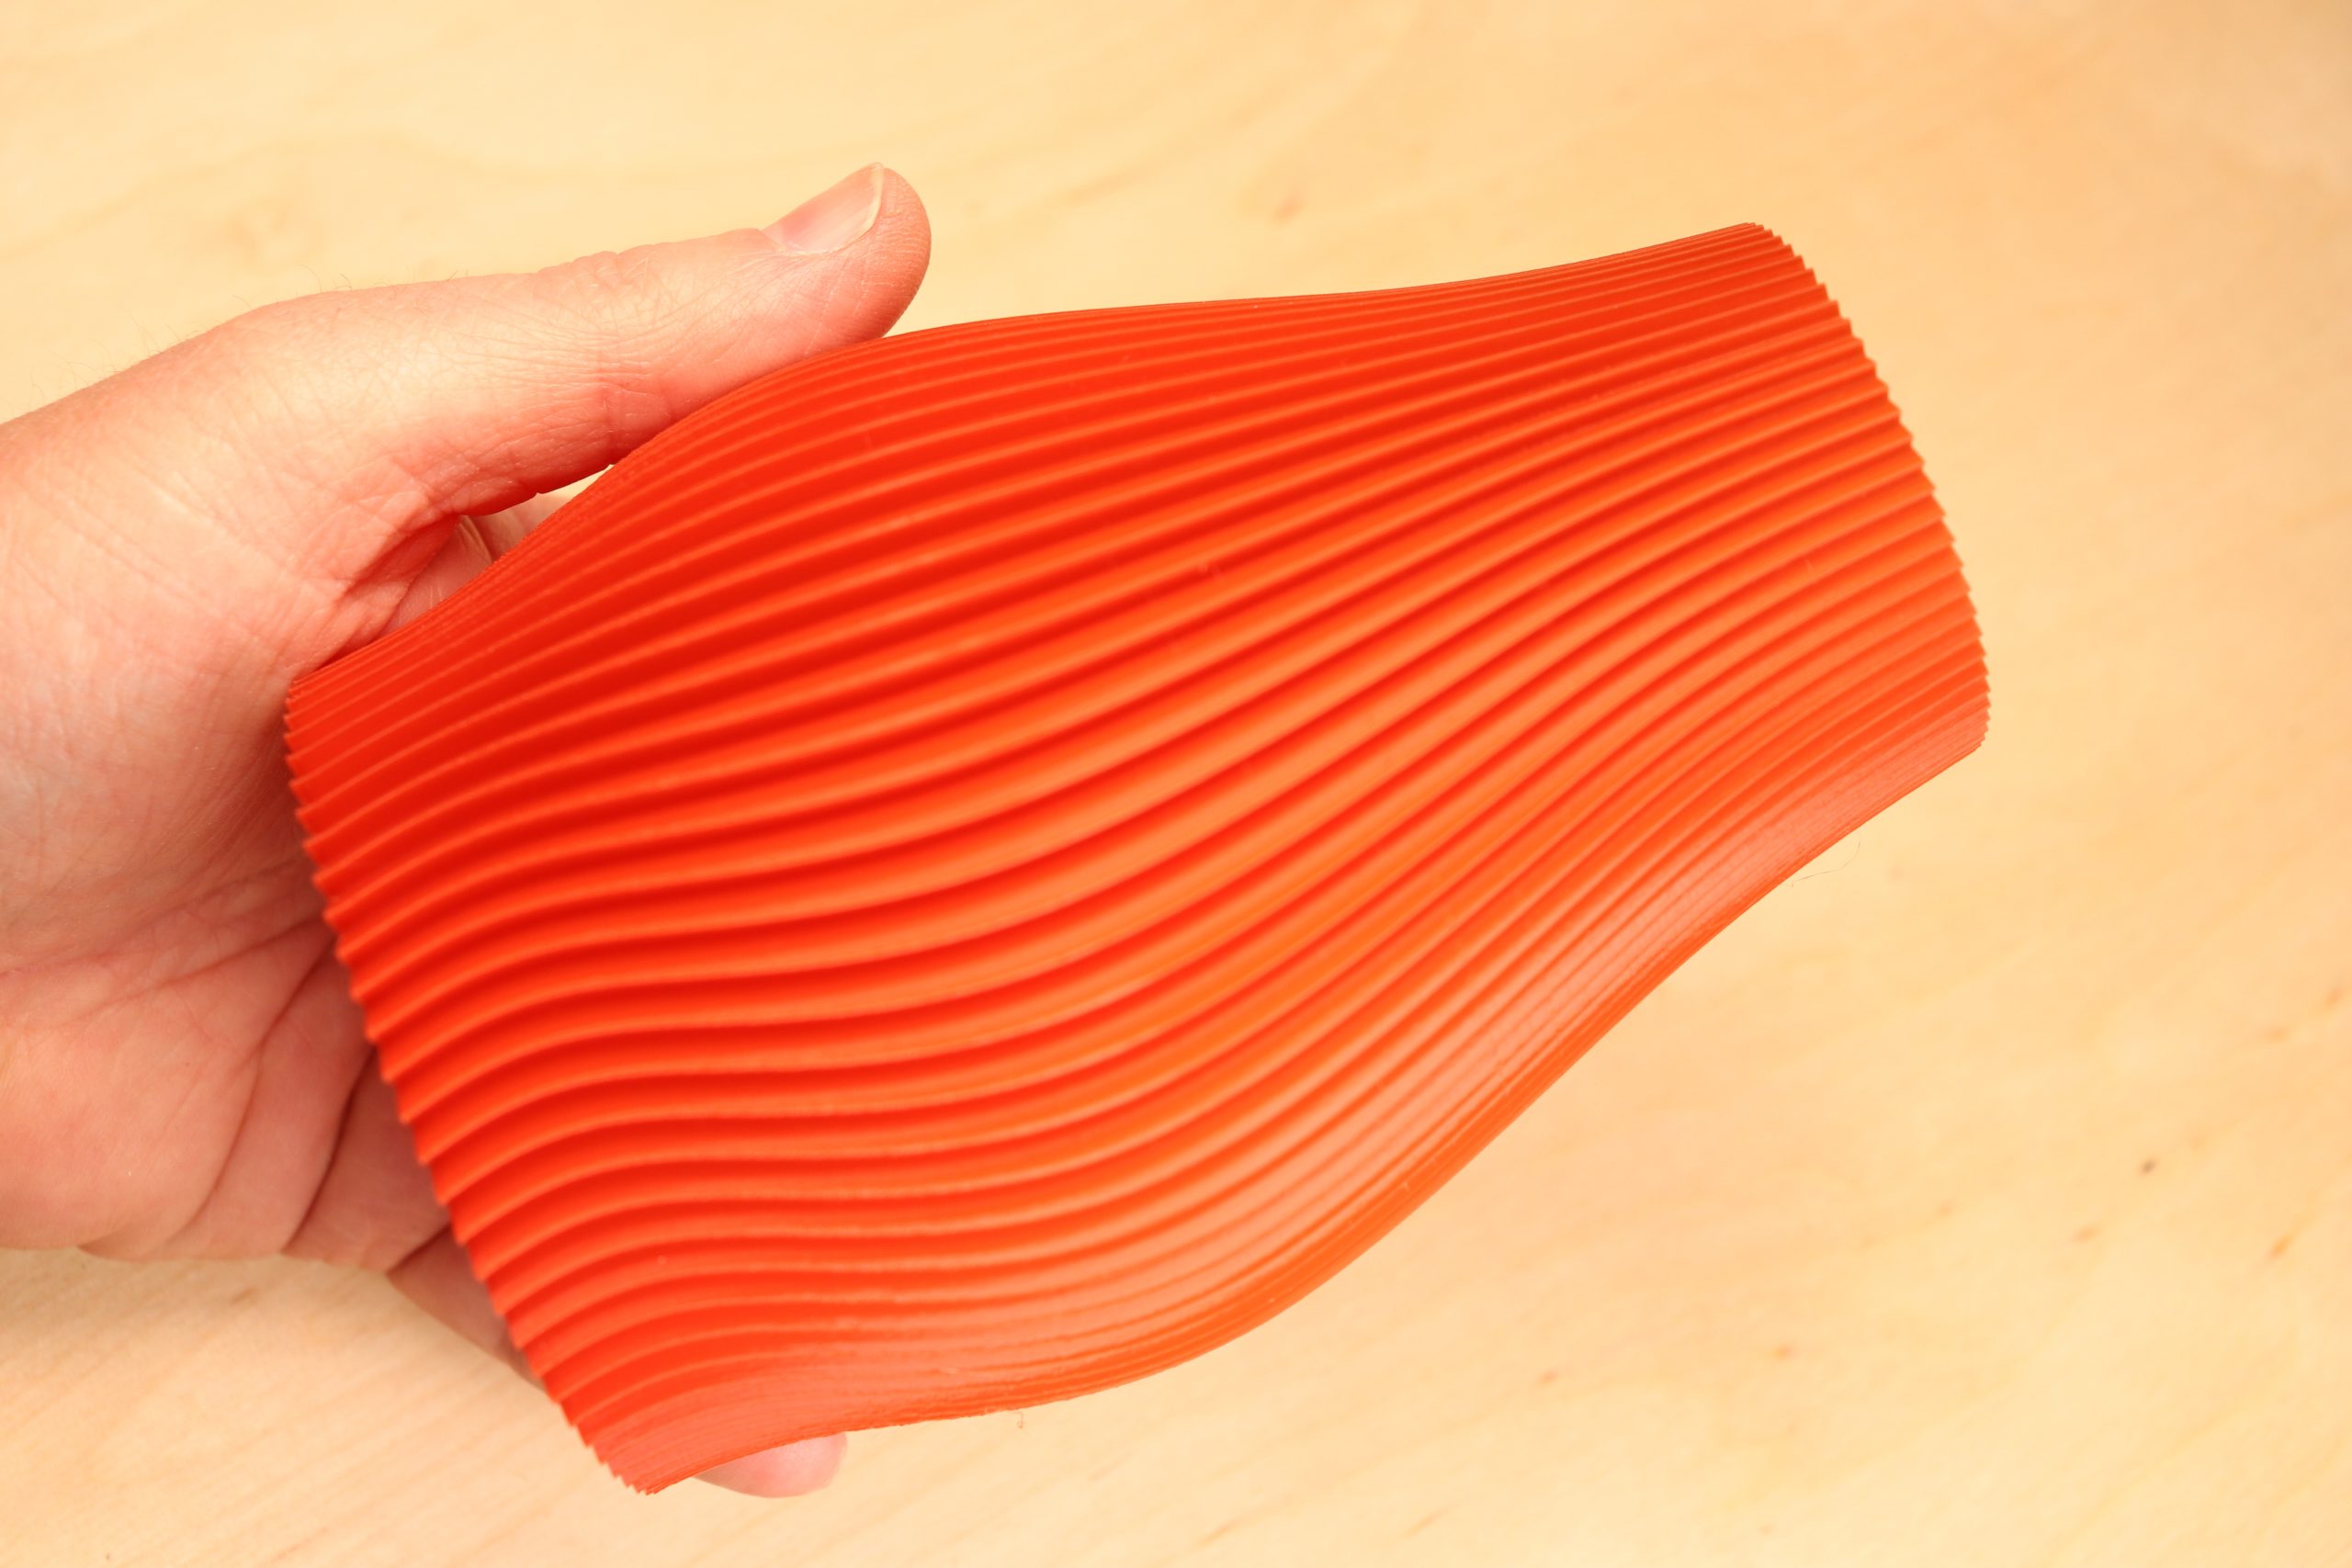
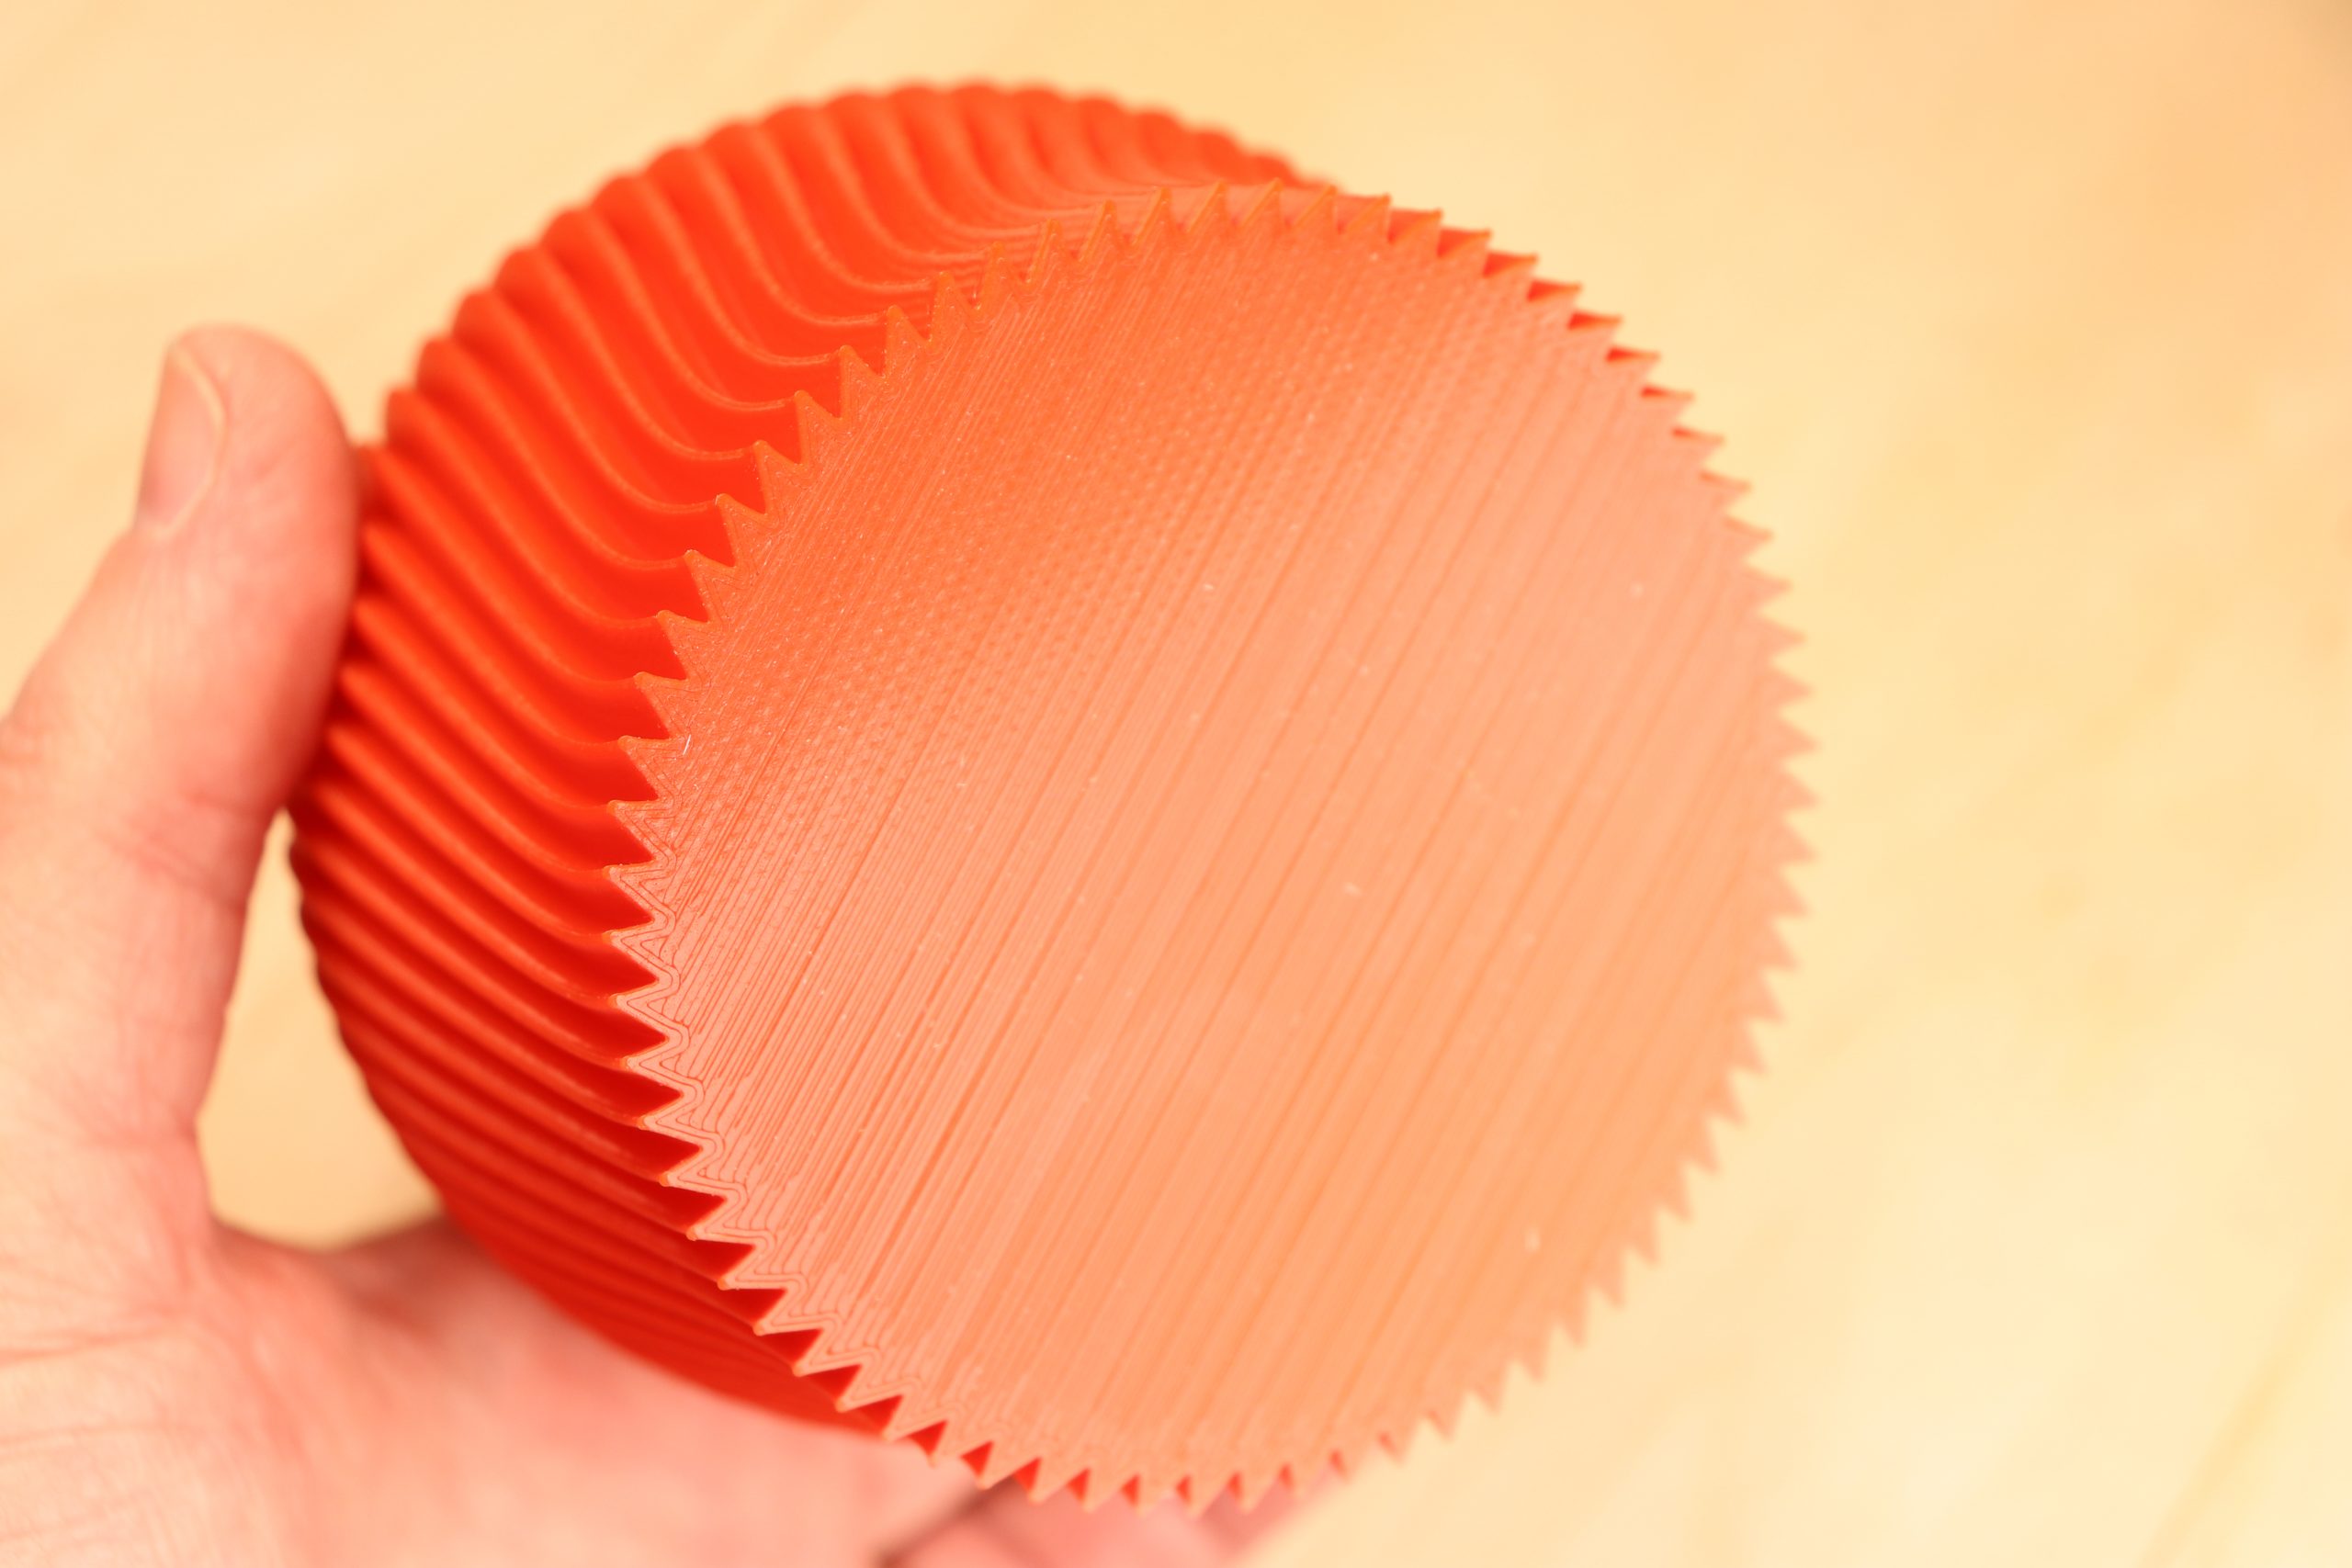
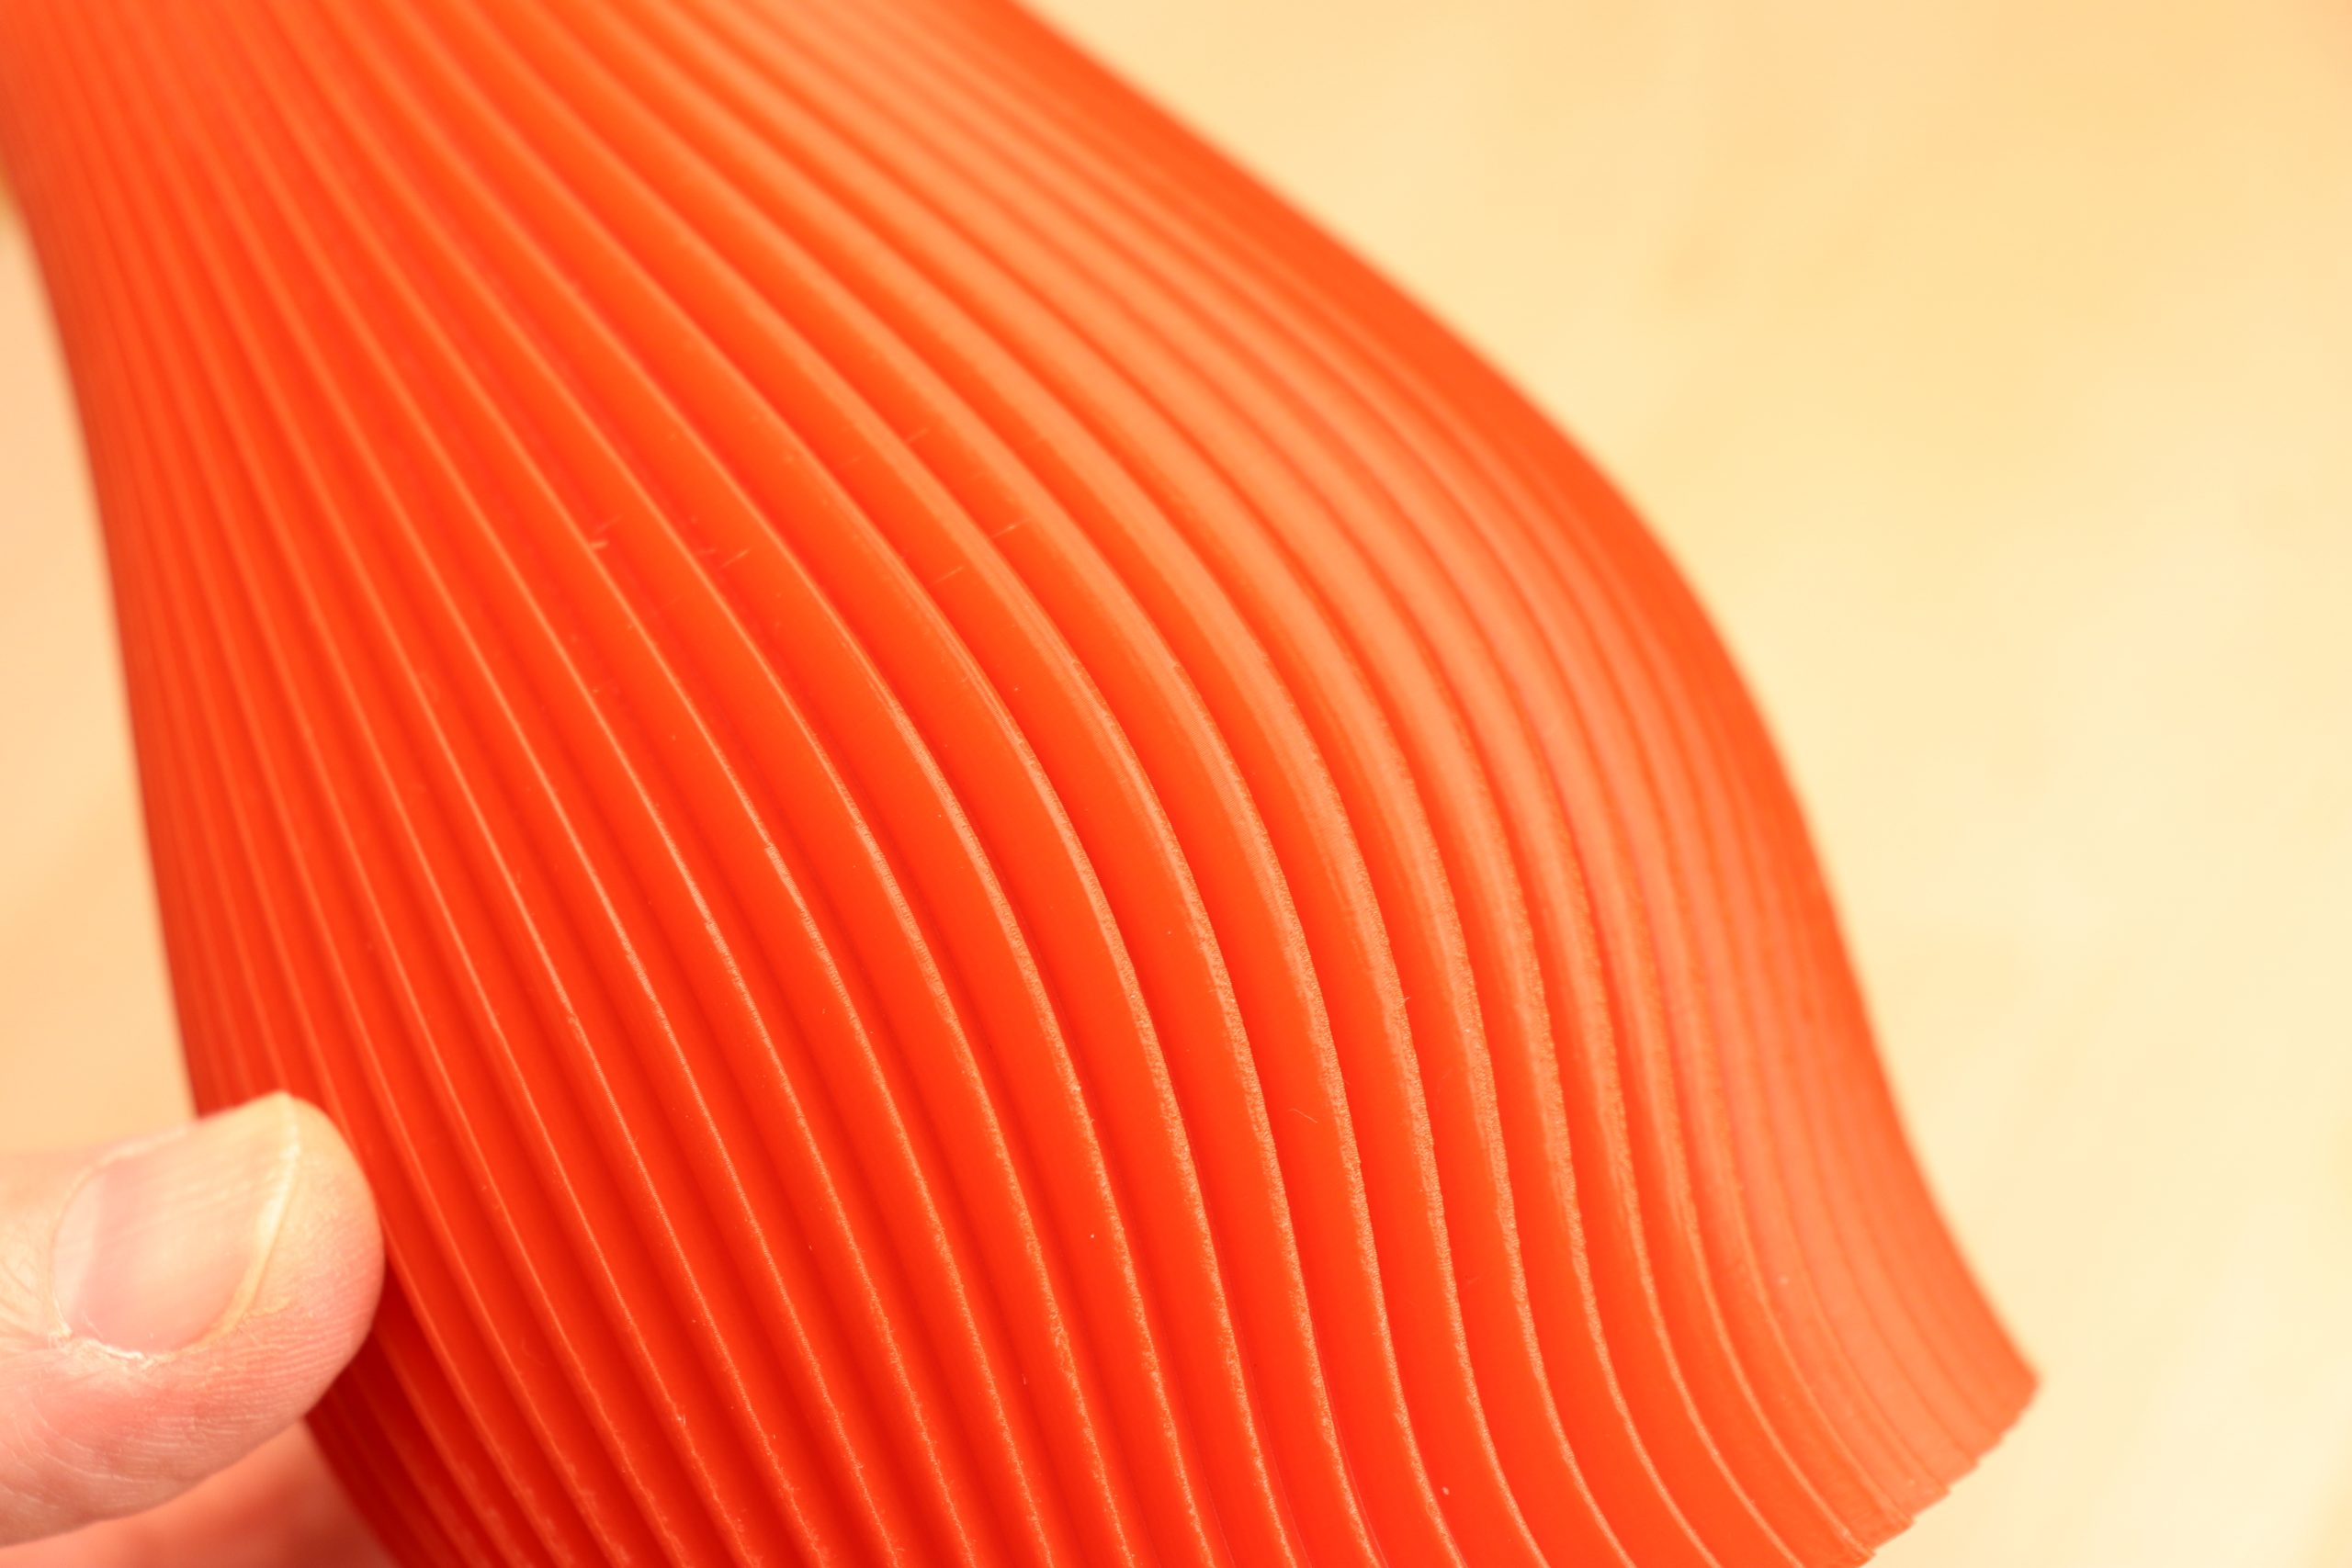
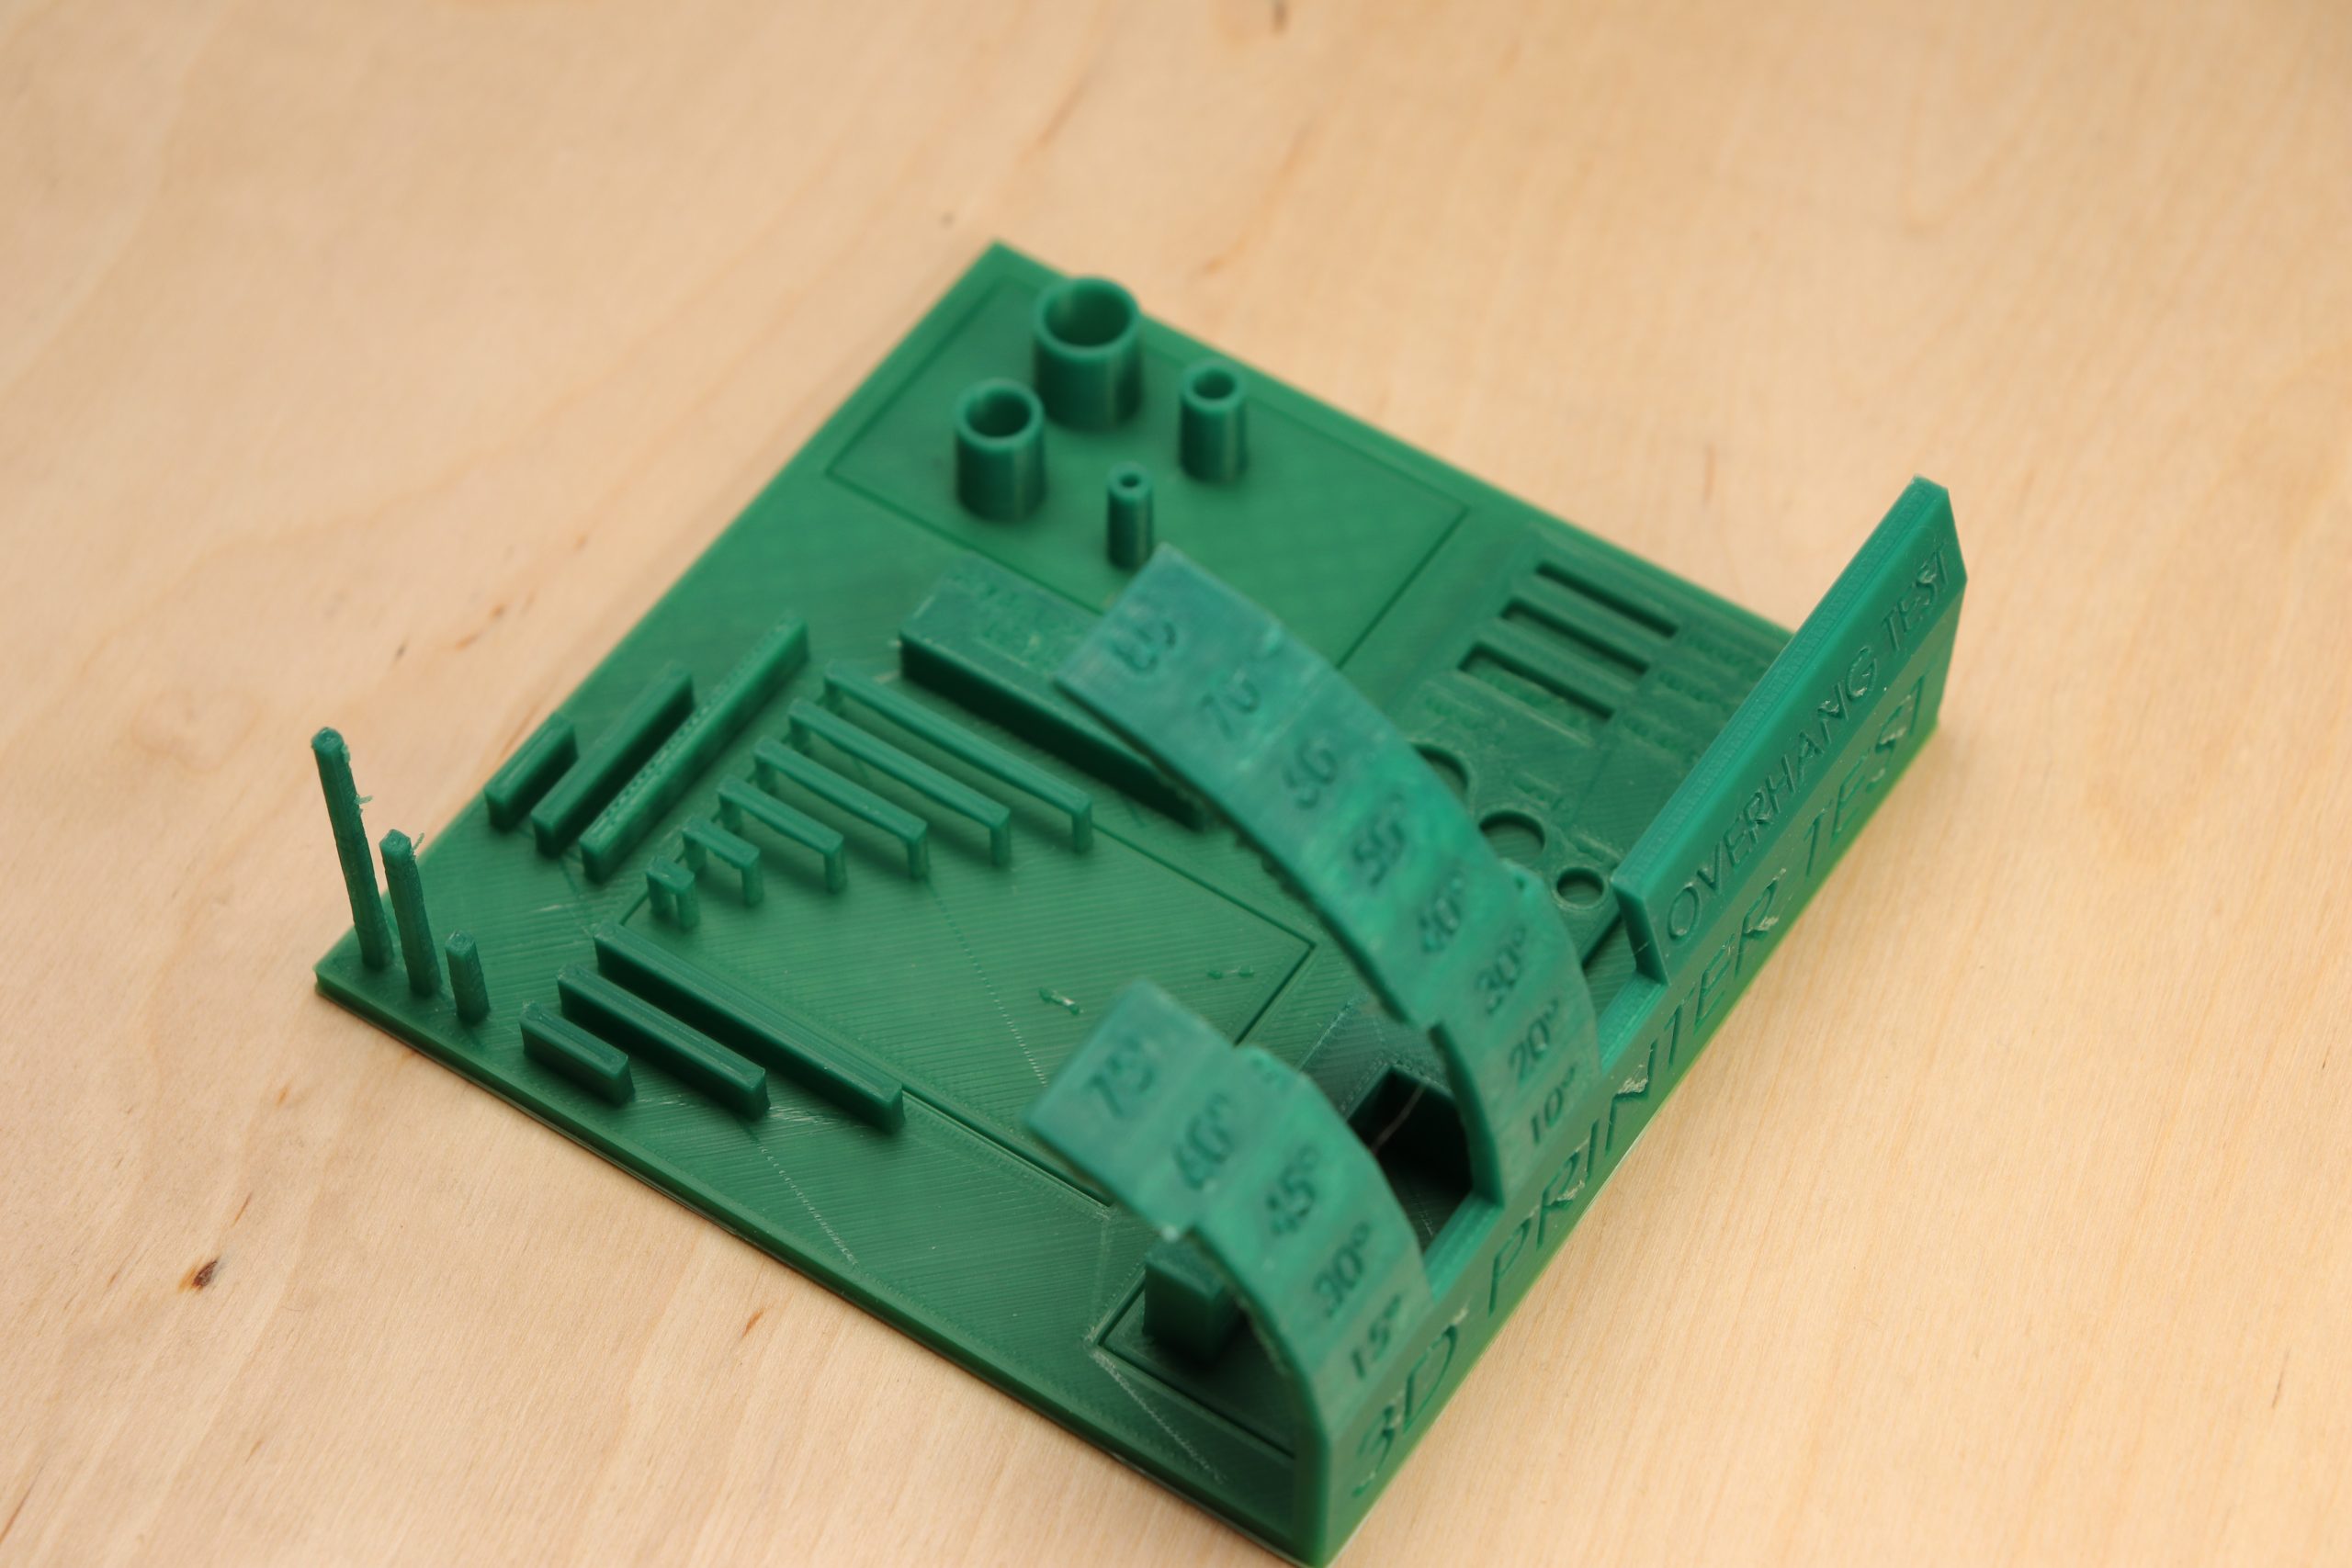
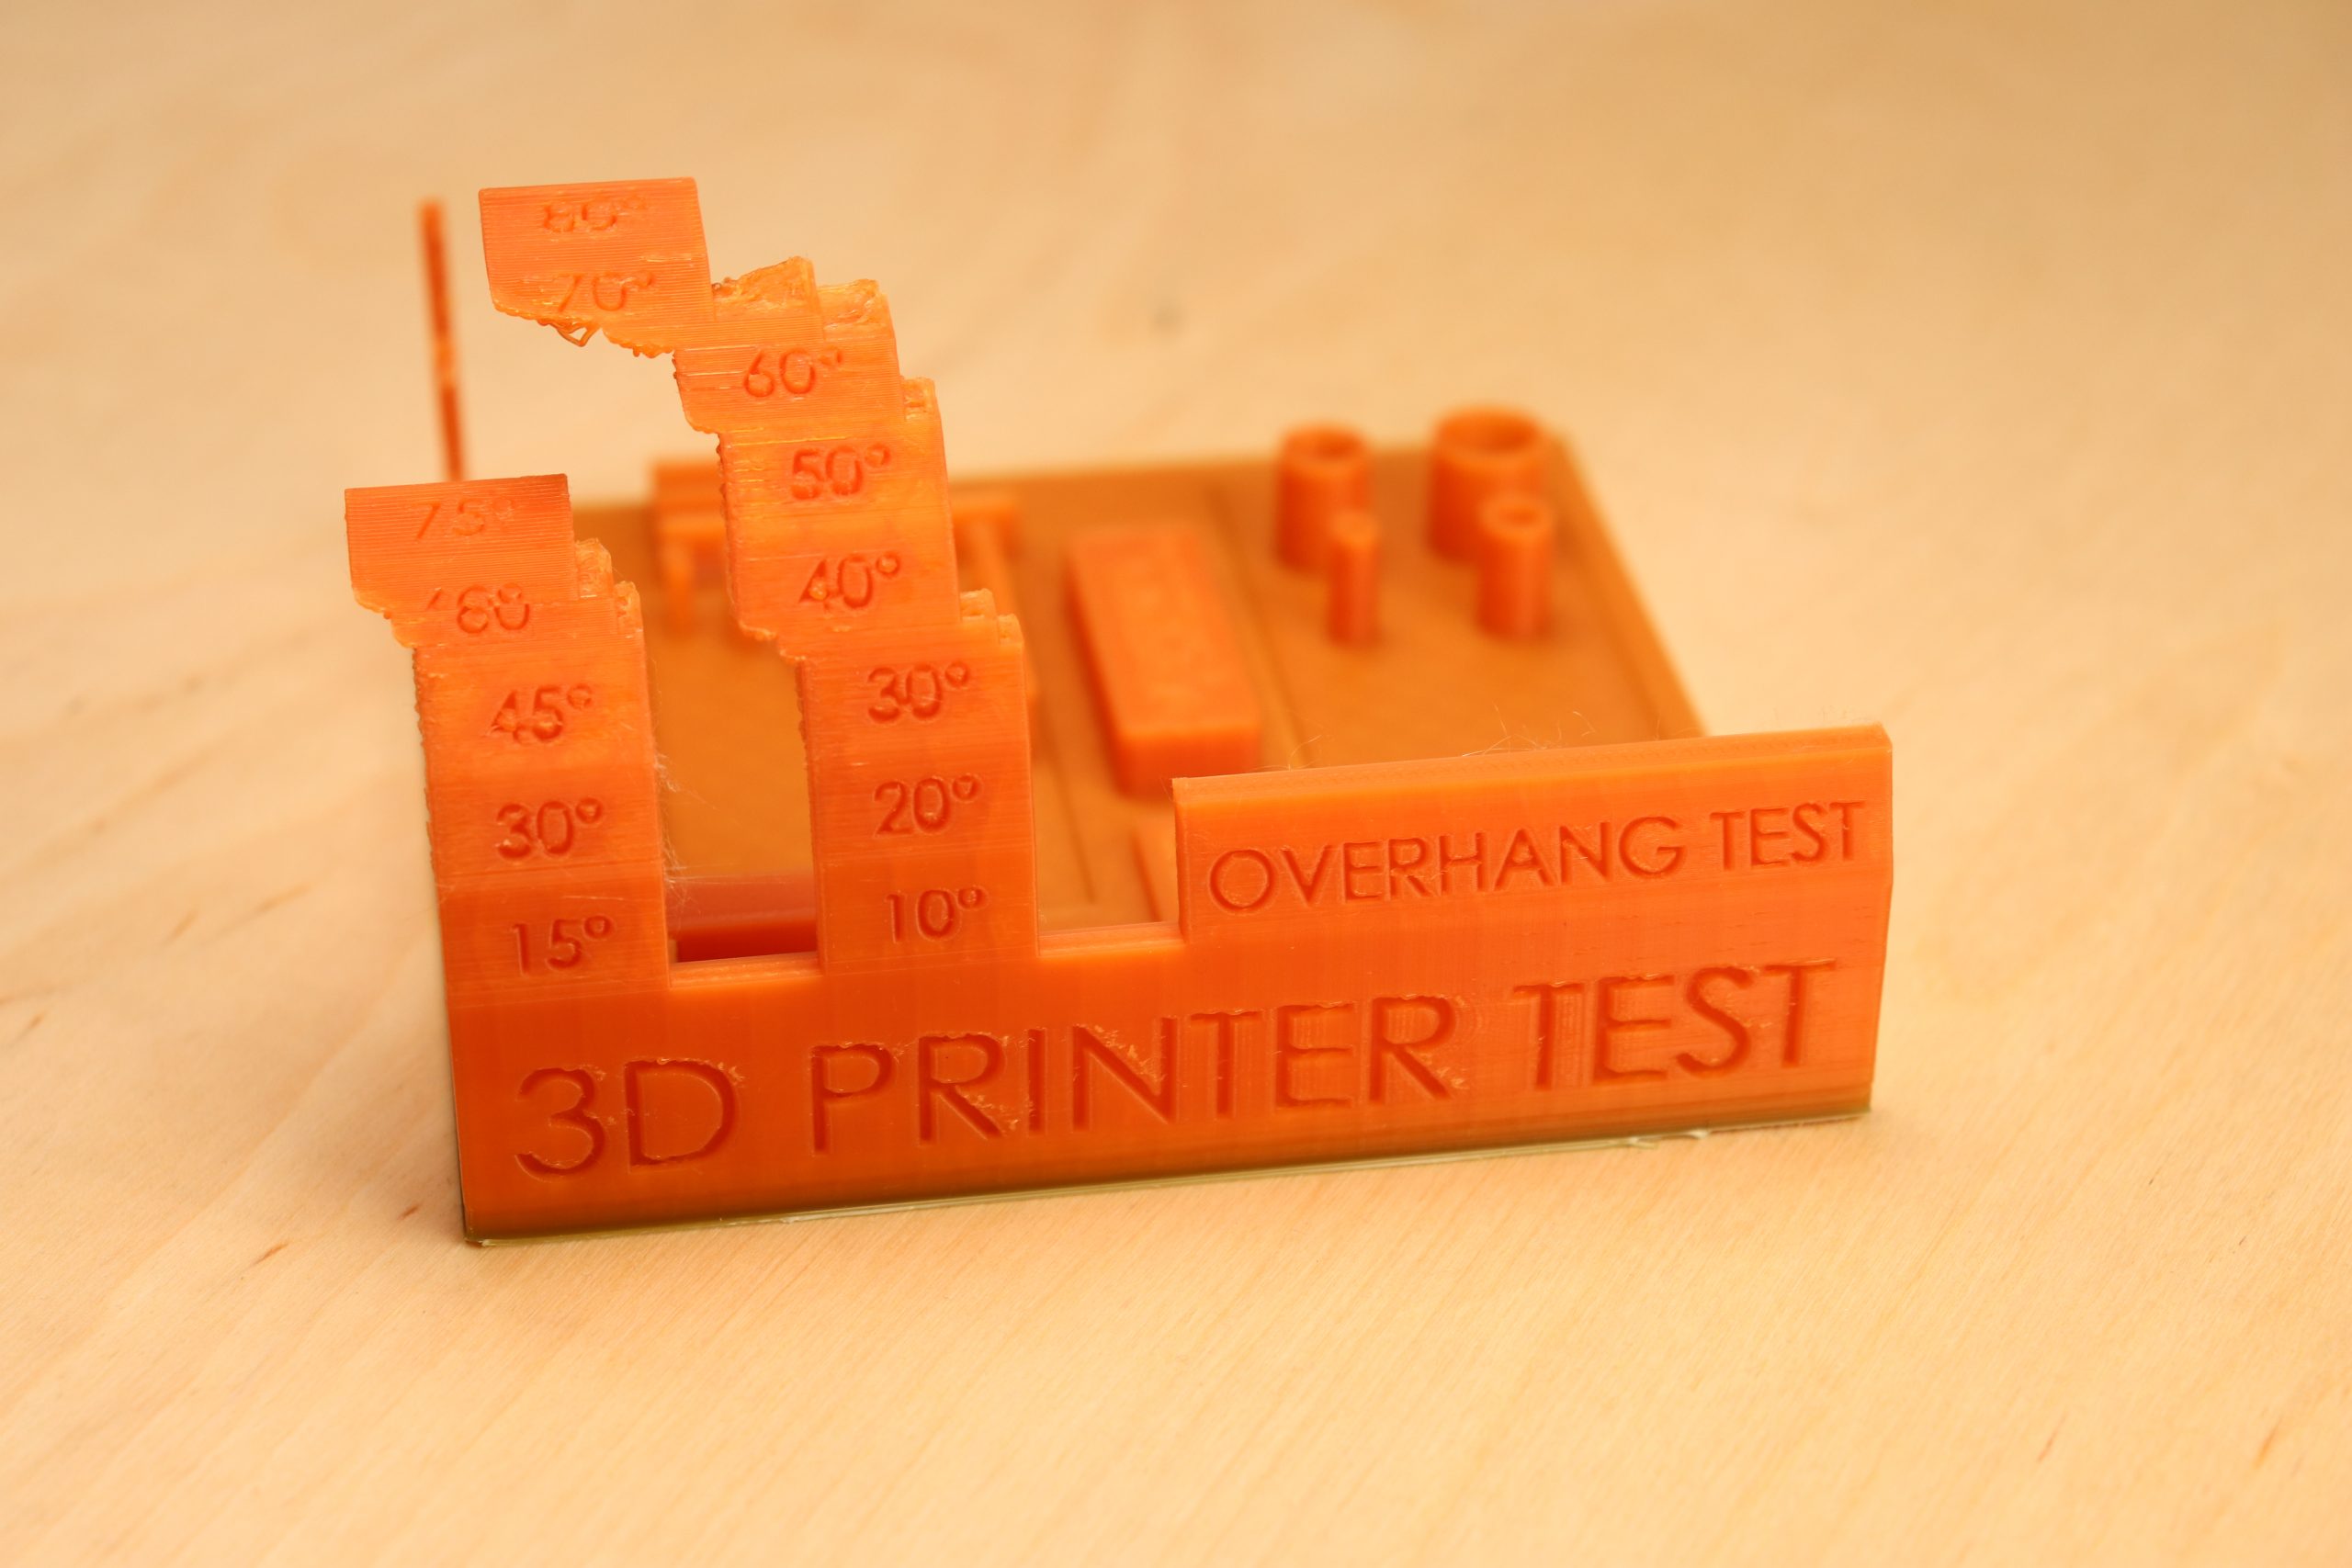
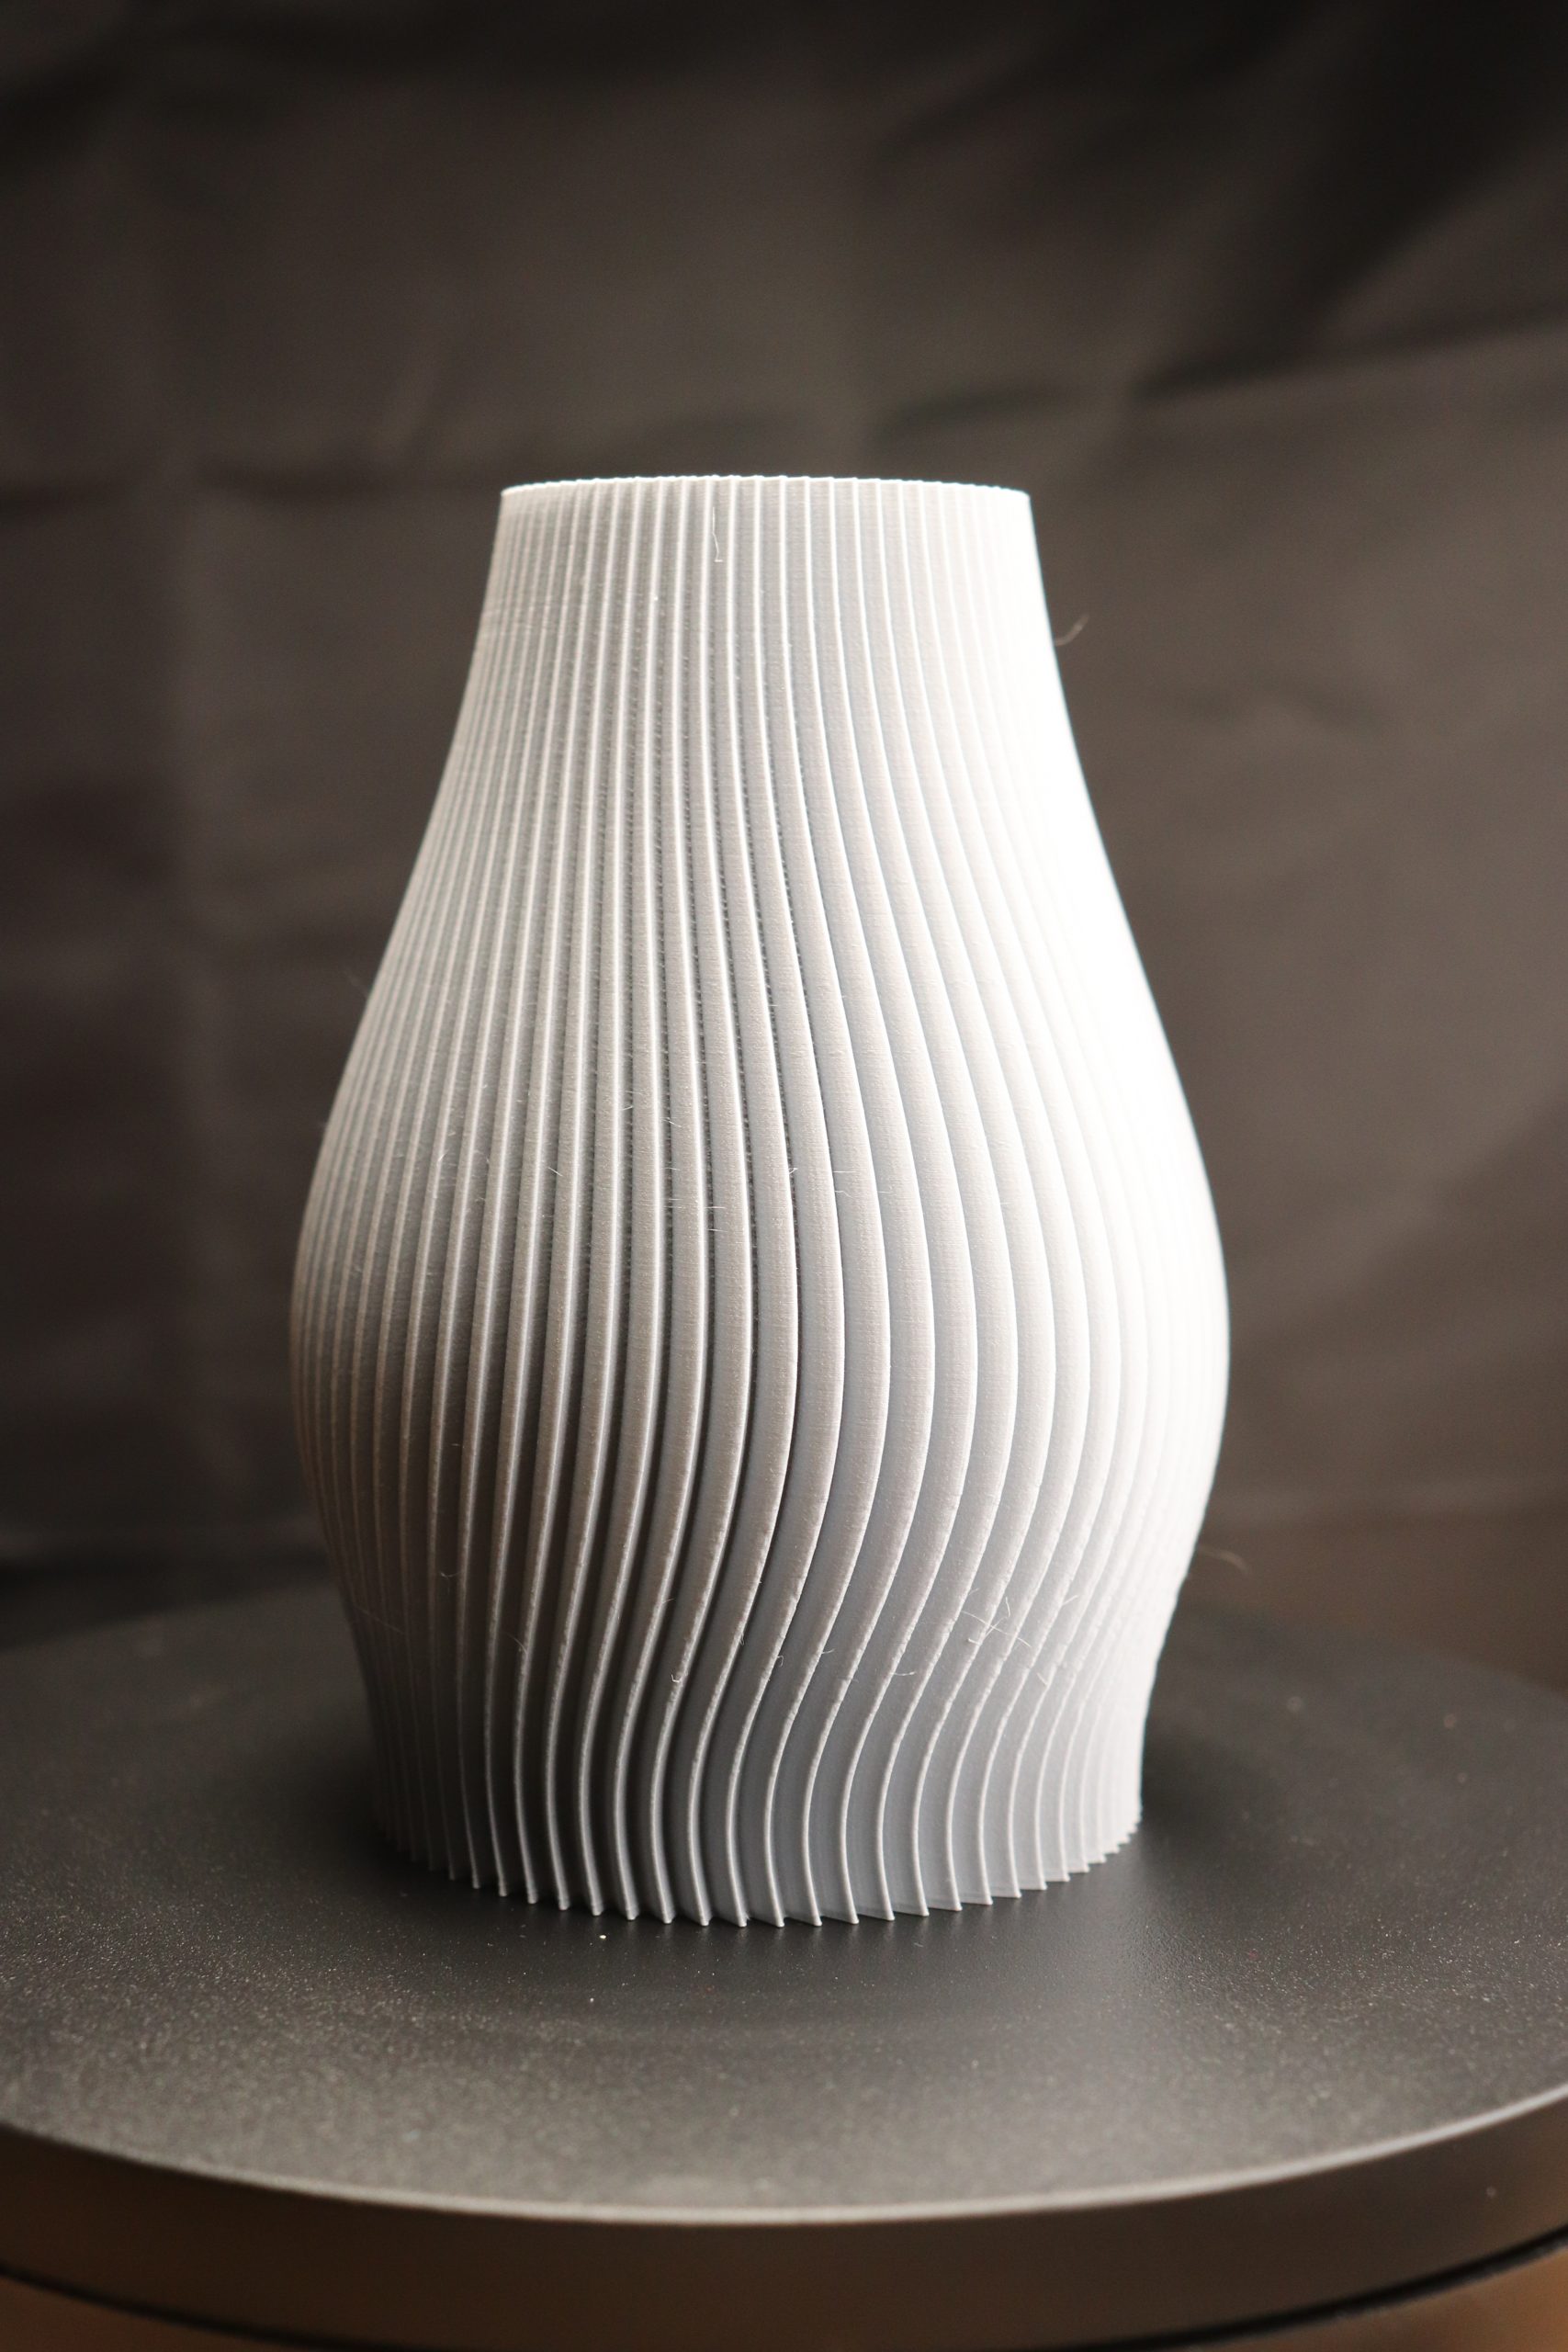
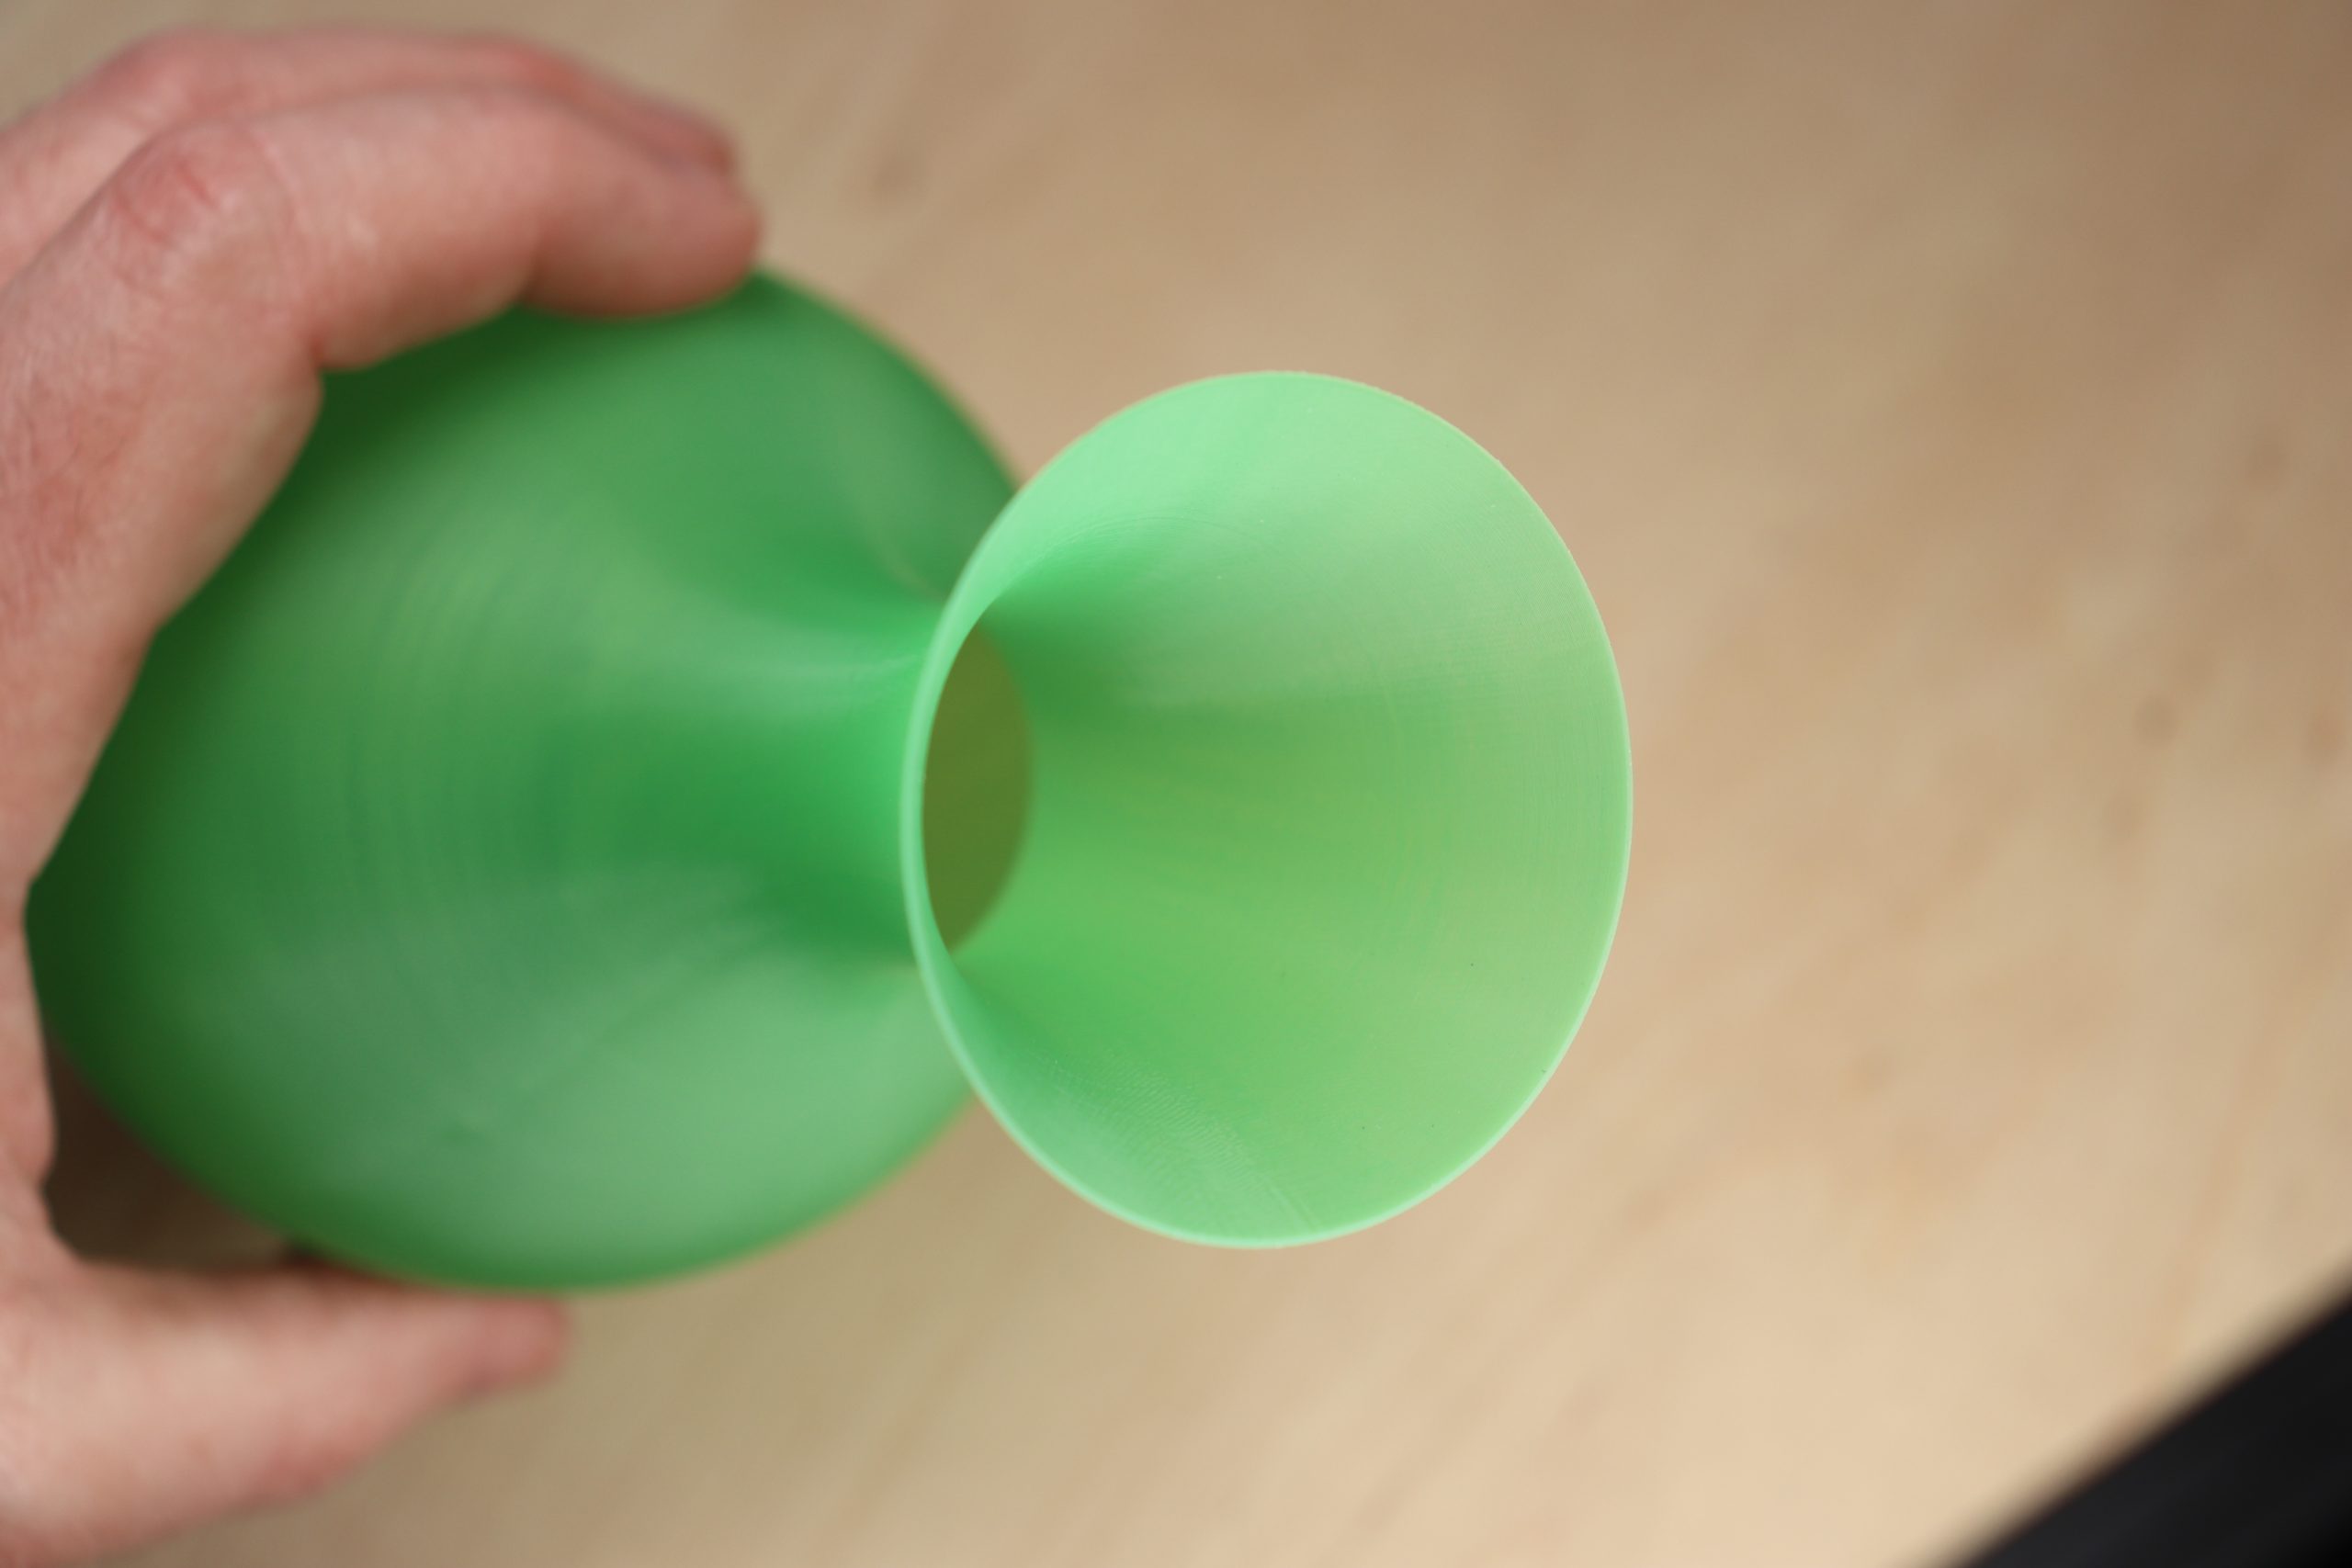
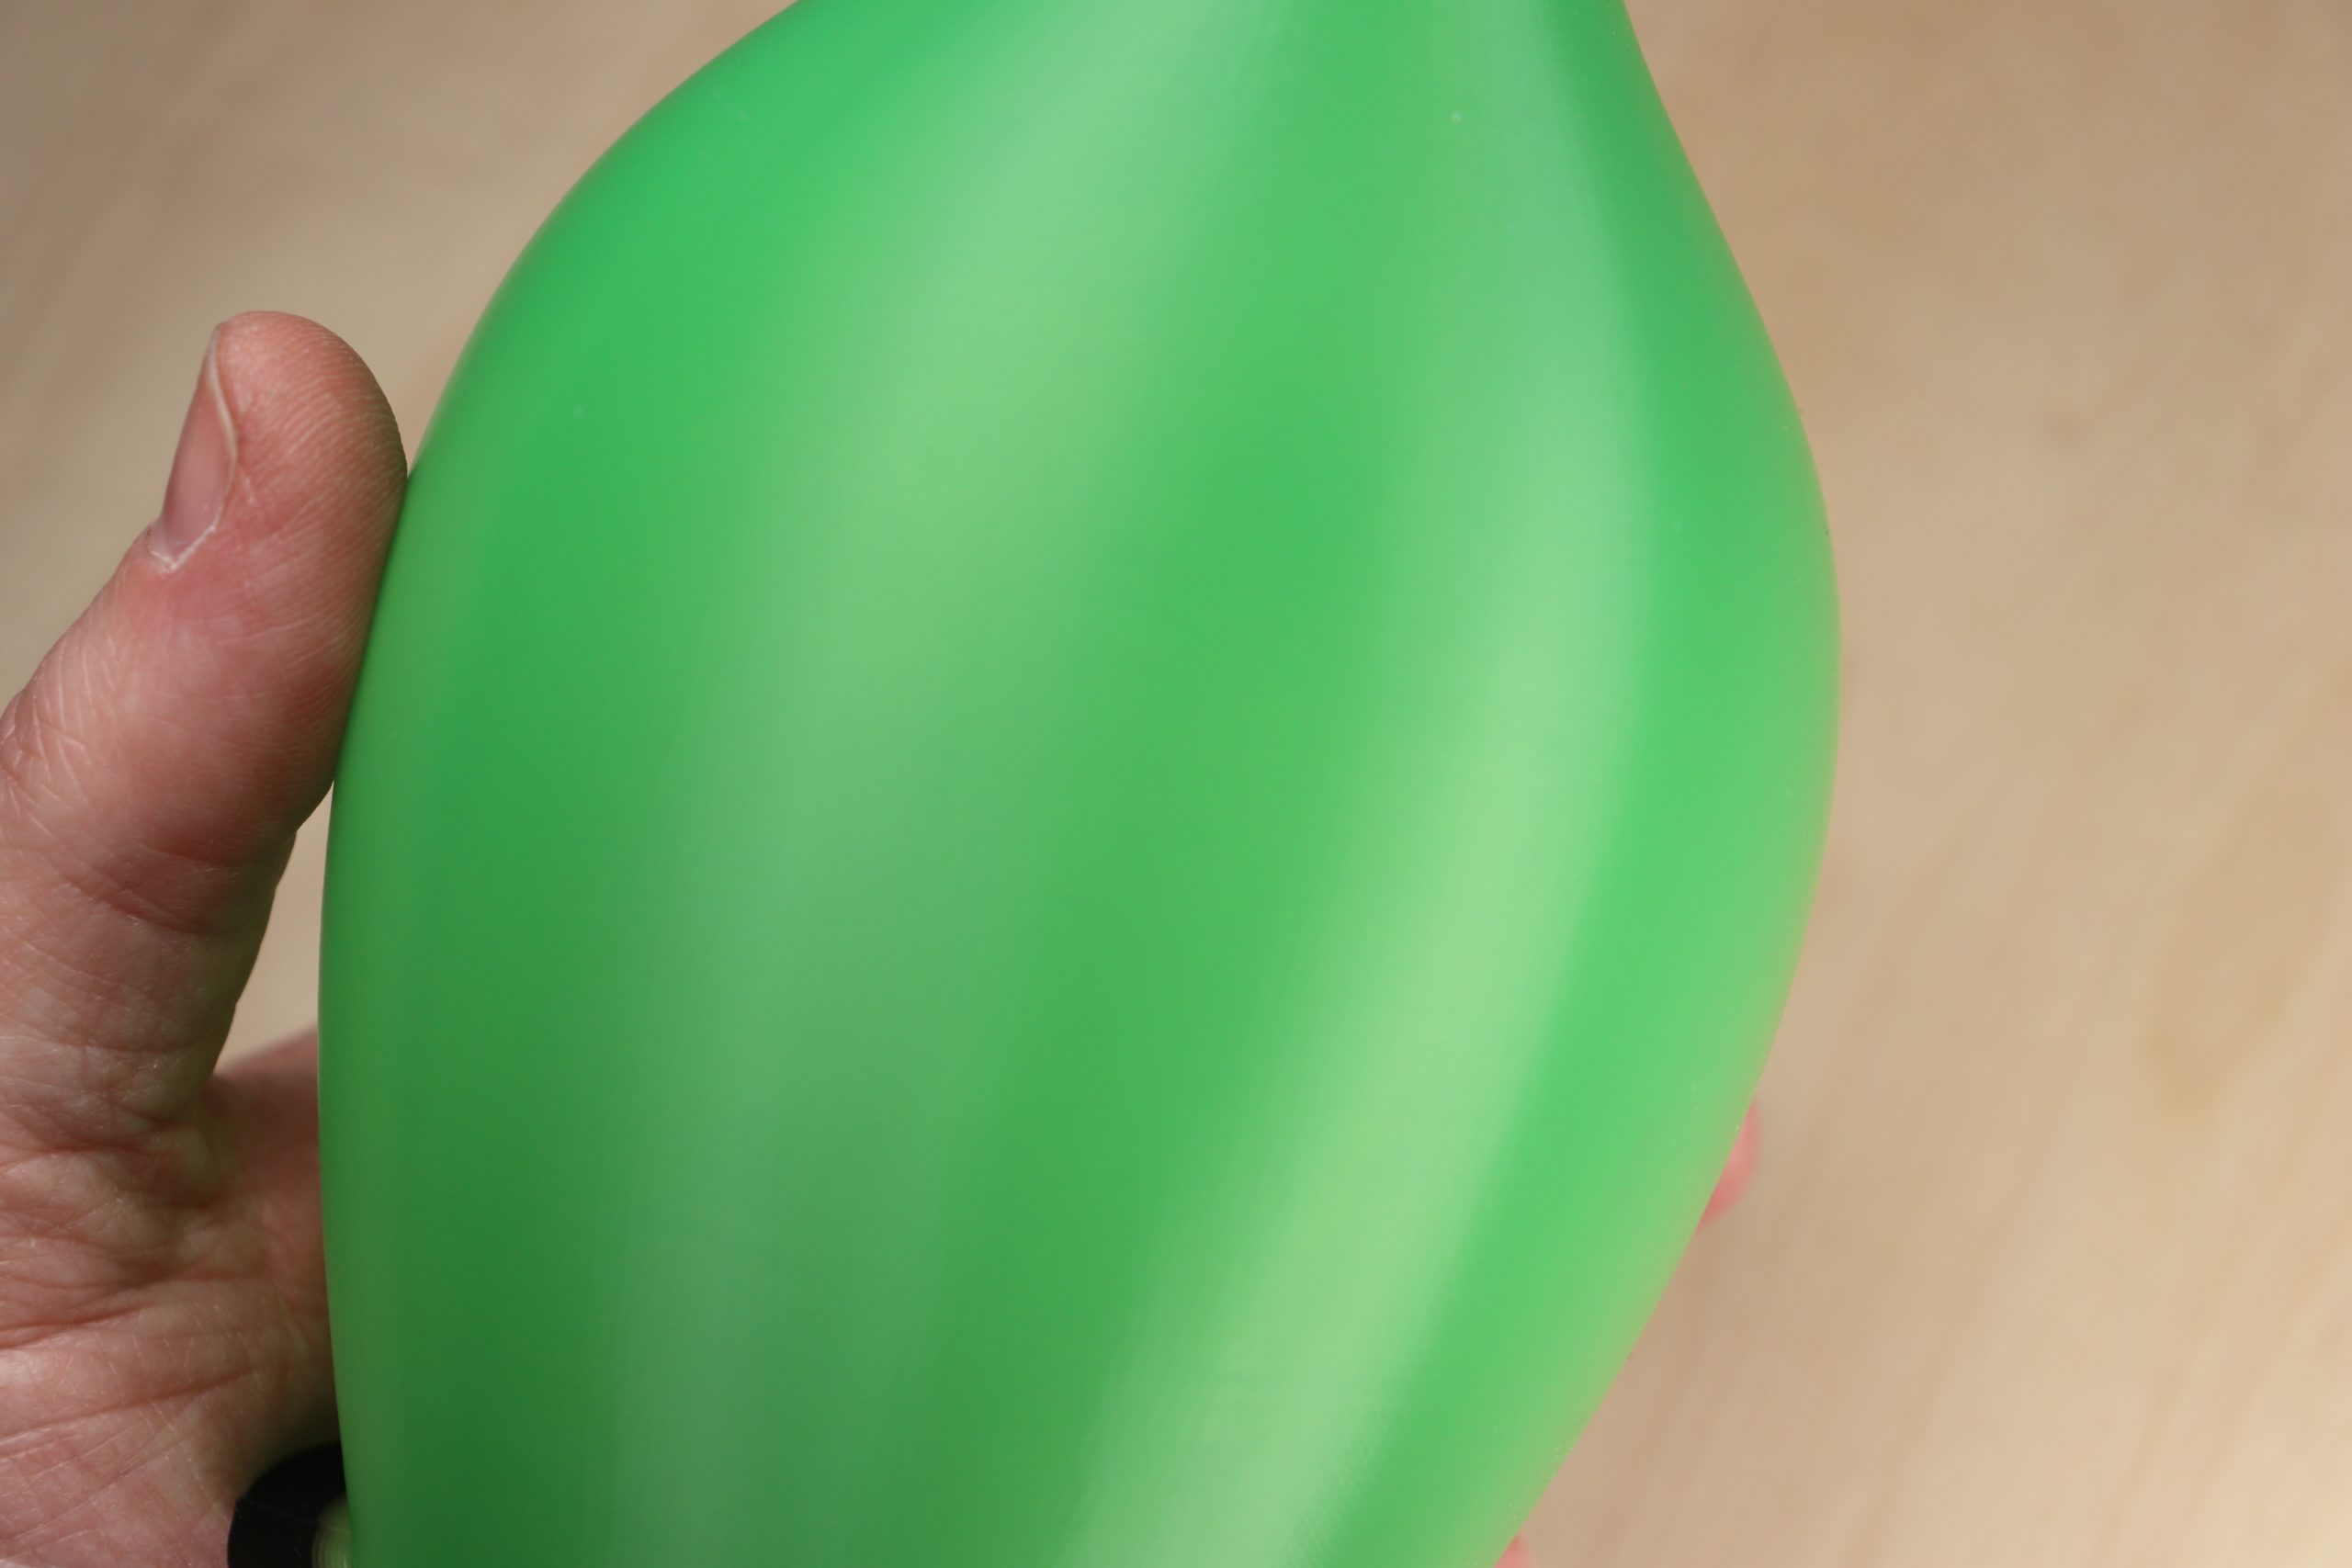
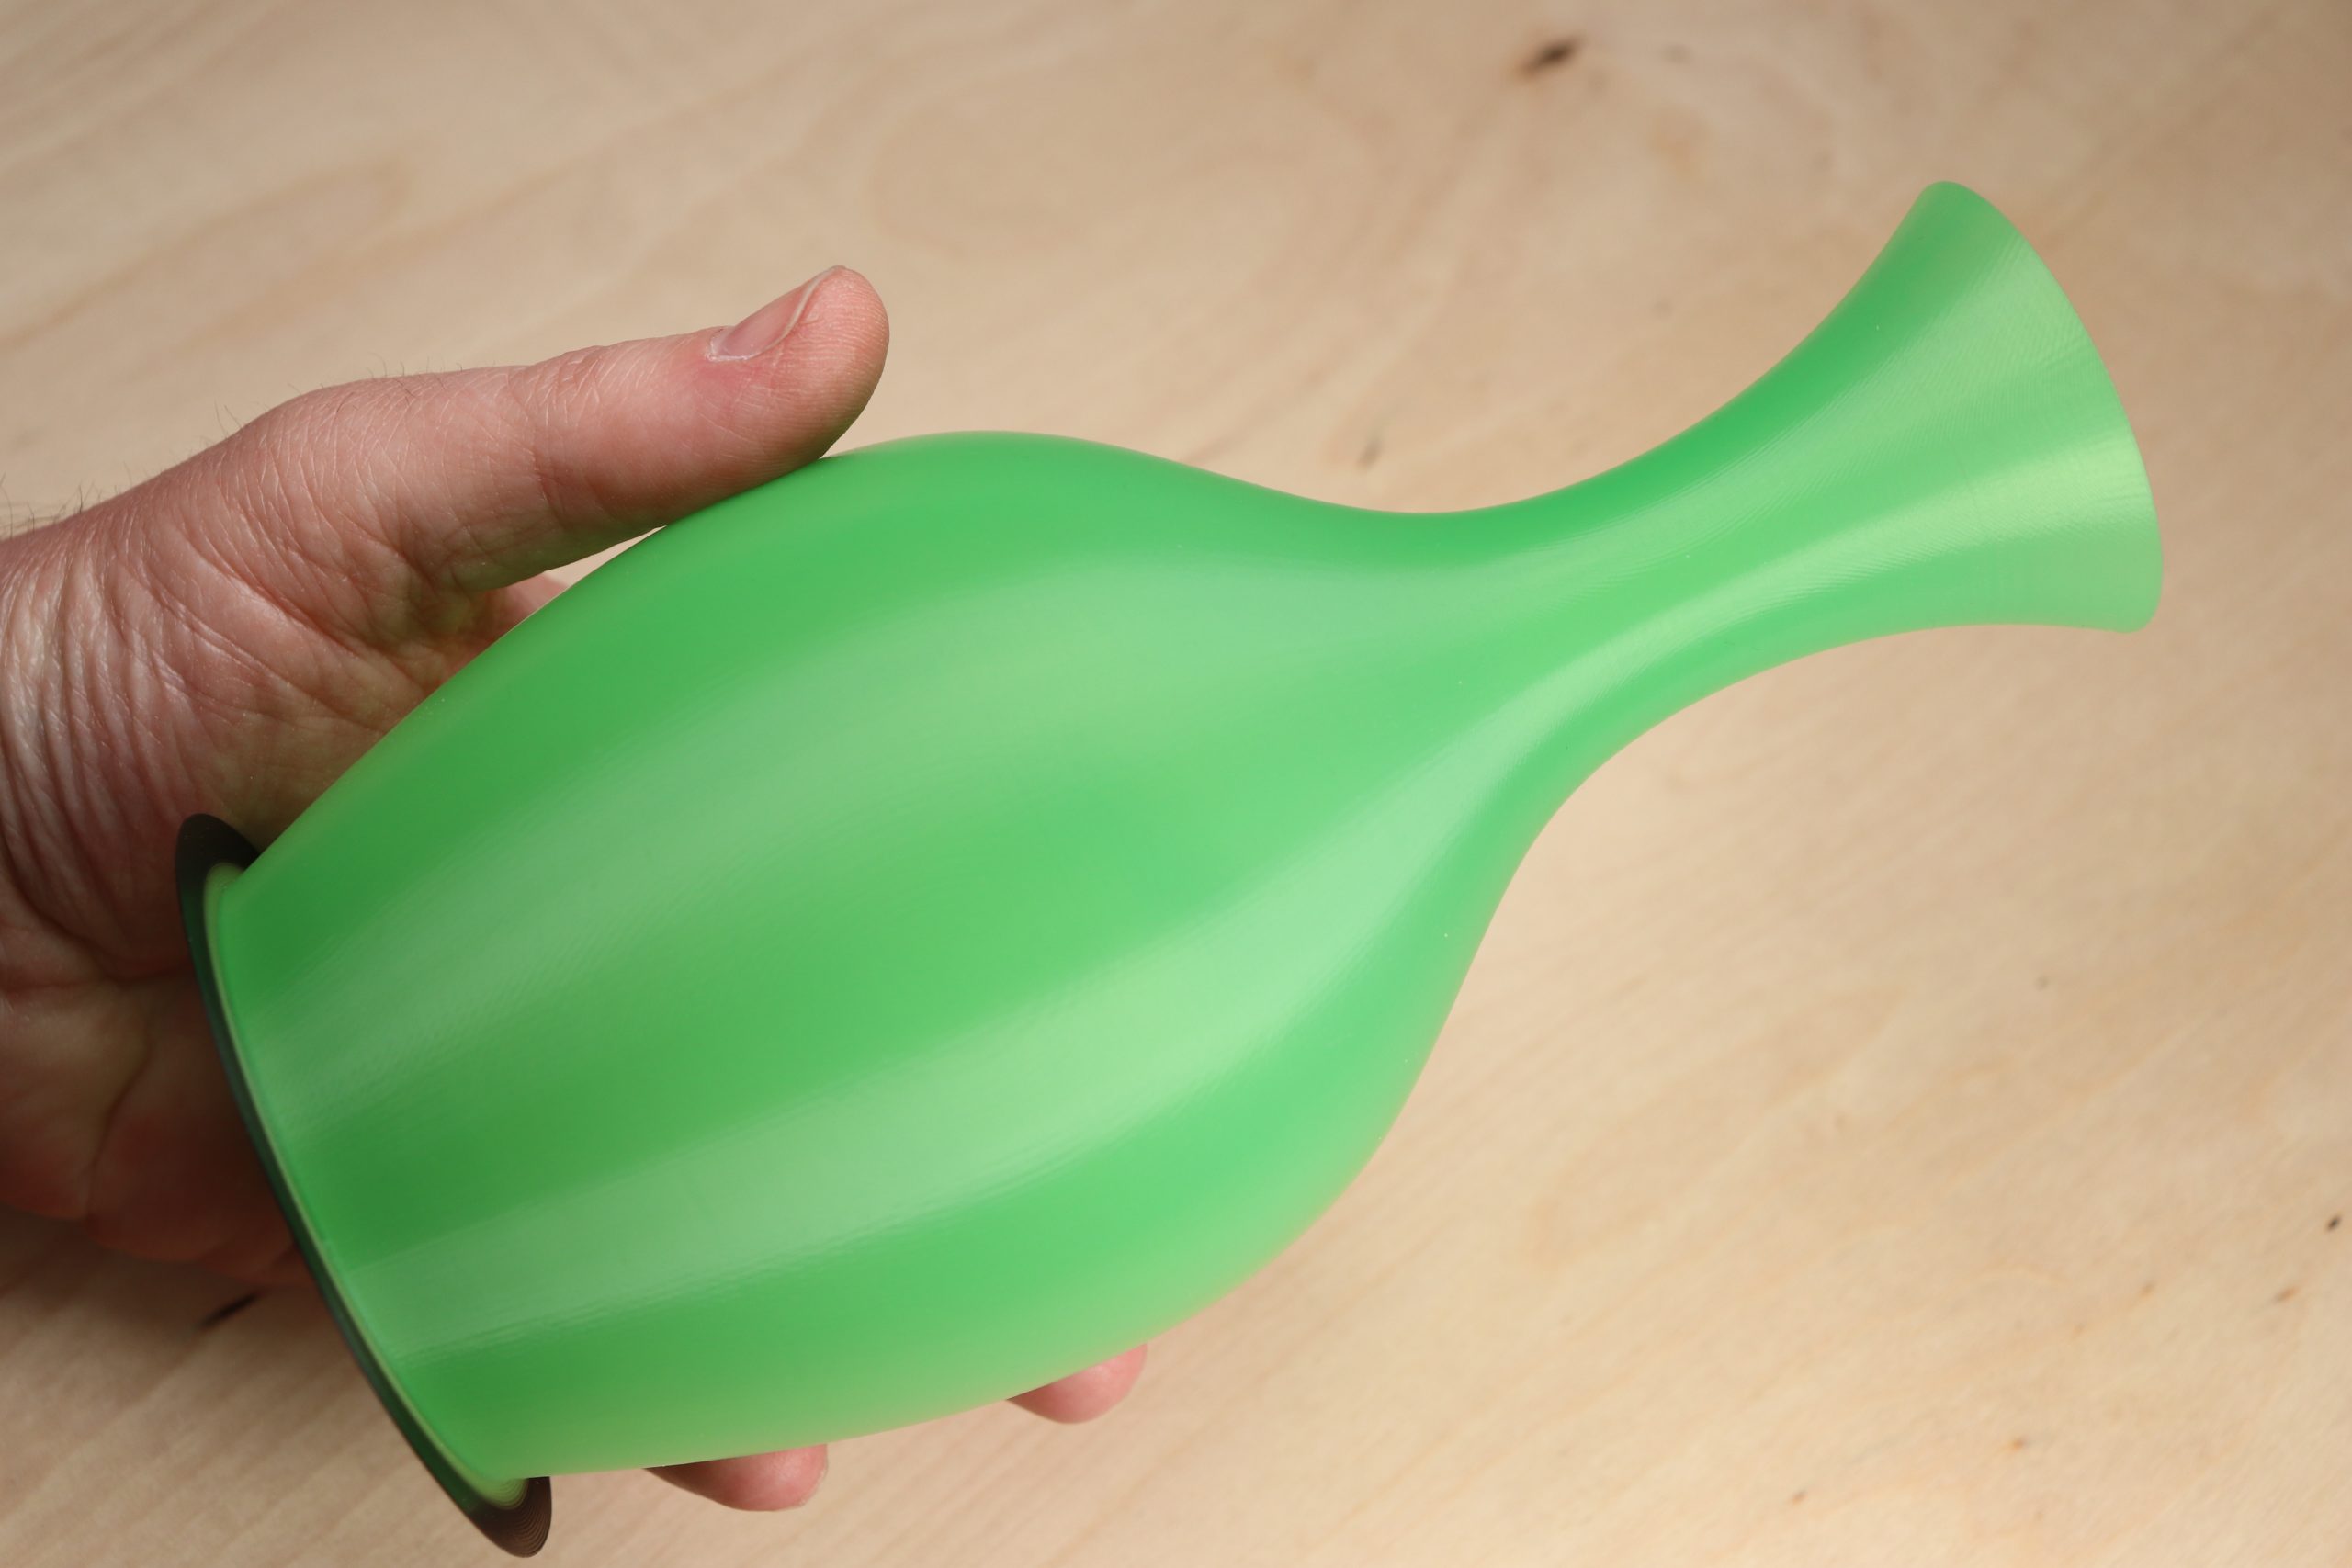
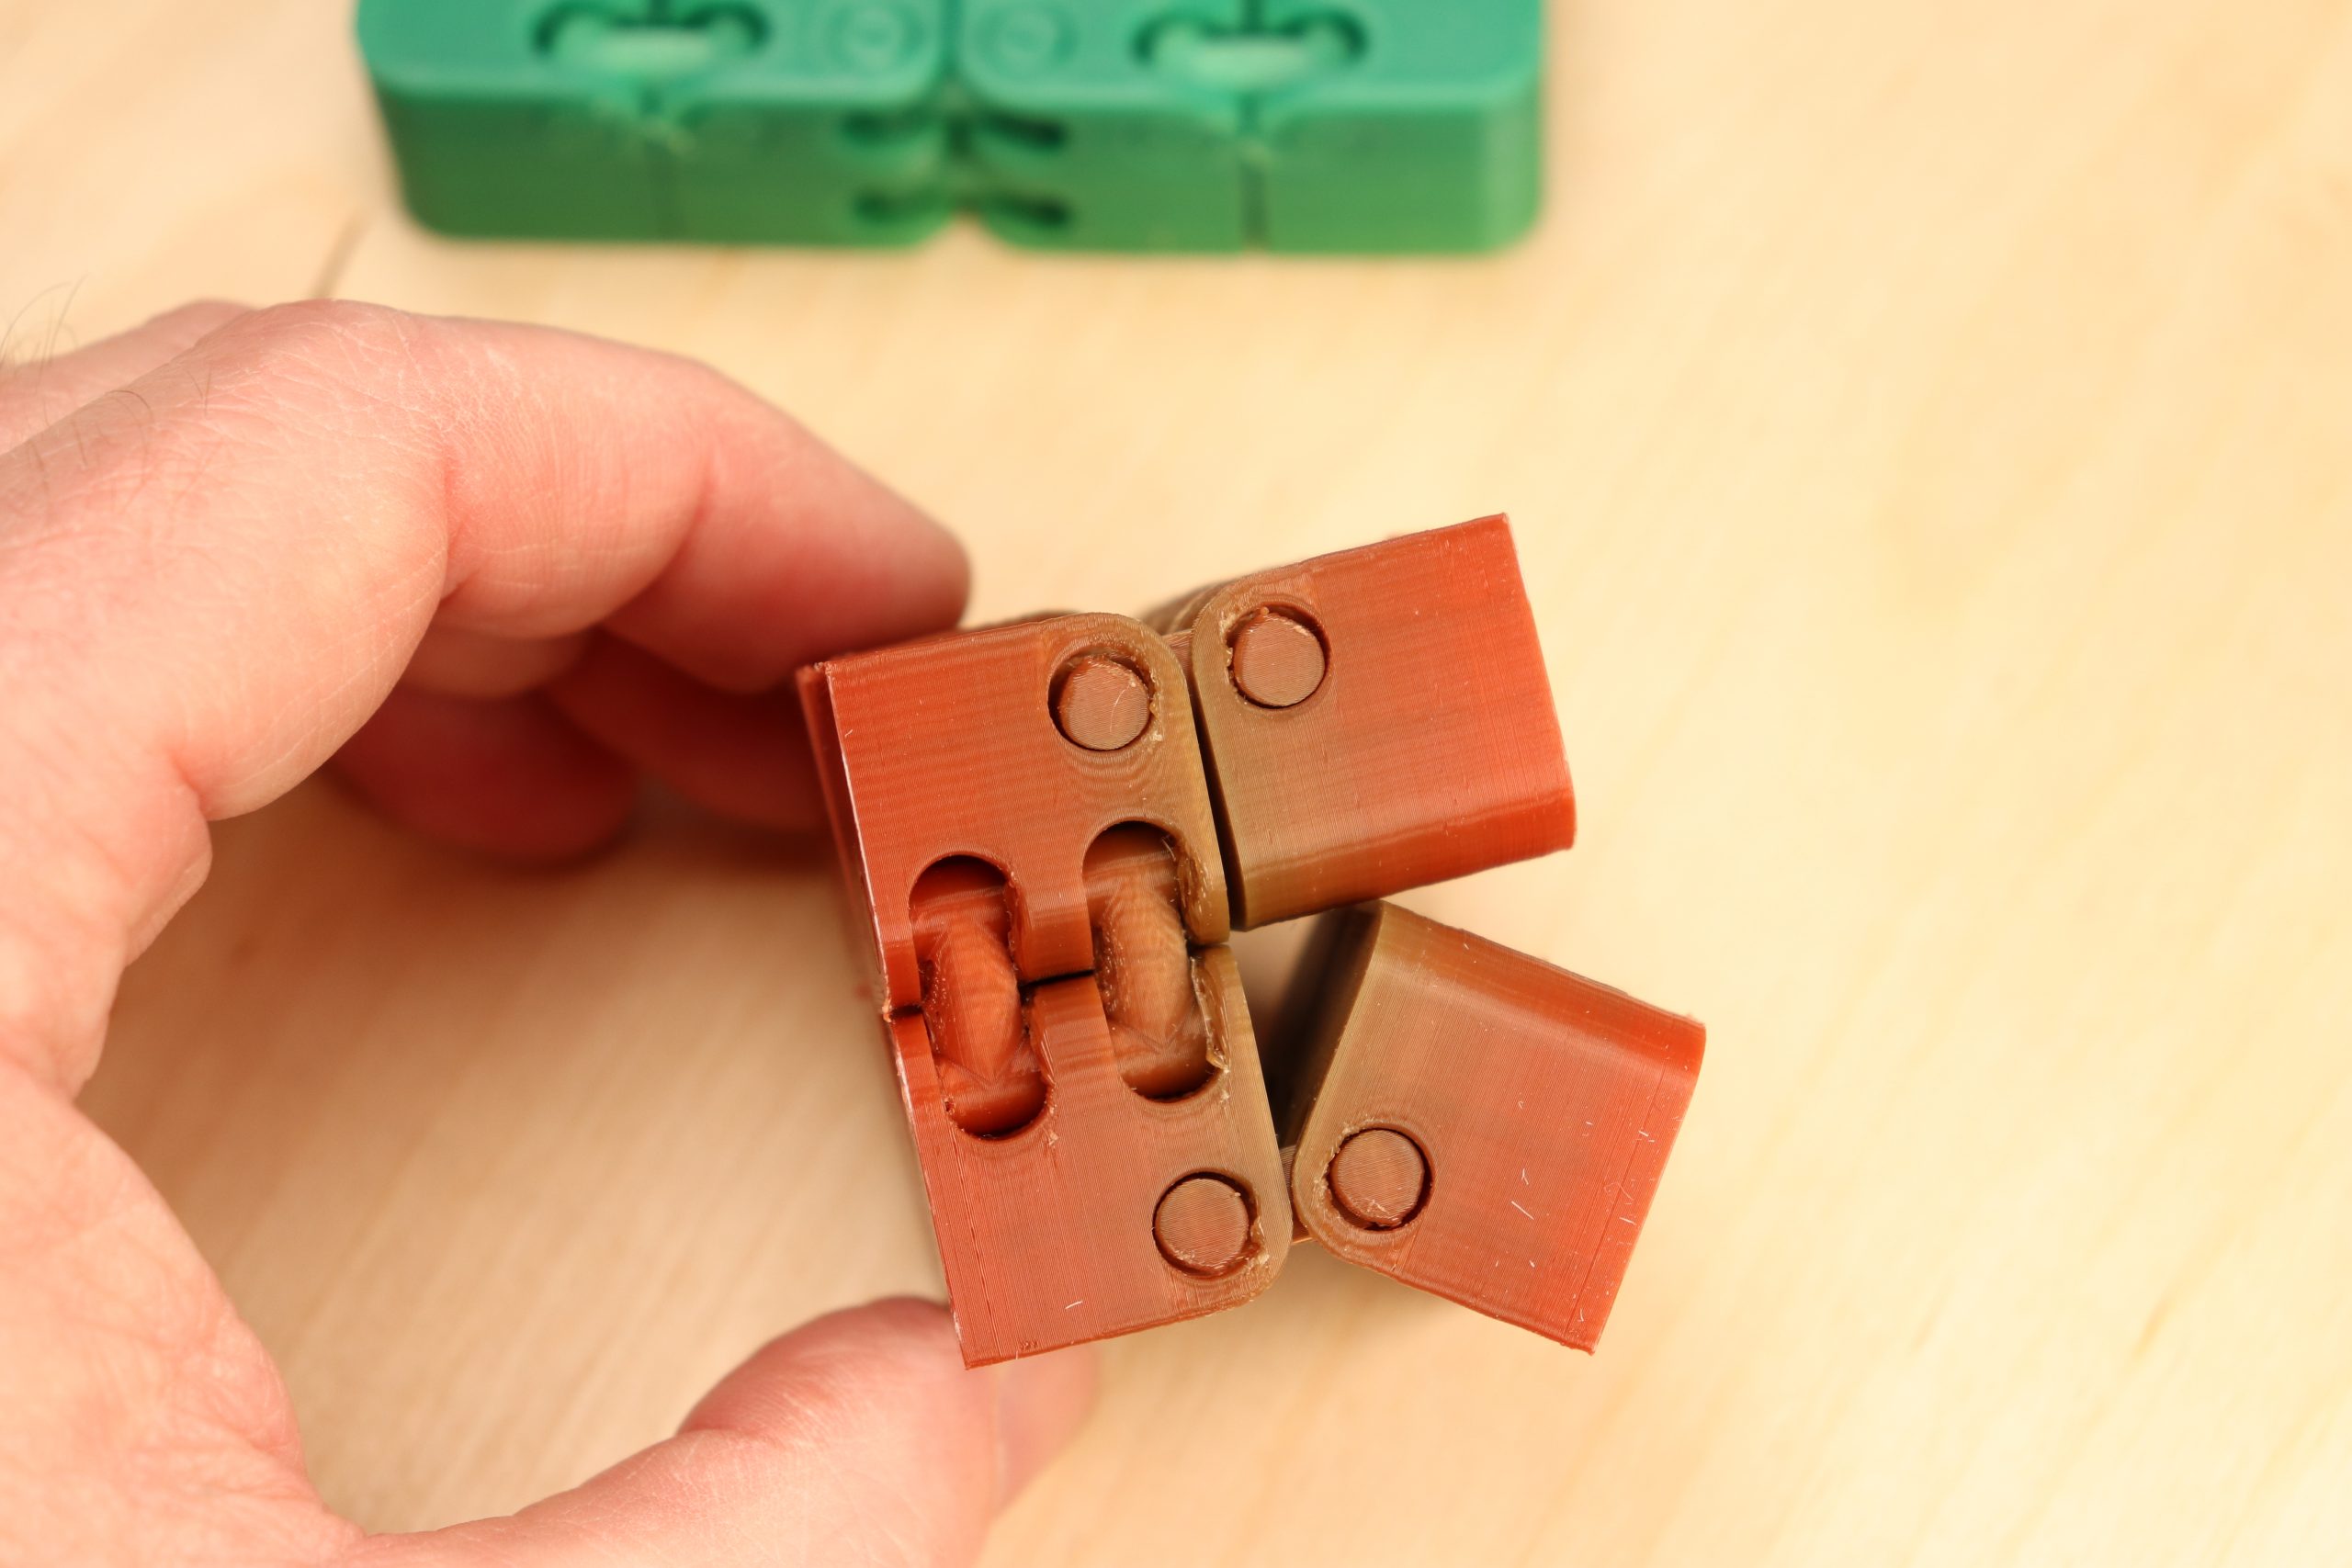
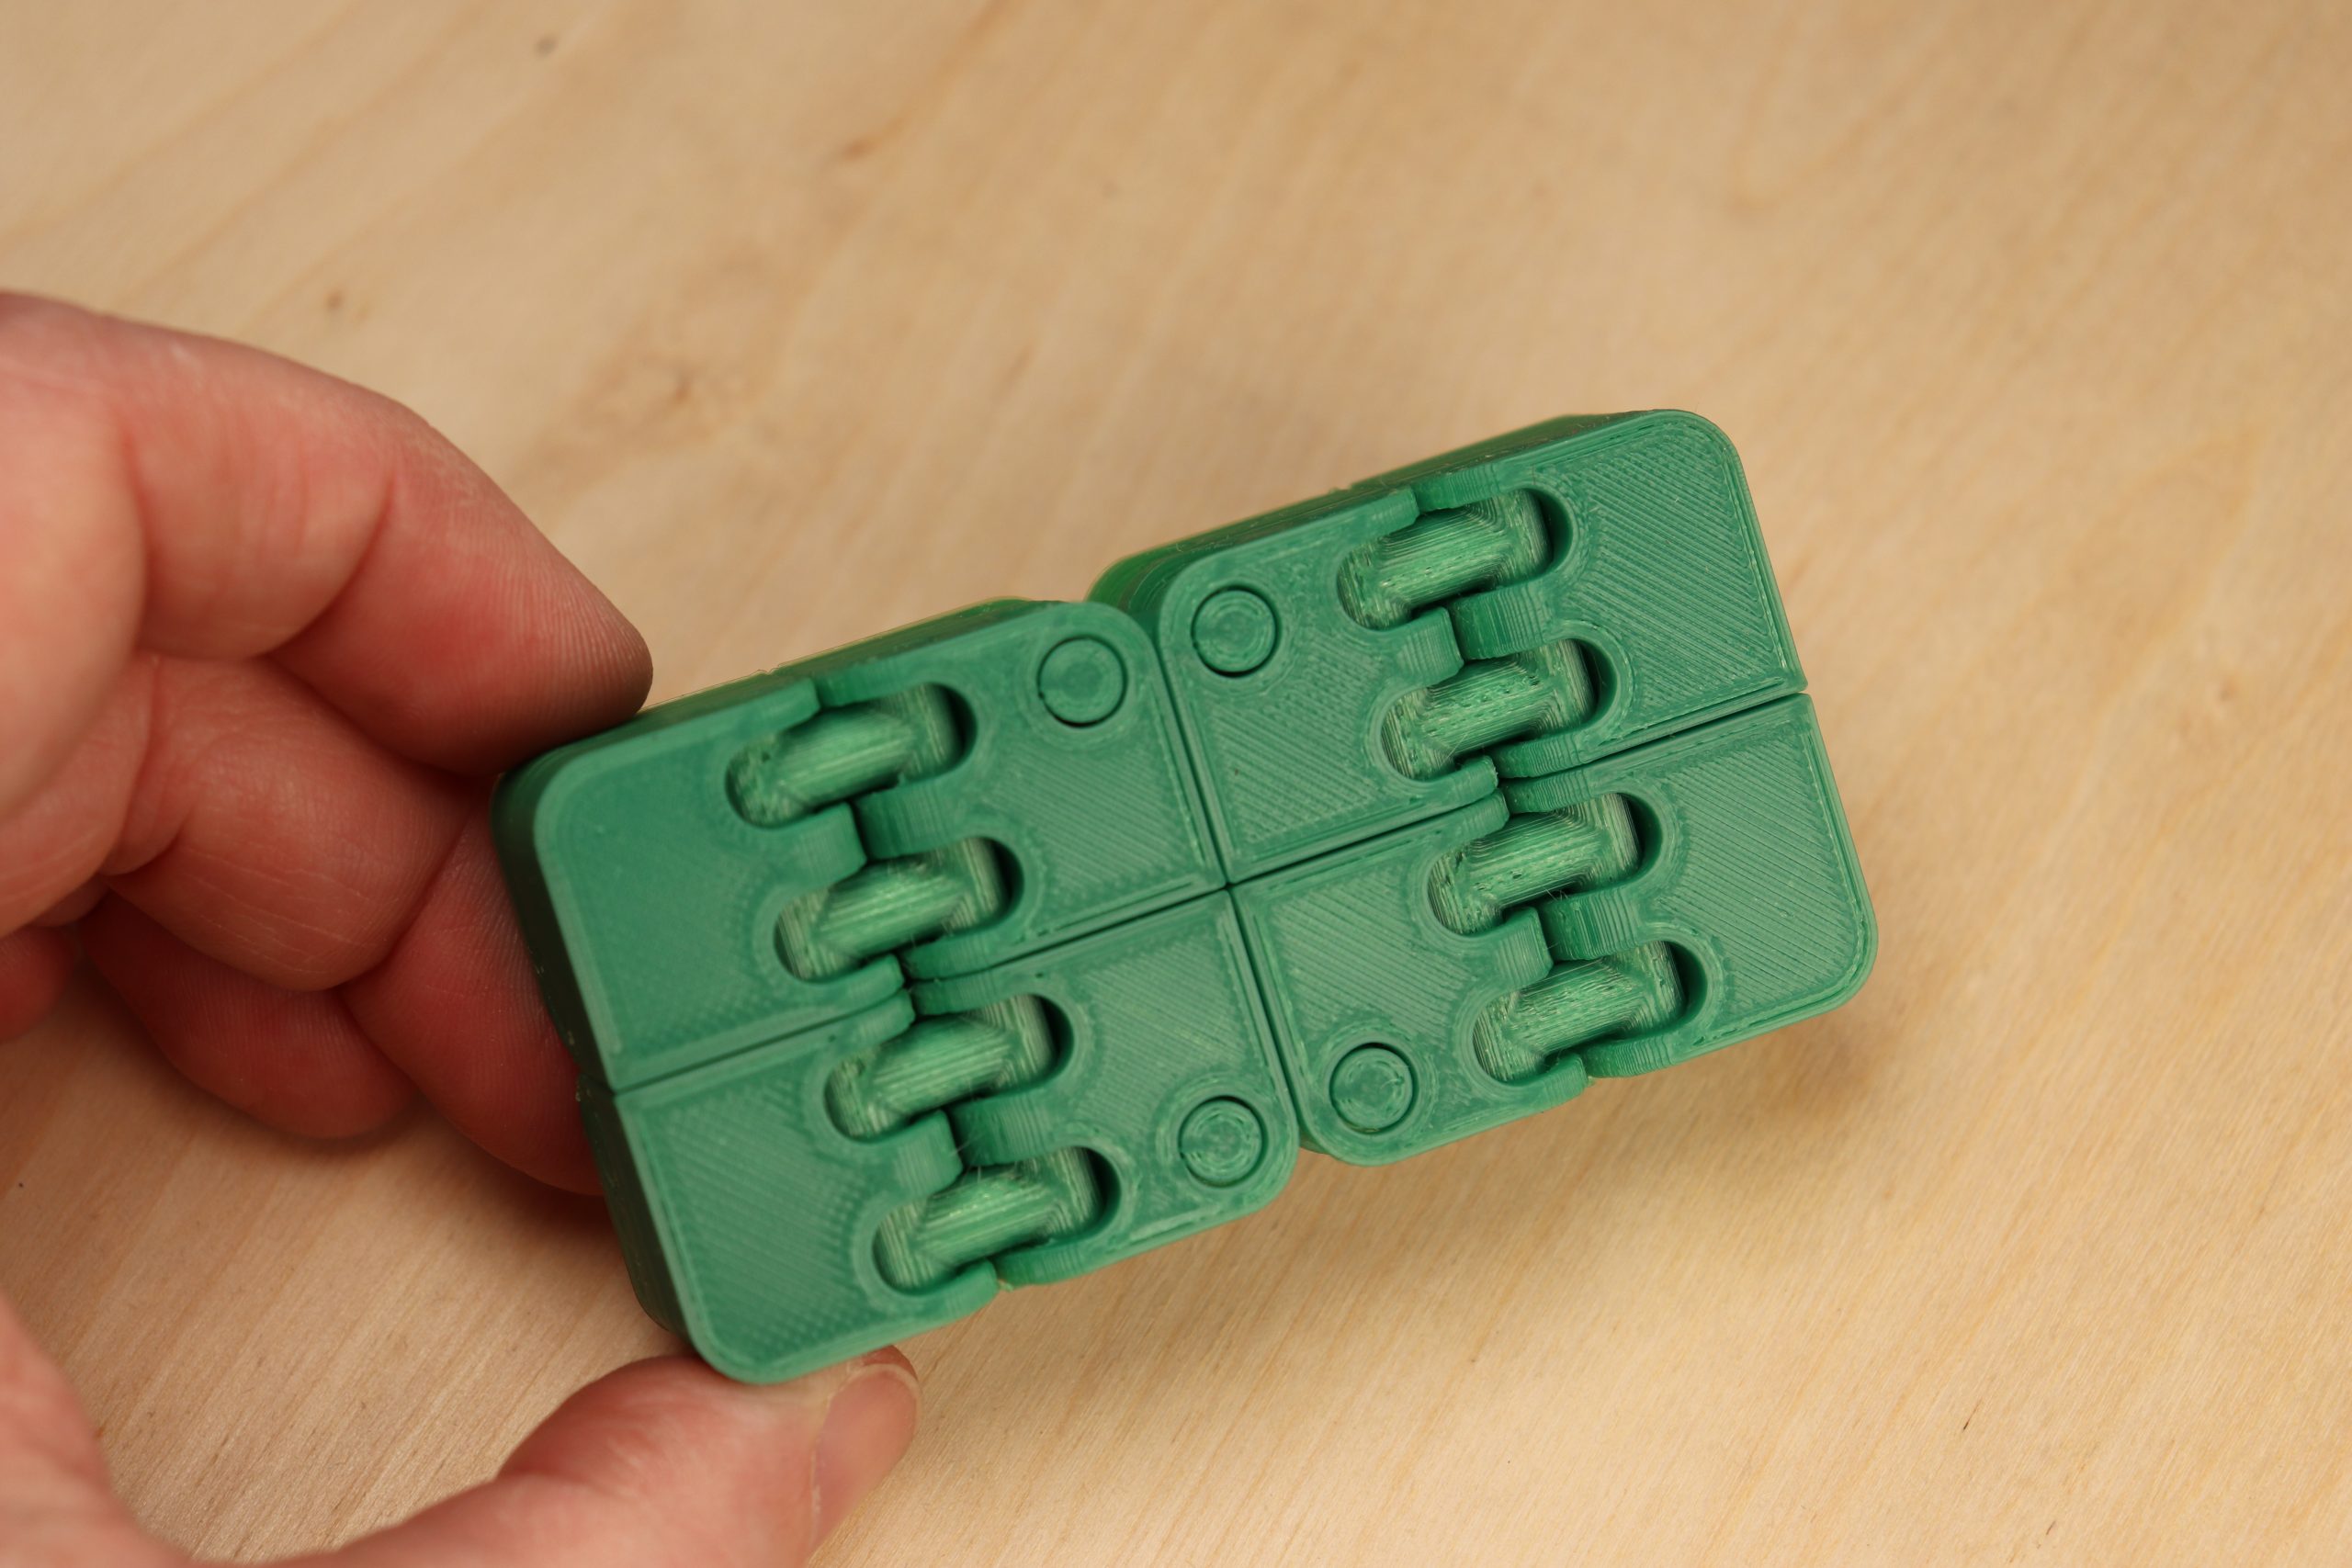
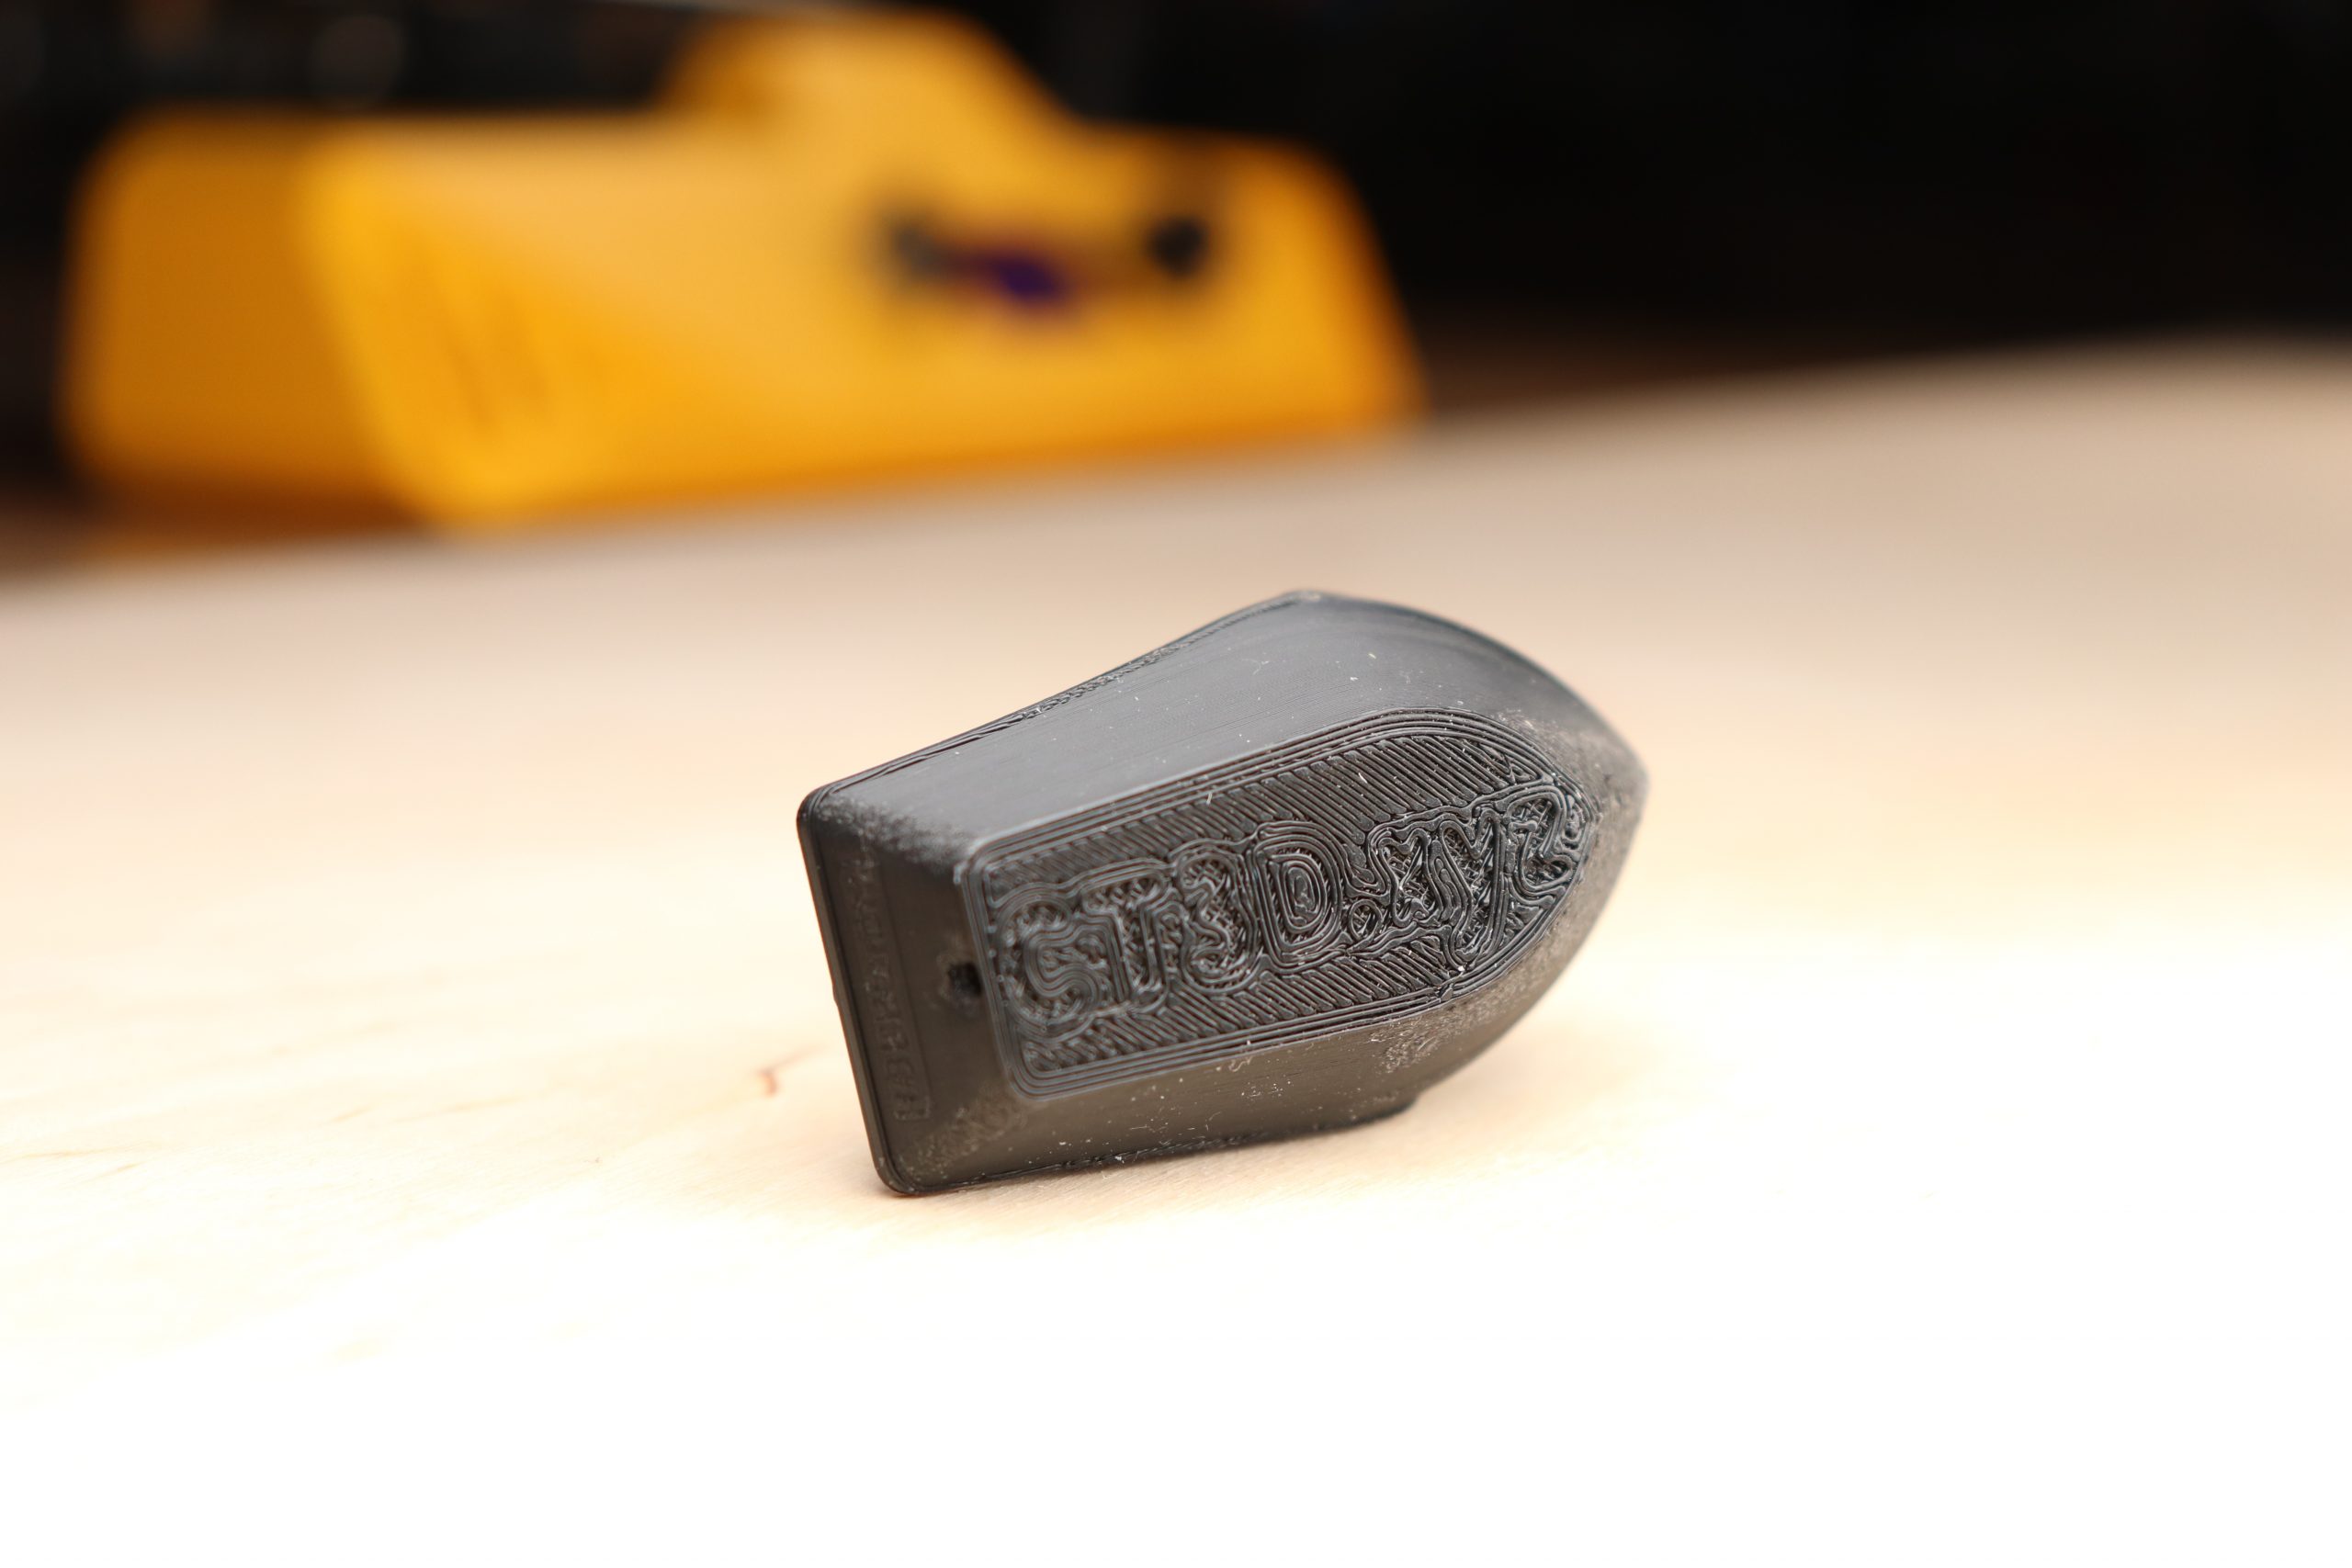
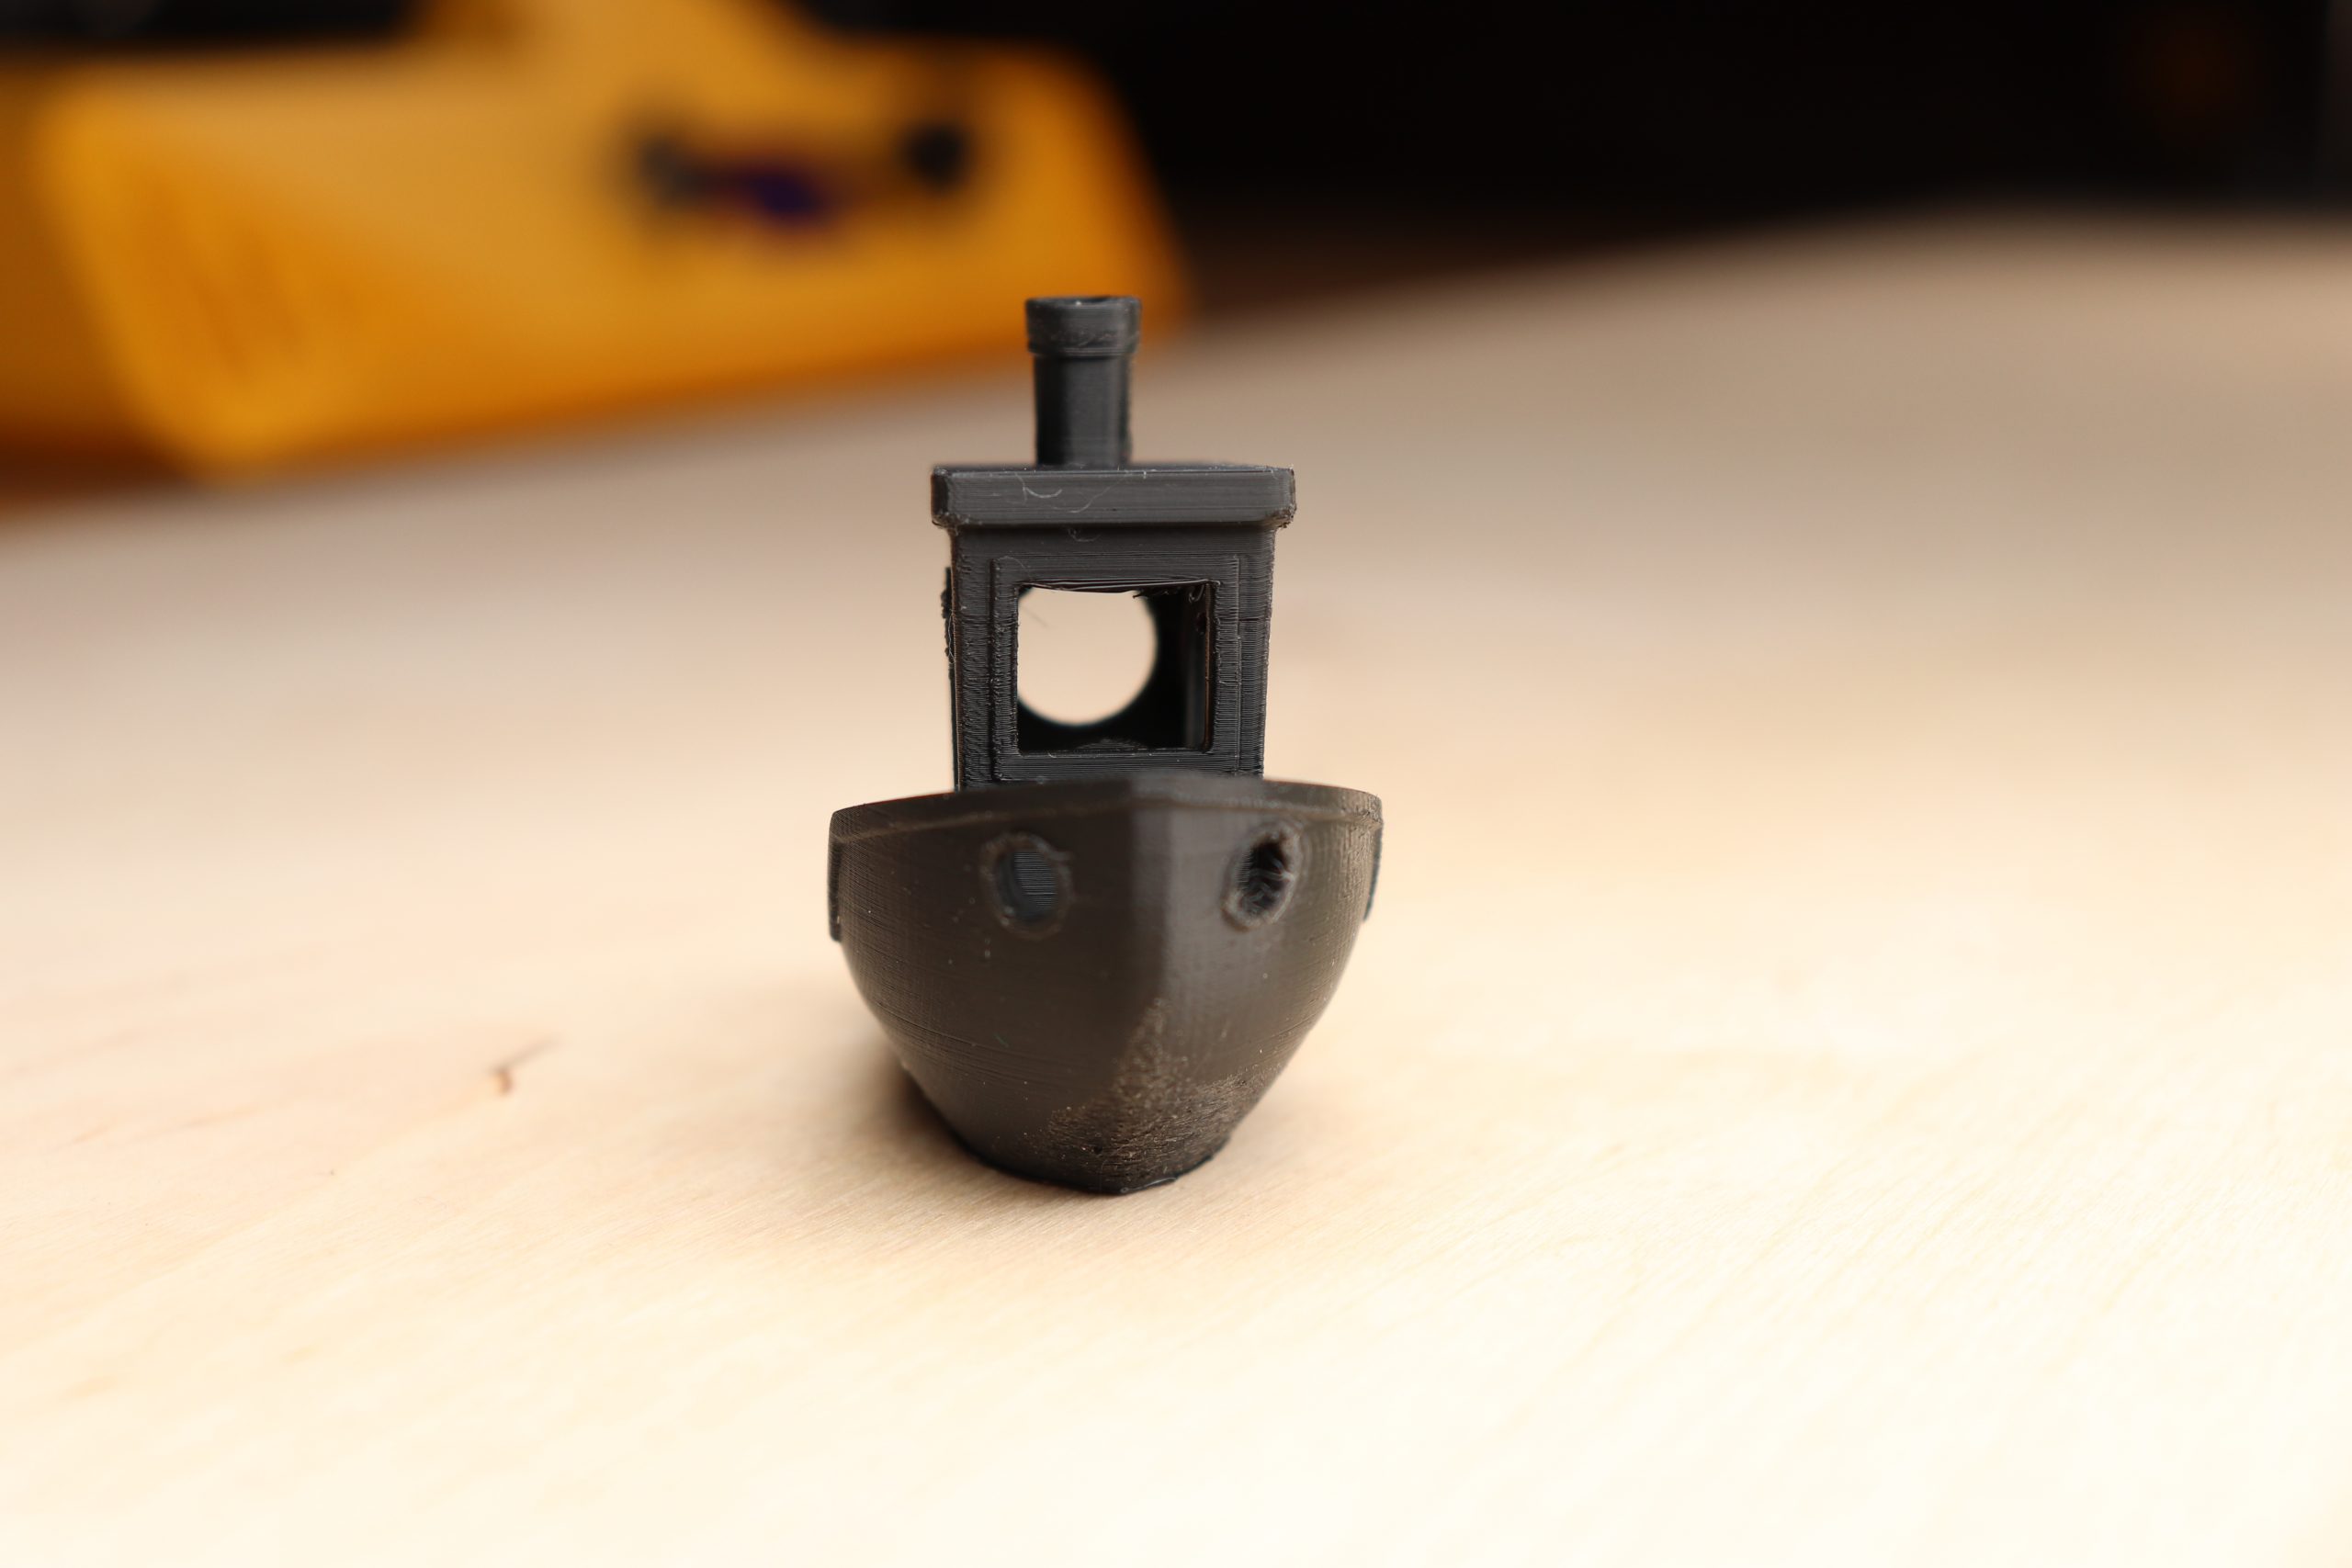
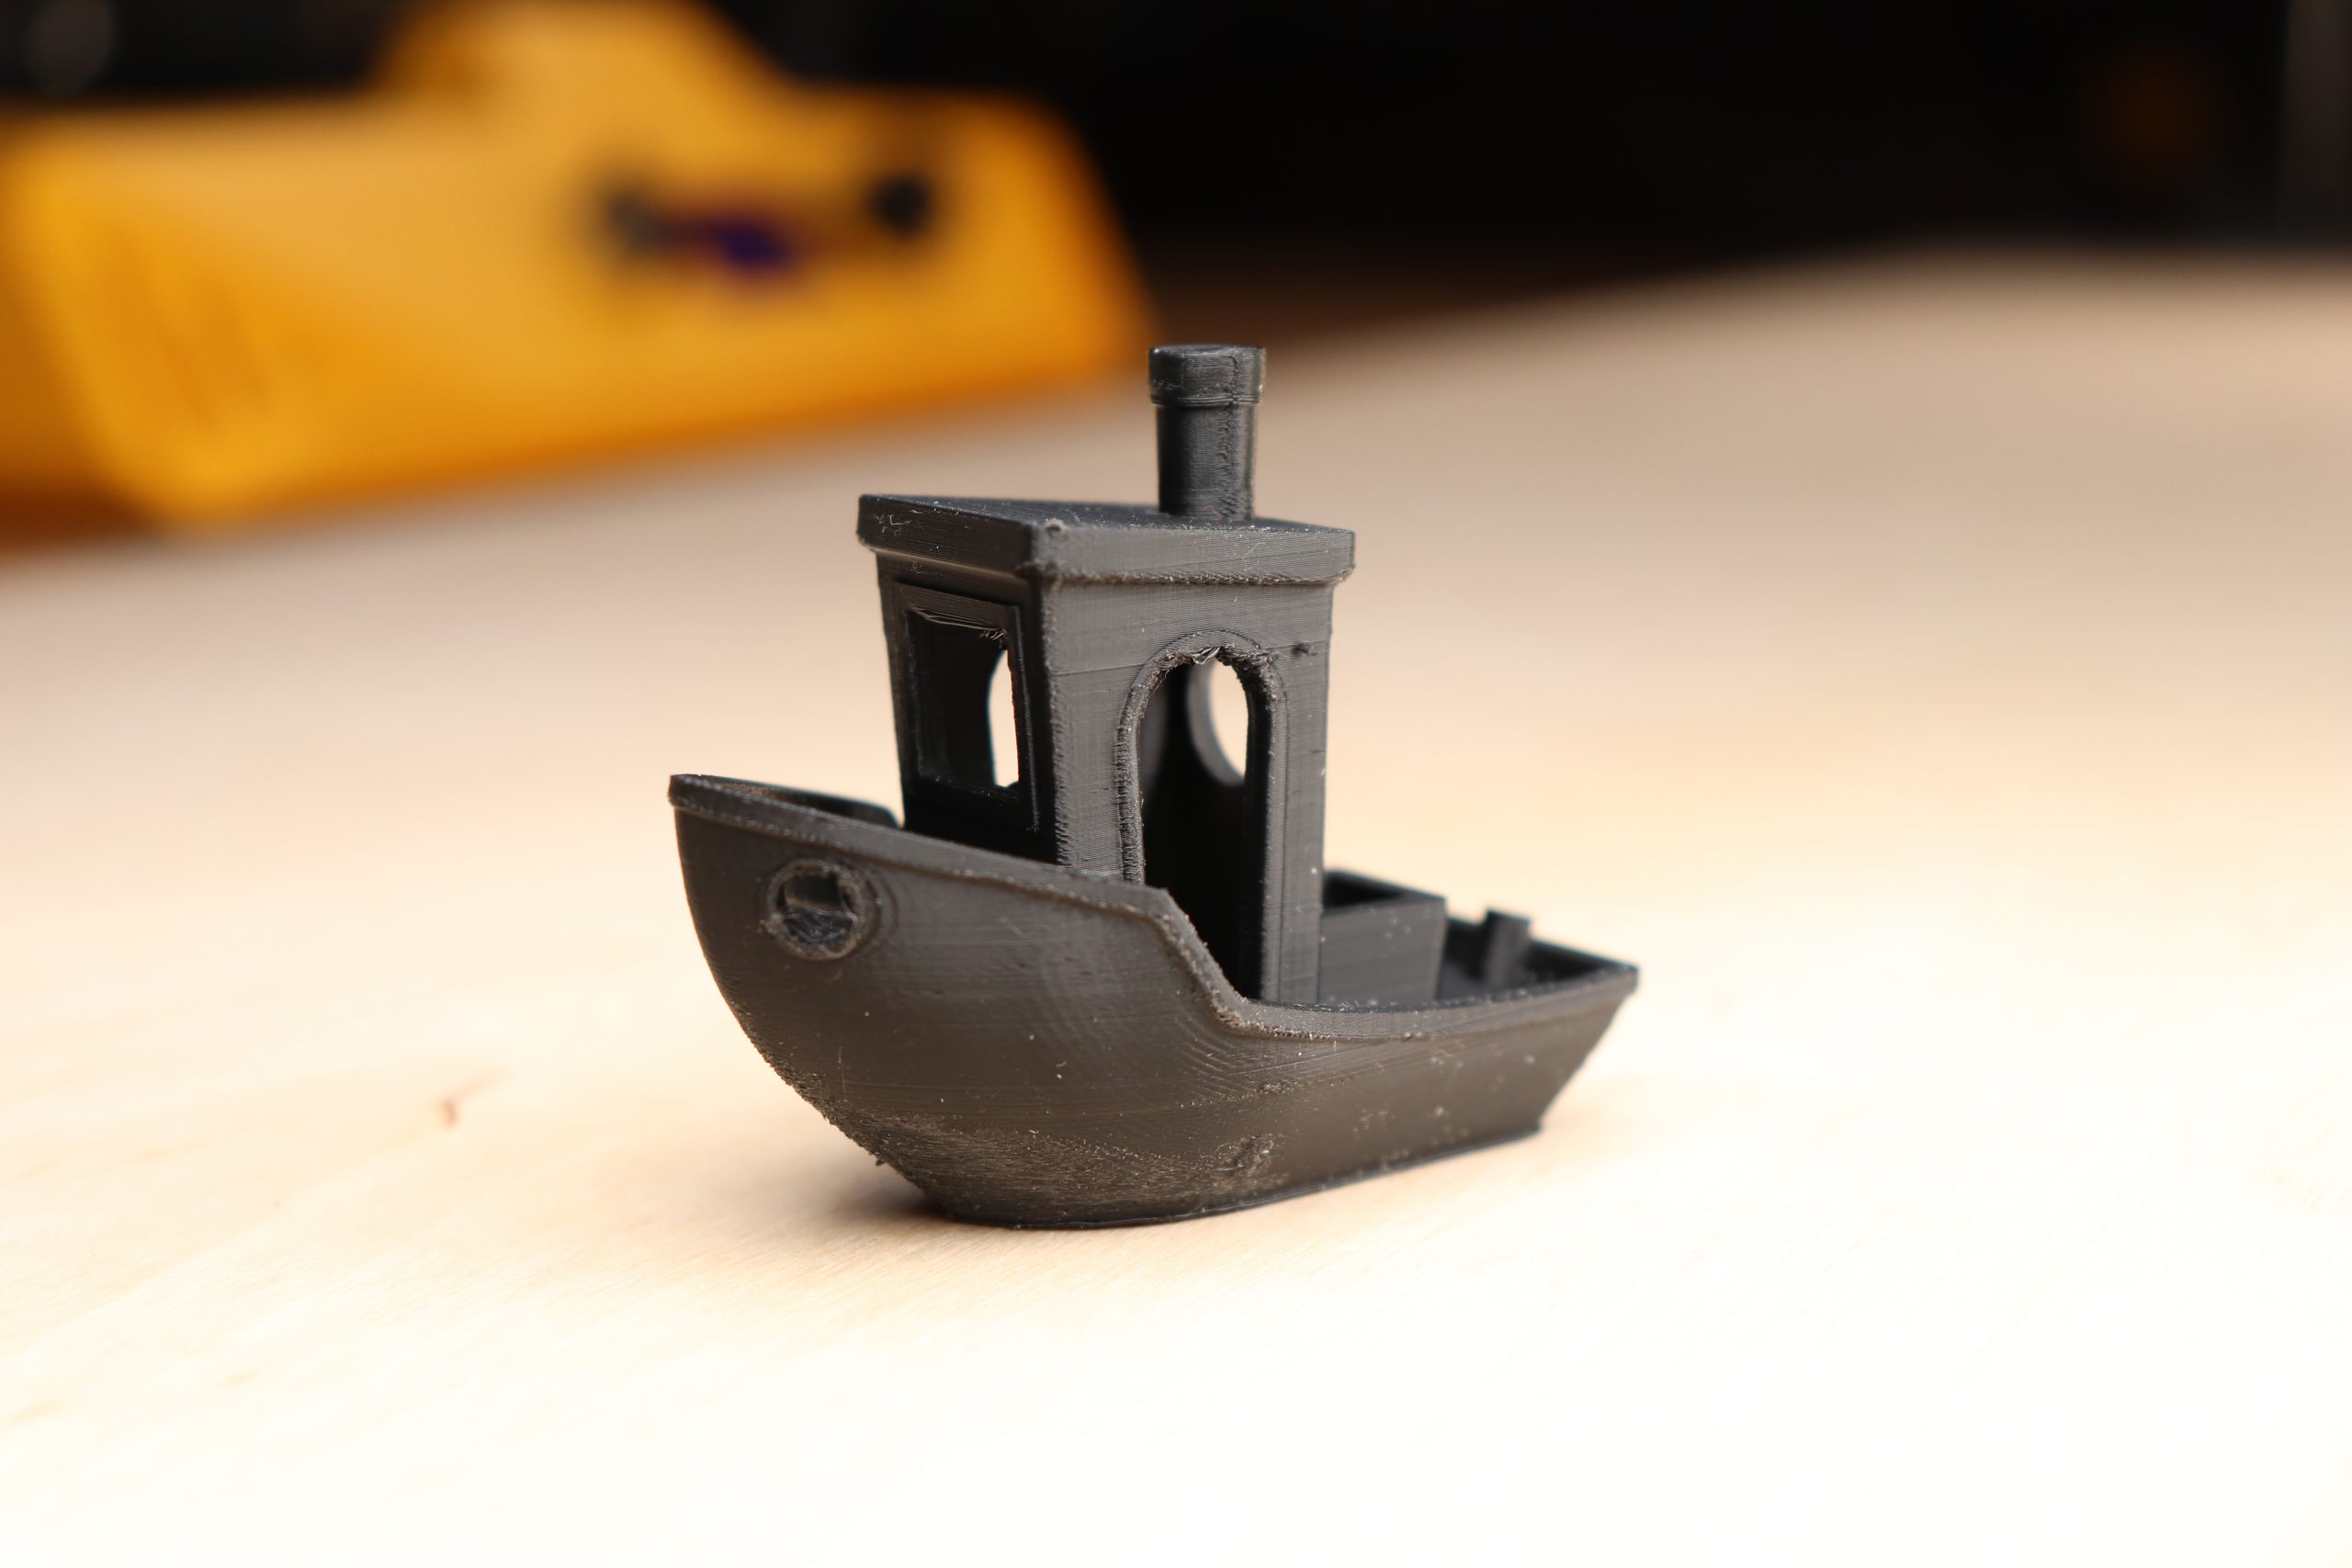
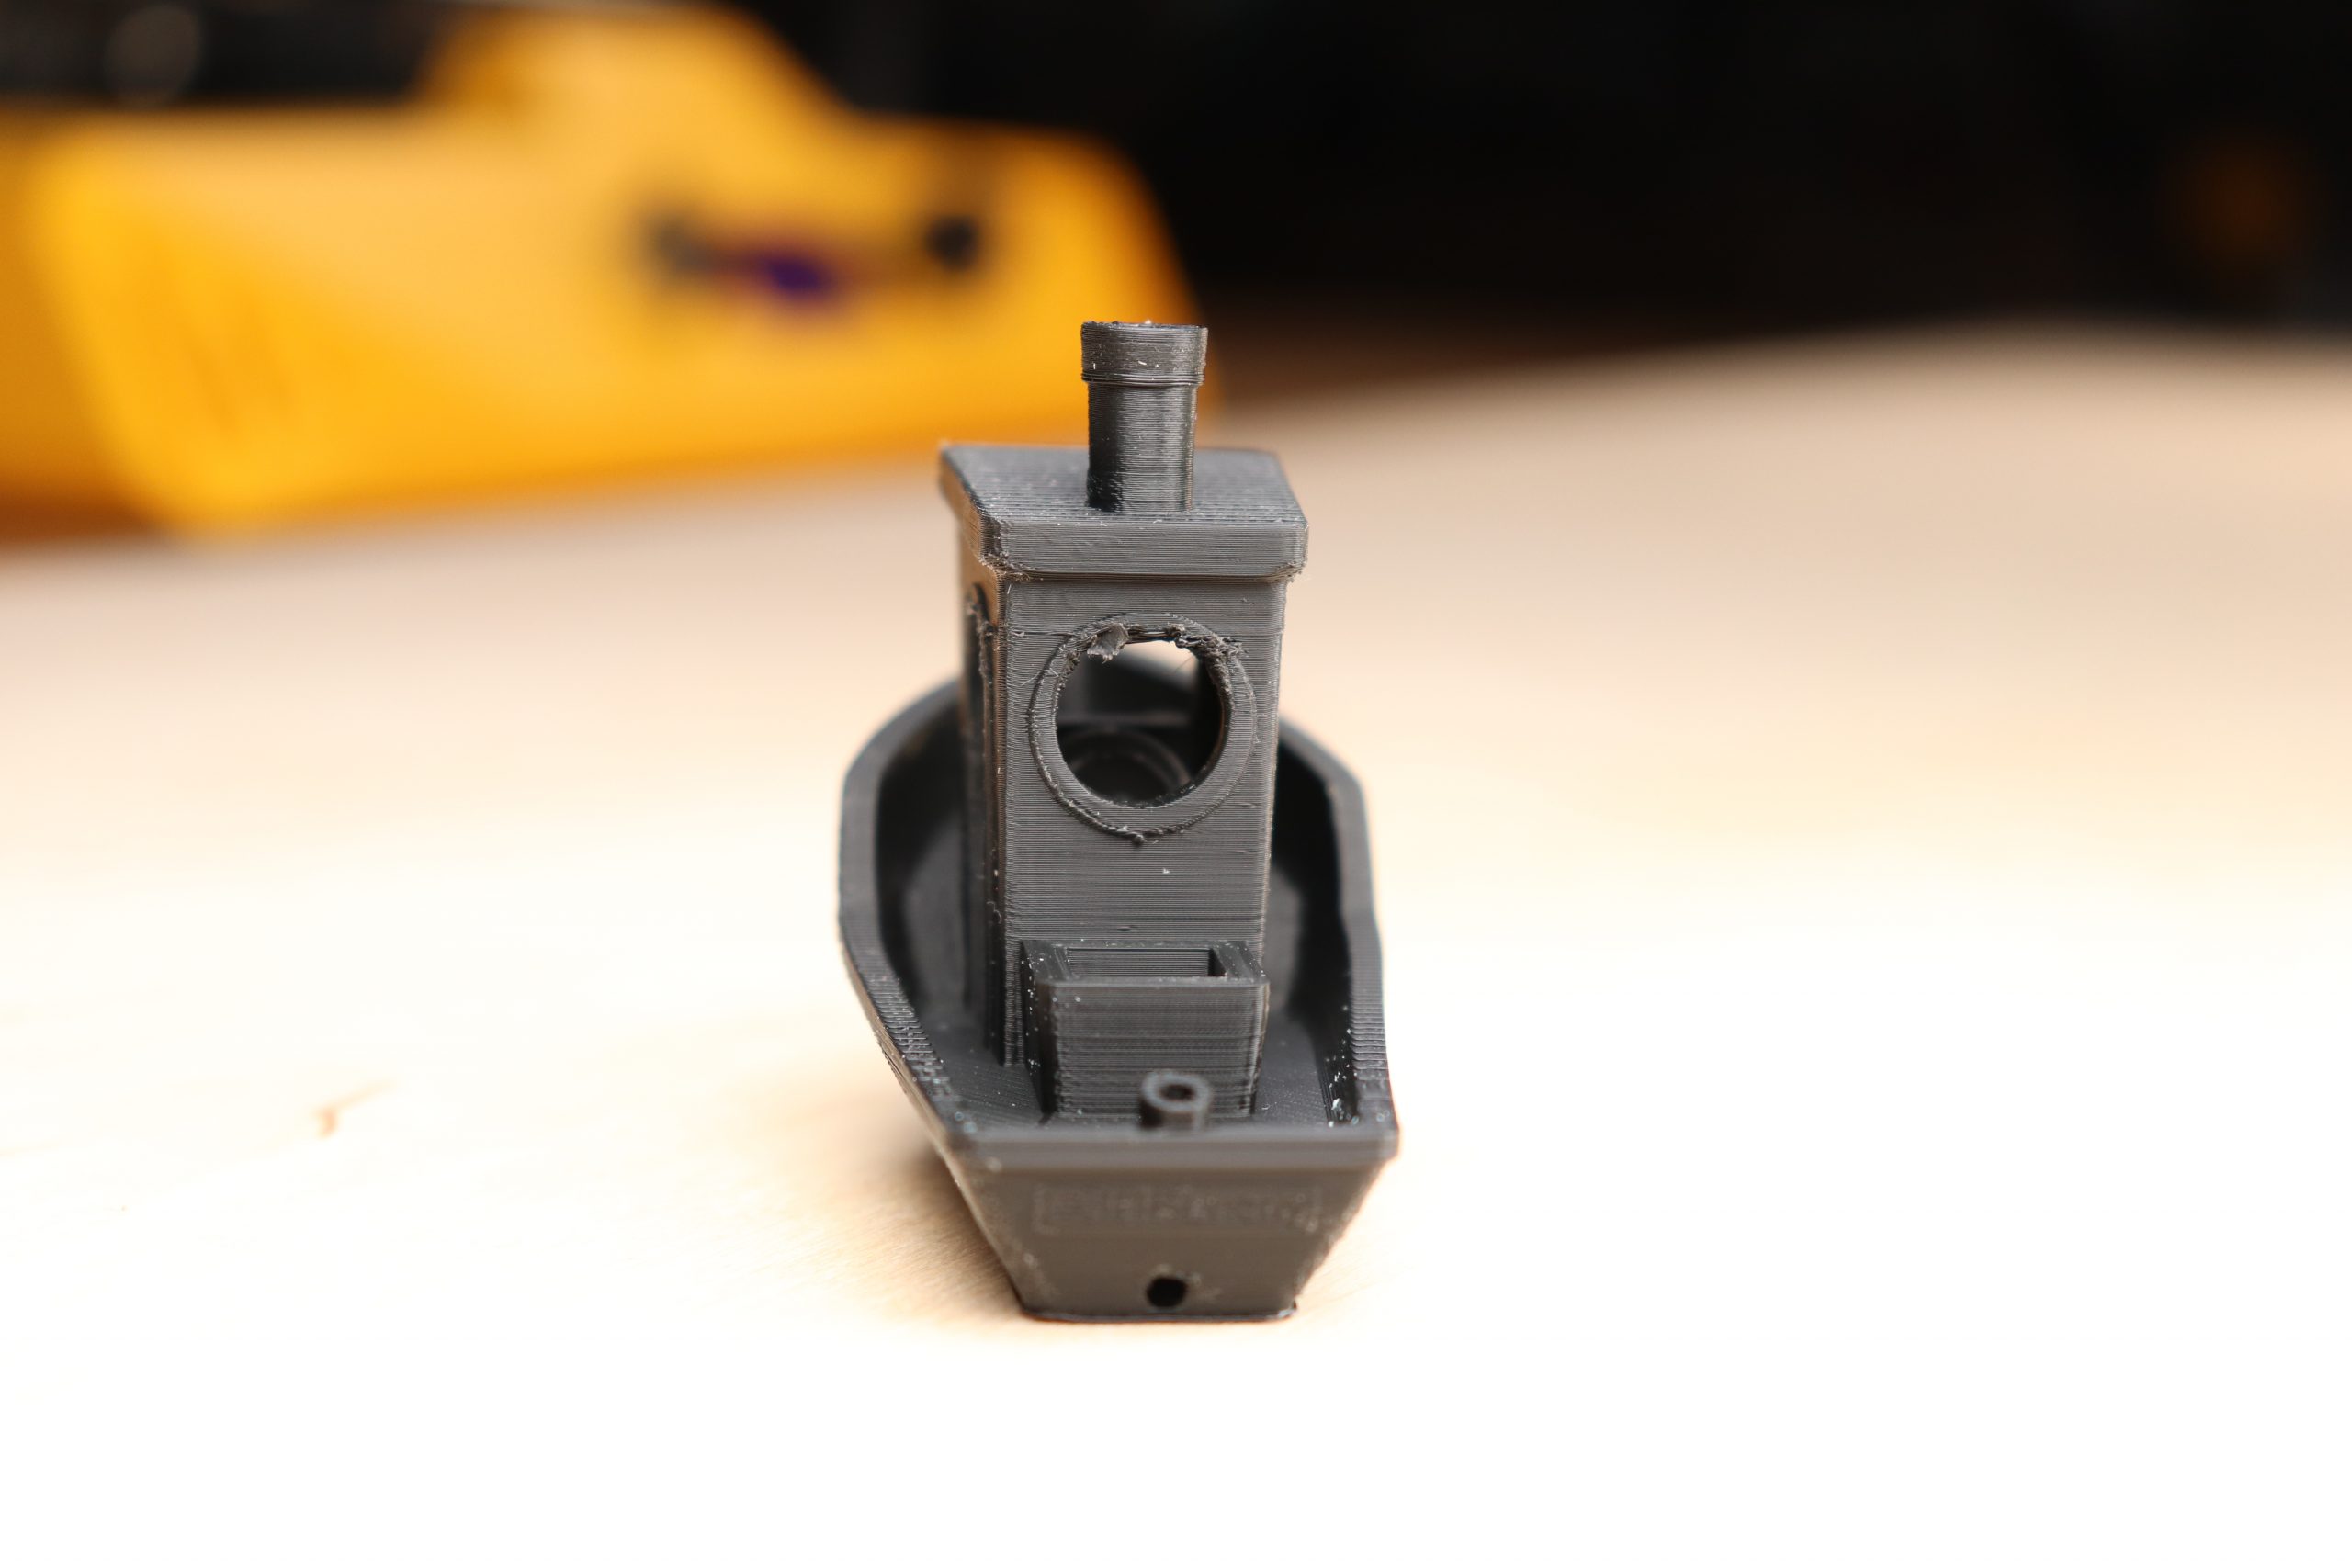
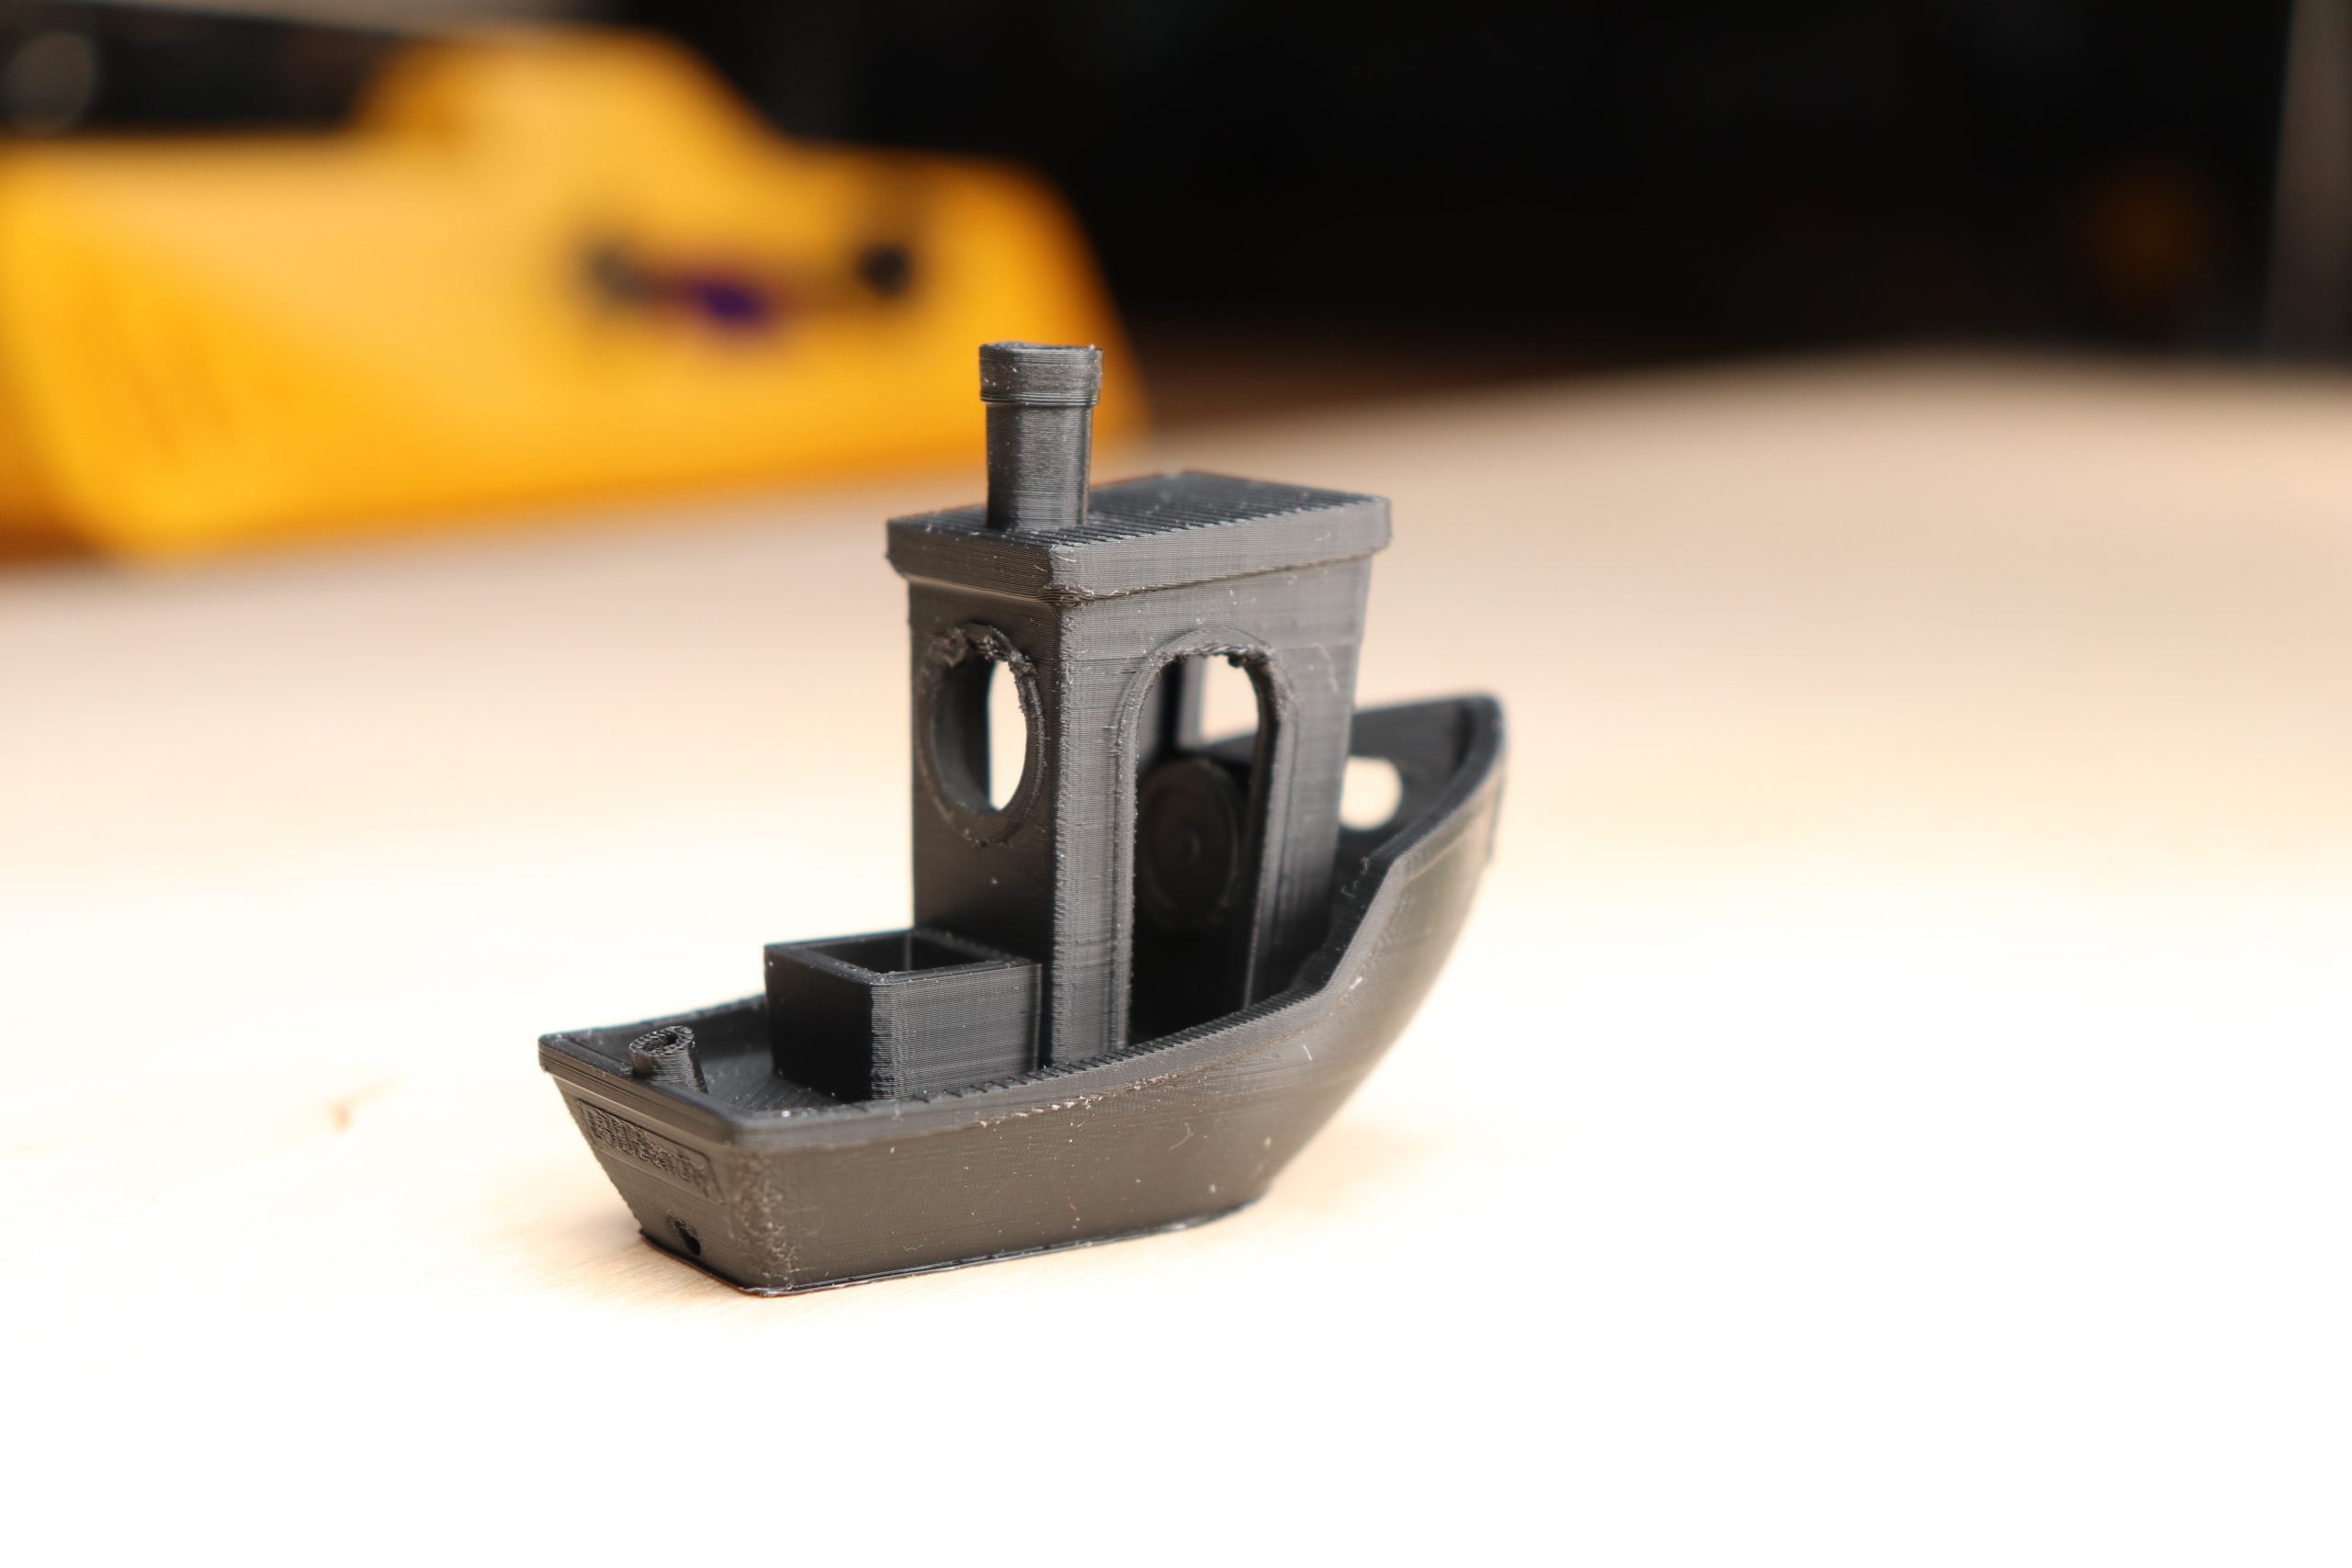
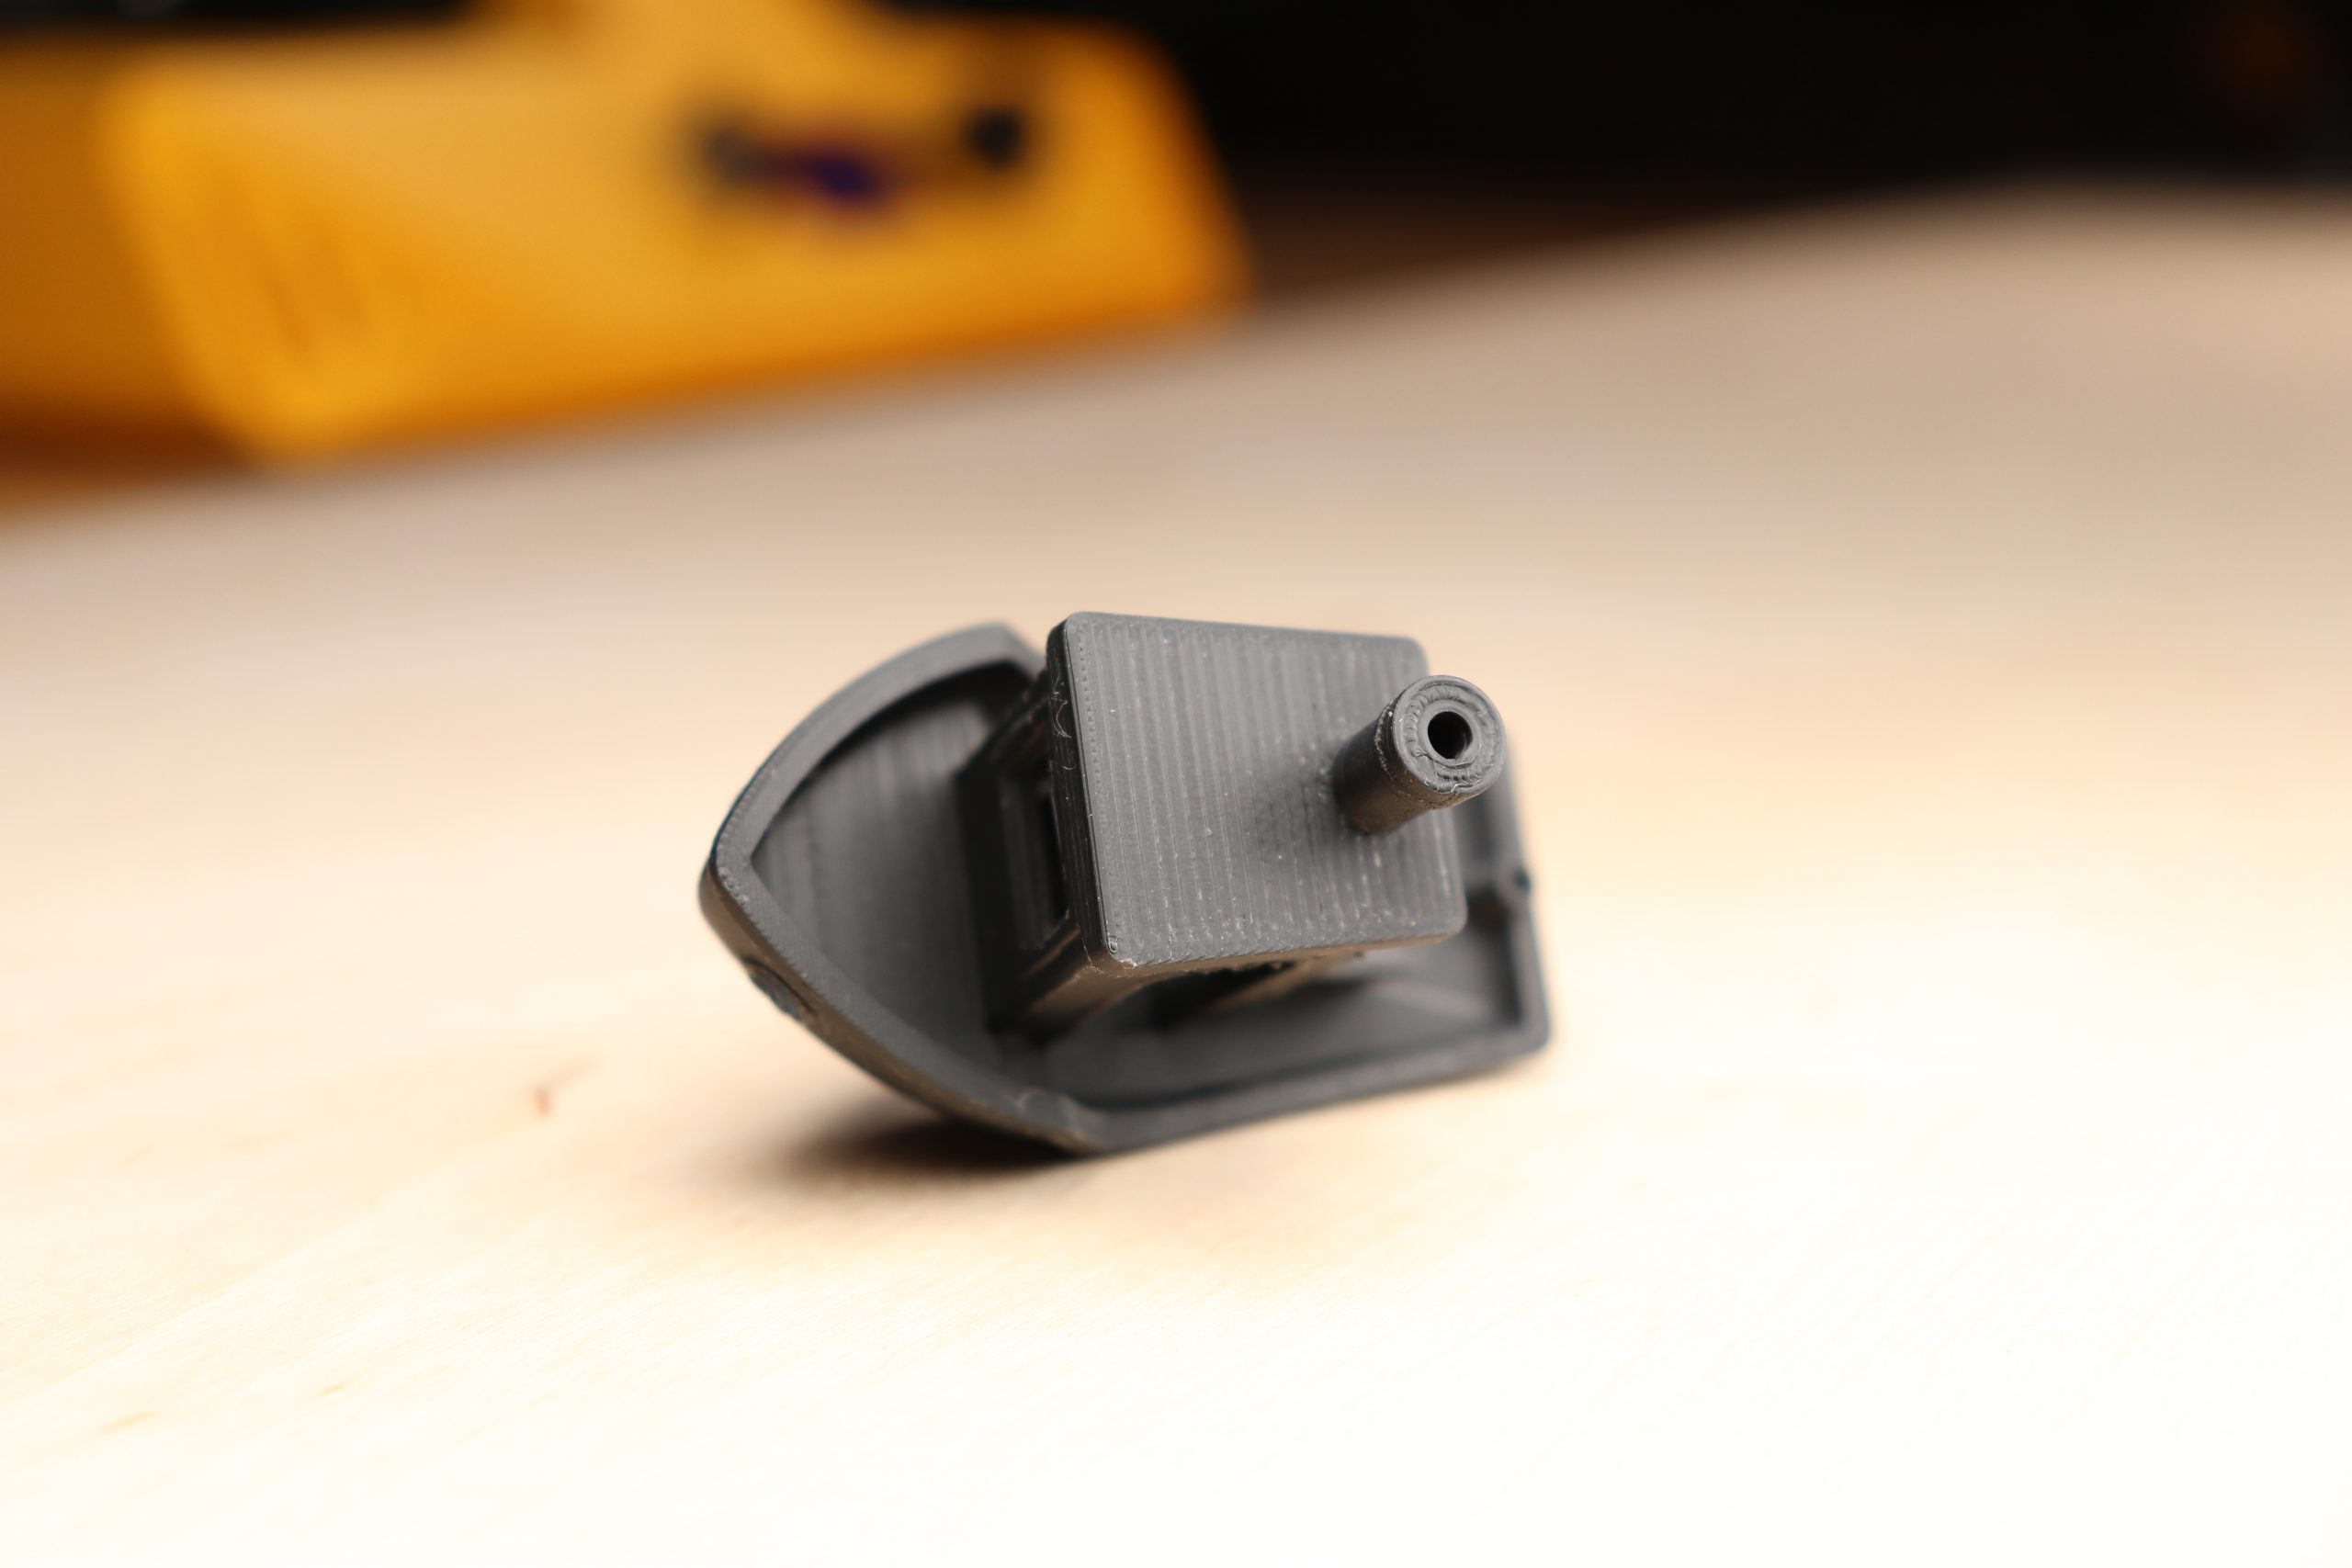
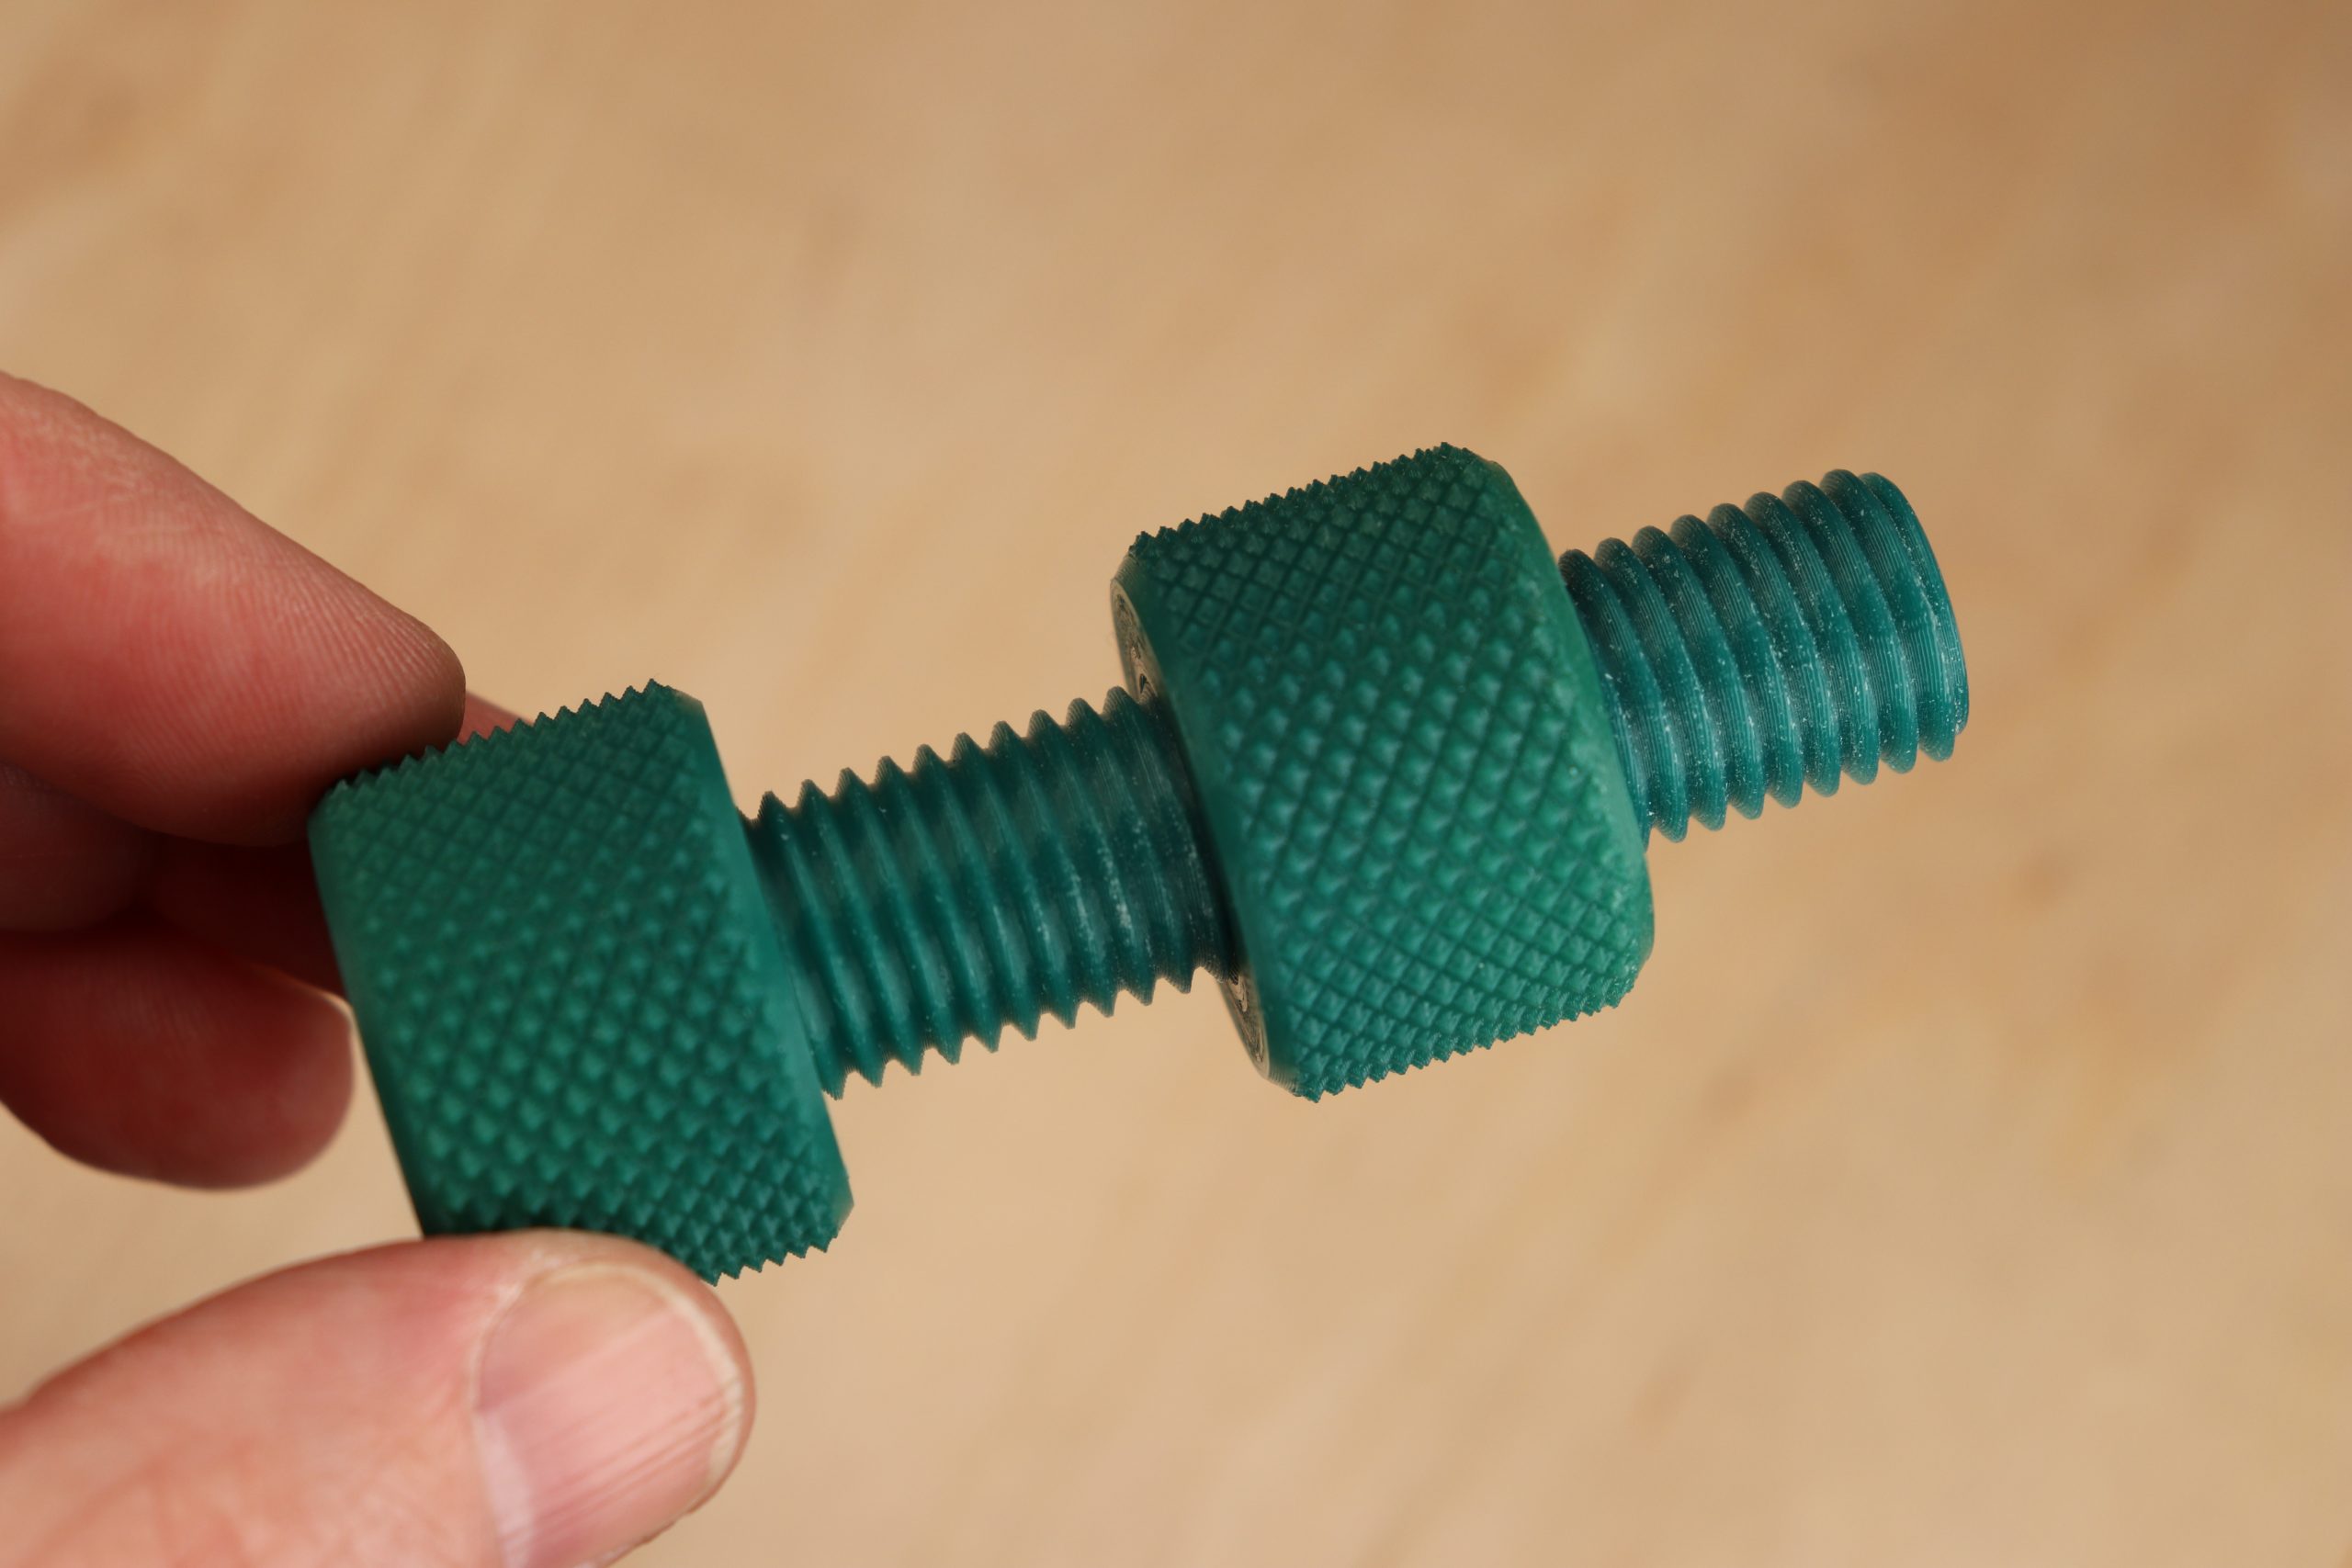
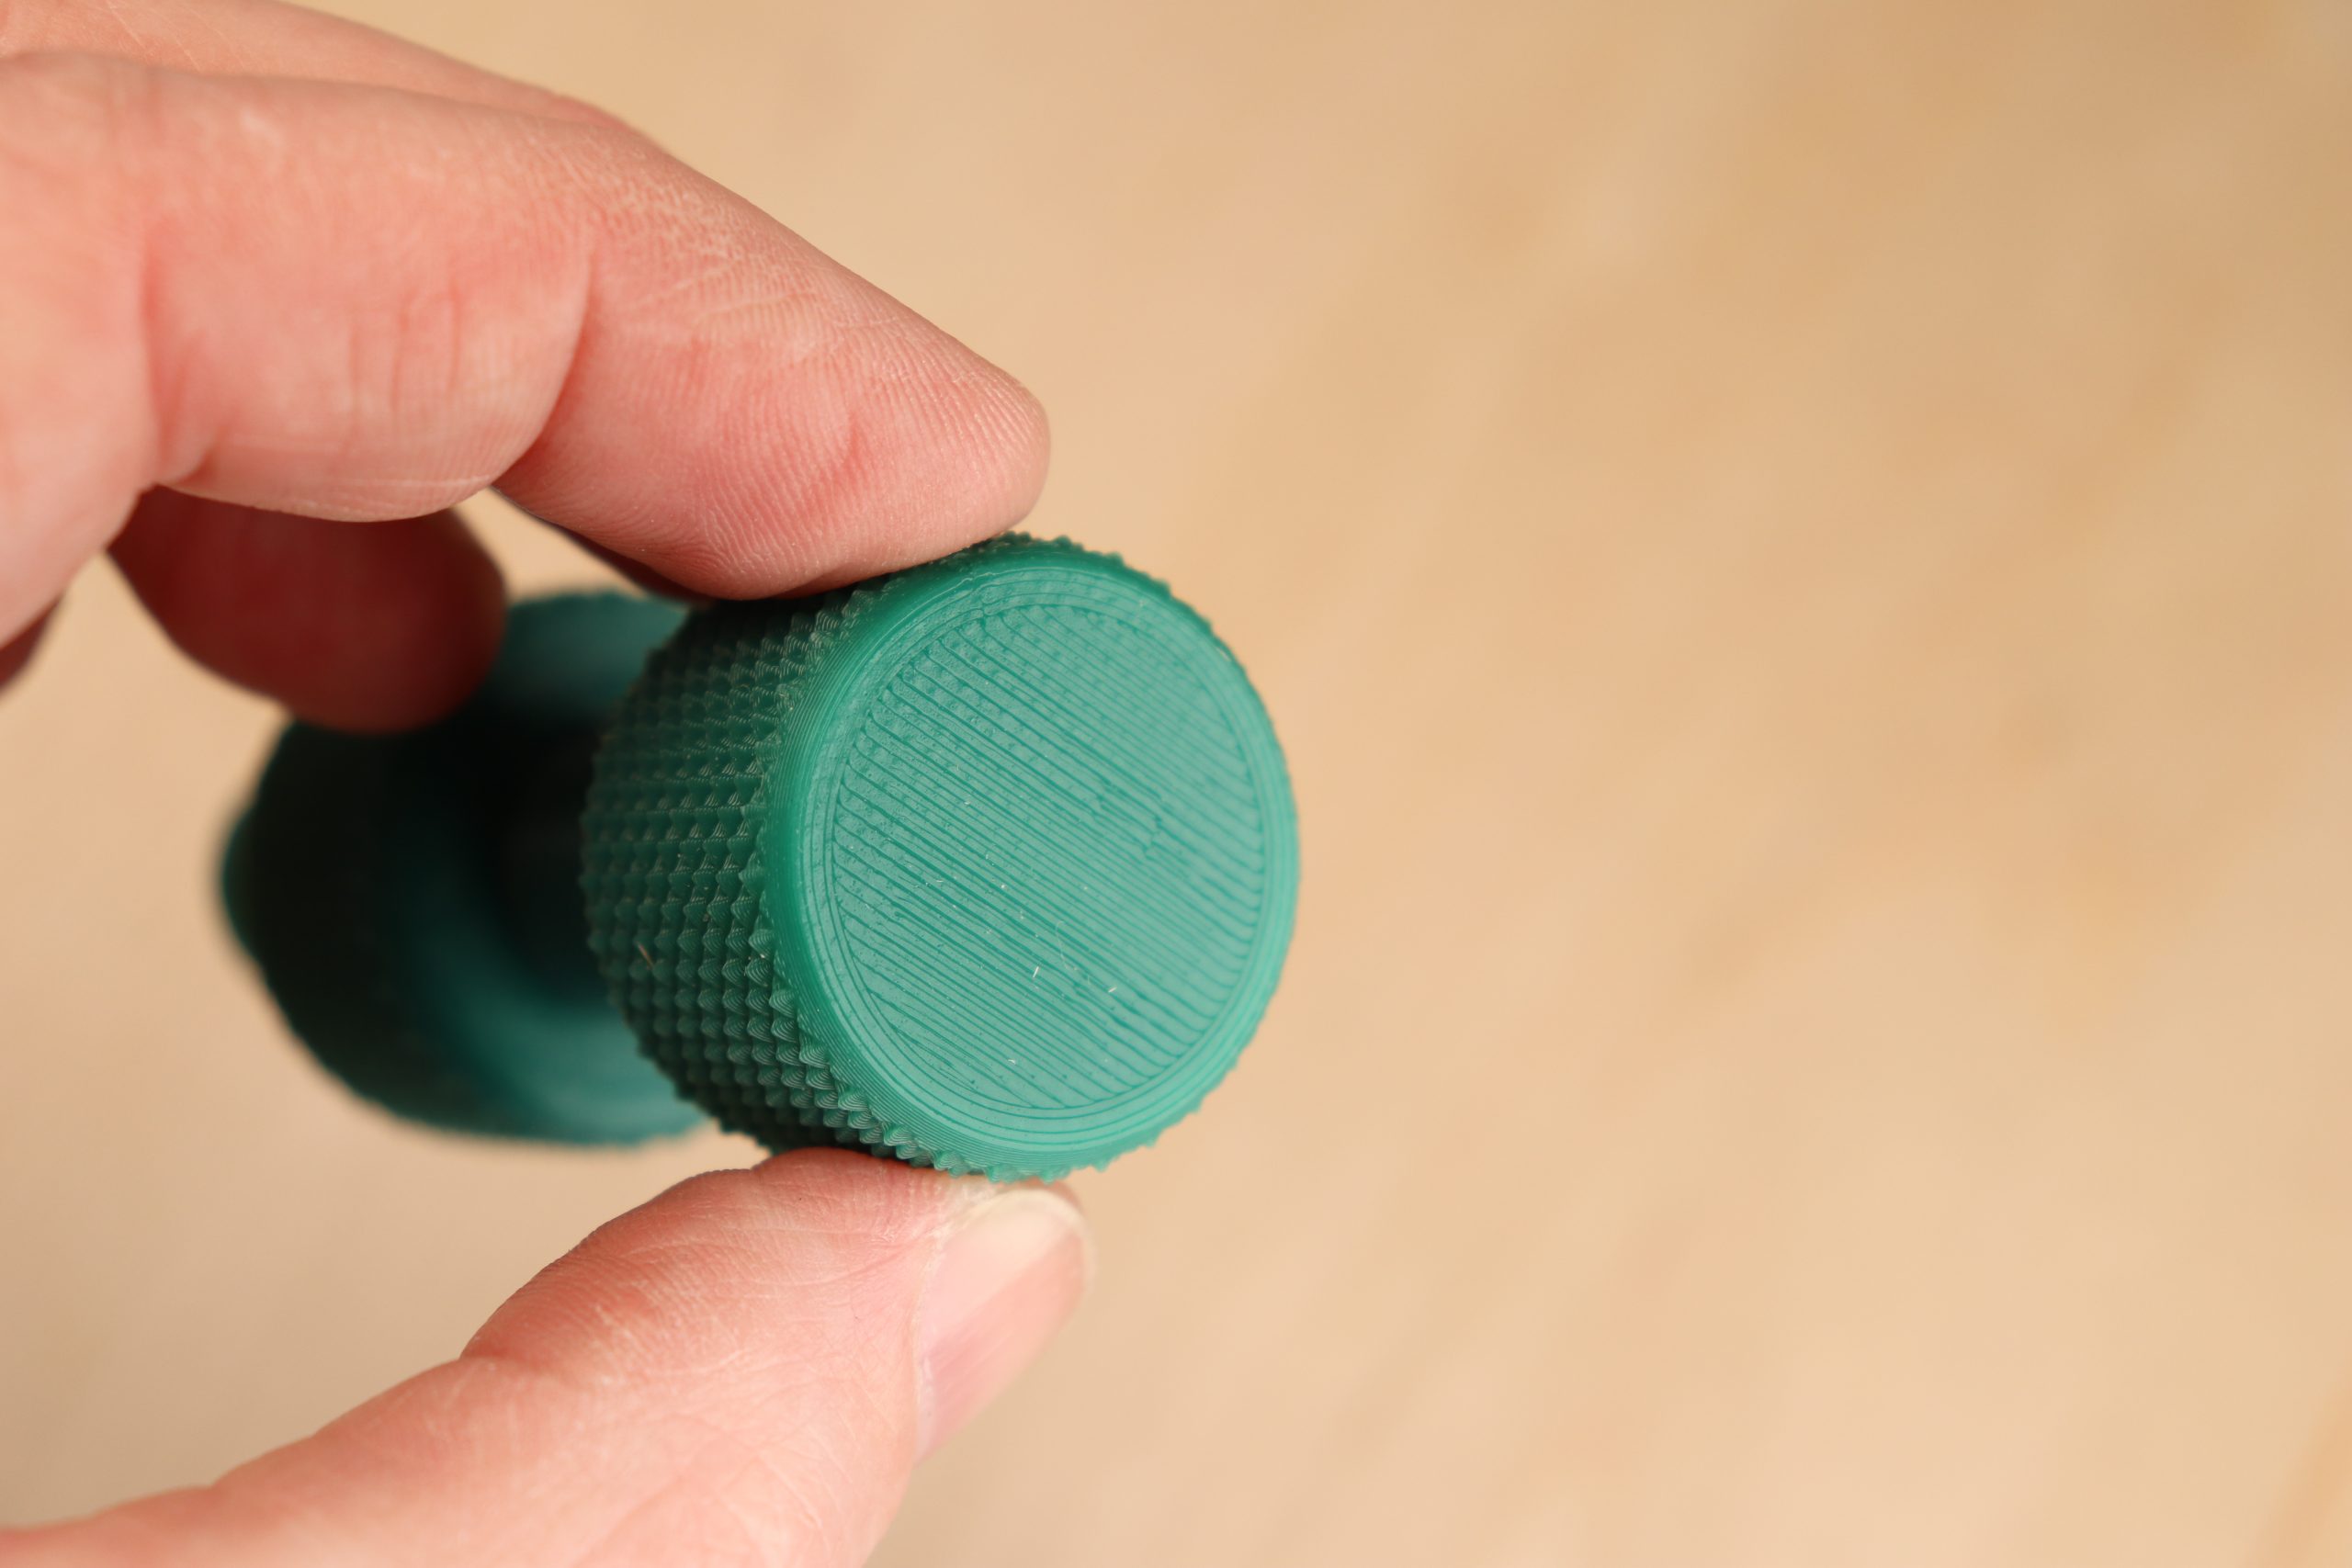
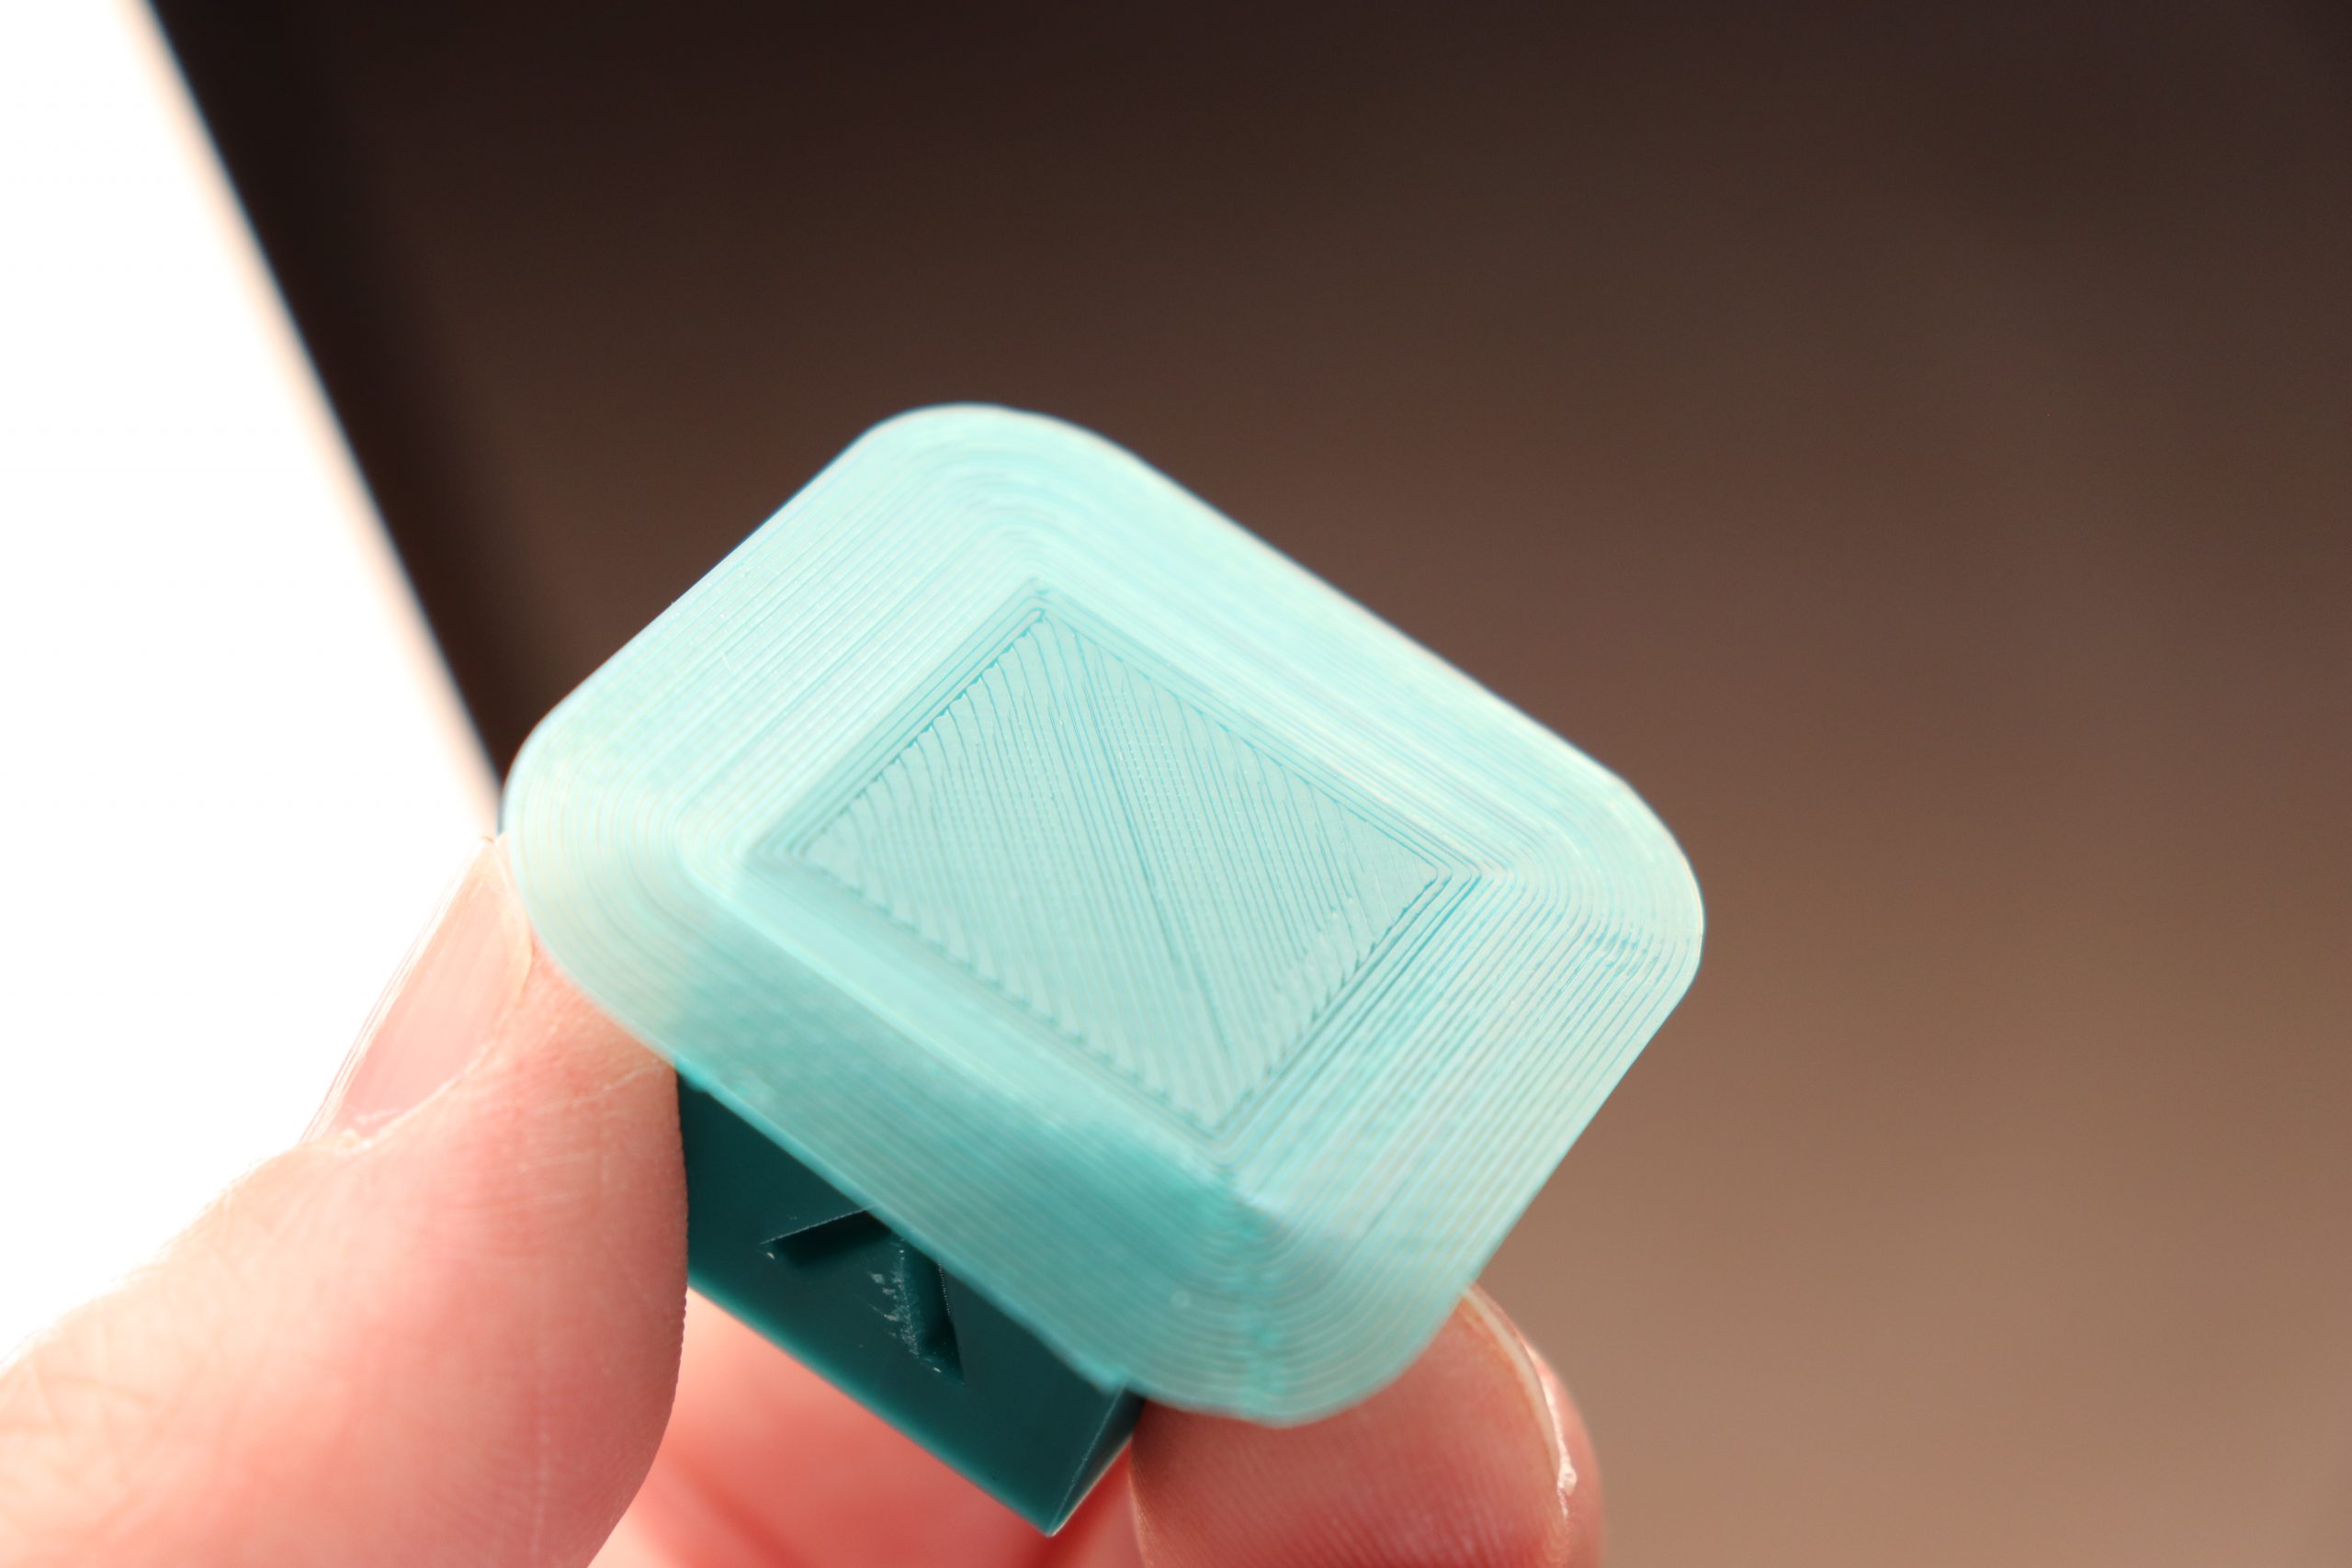
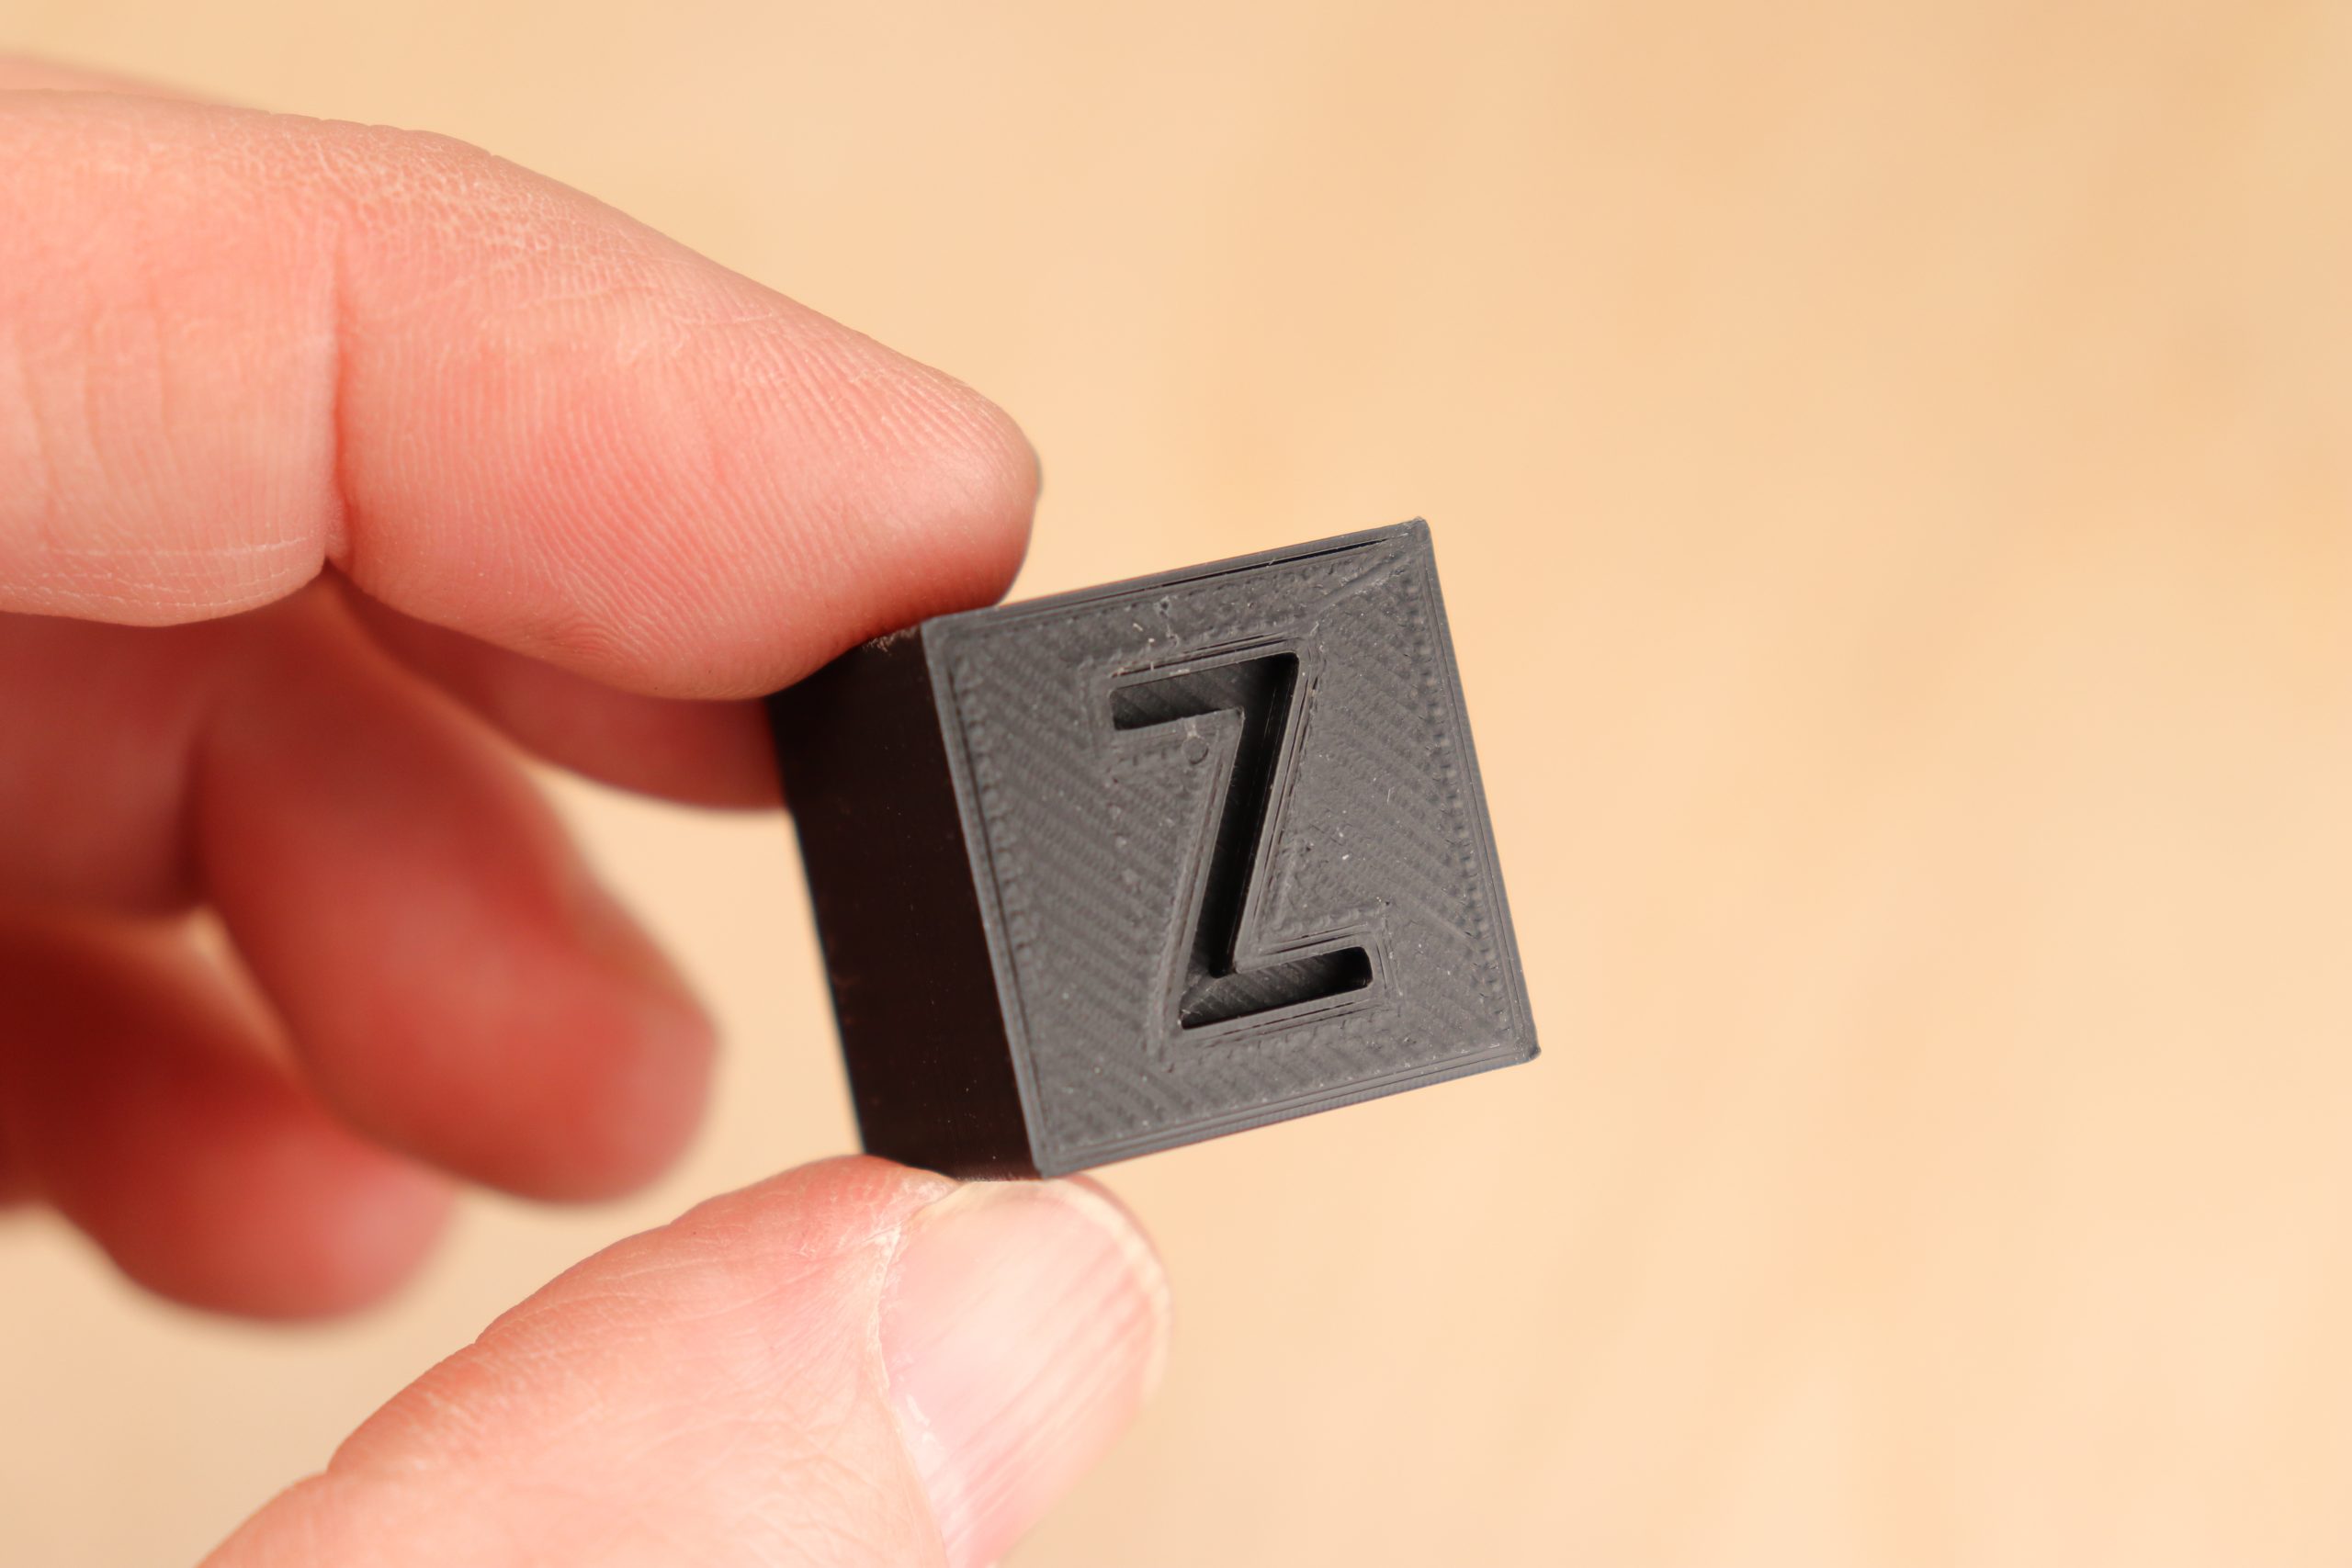
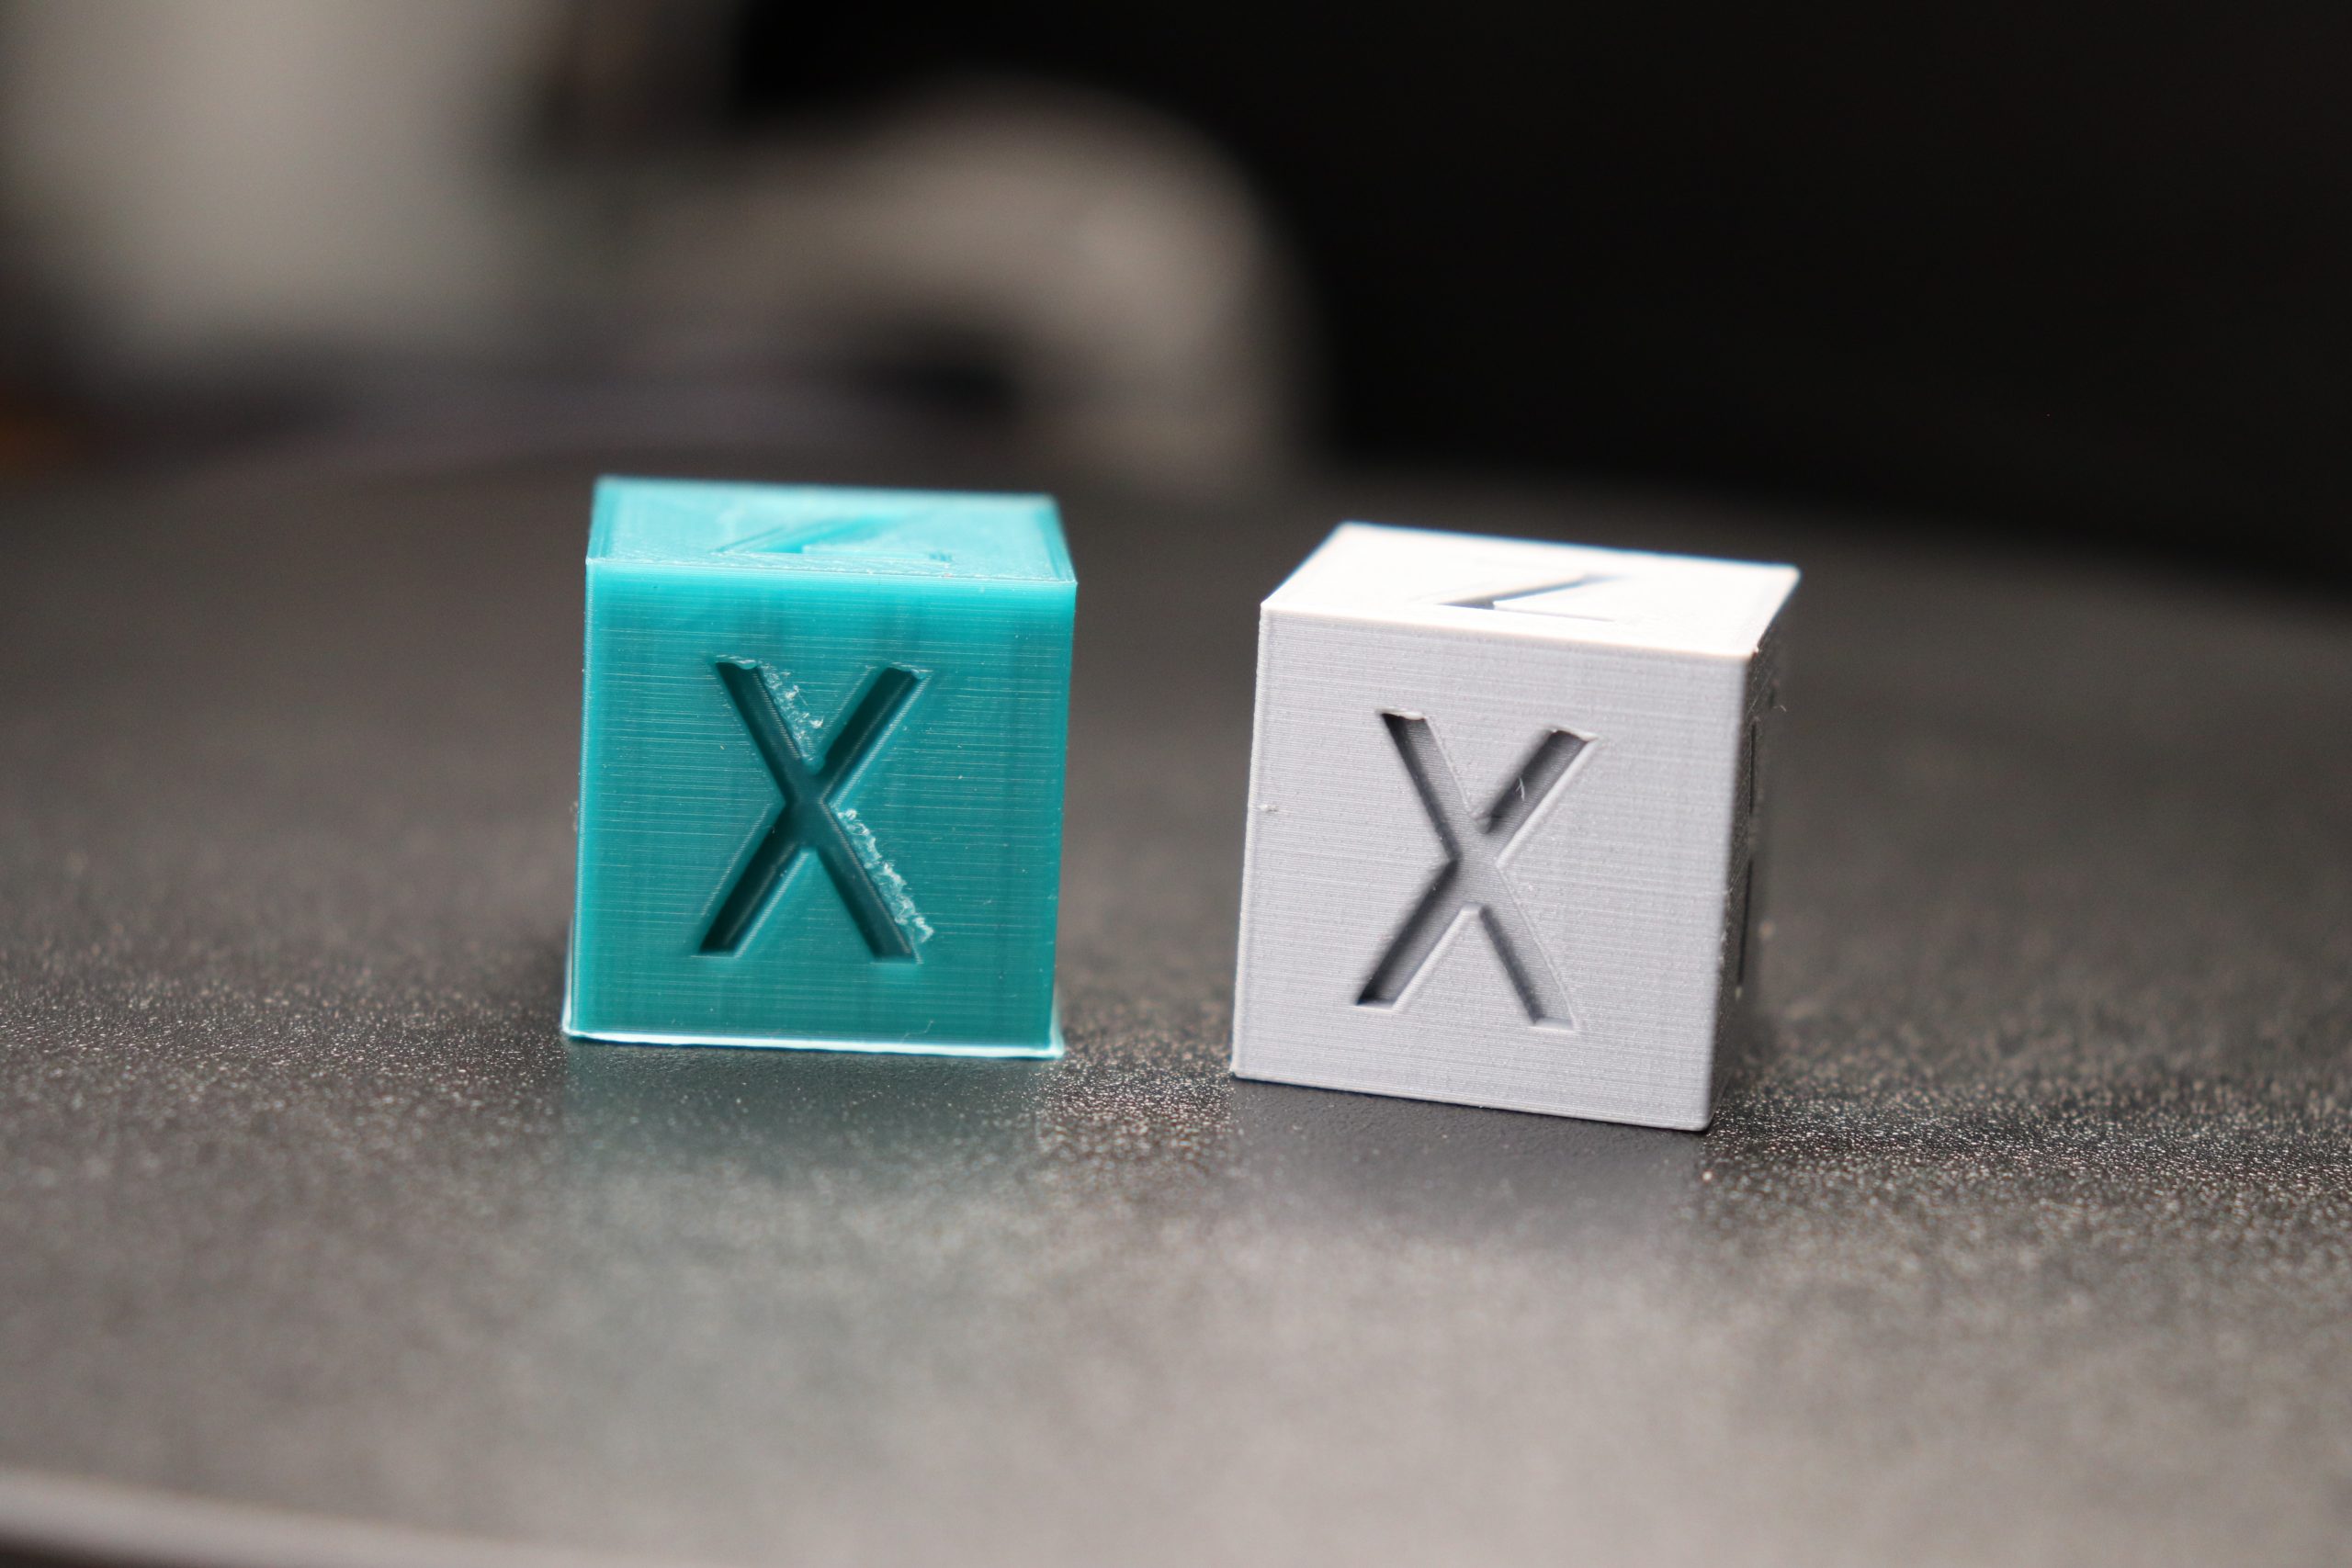
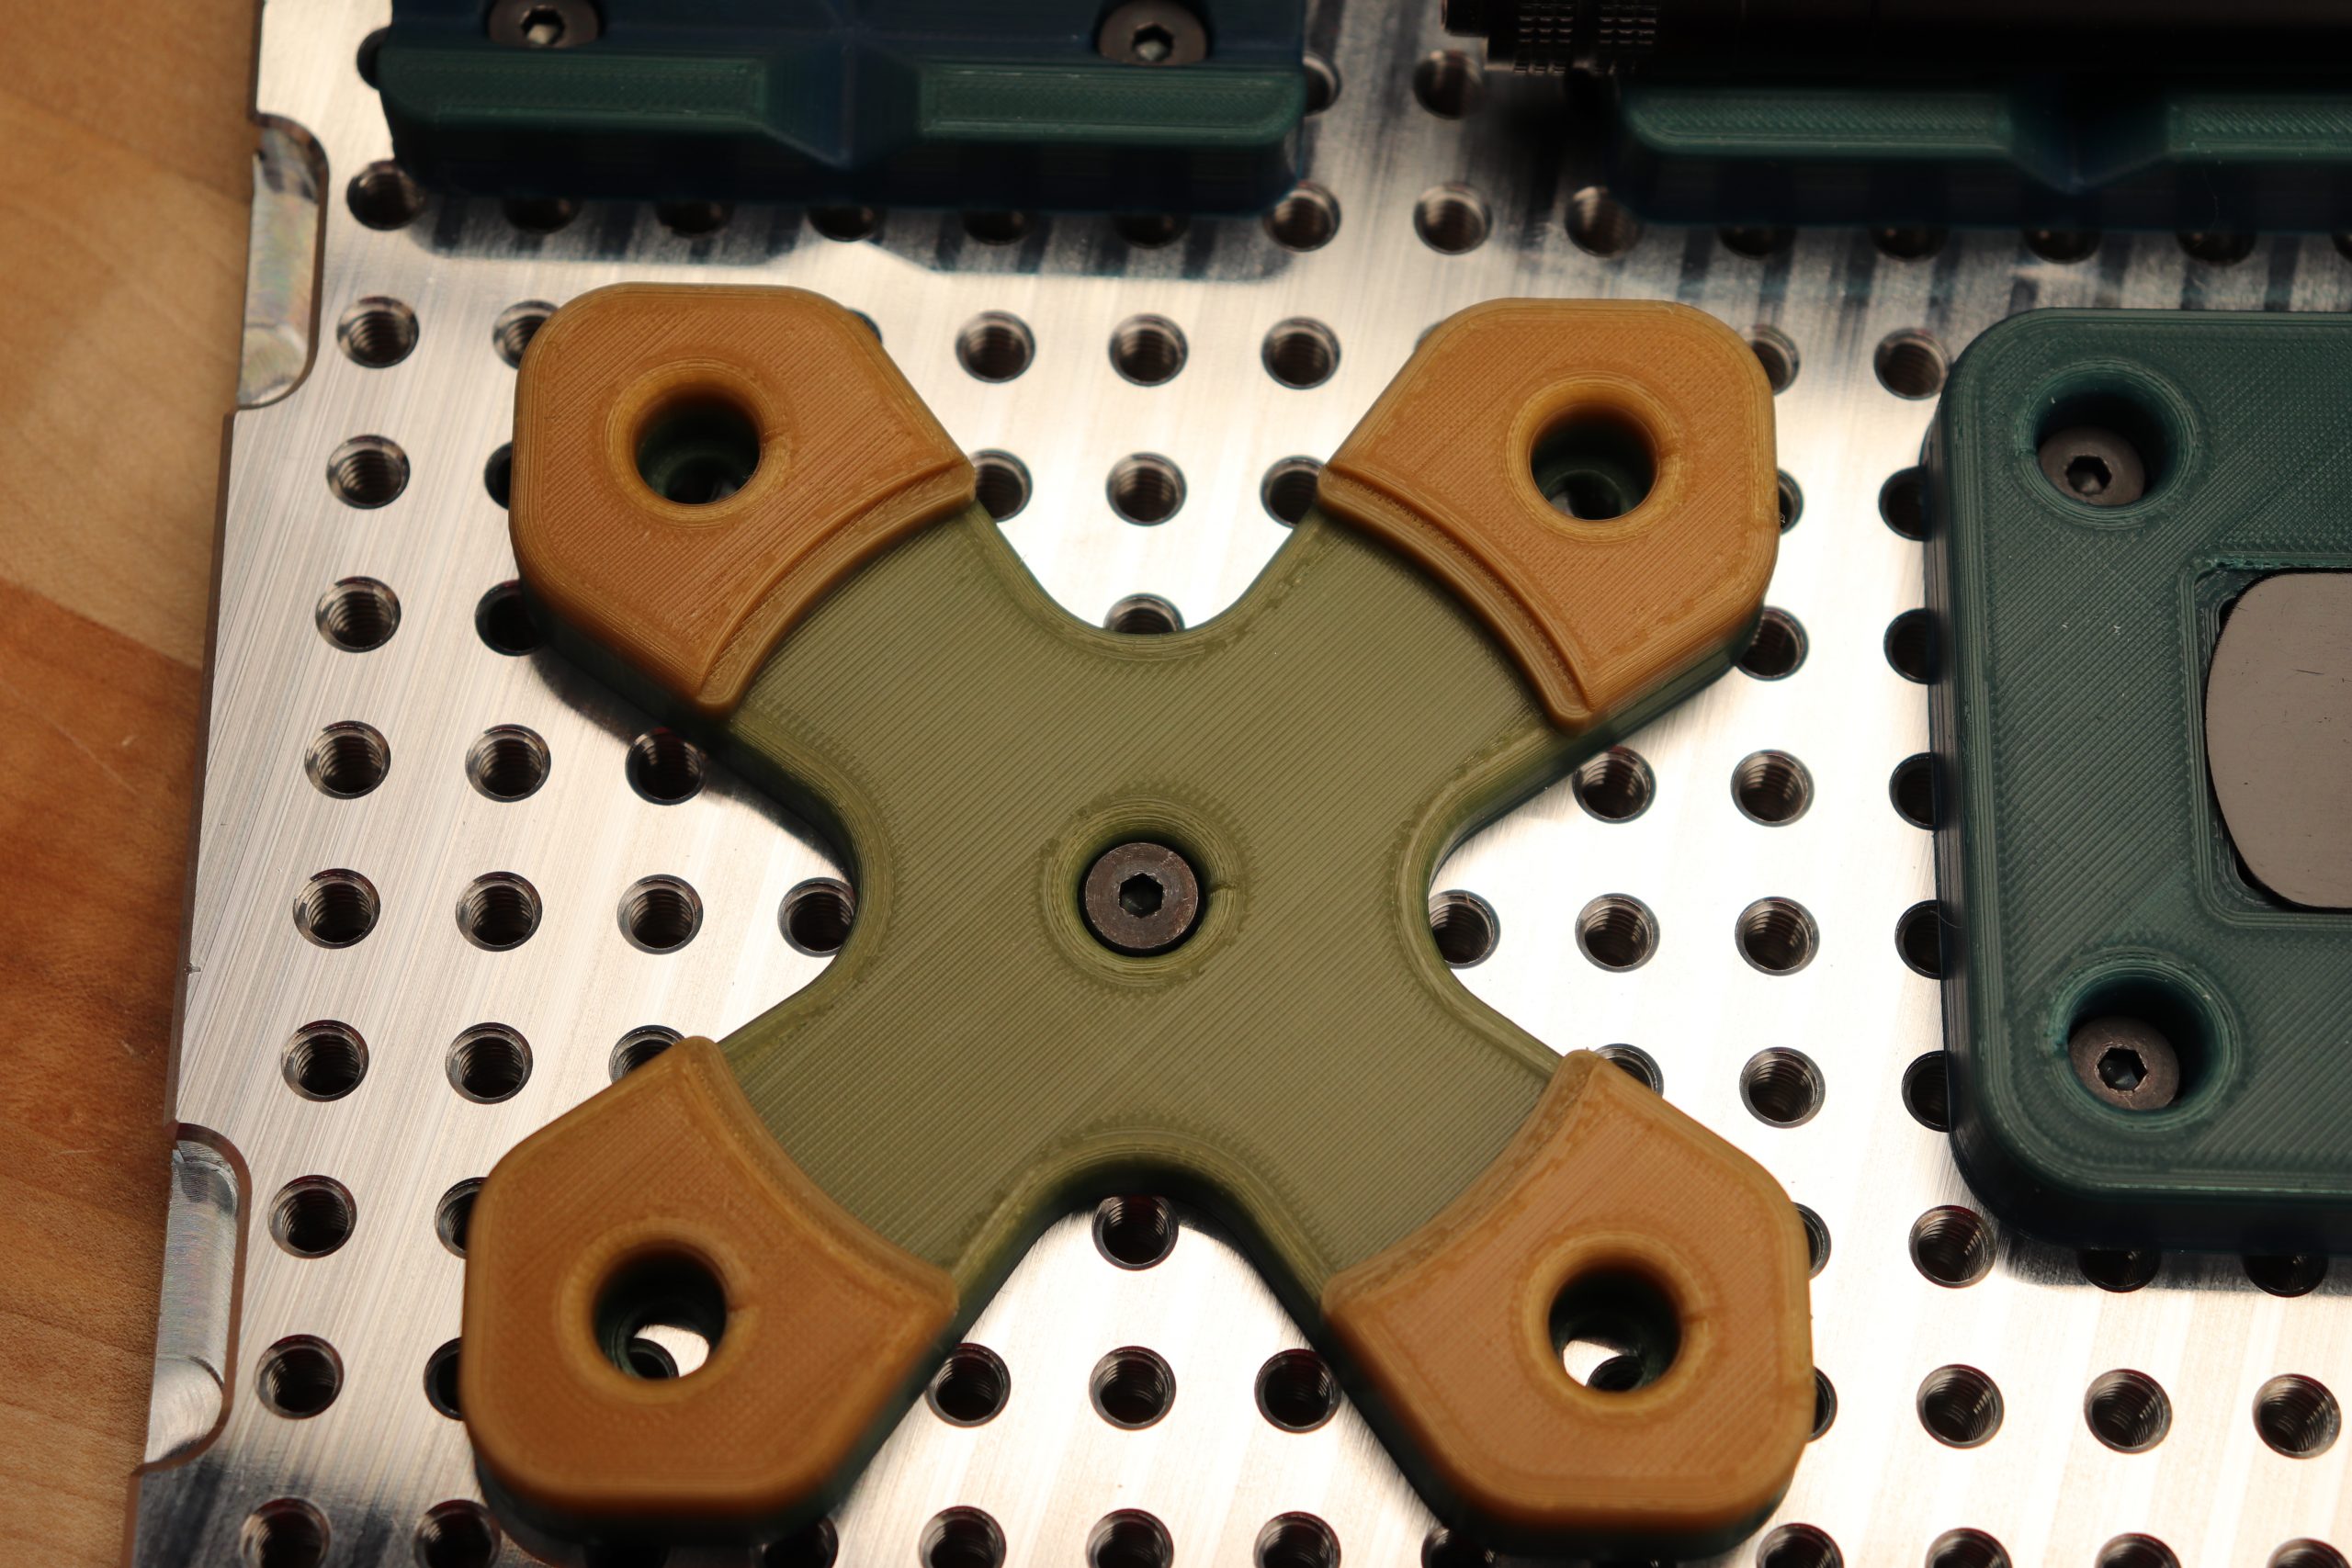
The first print was a test cube using the Duramic PLA plus black filament. Even though I accidentally used the incorrect printer profile settings in the Cura slicer program the cube turned out great. Using the same filament, the next item I printed was called a Benchy, which is a common item to print to test the 3d printers capability. The Benchy turned out good only showing some slight issues on the most extreme overhangs. I now blame those issues on the type of filament and the improper print settings. I would later confirm this when I printed another Benchy with black Hatchbox PLA and the correct settings. From here I switched filament to the random color changing PLA I found on Amazon. Its quality is nowhere near the Duramic or Hatchbox level (lesson learned). It’s worth mentioning that from the time I leveled the bed and started the first print, I ran the printer for just over 124 hours without powering it off. During that time it was printing all but about 8 hours, when one night, it finished a print right after I went to bed so it idled until the next morning. After that first 5+ day torture test, I have added 80+ hours more to it with no issues to report. I printed all sorts of items, from vases and bolts to puzzles and a huge flexible centipede. Check the pictures out to see everything. It tried to print an overhang test twice and each time there were layer shifts. I can not explain why this happened and I printed several other items that were taller than that test with no issues. It was the first time I had tried that test file so I’m inclined to blame the issue on the file, poor quality PLA, my improper printer settings or a combination of each. Over all the prints turned out great. The printer is so quiet that is was running right beside me on several conference calls and no one was the wiser 🙂
Software
I used the free slicer software called Cura. Slicing software is what you use to take your design file (commonly with an .STL file extension) and slice it into layers so the printer can print it (hence being called a “slicer” :). Think of the slicing software as taking your favorite Lego model and chopping it into slices that are 1 brick high. 3d printing is the same but your brick height is called the layer height in the slicer software. You can also modify a dizzying number of settings in the software, but for most prints I only change 1 or 2 default settings. All the Cura printer profiles (normal, fine and fast) you need for most prints are included on the micro SD card as well as the beginning and ending g-code snippets. The g-code snippets tell the printer what to do before the print starts like setting homing the printer and priming the nozzle. It also tells the printer what to do after the printing is finished like turning off the nozzle and bed heaters.
Summary
The printer was very easy to assemble and use. The printing results were good from the start but were great when I used quality filament and the correct printer profile (facepalm). The Artillery Hornet from Hekka would make a great first printer or additional printer to you 3d printing farm. It’s a great value for the price. Be sure to view the pictures below and watch the YouTube video if you haven’t already. As always links are below.
The contest has ended. Thanks to all who entered!
Use code Neo7cnc10 to receive $10 off on orders over $29.99
Artillery Hornet 3d printer from Hekka: https://hekka.club/33MzPYF
Software:
Cura Slicer Software FREE: https://ultimaker.com/software/ultimaker-cura
Addition items I use with 3D printers:
3D printer spatula for getting prints off the build plate easier – https://amzn.to/3J2QENF
Duramic PLA Matte Black + Gray filament 1.75mm 2 Pack – https://amzn.to/35BuWCI
Duramic Premium PLA Plus black 1.75mm filament – https://amzn.to/3iUoMRd
Hatchbox PLA black 1.75mm filament – https://amzn.to/3qSirtW
Hatchbox PLA yellow 1.75mm filament – https://amzn.to/3uPYFjI
Hatchbox PLA blue 1.75mm filament – https://amzn.to/3IZSA9q
Hatchbox PLA silver 1.75mm filament – https://amzn.to/3LCX7AC
Hatchbox PLA green 1.75mm filament – https://amzn.to/3qREZLa
Hatchbox PLA red 1.75mm filament – https://amzn.to/3iSvjvE
Like my “left unsupervised” T-shirt? Find it and many more here – https://bit.ly/3HHEb25
Support the channel: – PayPal https://www.paypal.me/neo7cnc


