Aufero contacted again me to see if I was interested in reviewing their Aufero Laser 2 desktop laser engraver. I reviewed their Aufero Laser 1 several month ago. It was a cantilevered design so I wanted to see how this more traditional, box design would compare.
Packaging
The unit arrived extremely well packed in a sturdy cardboard box with ample foam packaging. There was no damage and nothing was missing.
Assembly
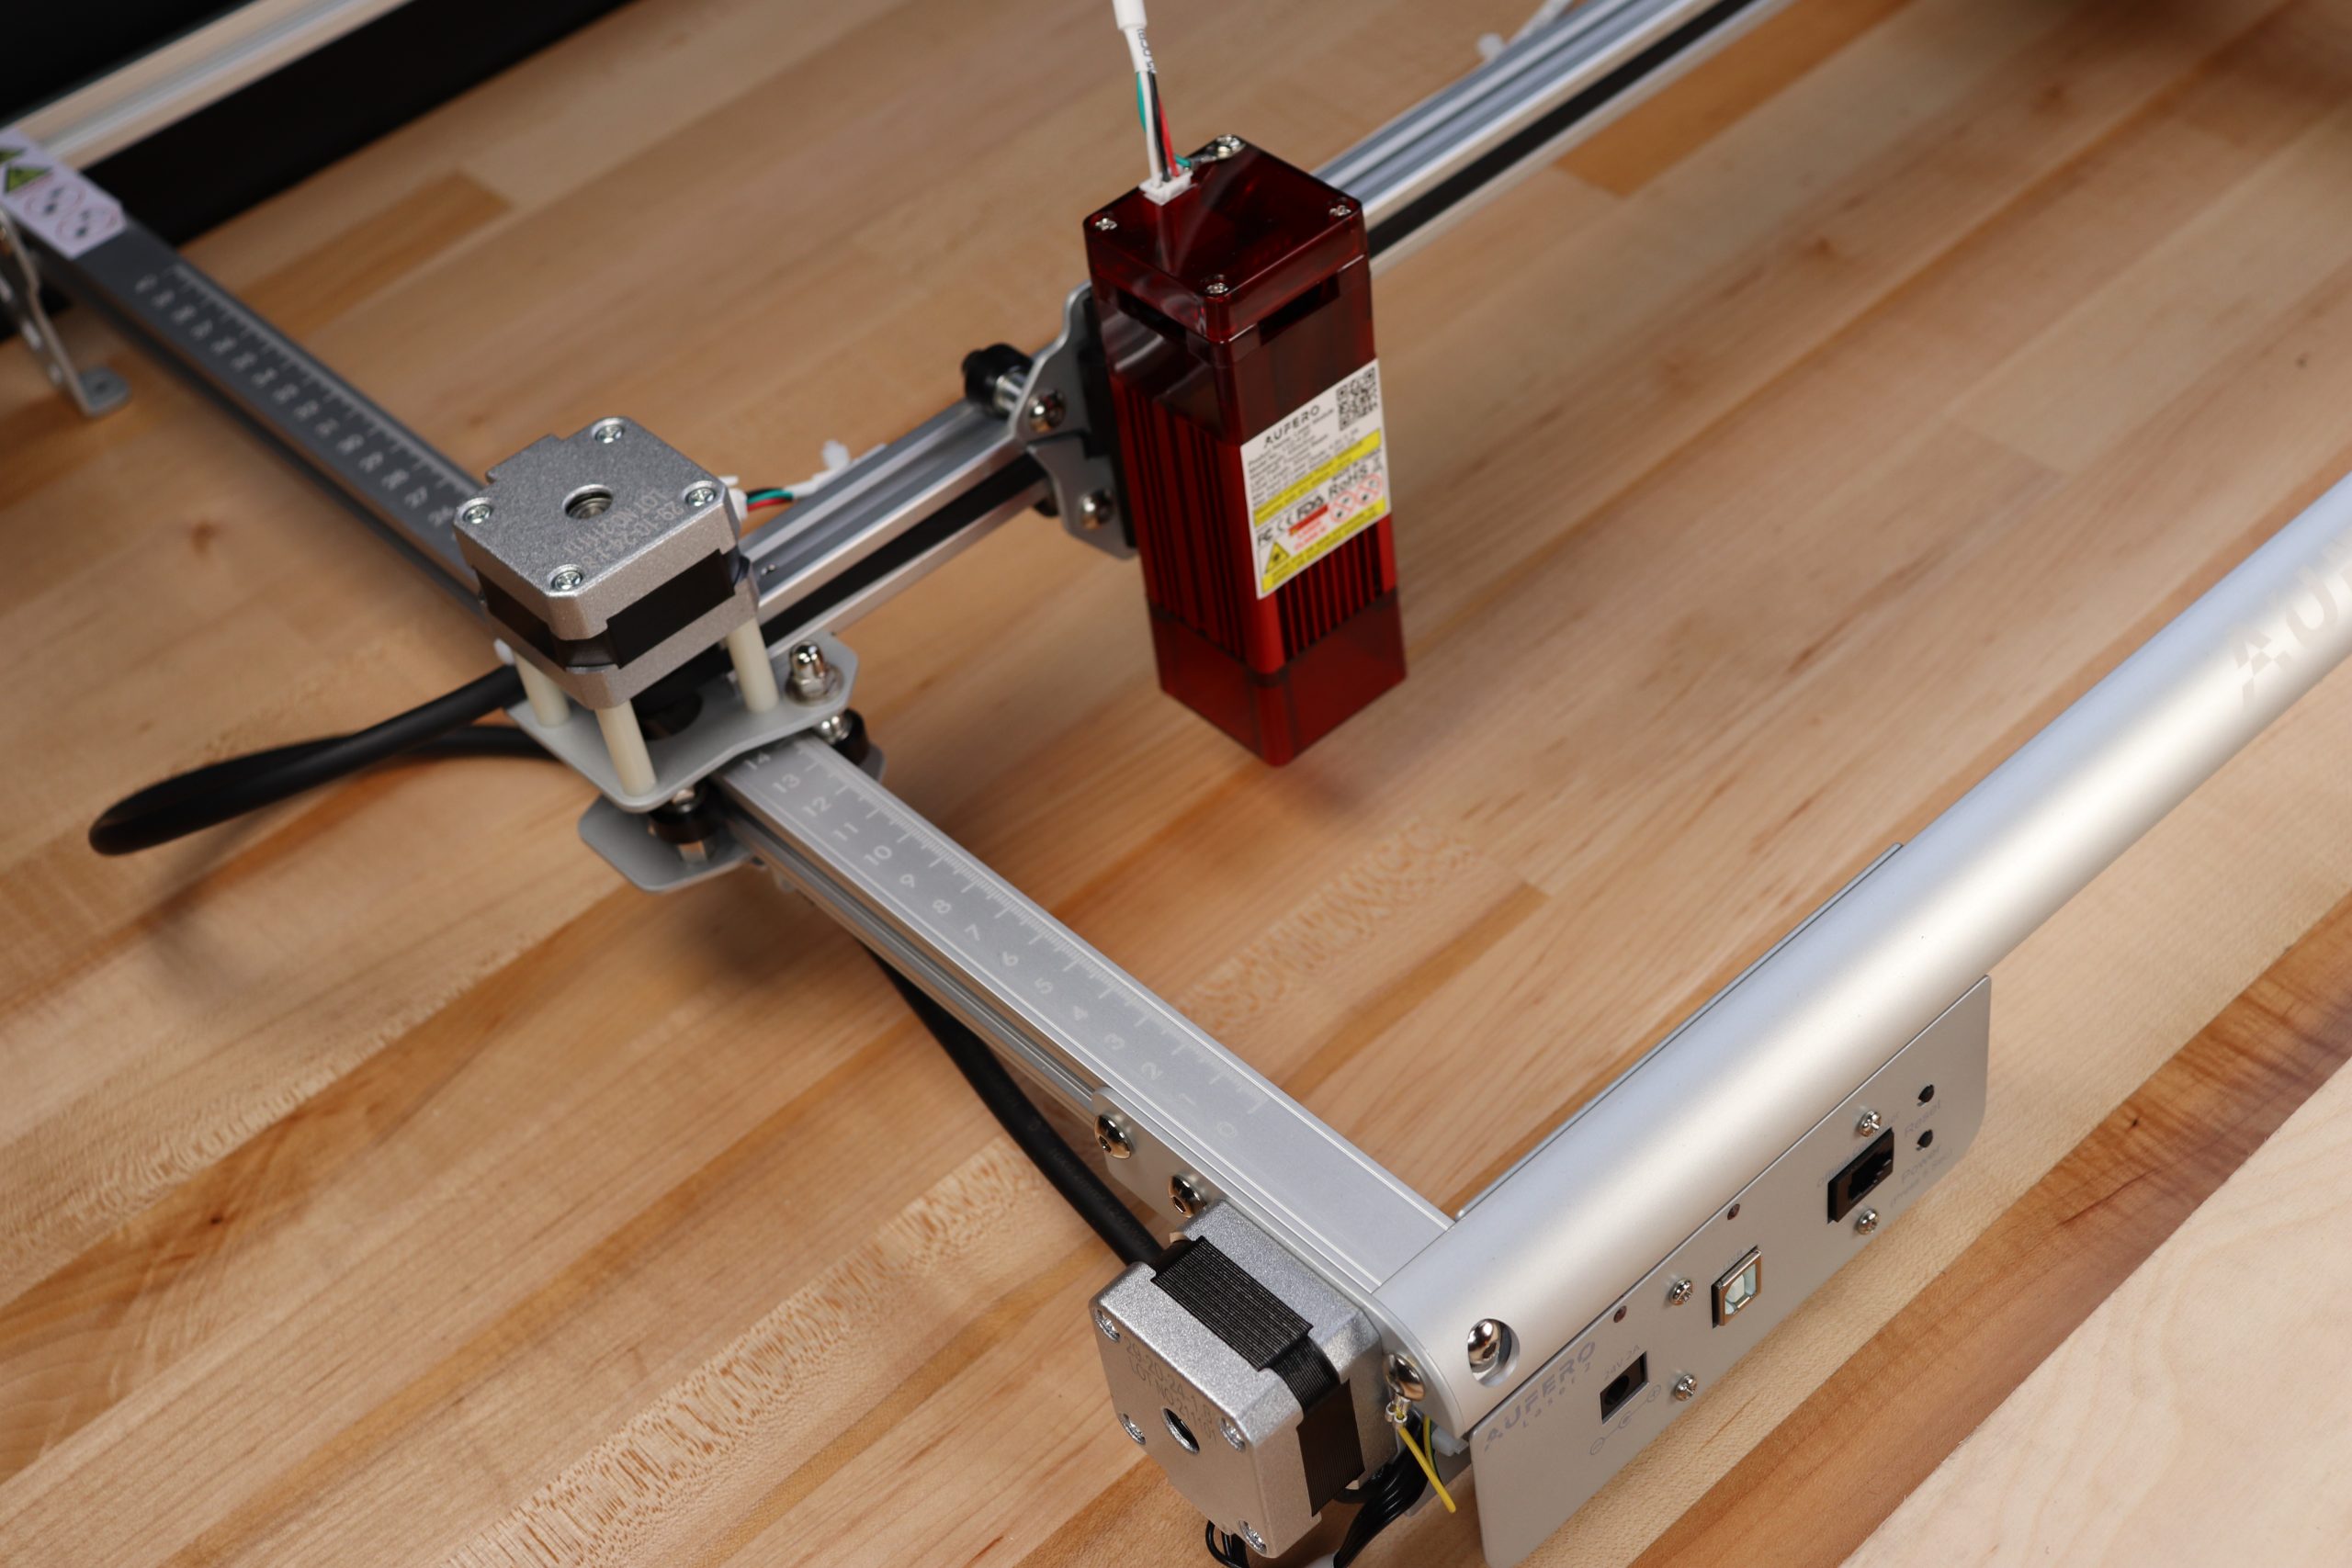
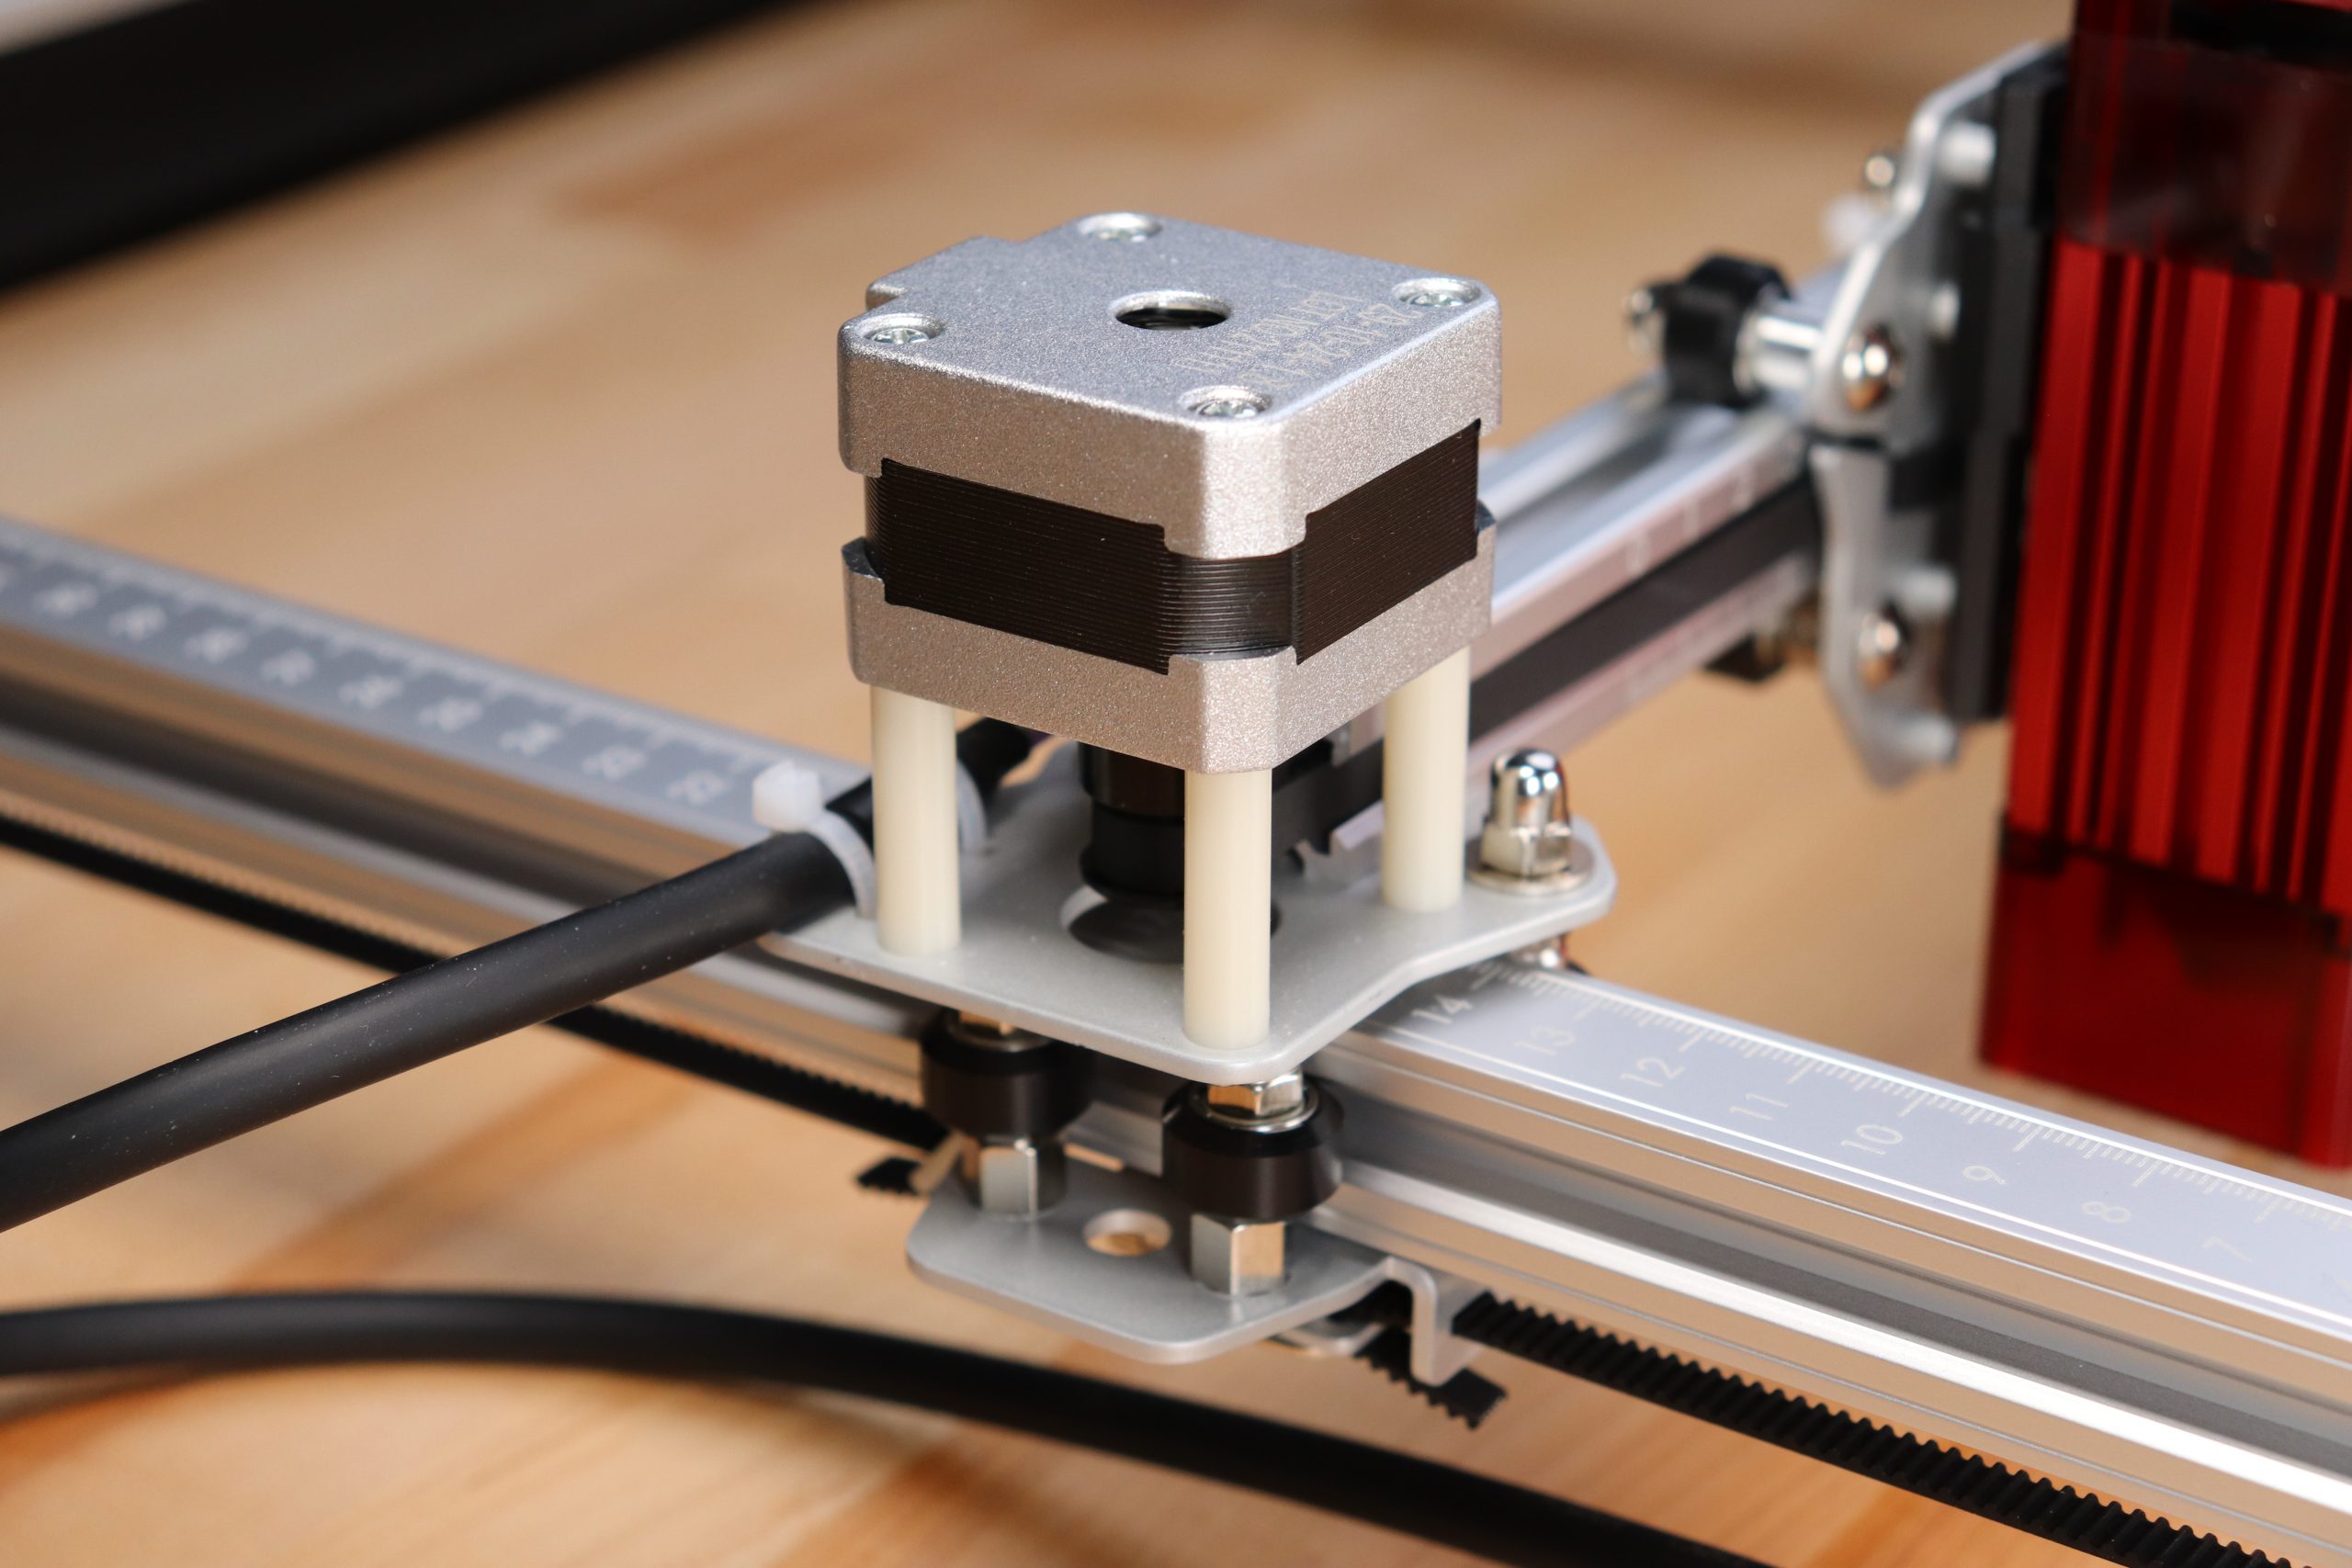
Assembly was very easy, due to all the motion components being fully assembled. You just connect the 4 corners, attach the X axis, and mount the laser head. All the needed tools were included. The manual had all the instructions I needed to assemble the unit without me having to look it up on the Internet which was nice. It took me about 15 minutes to assemble.
Features of the Aufero Laser 2
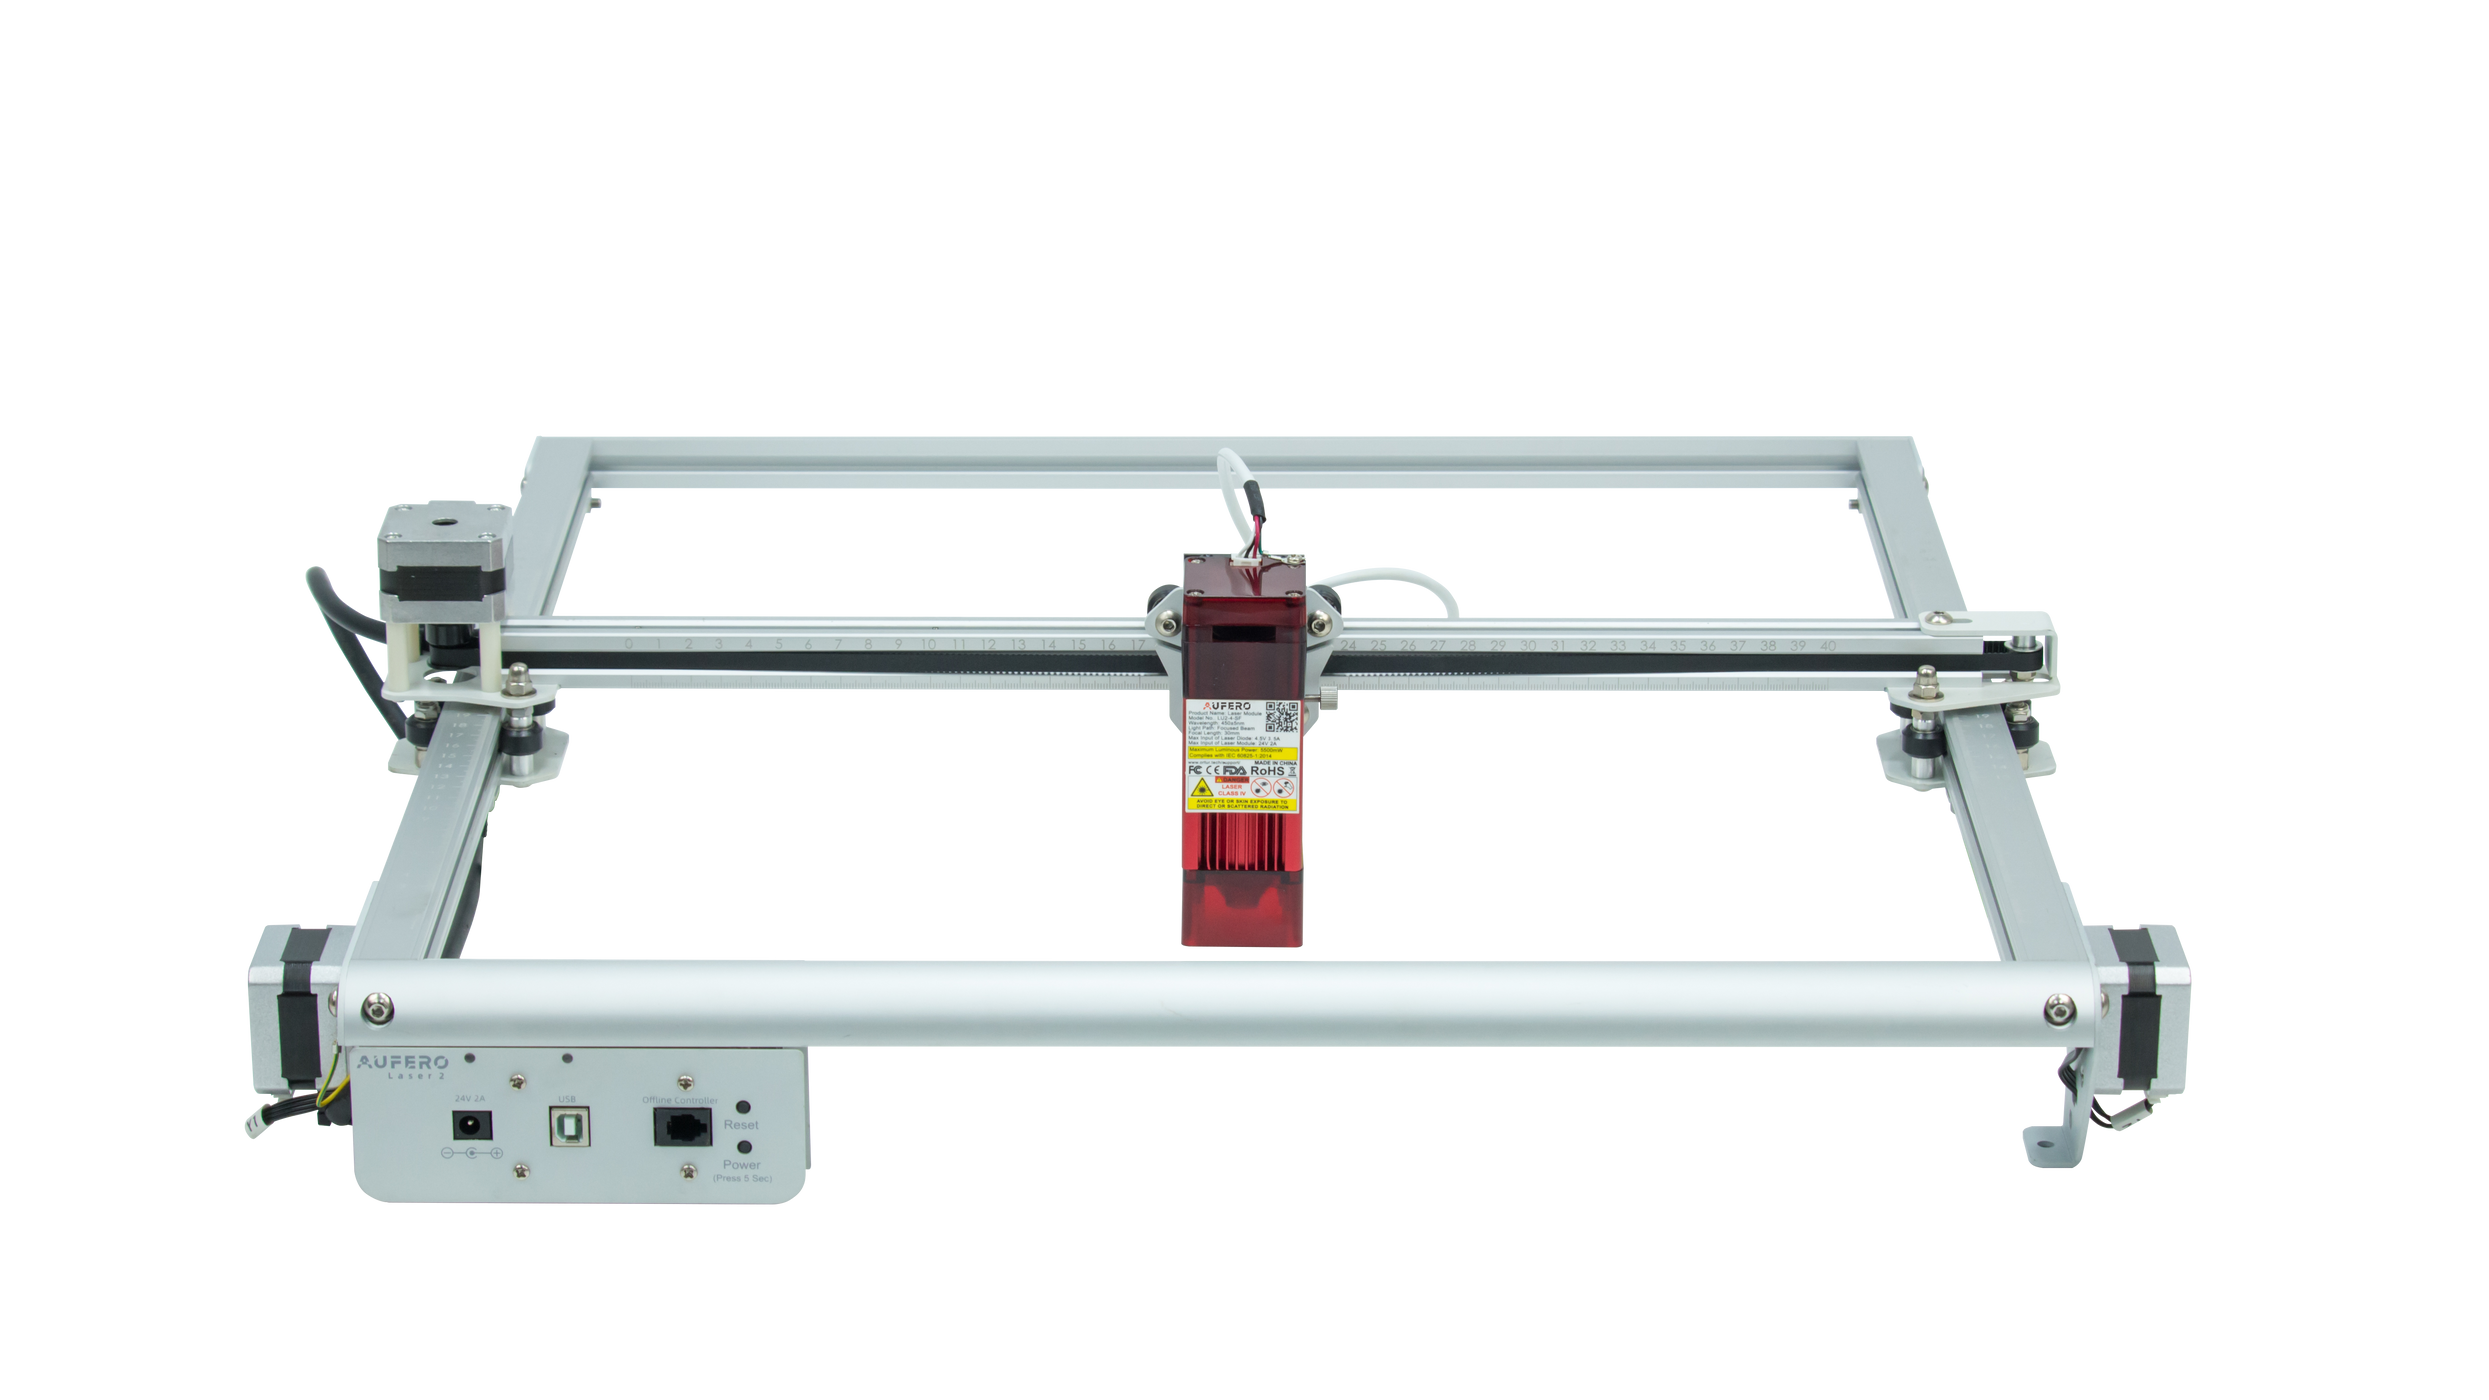
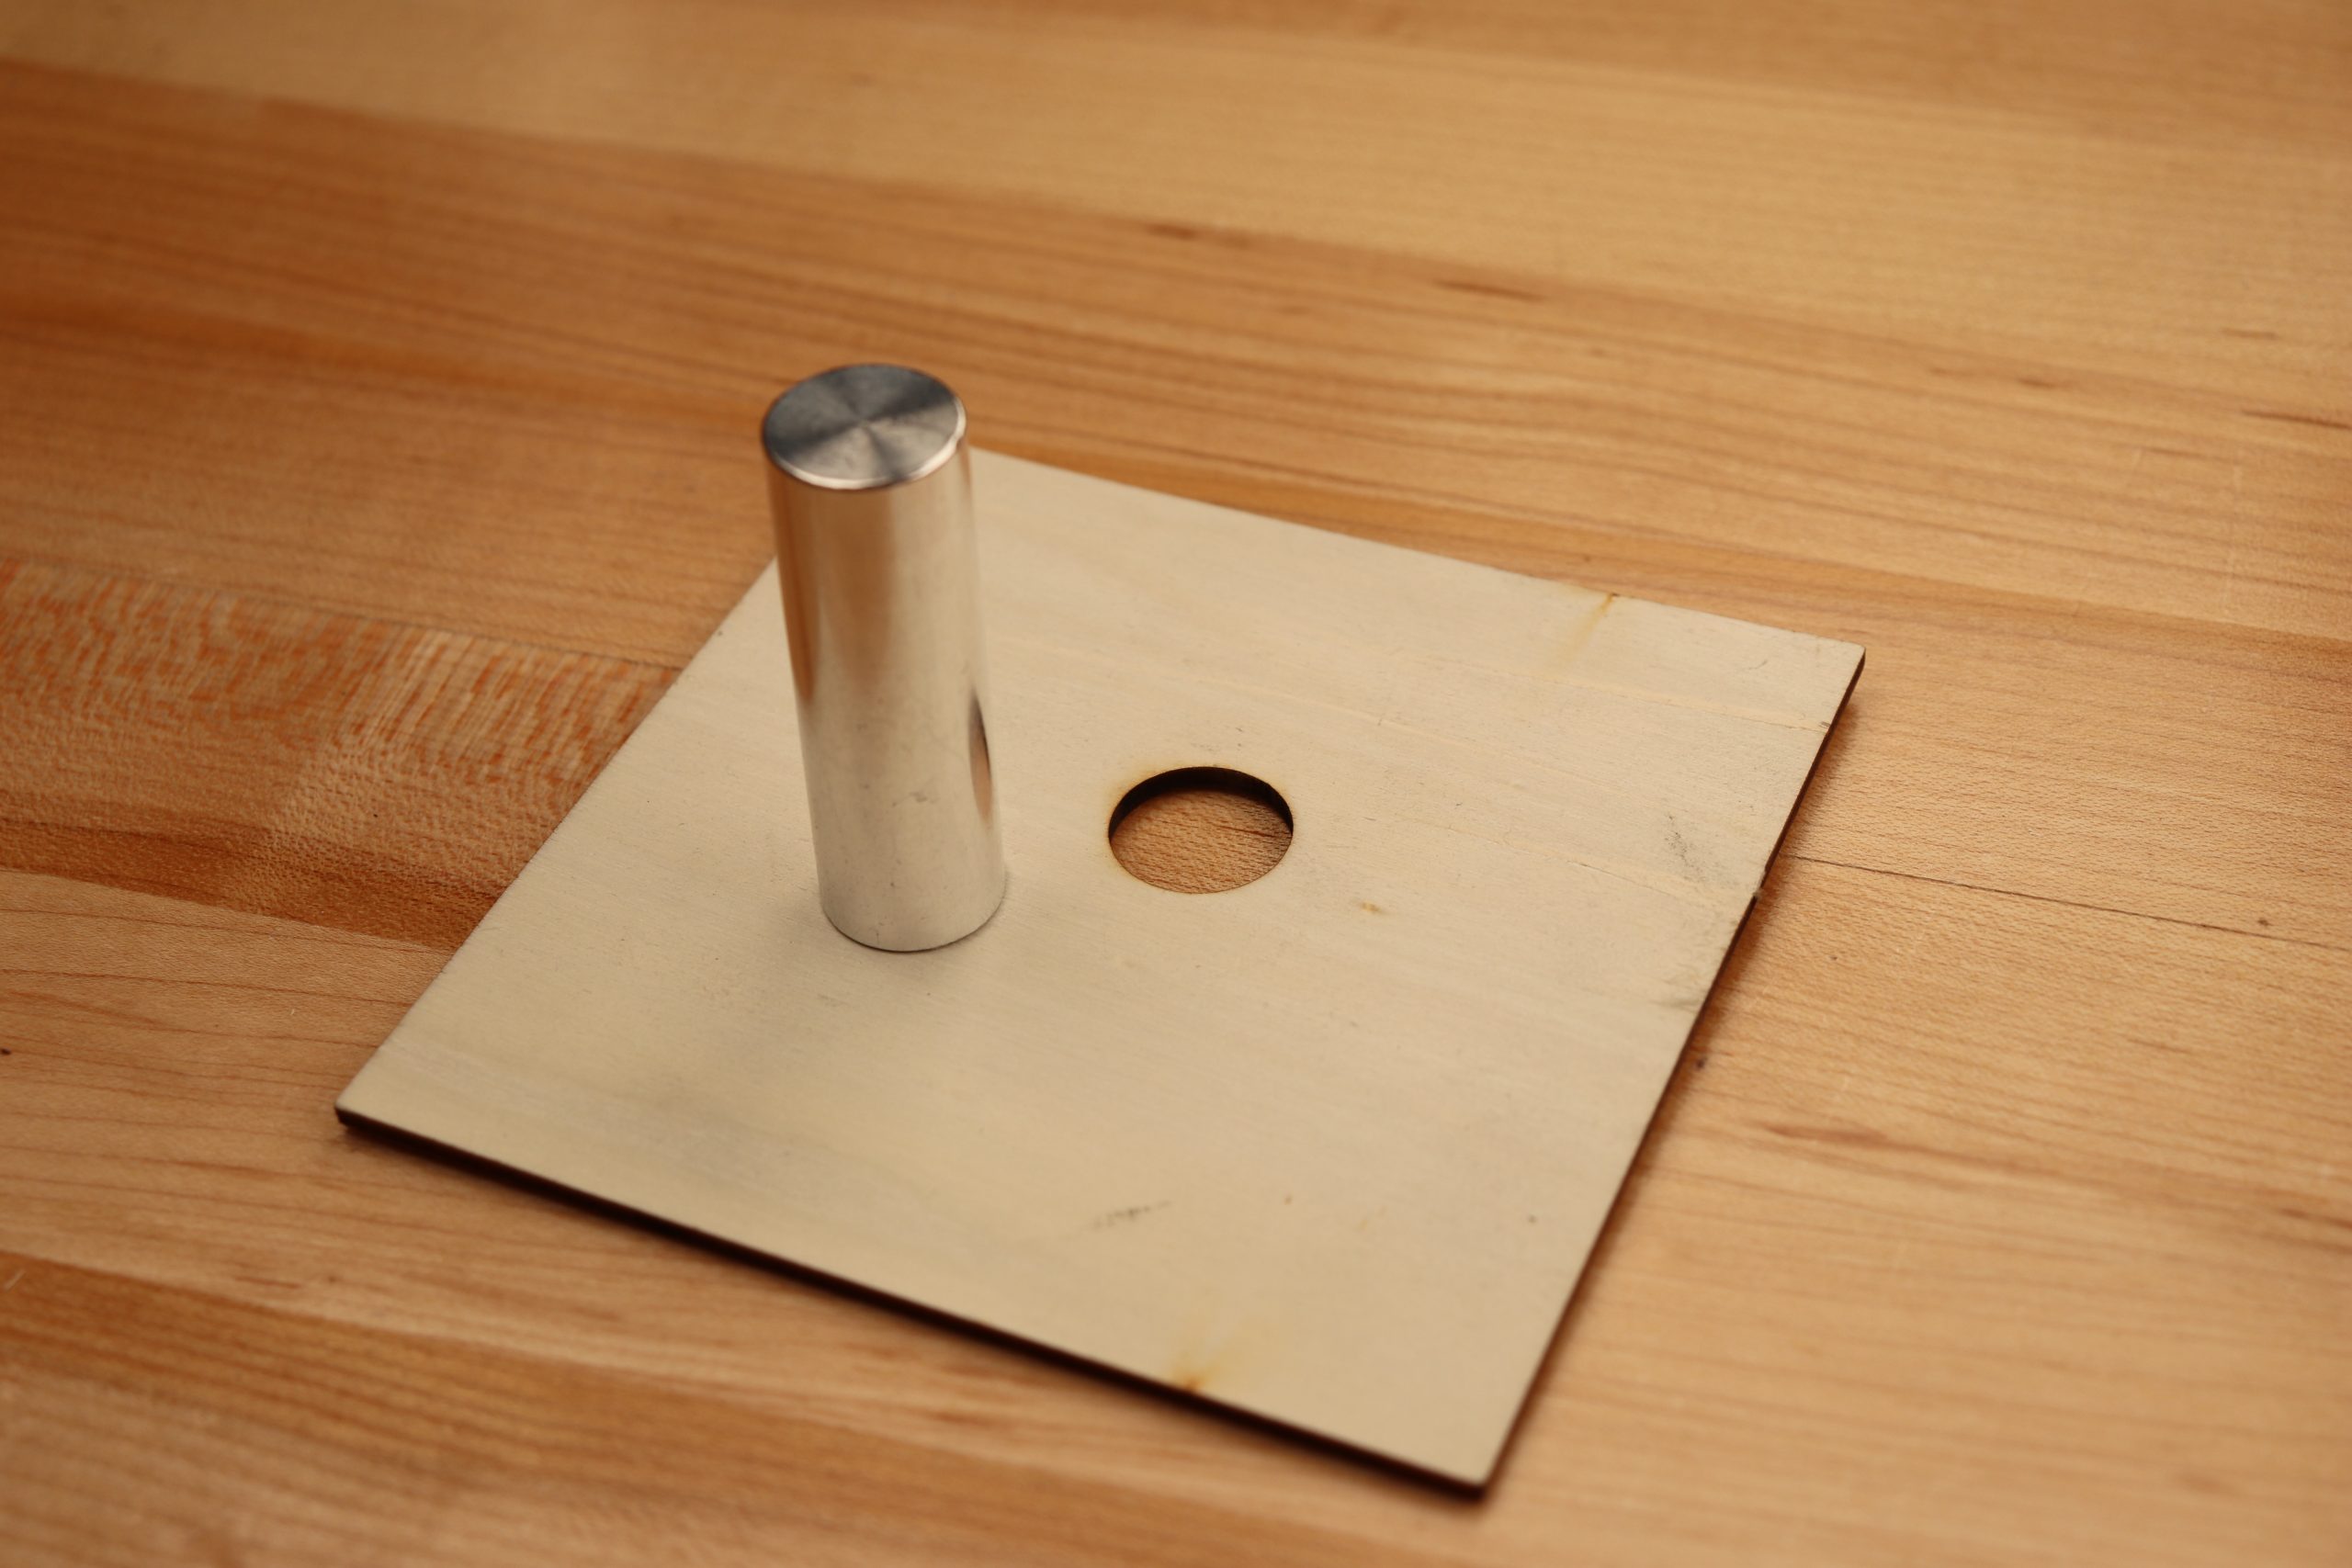
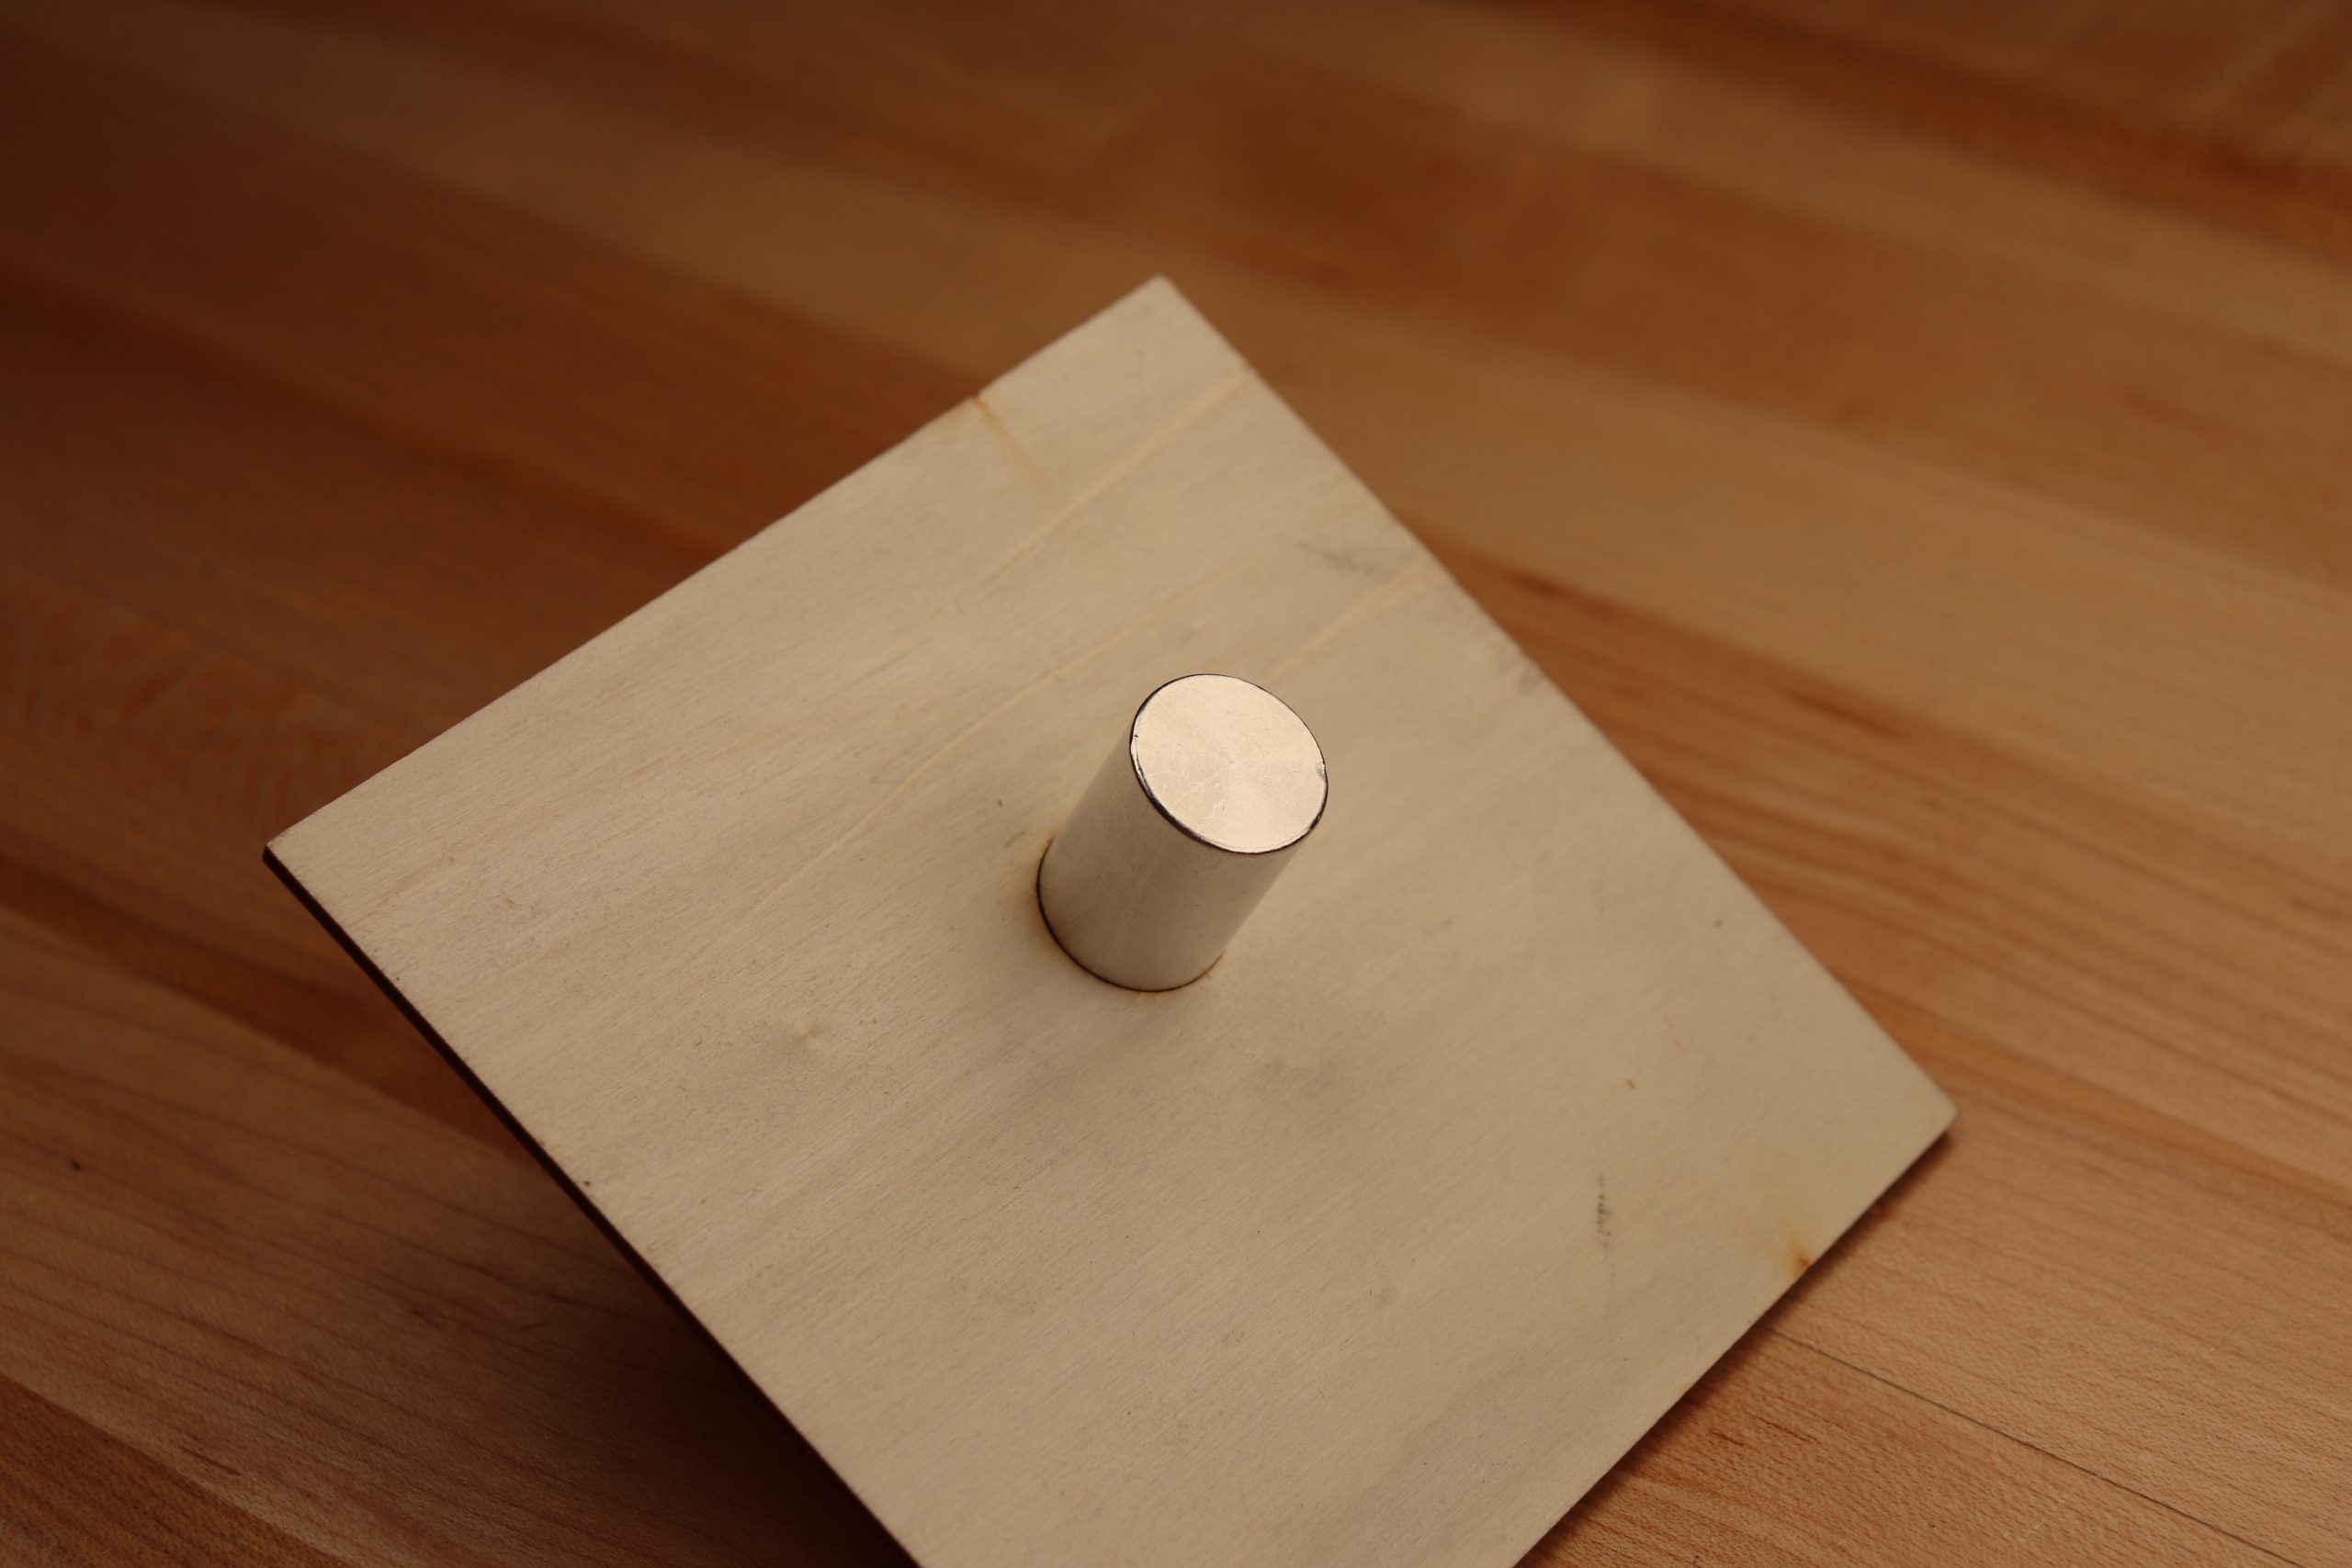
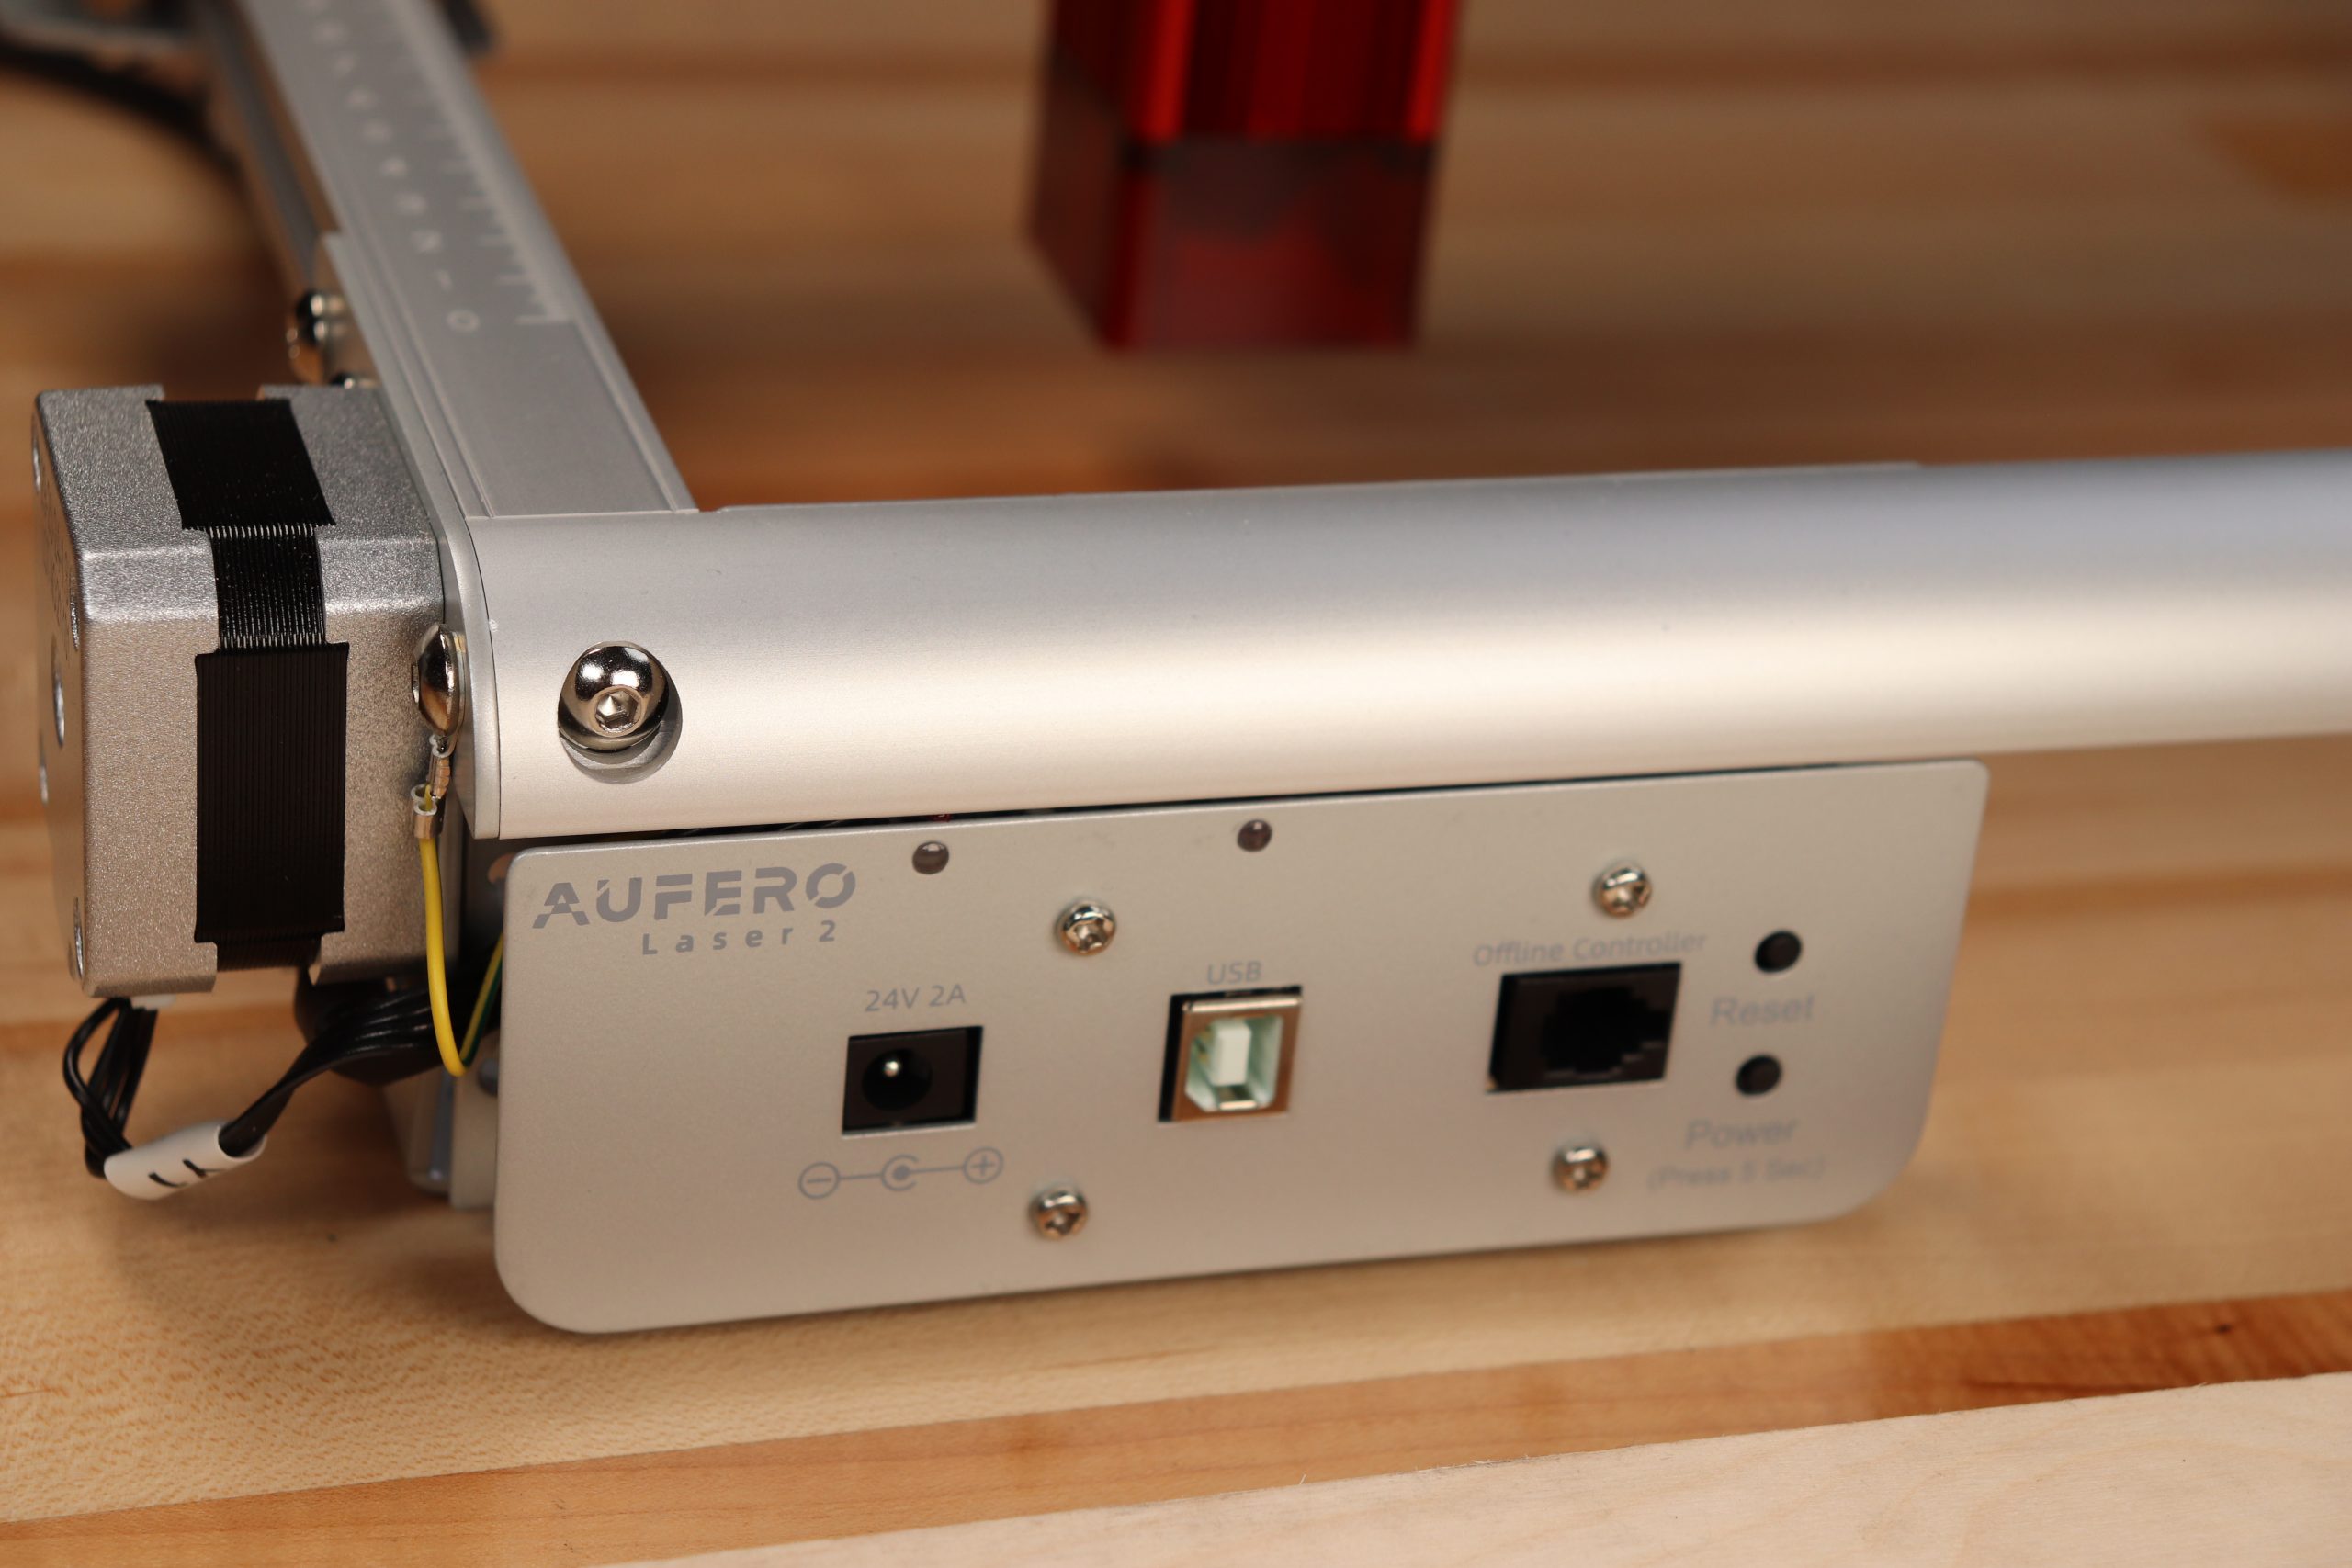
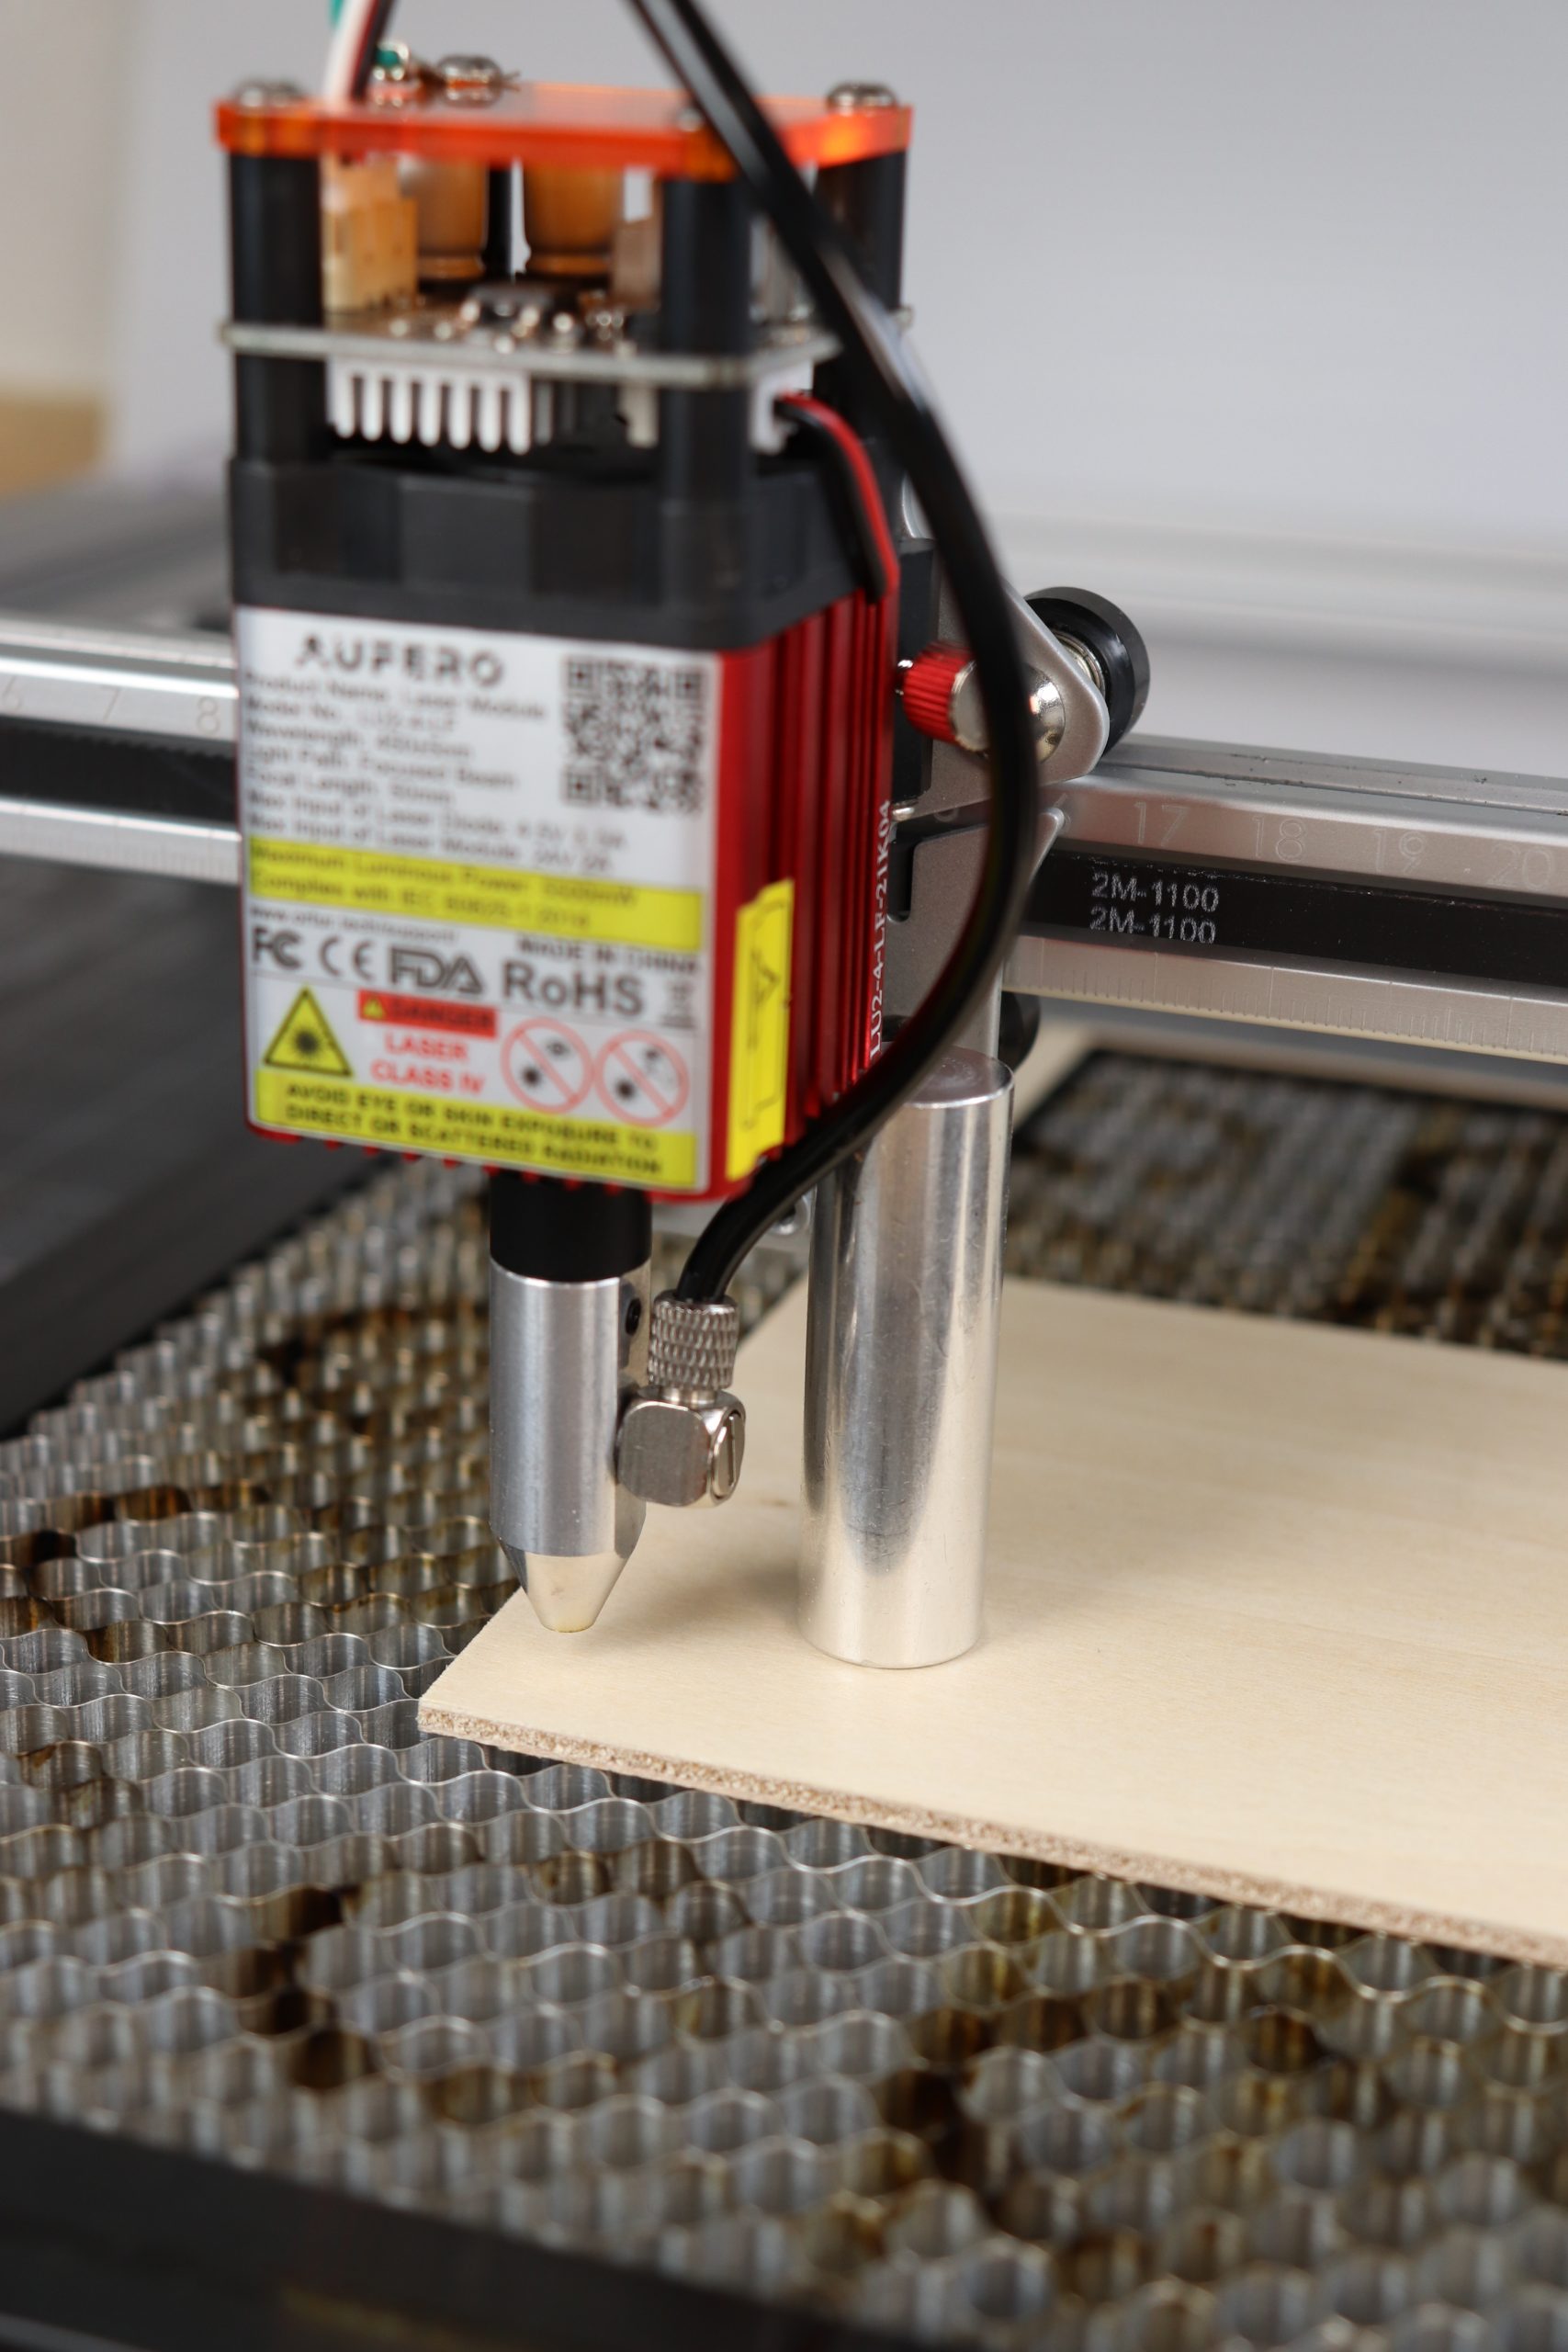
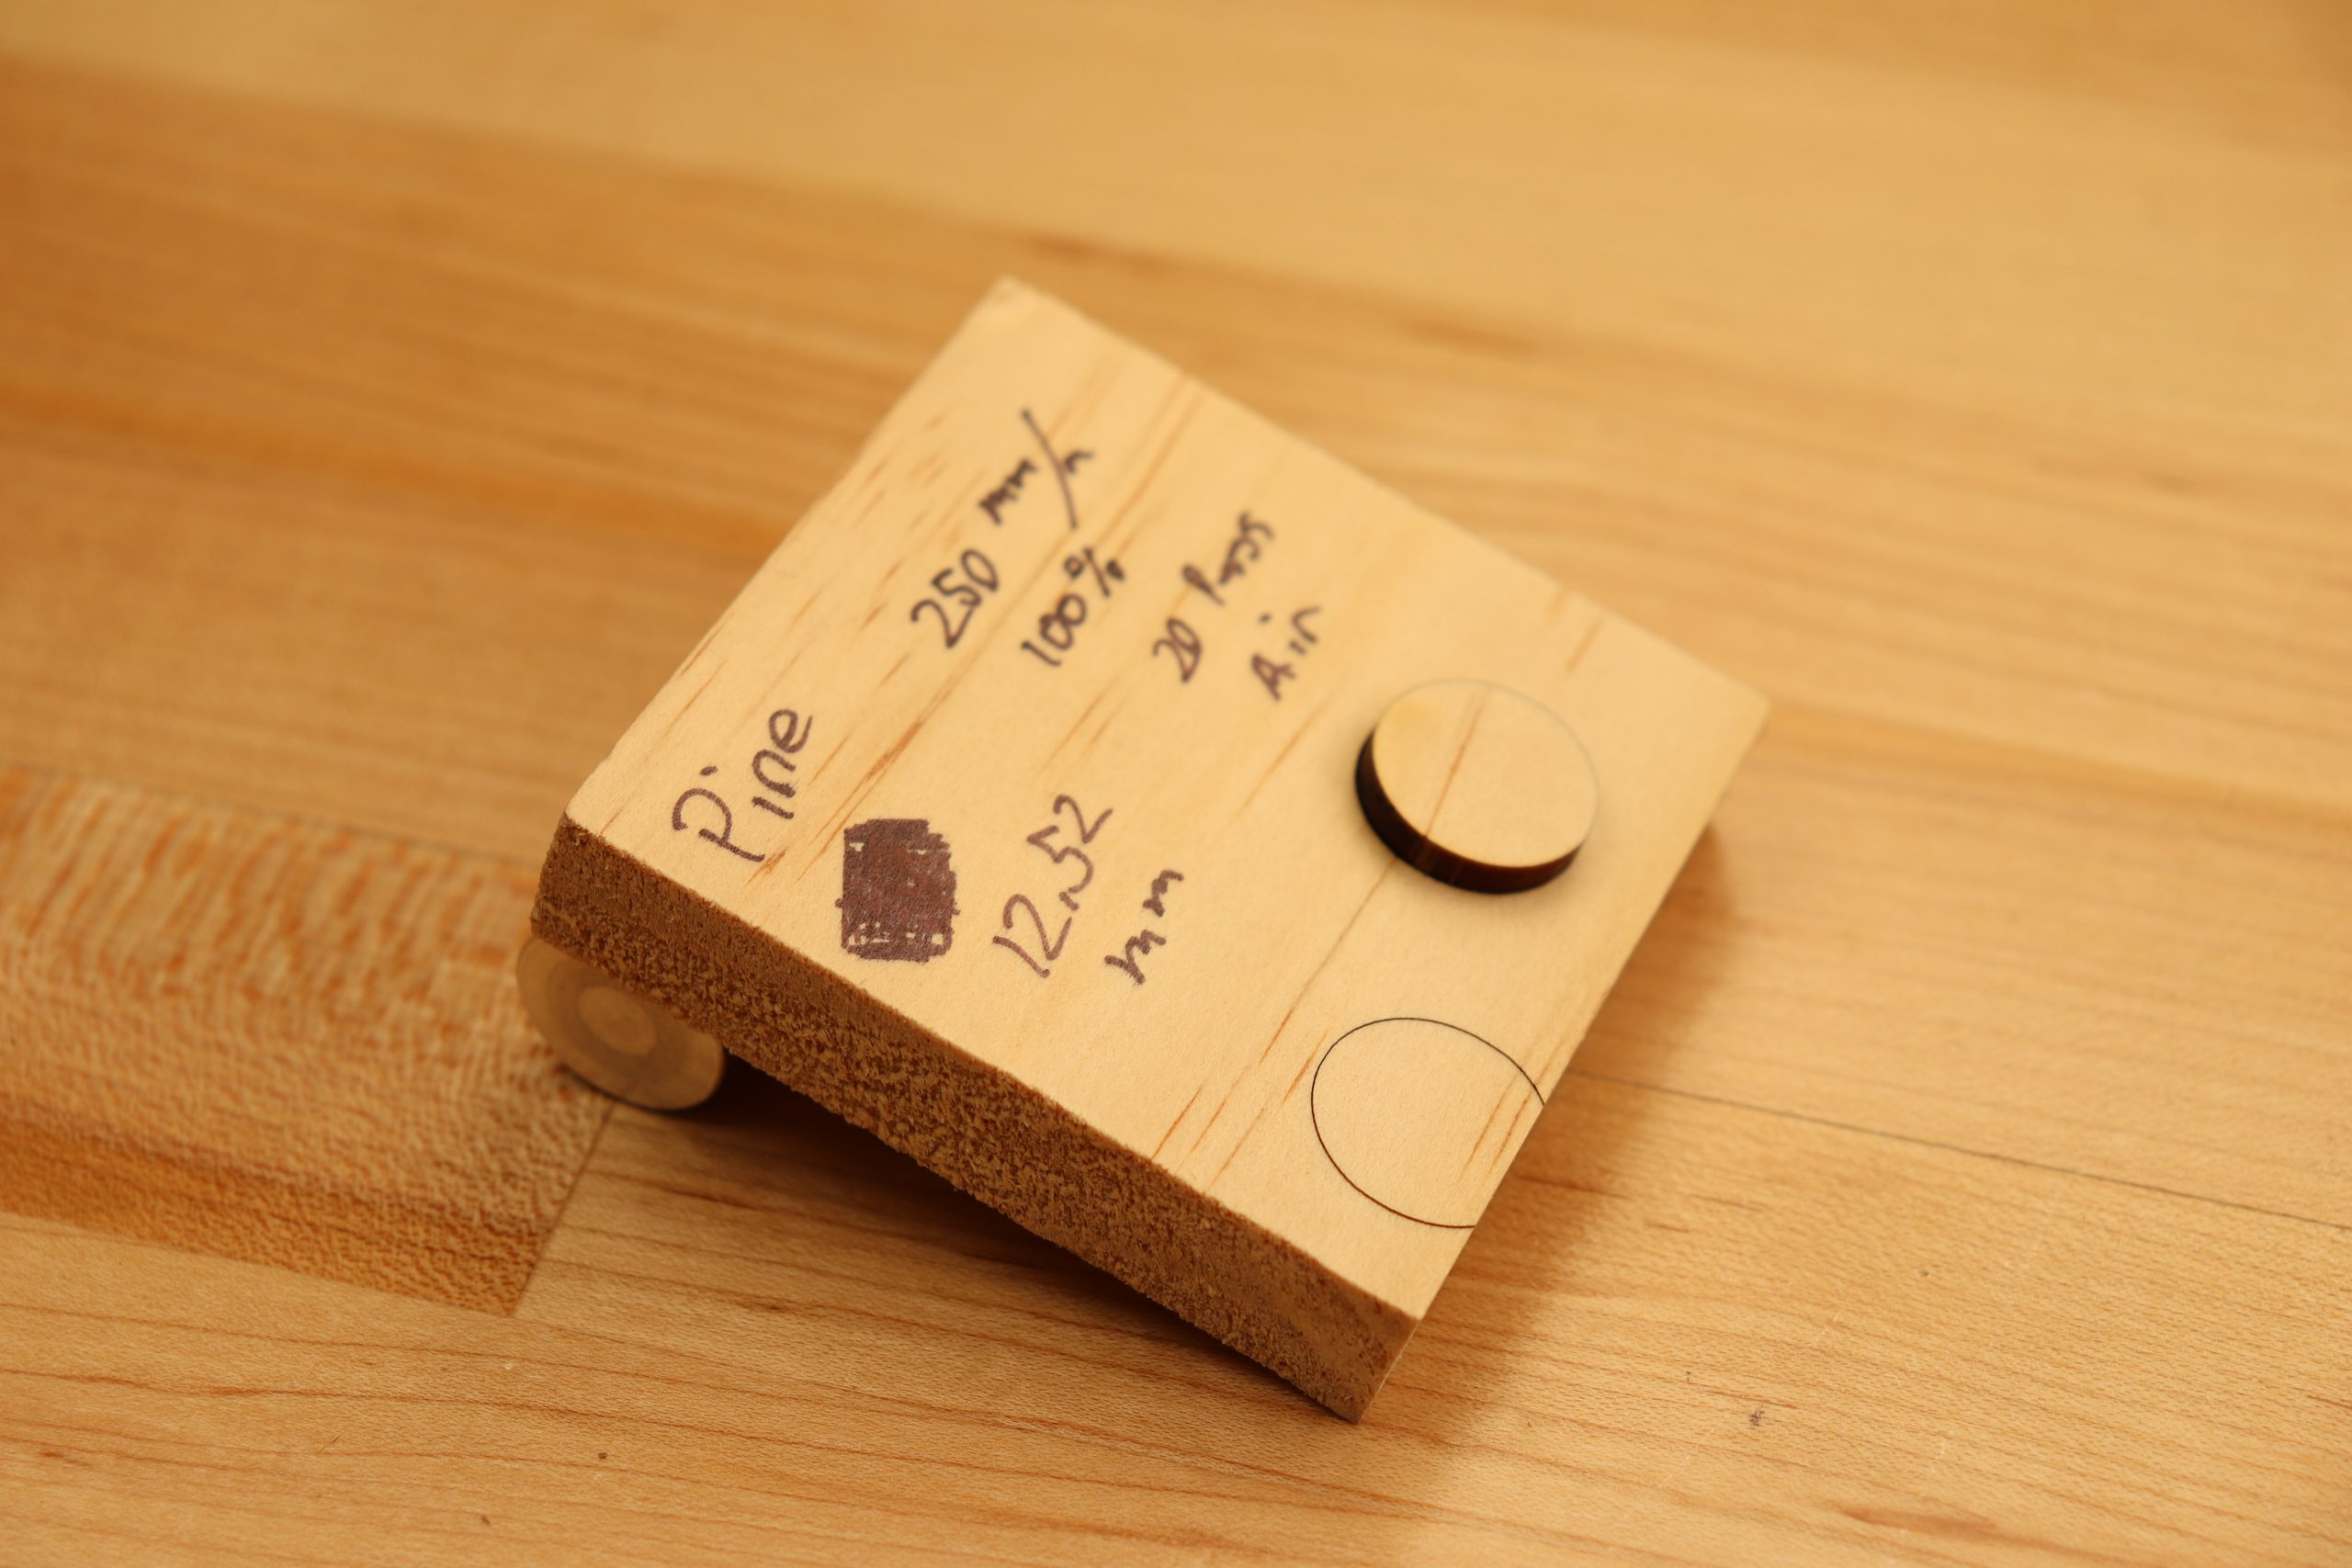
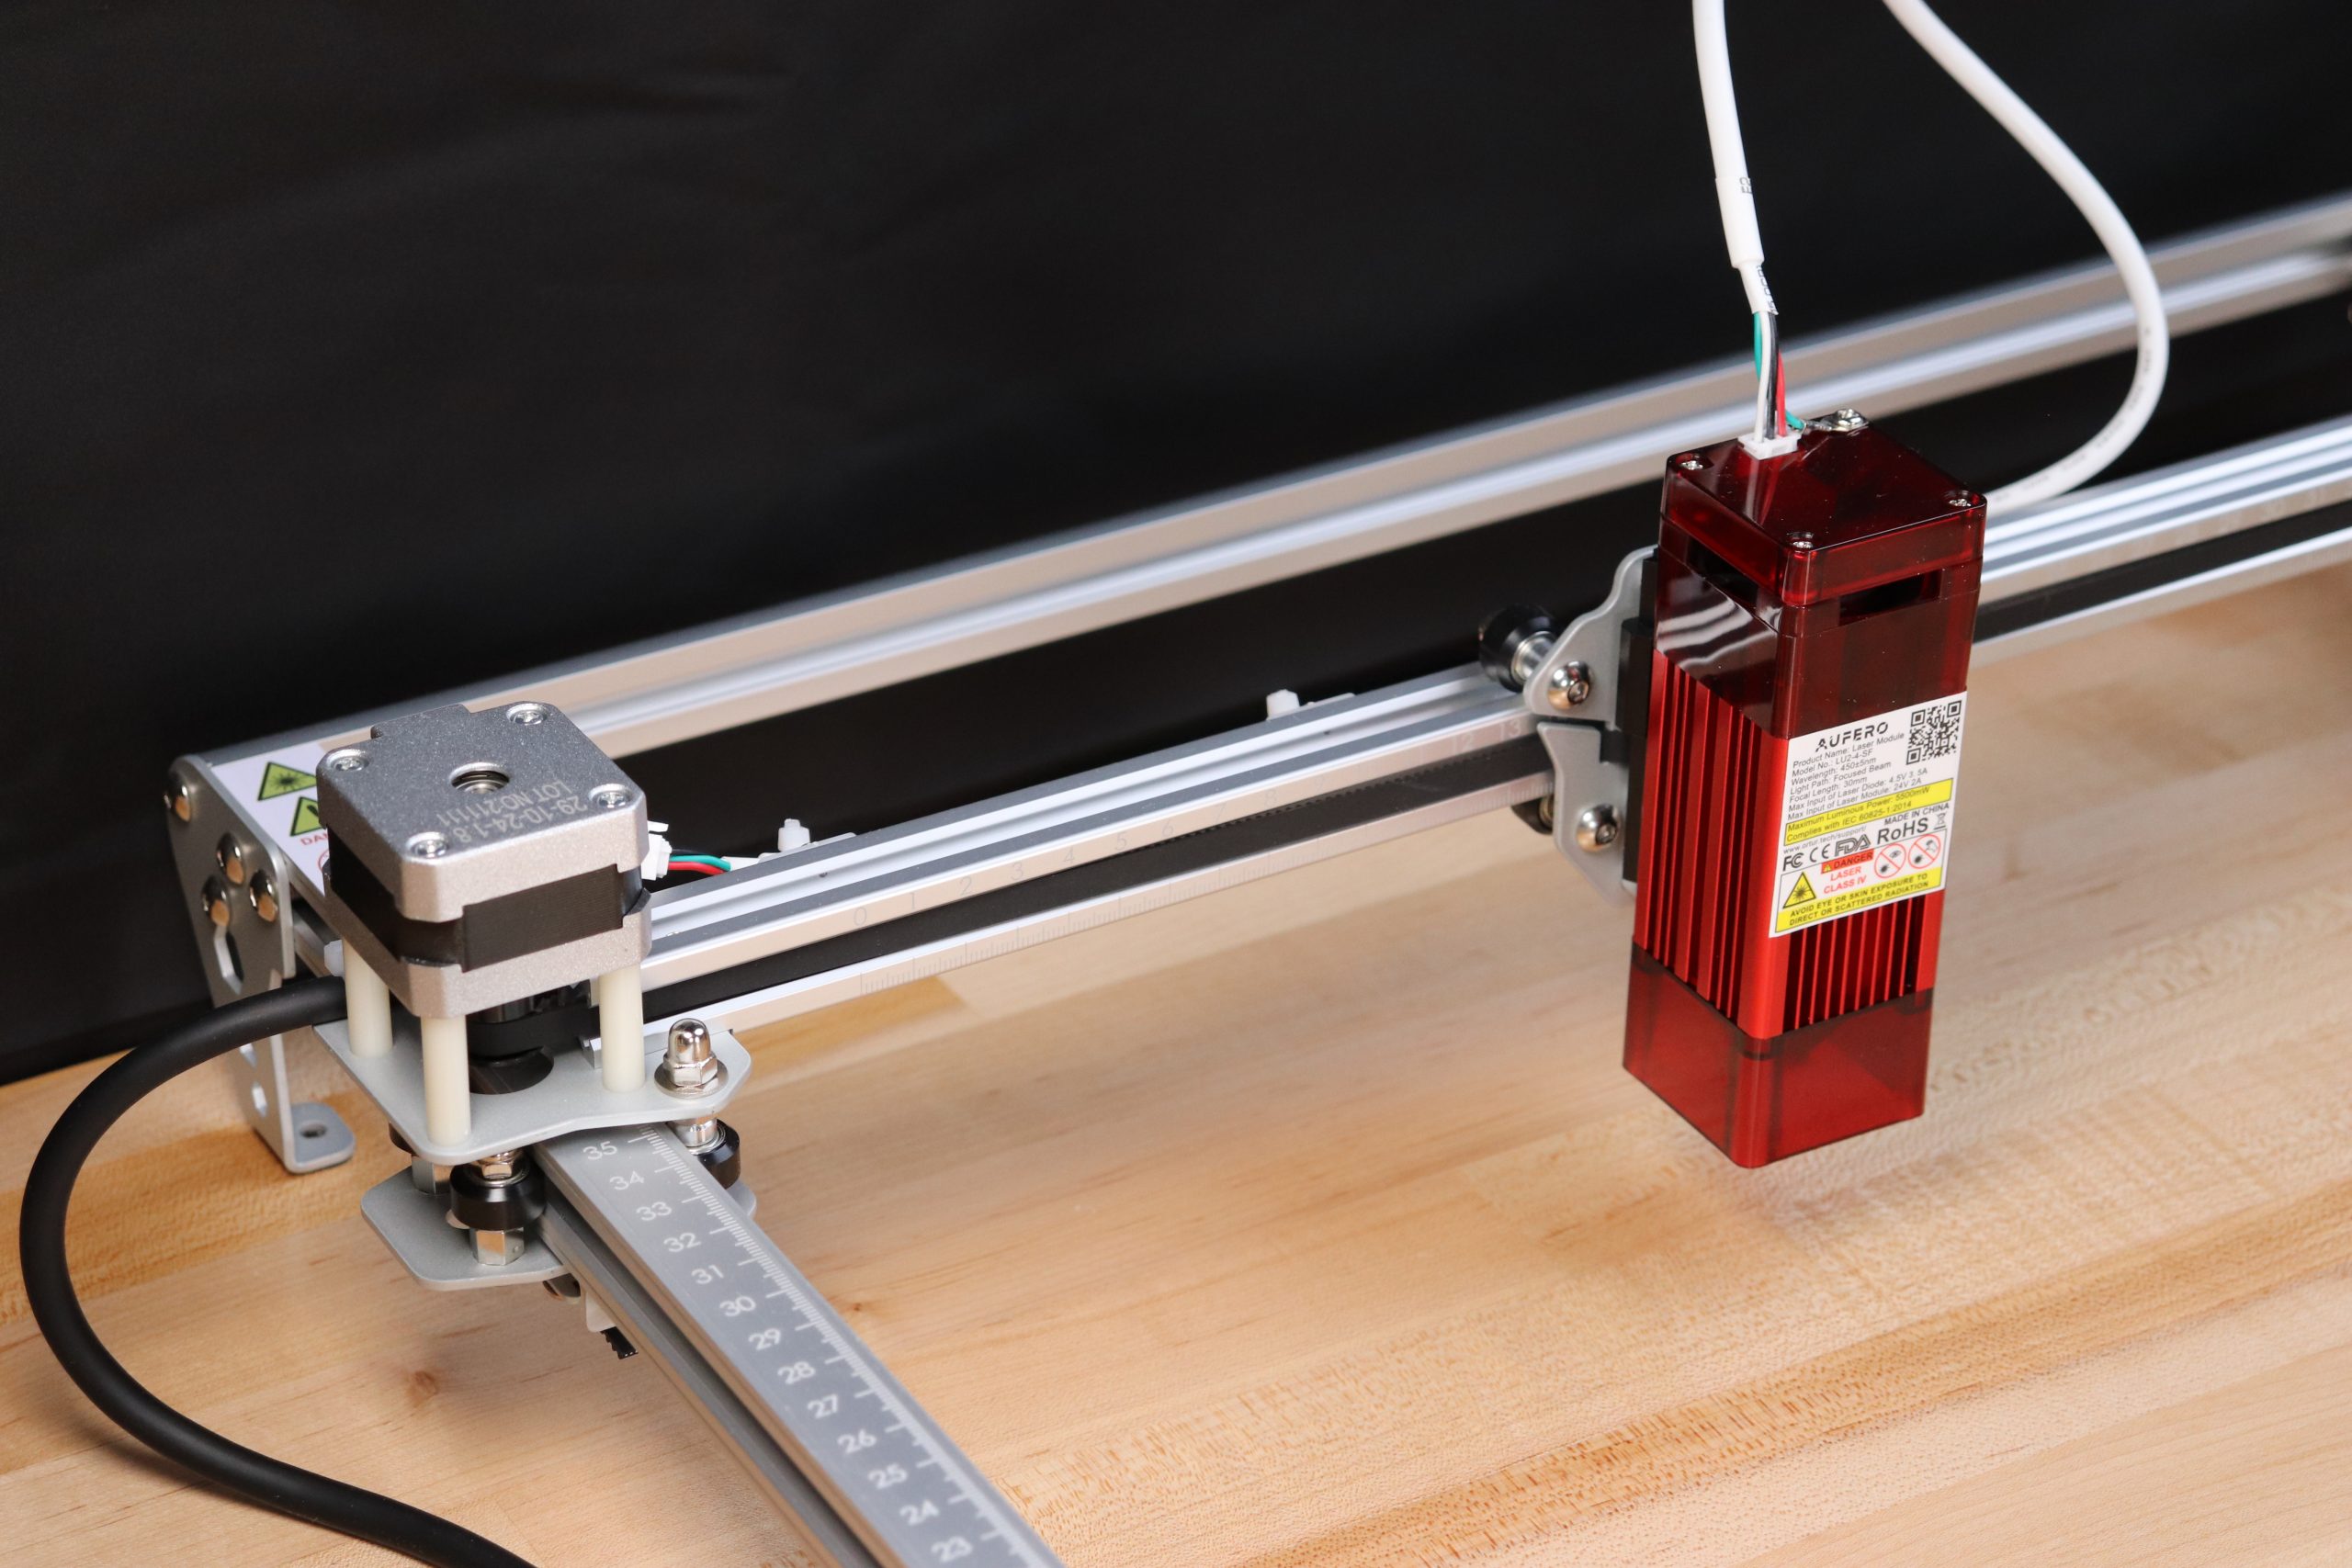
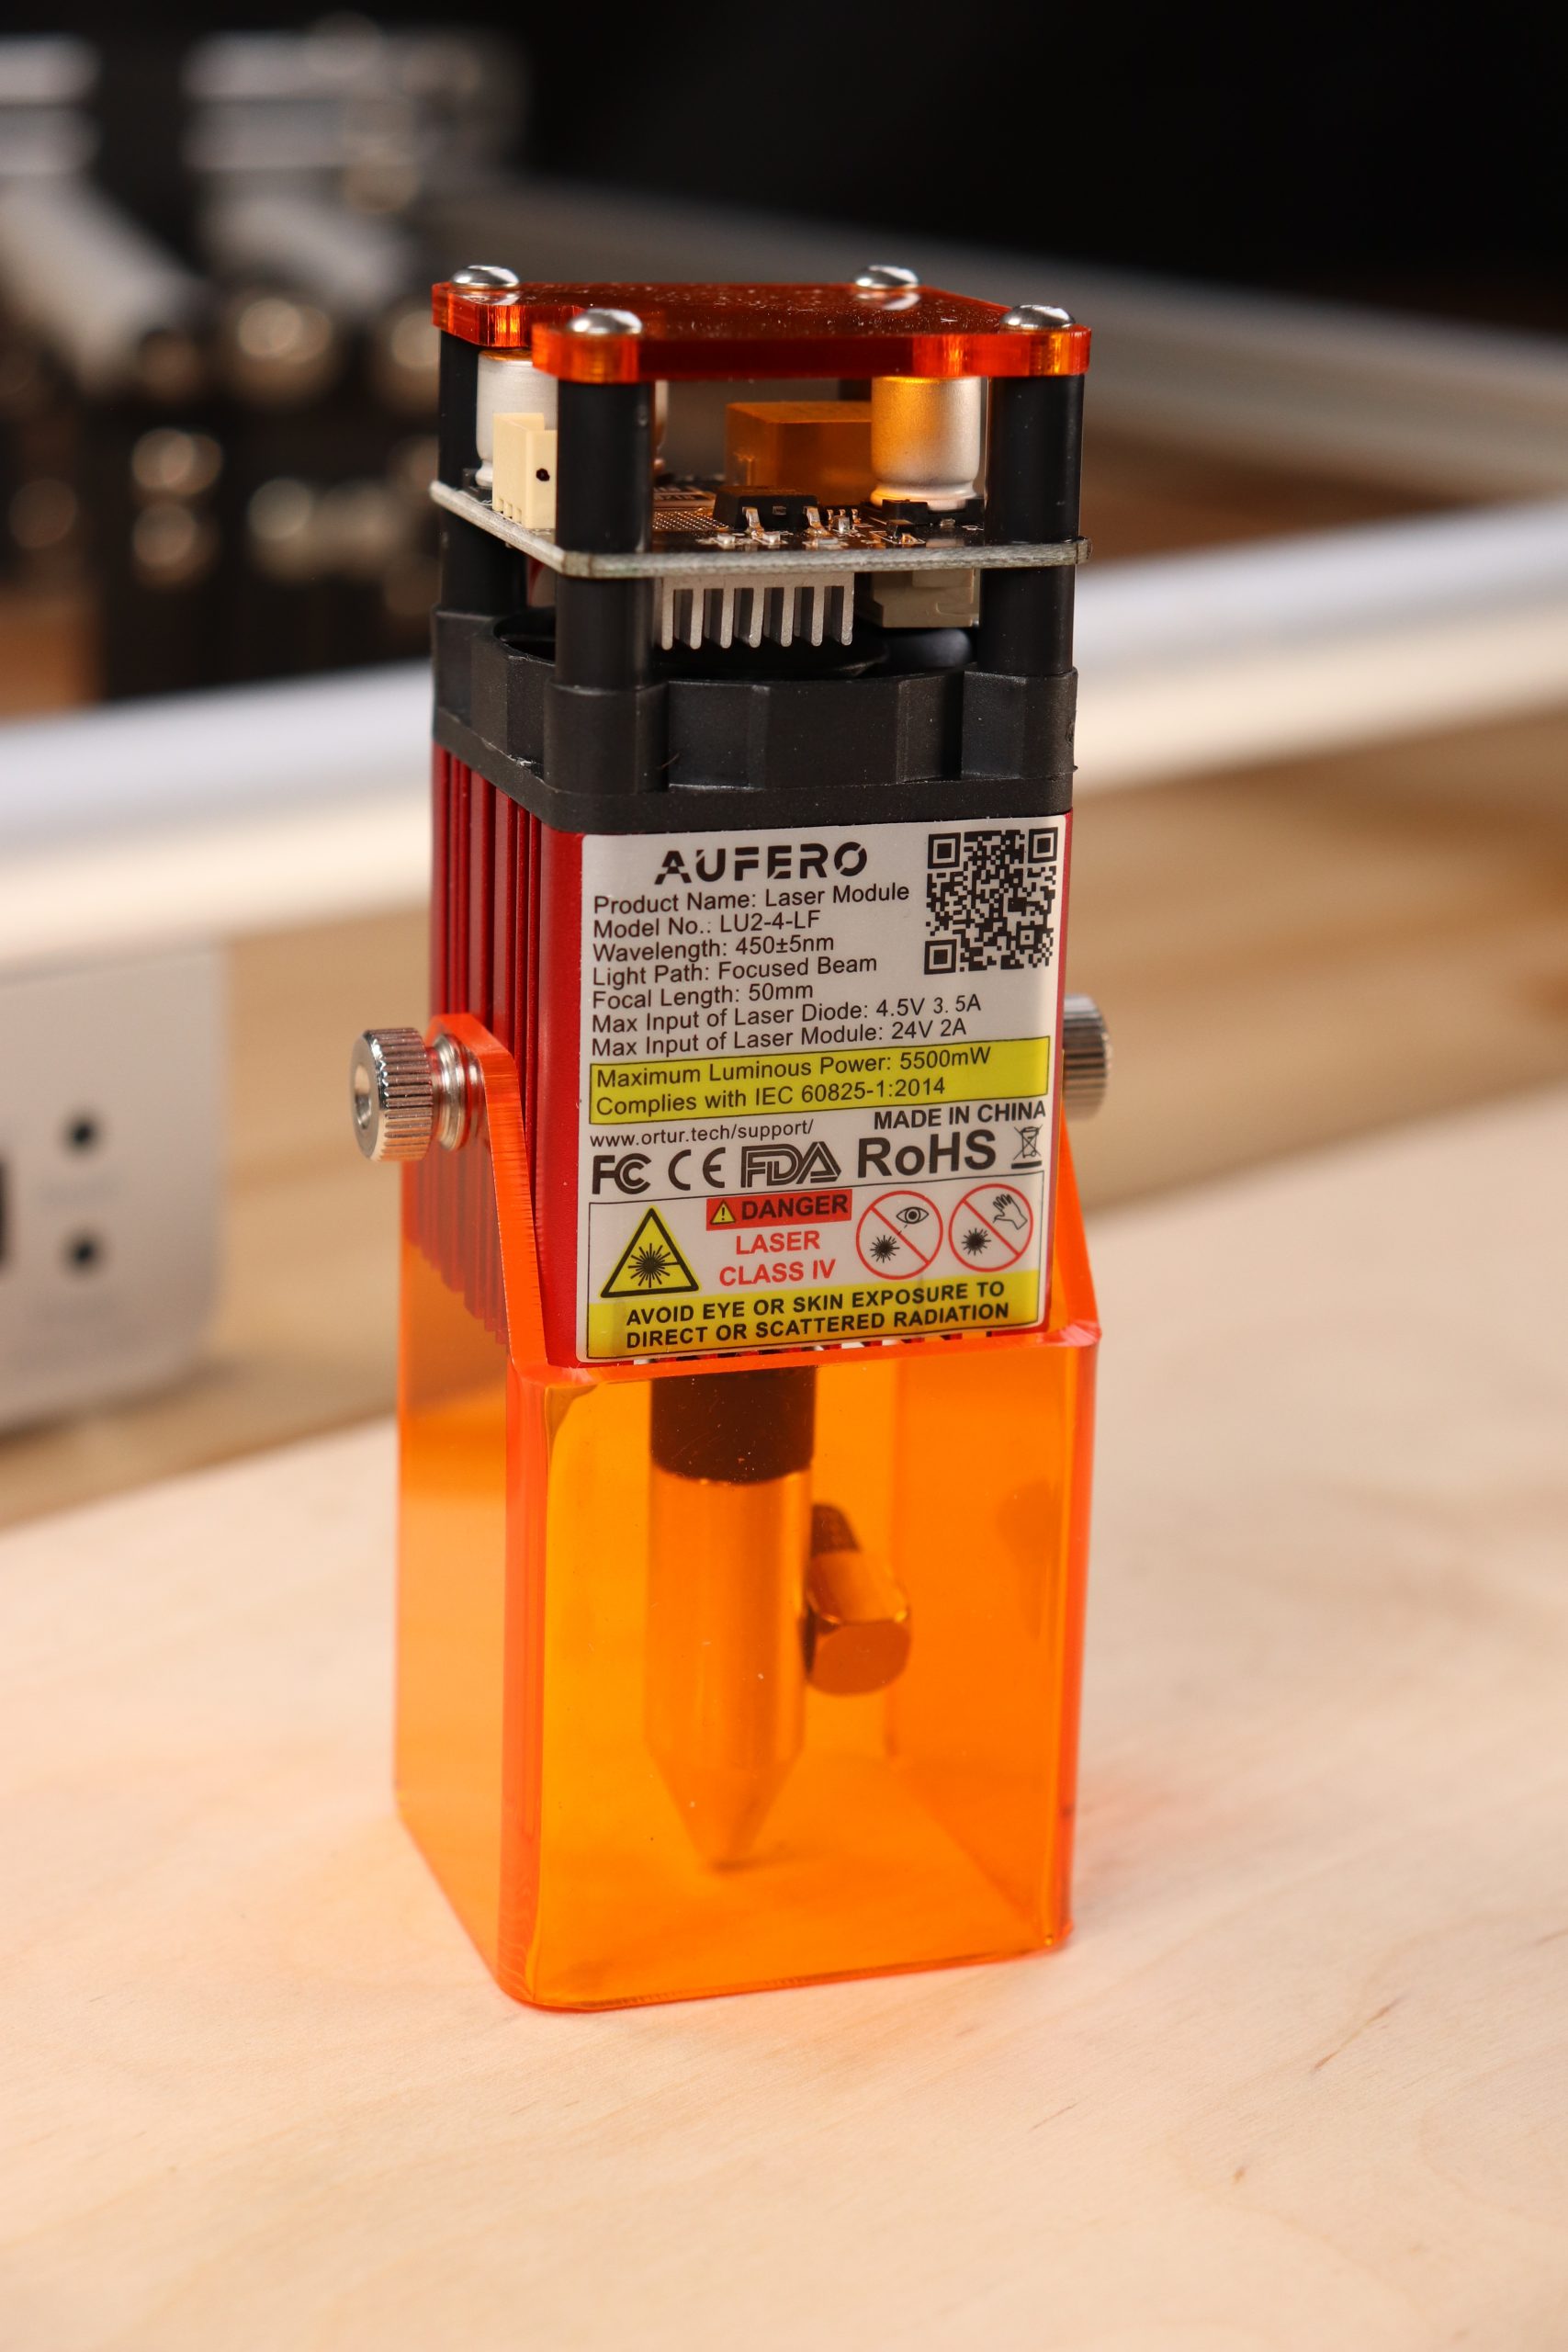
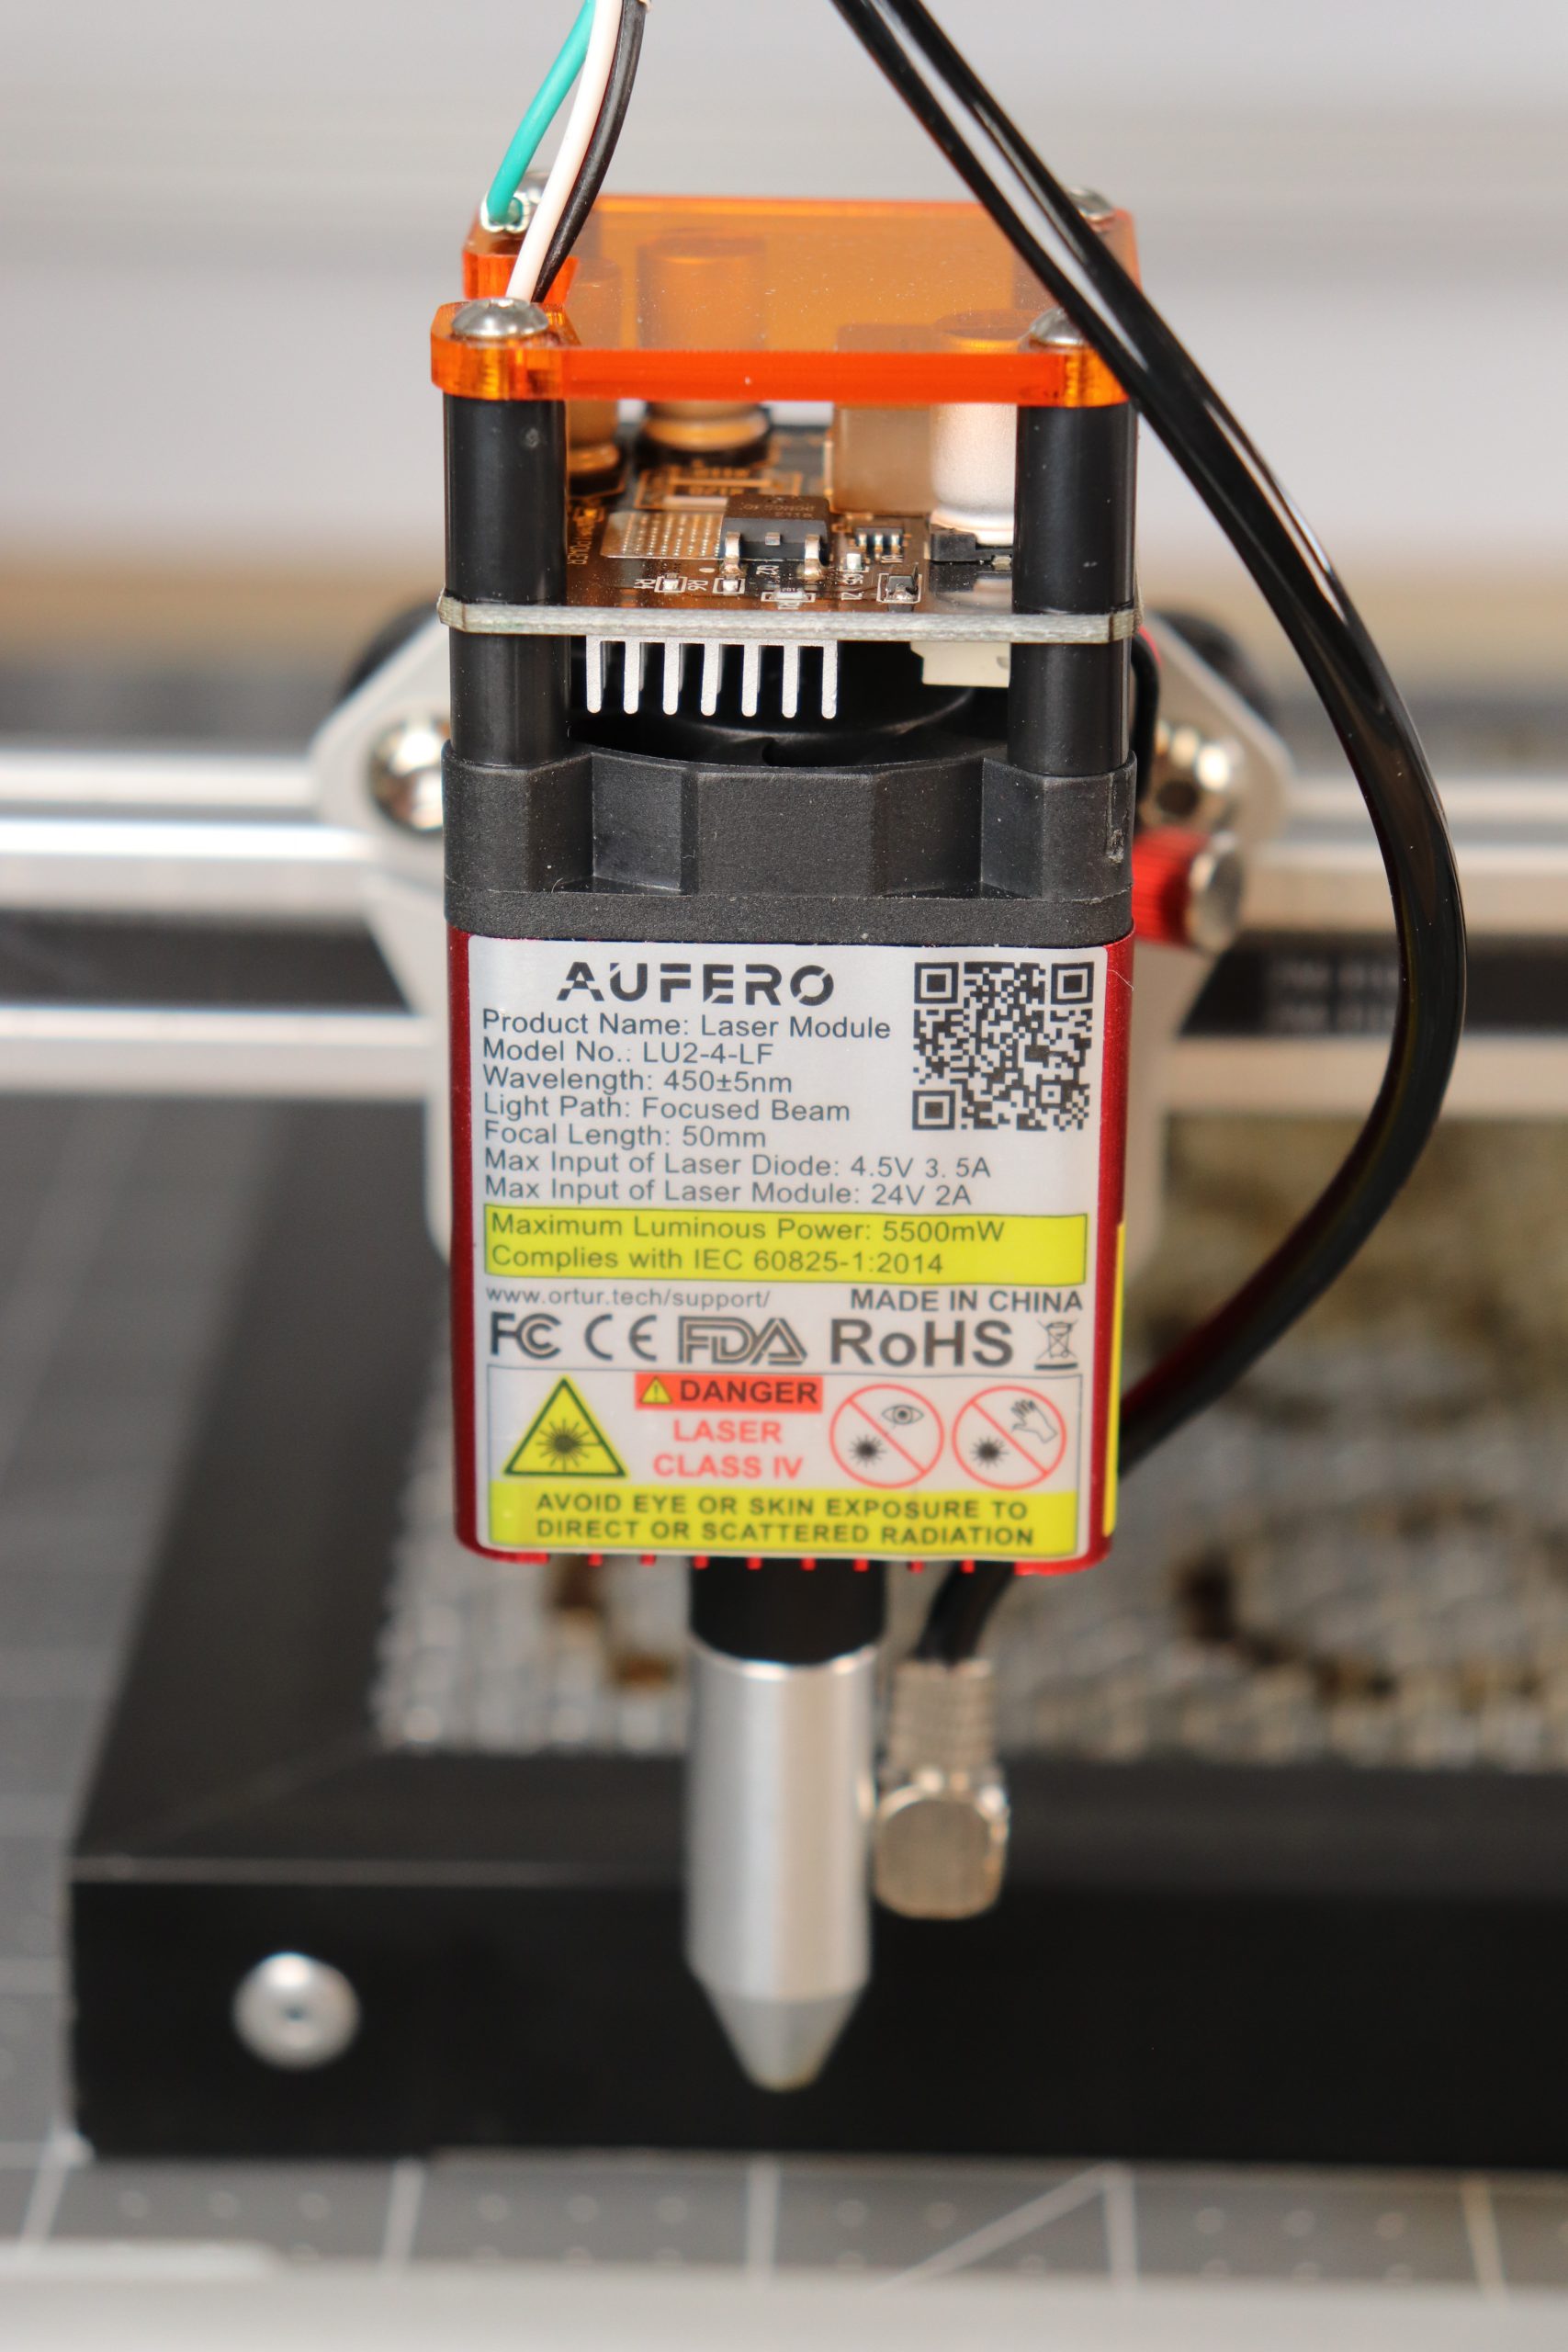
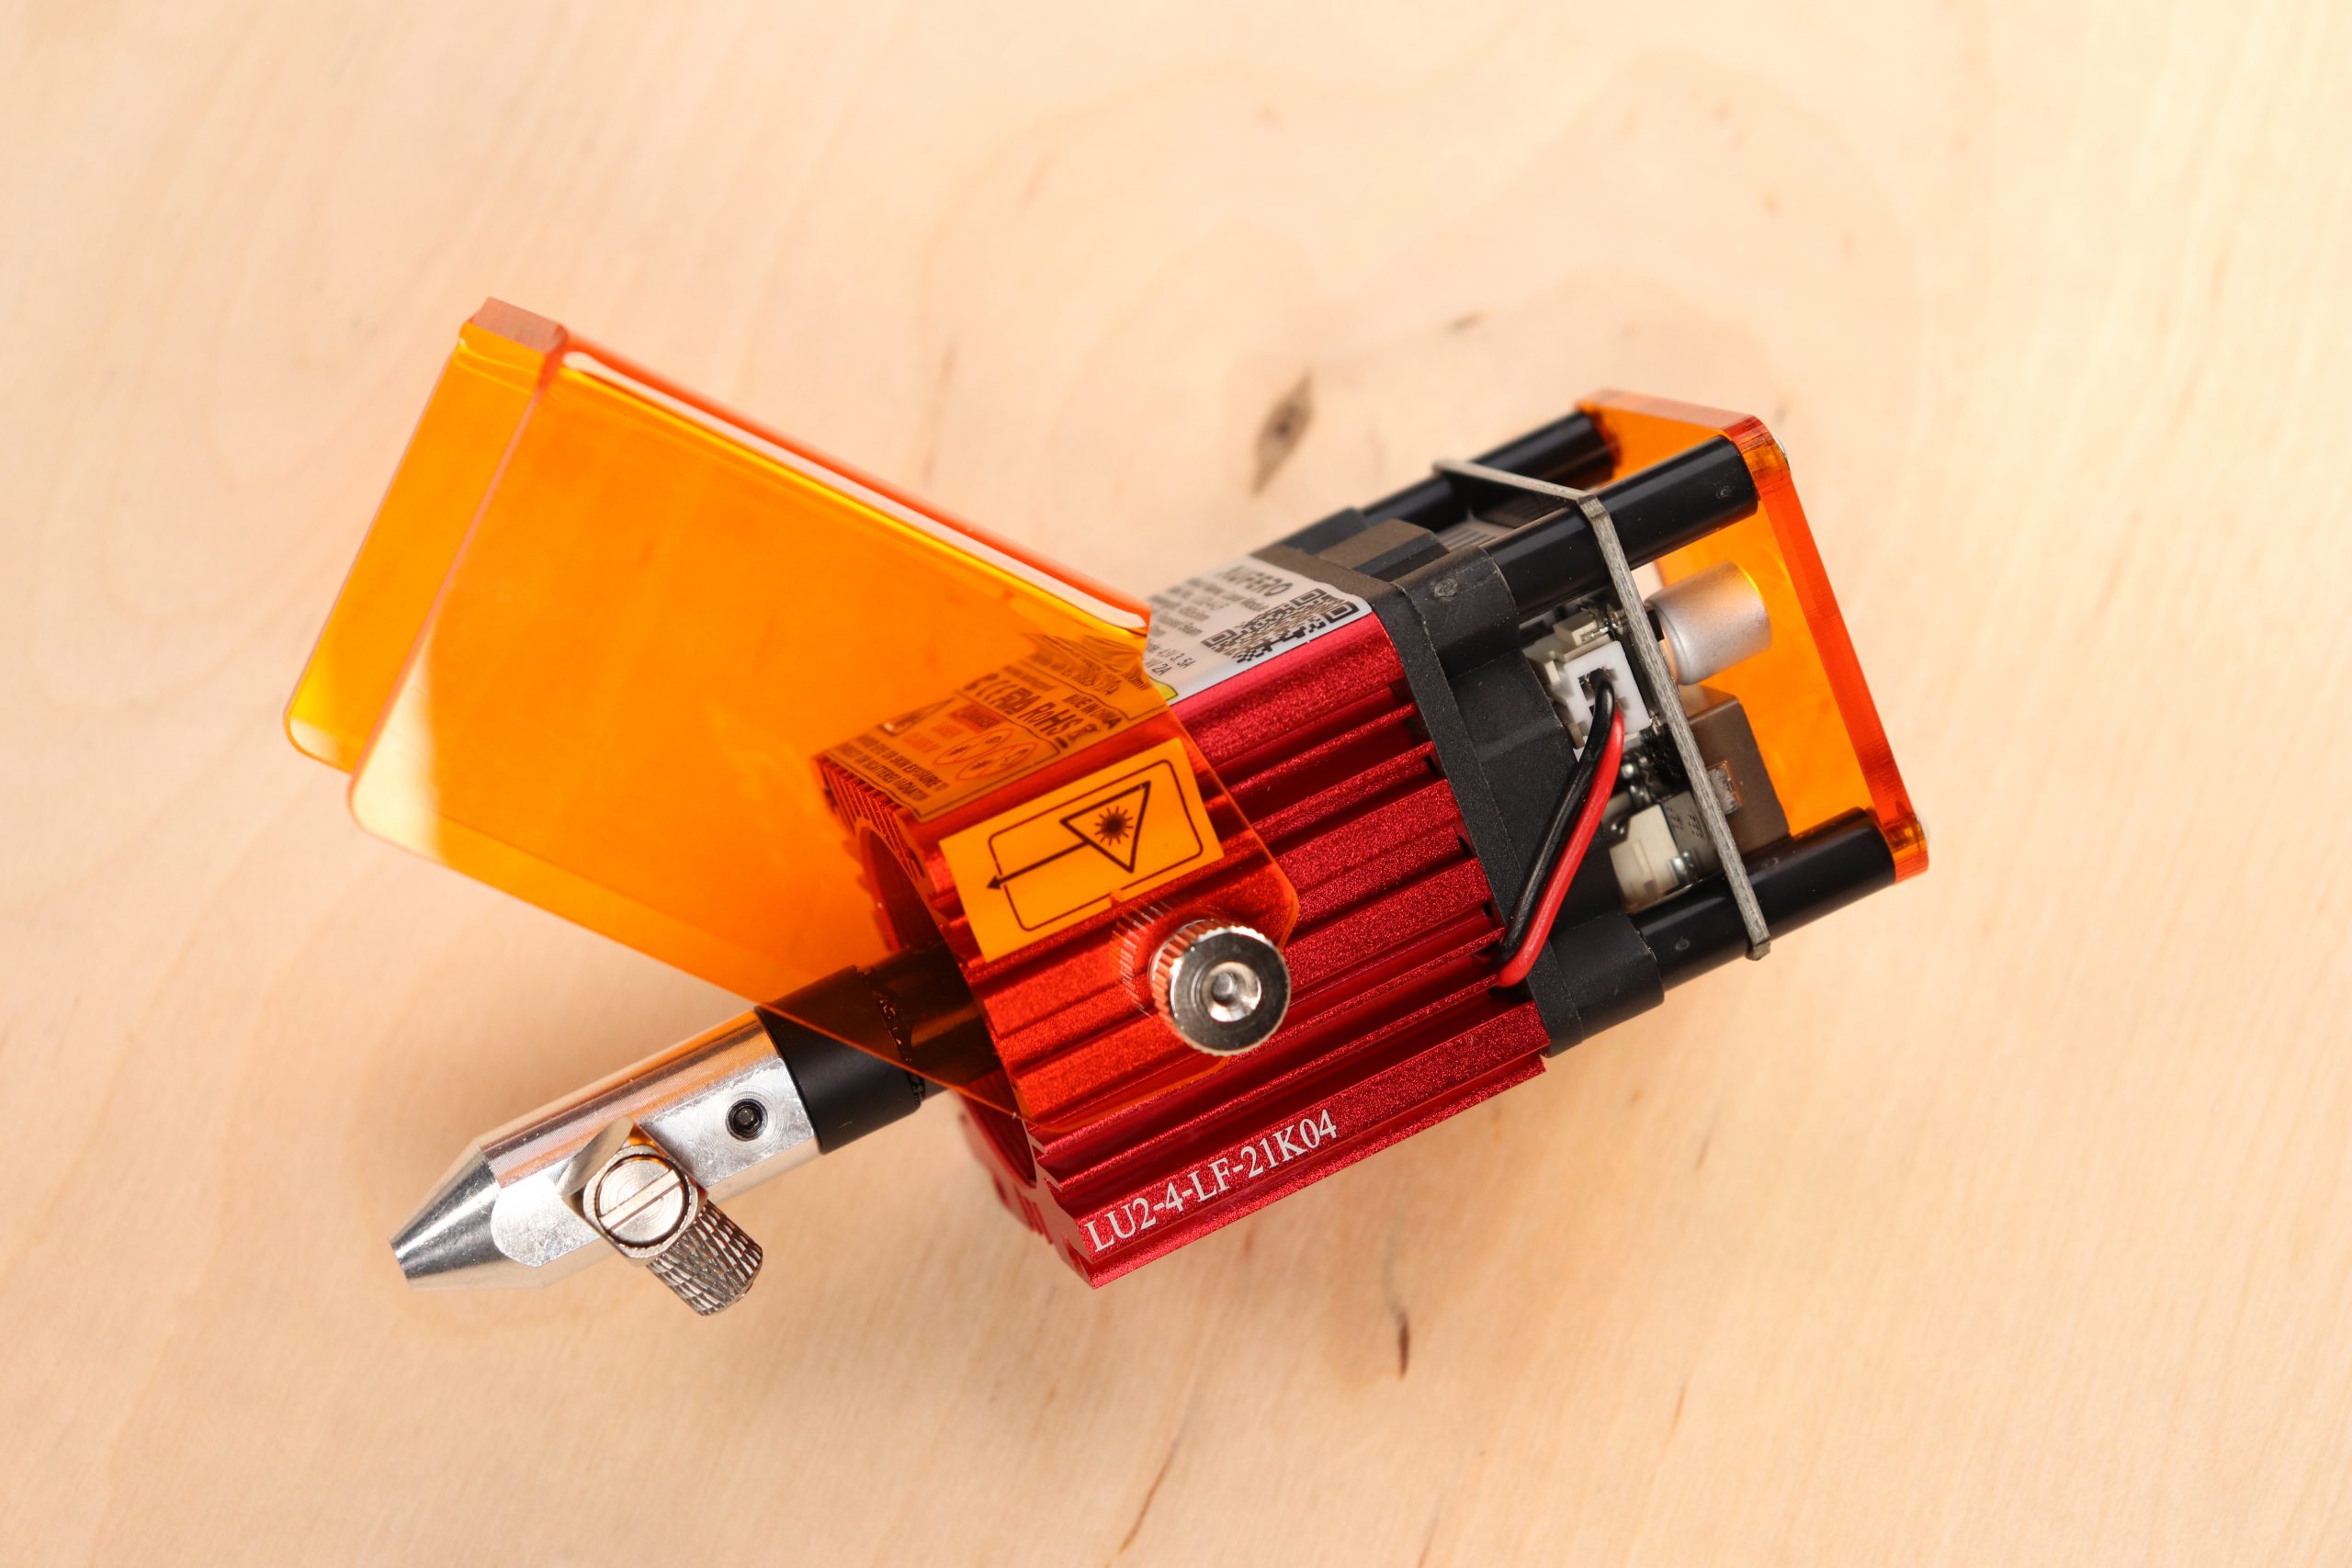
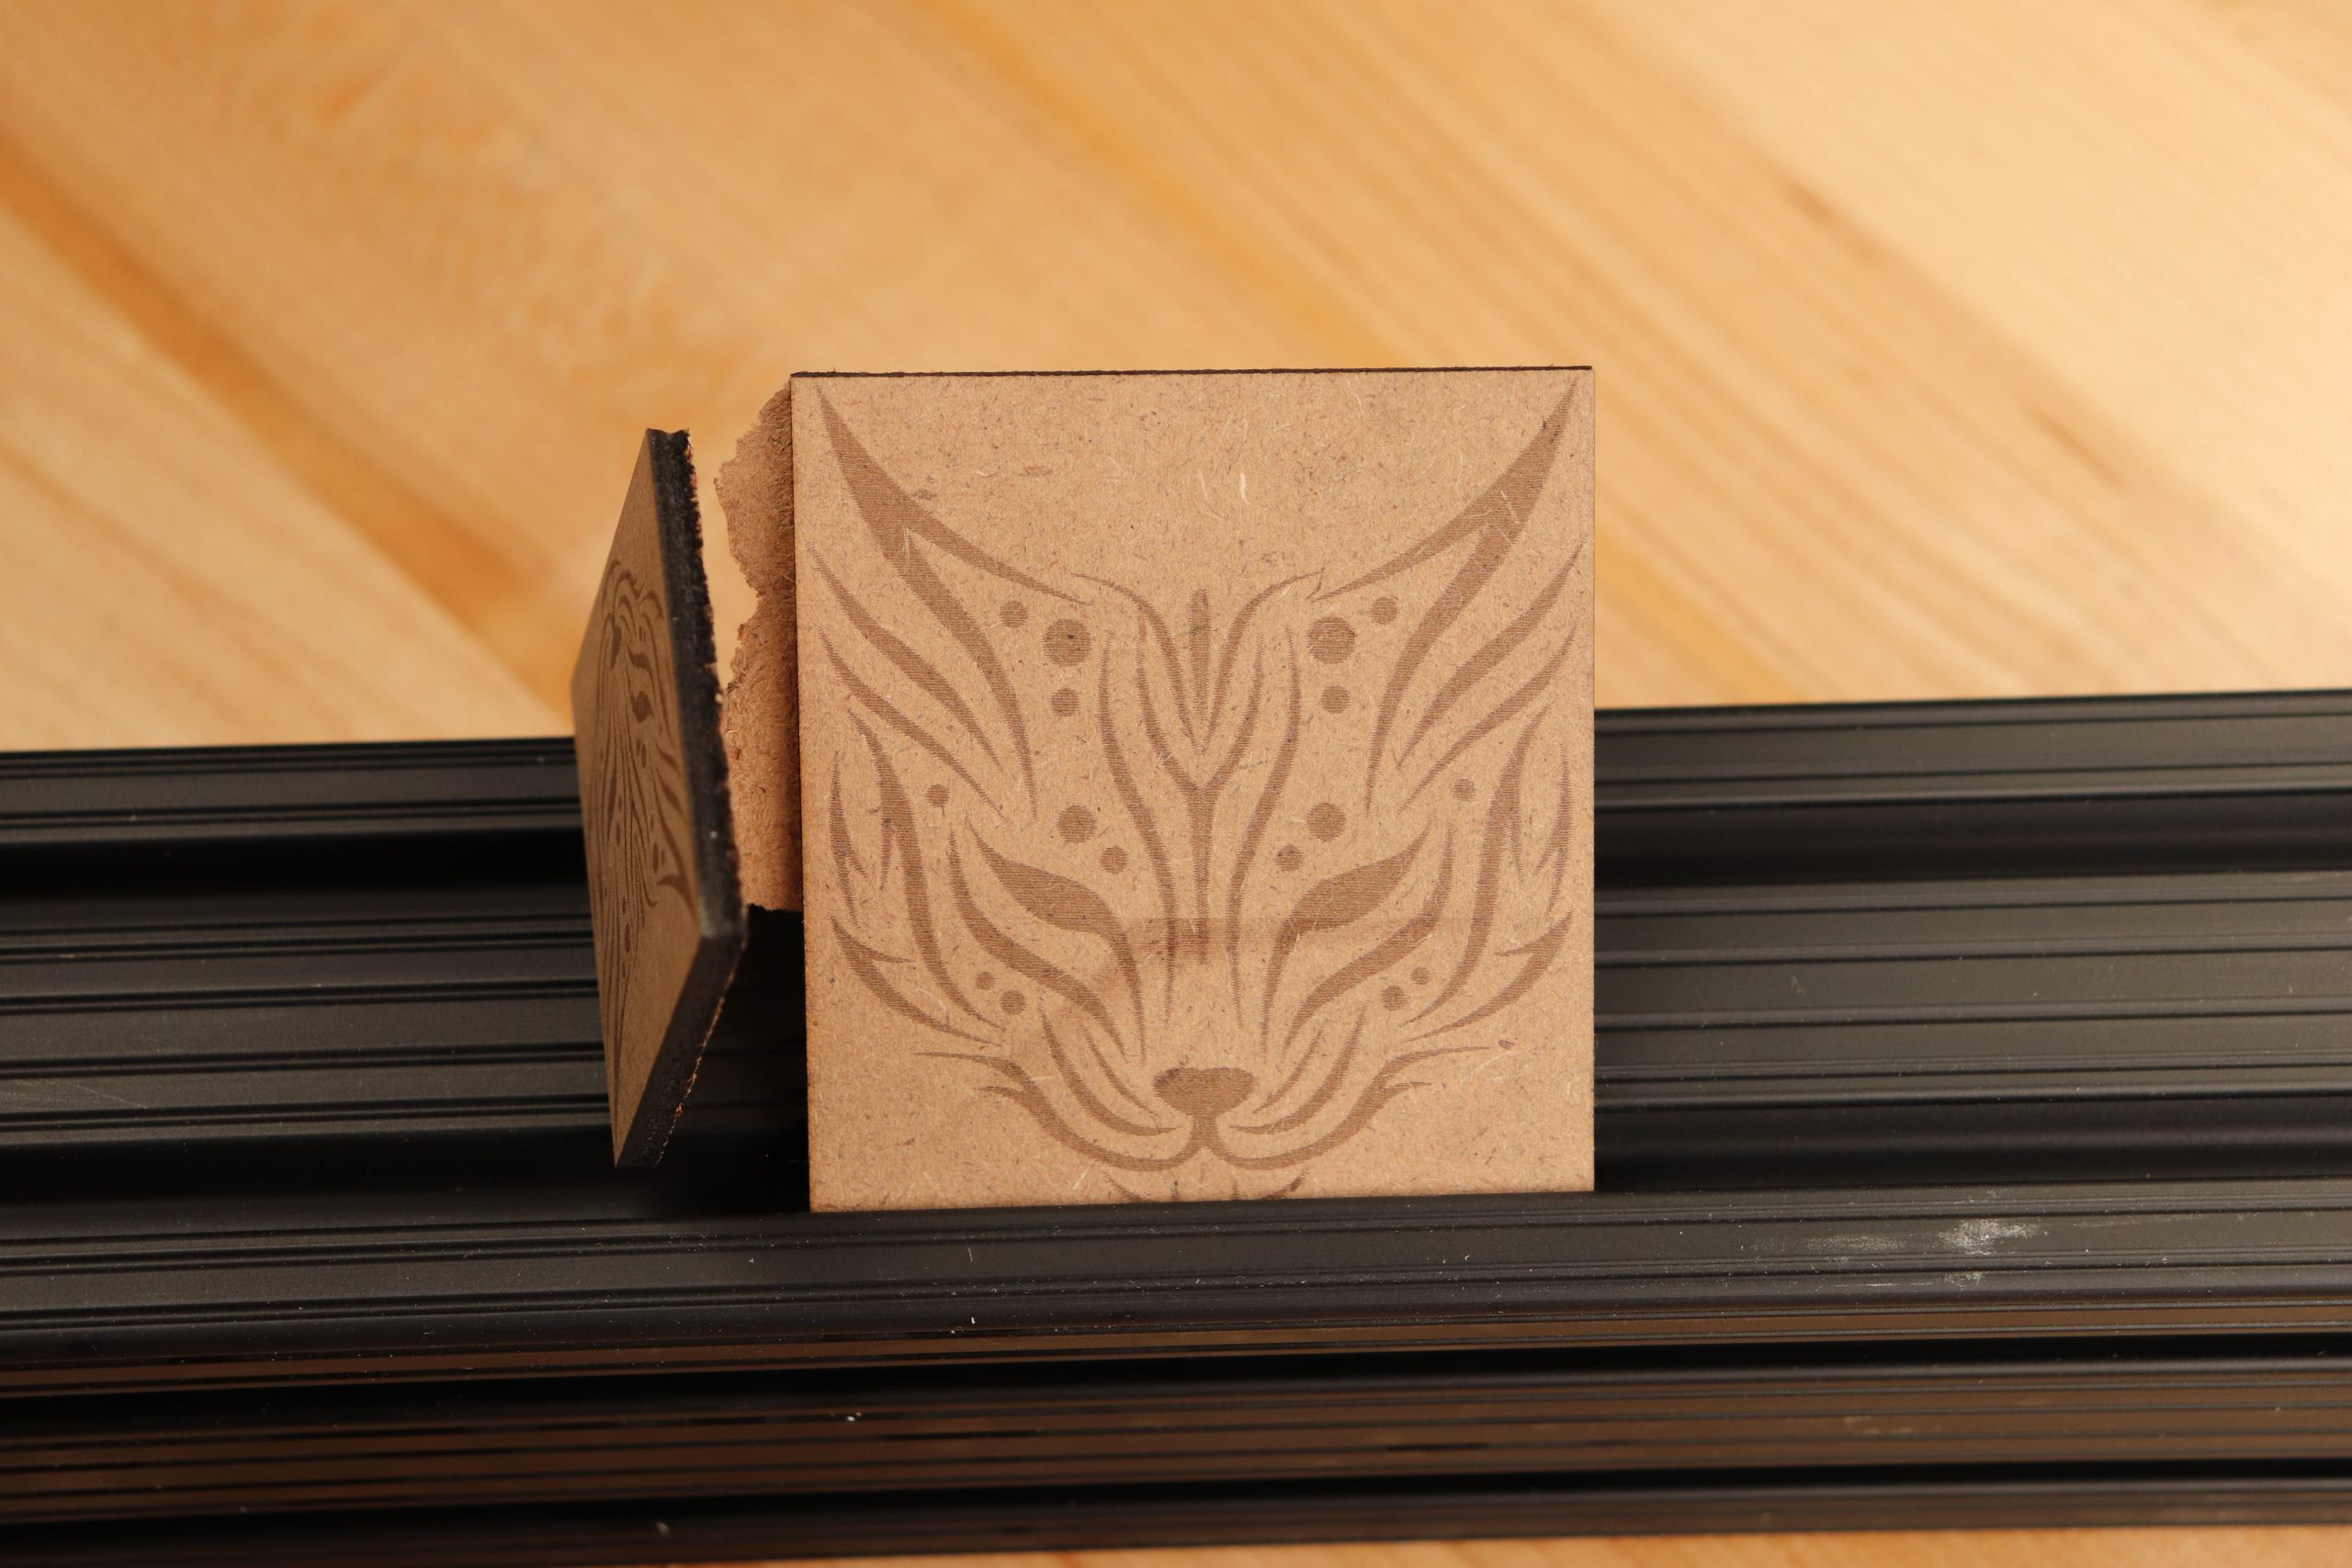
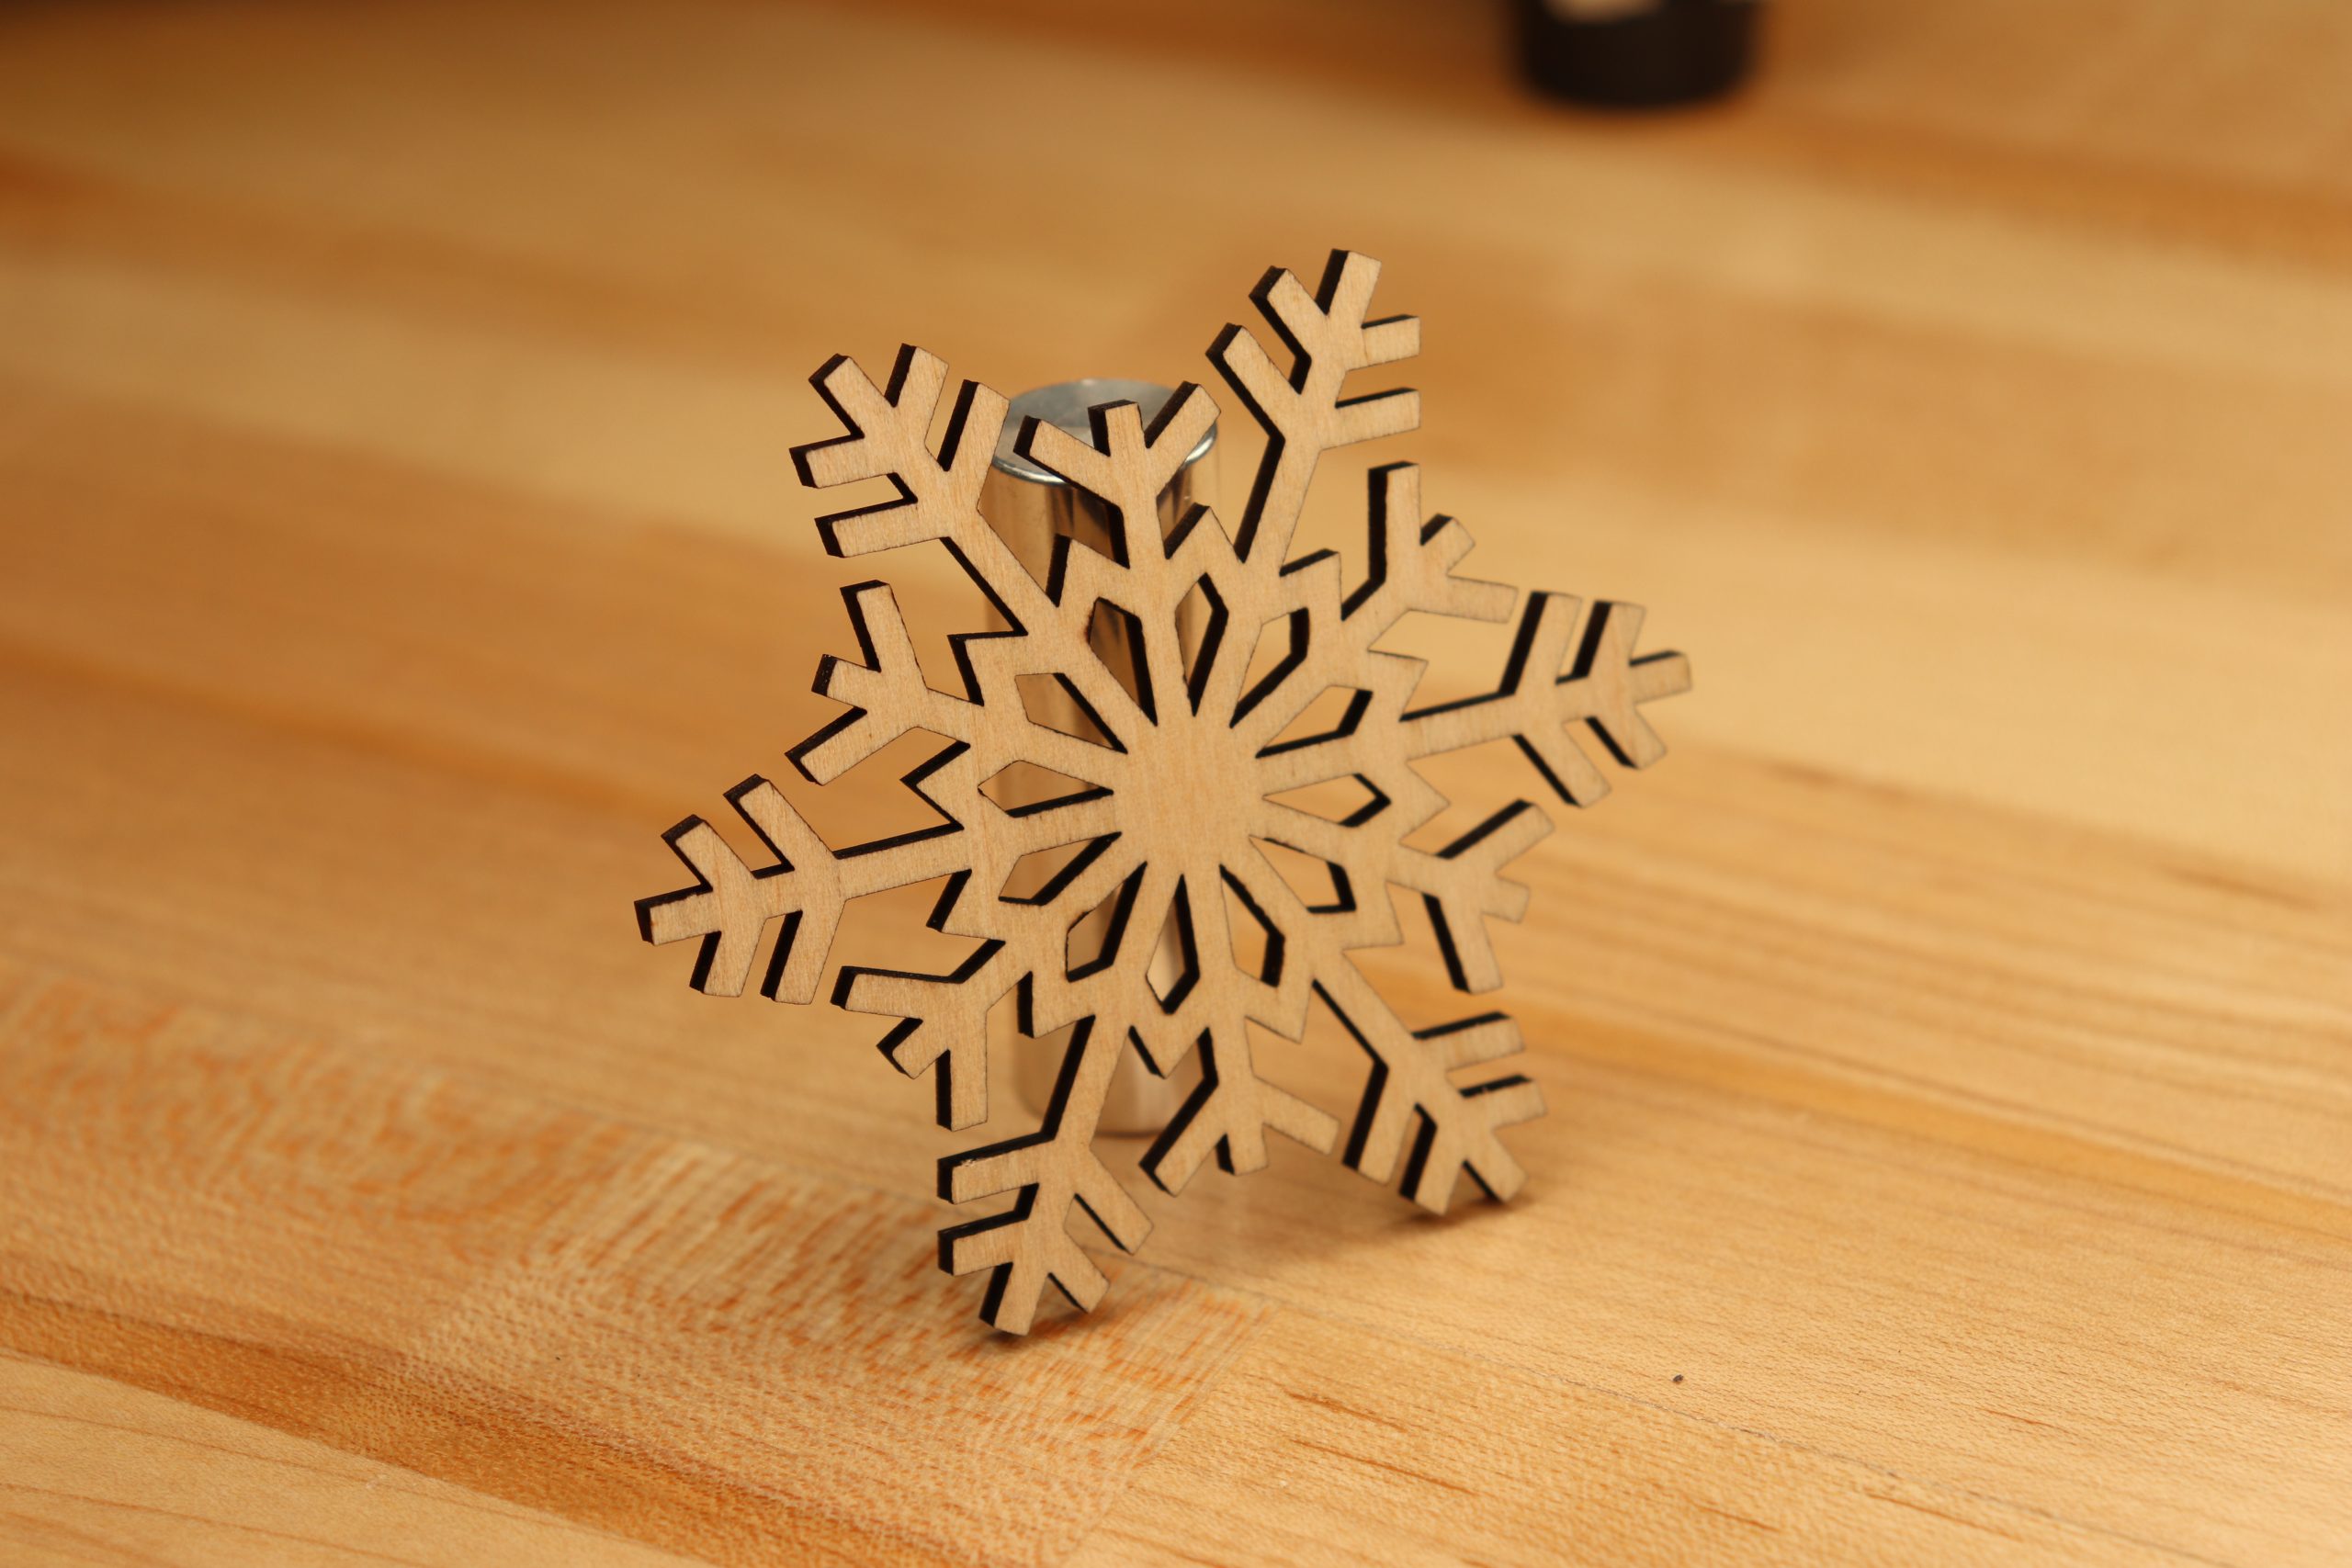
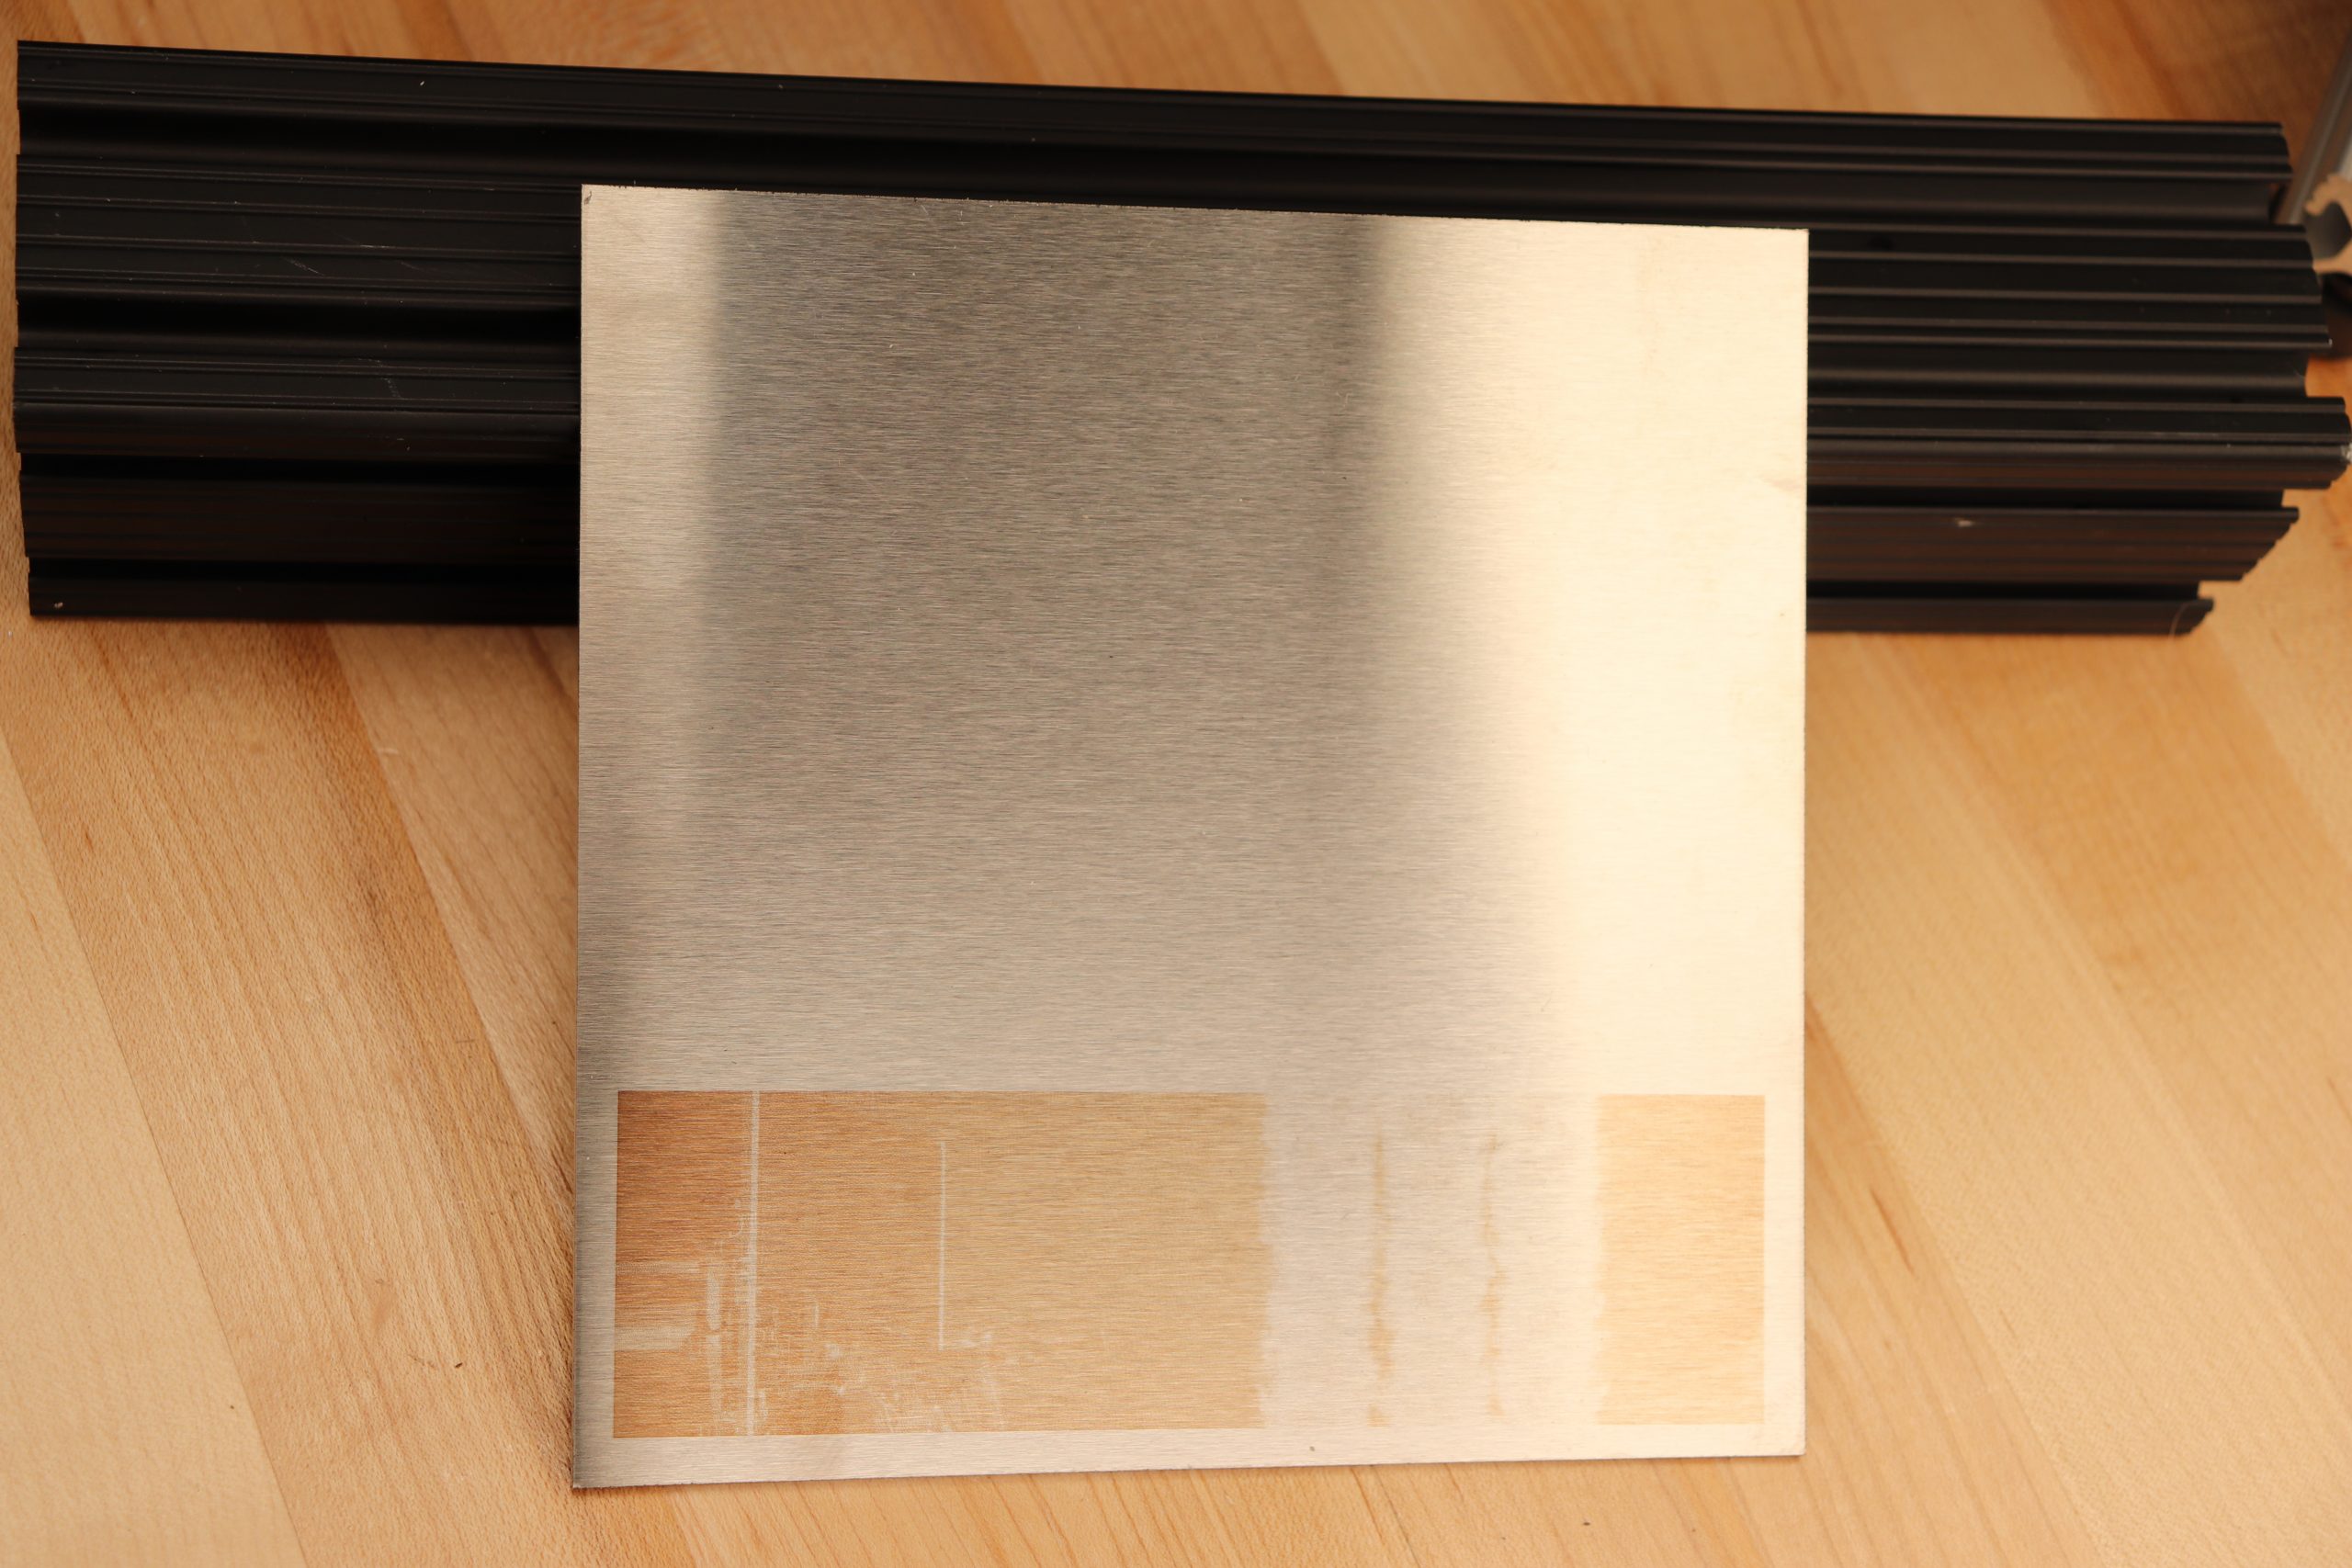
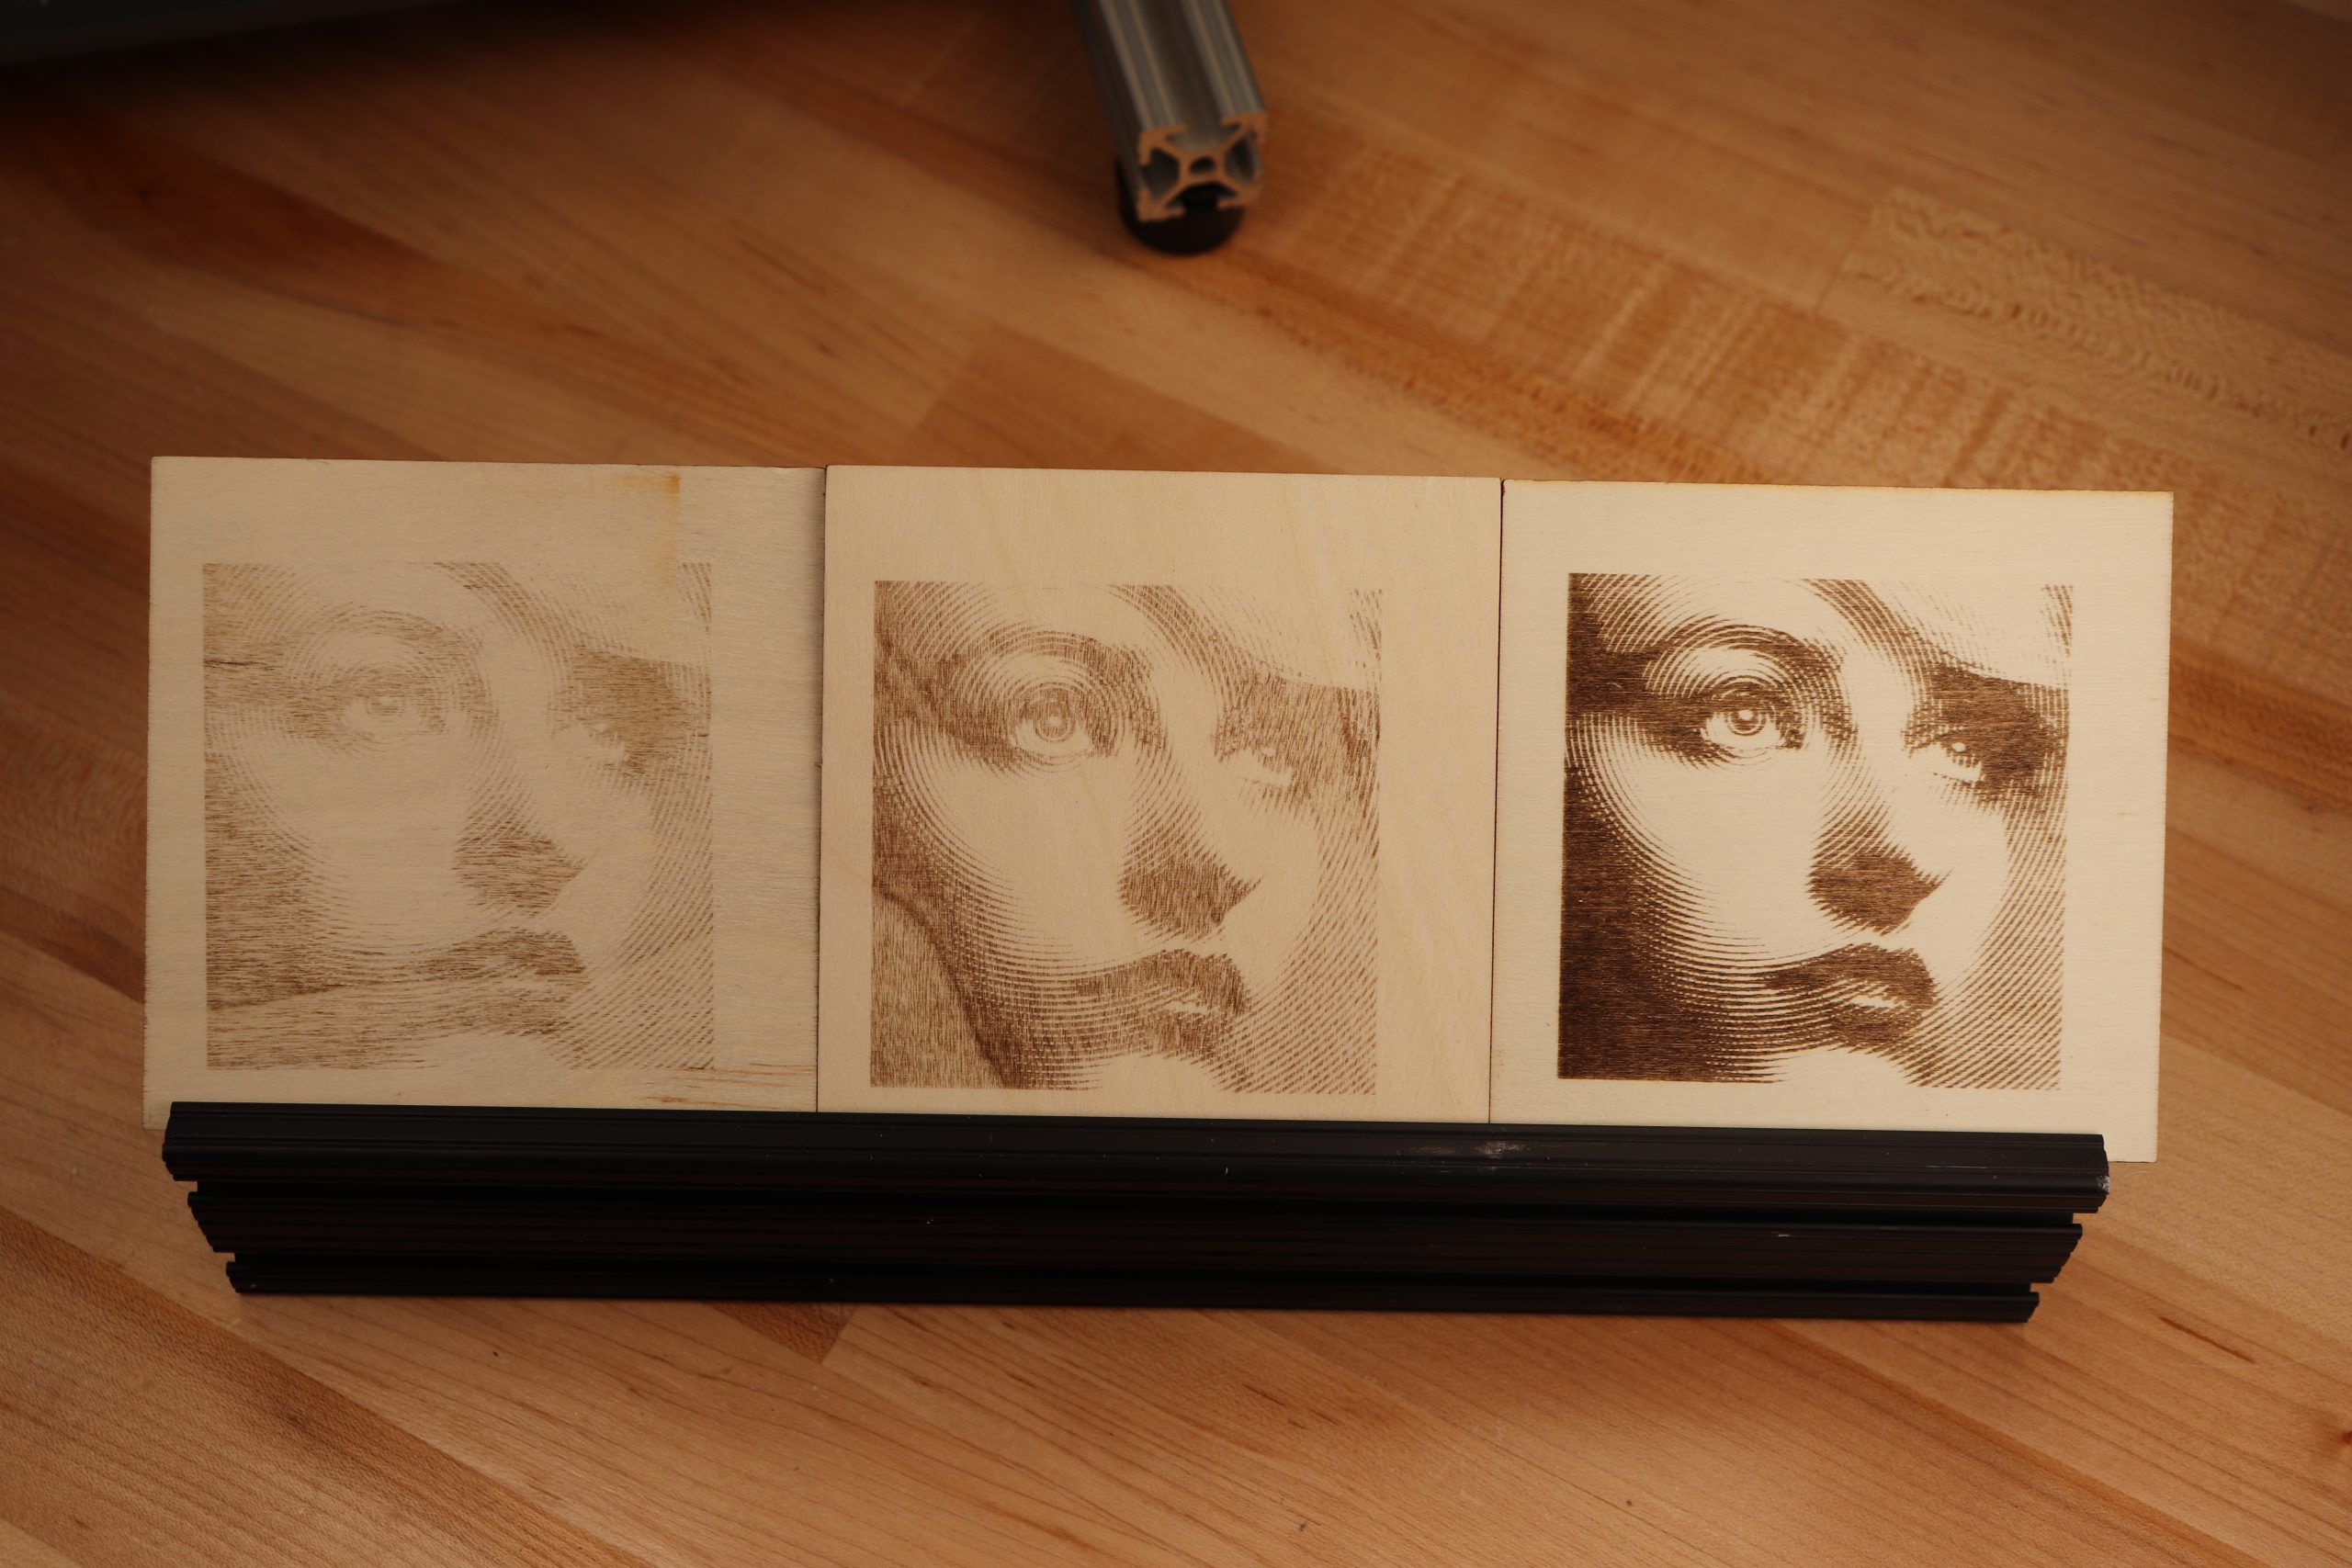
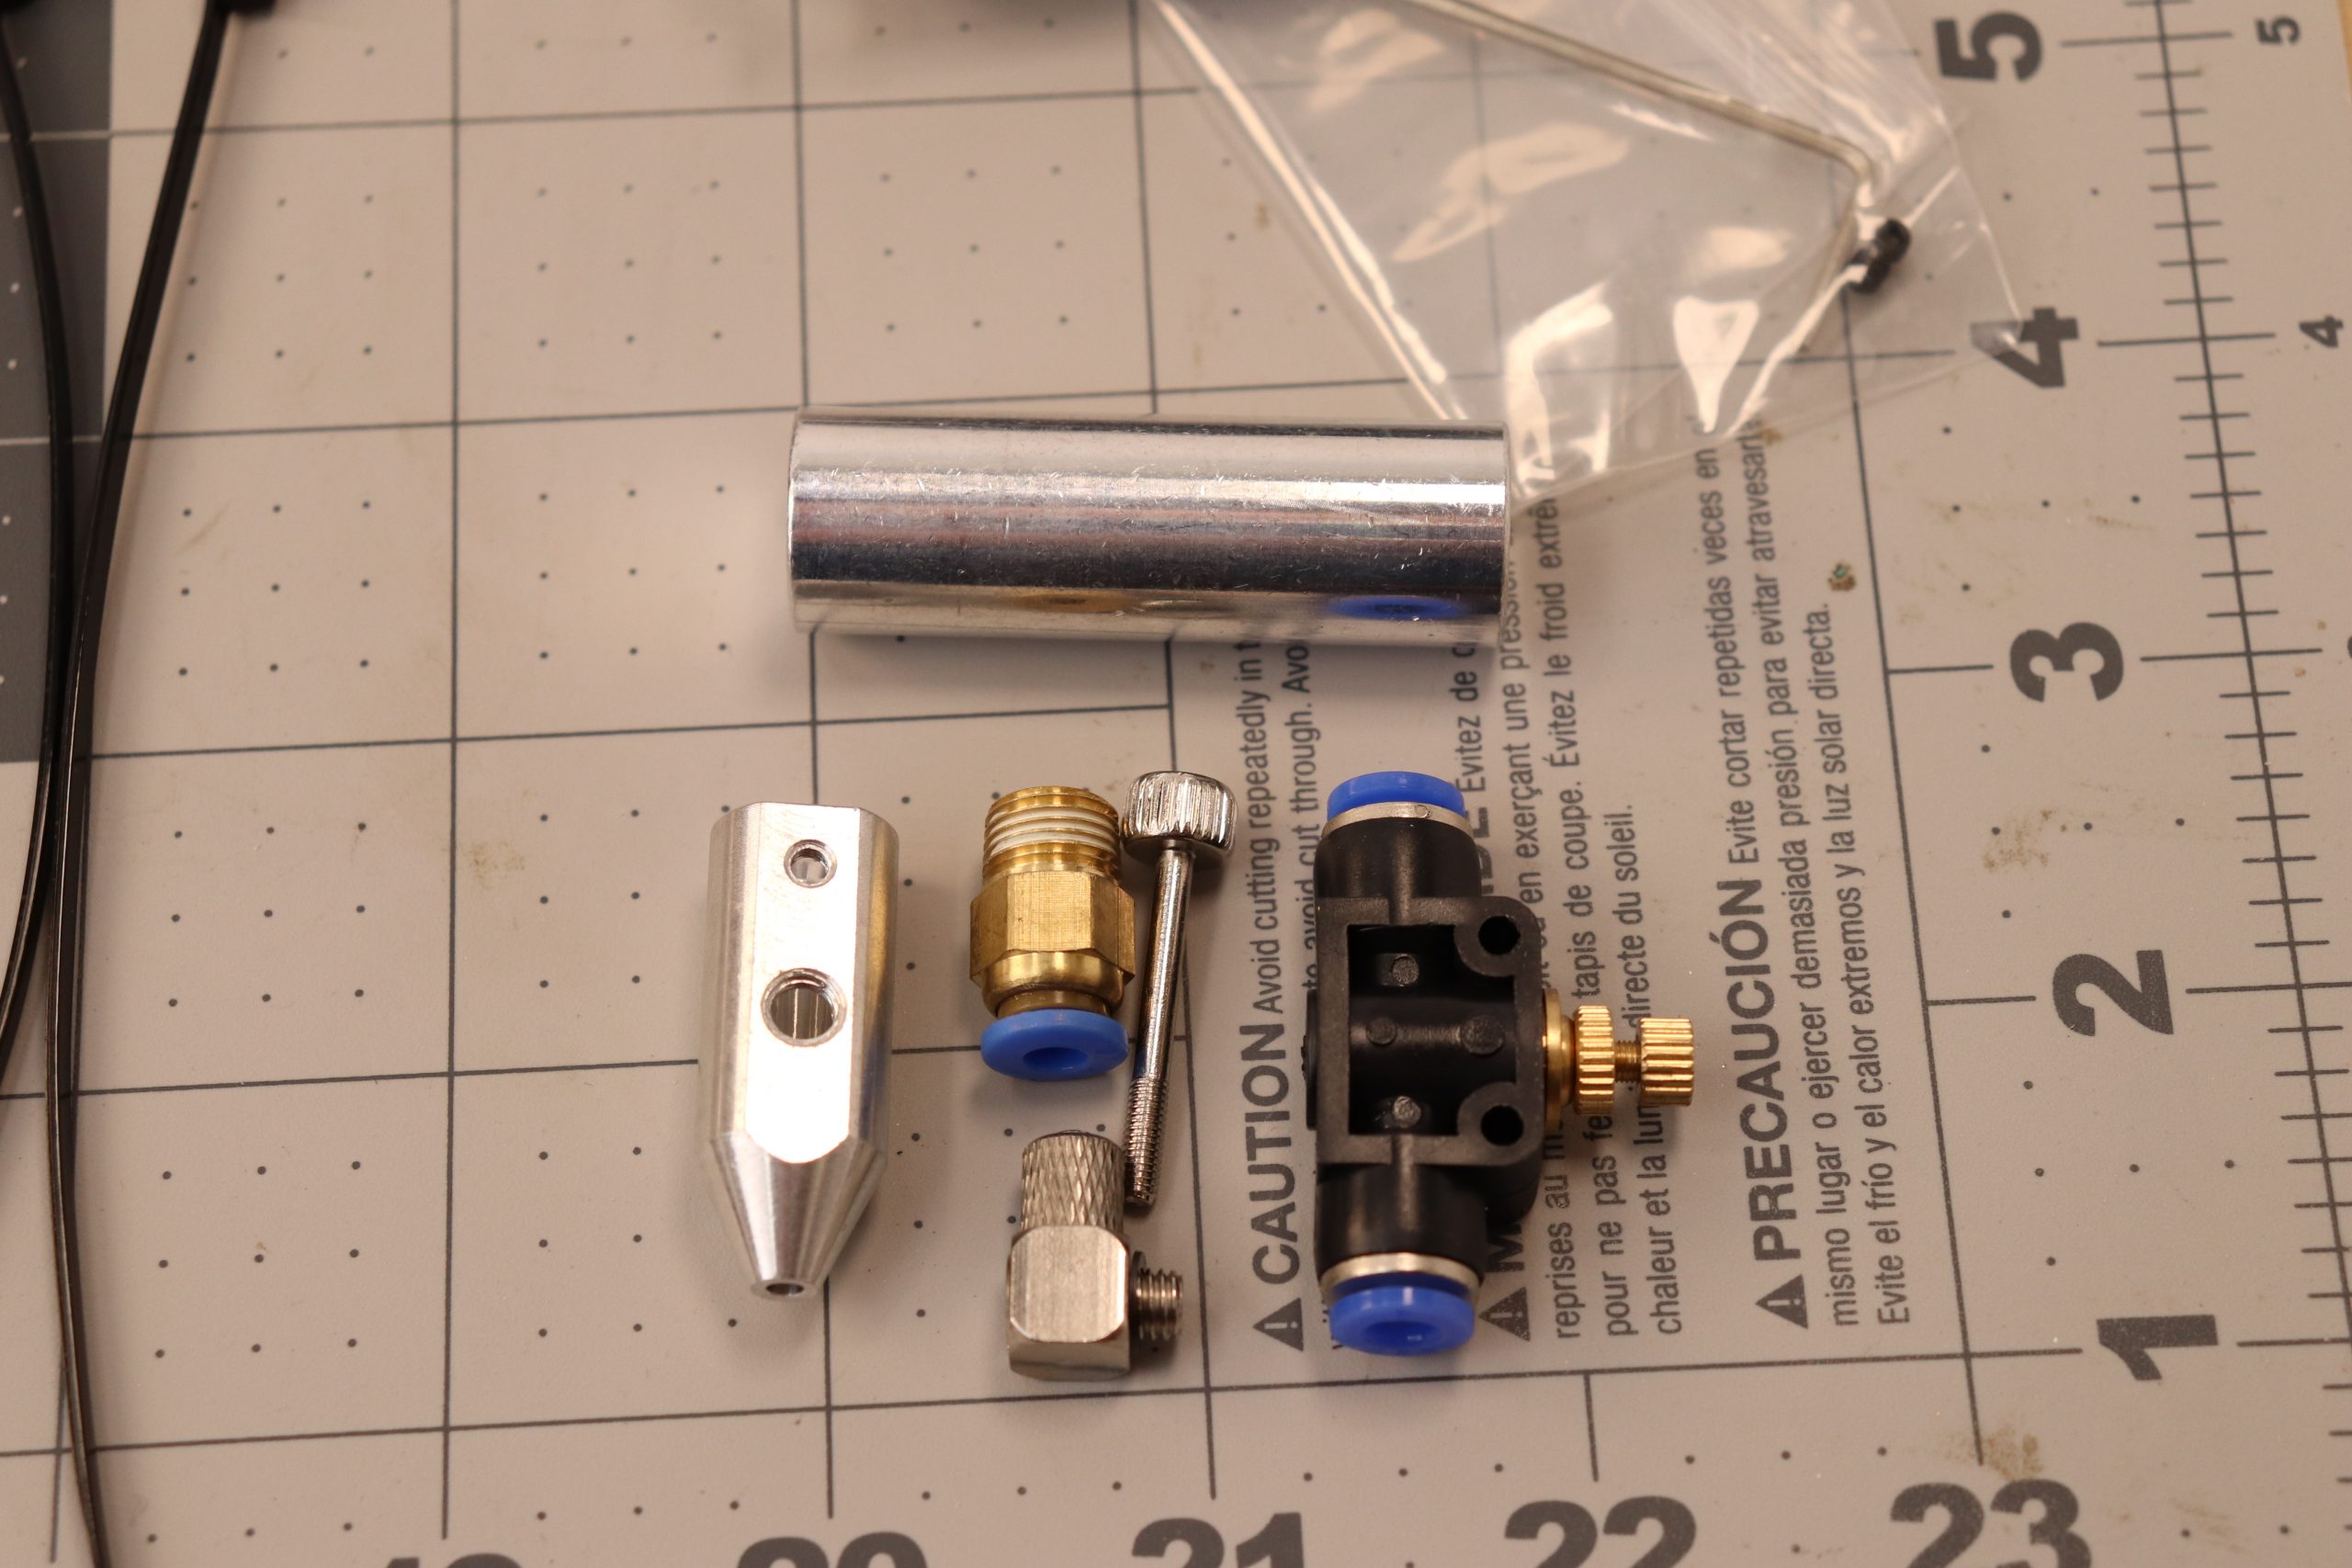
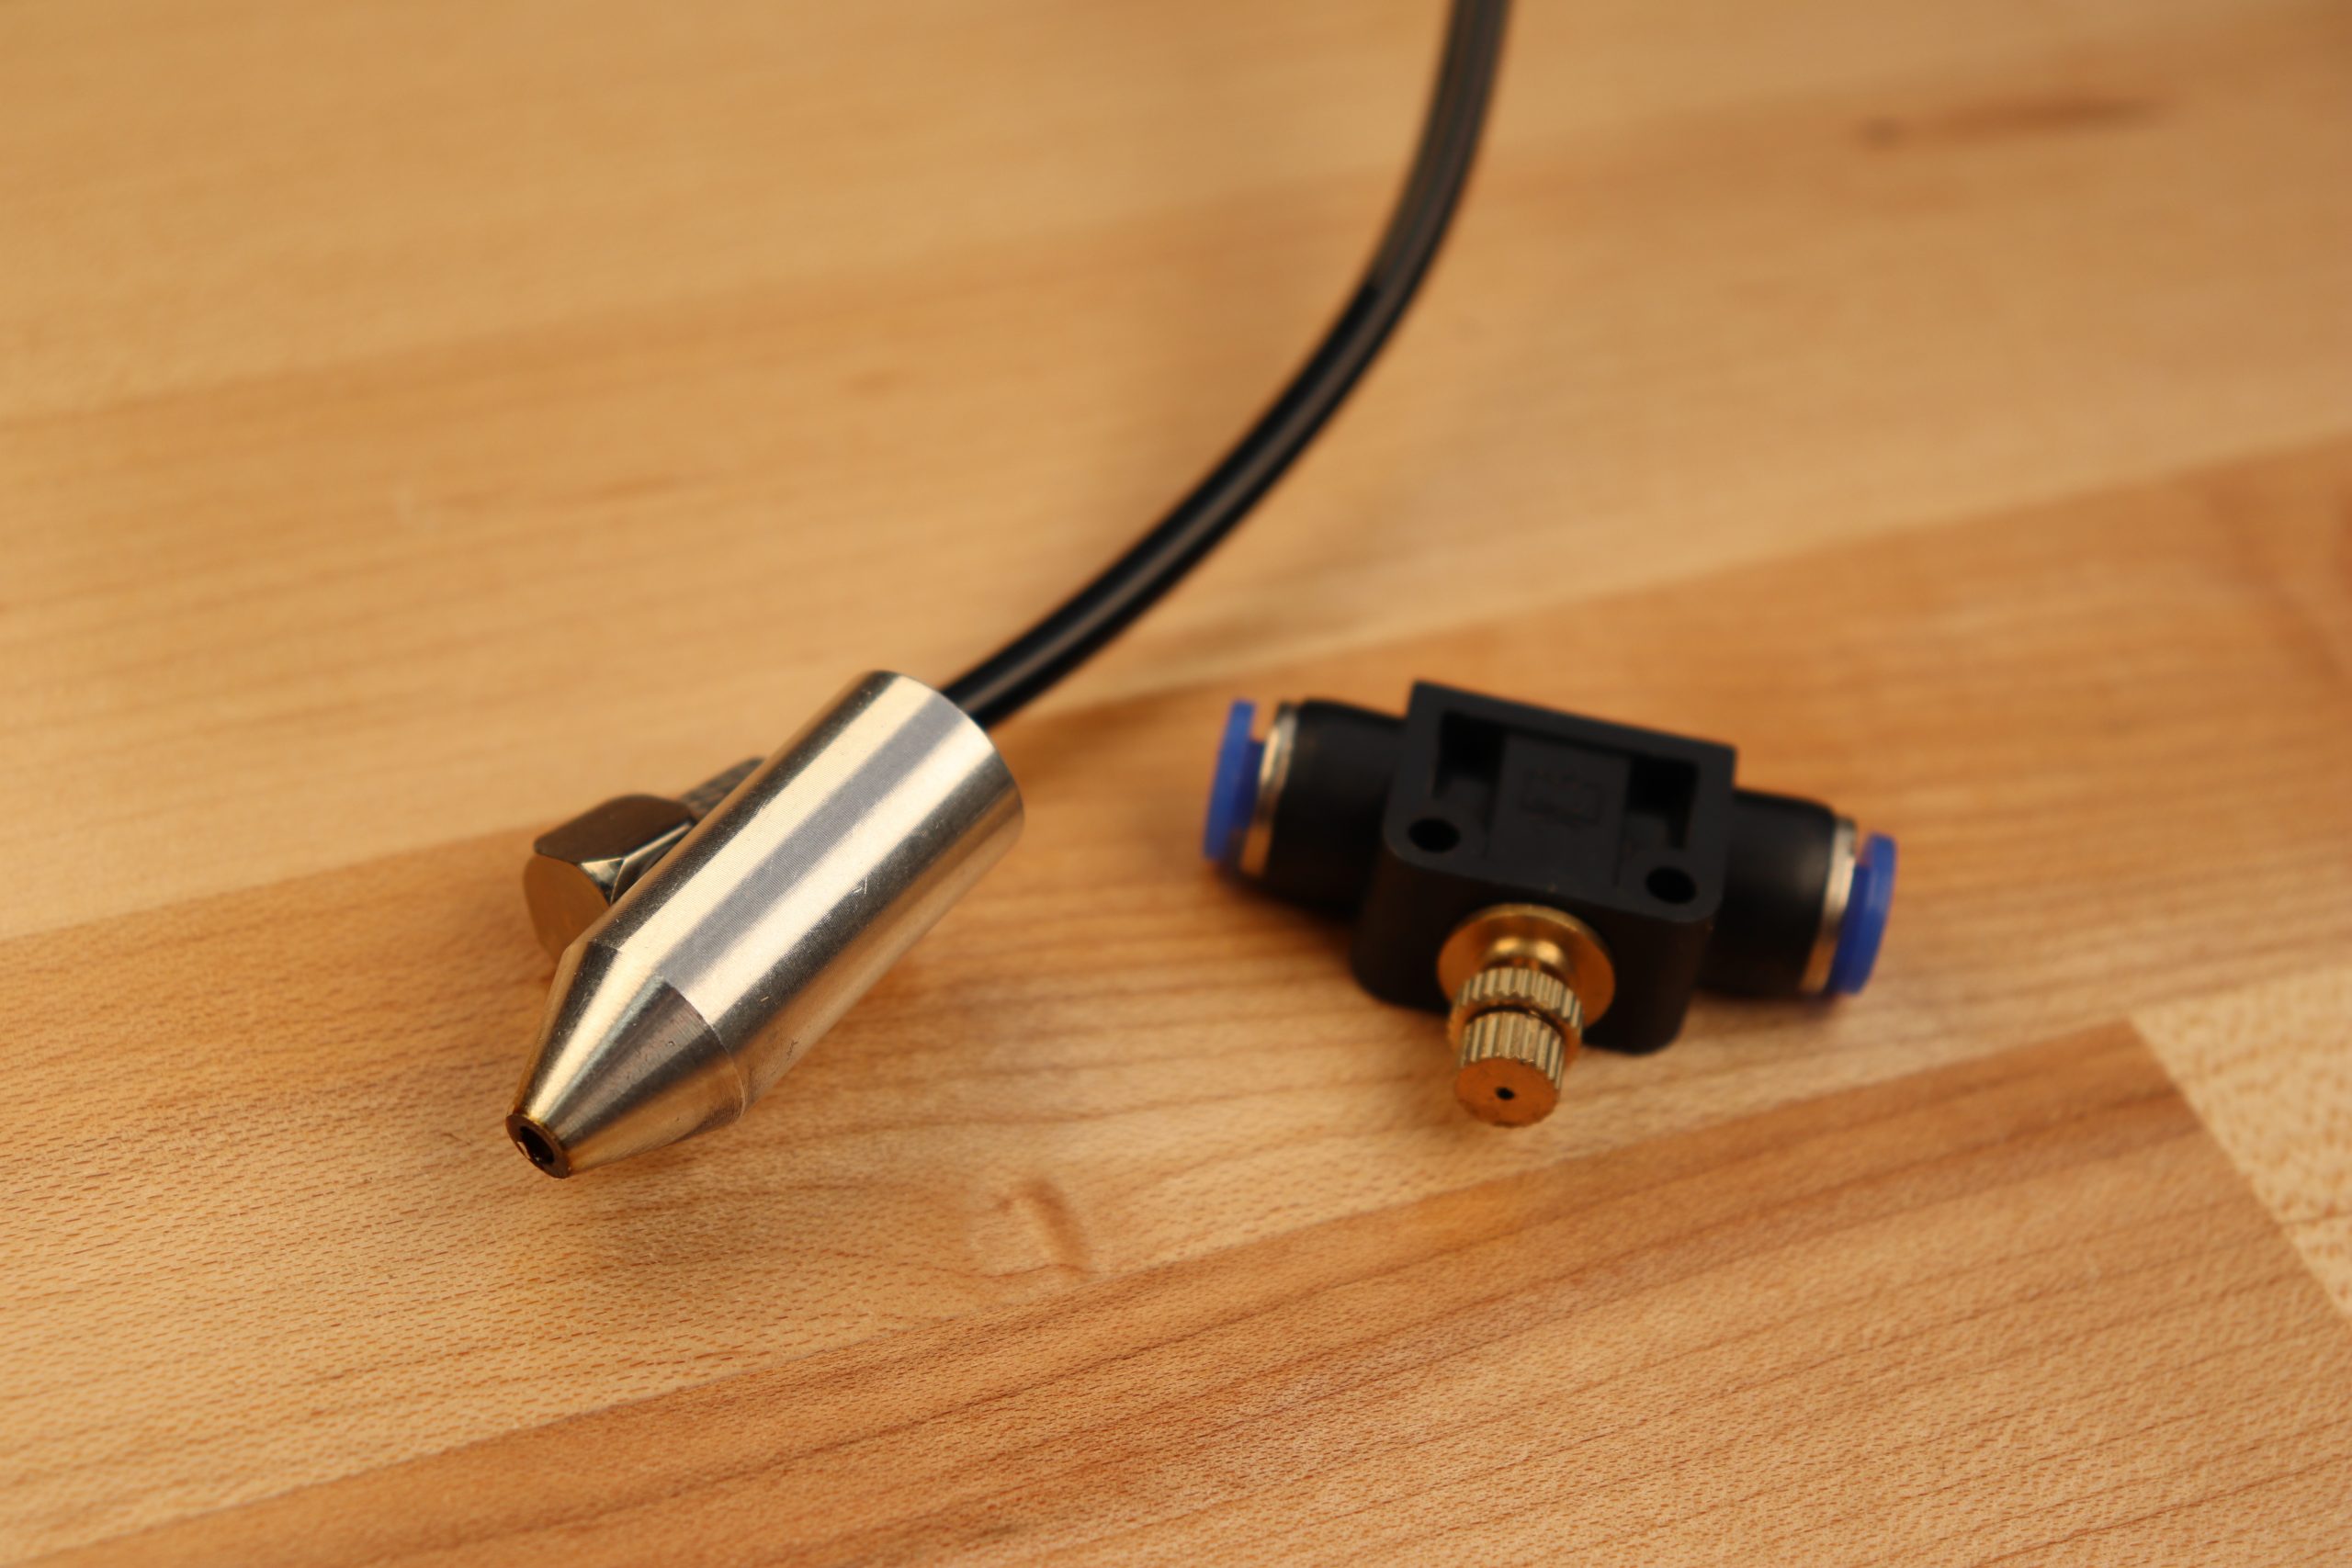
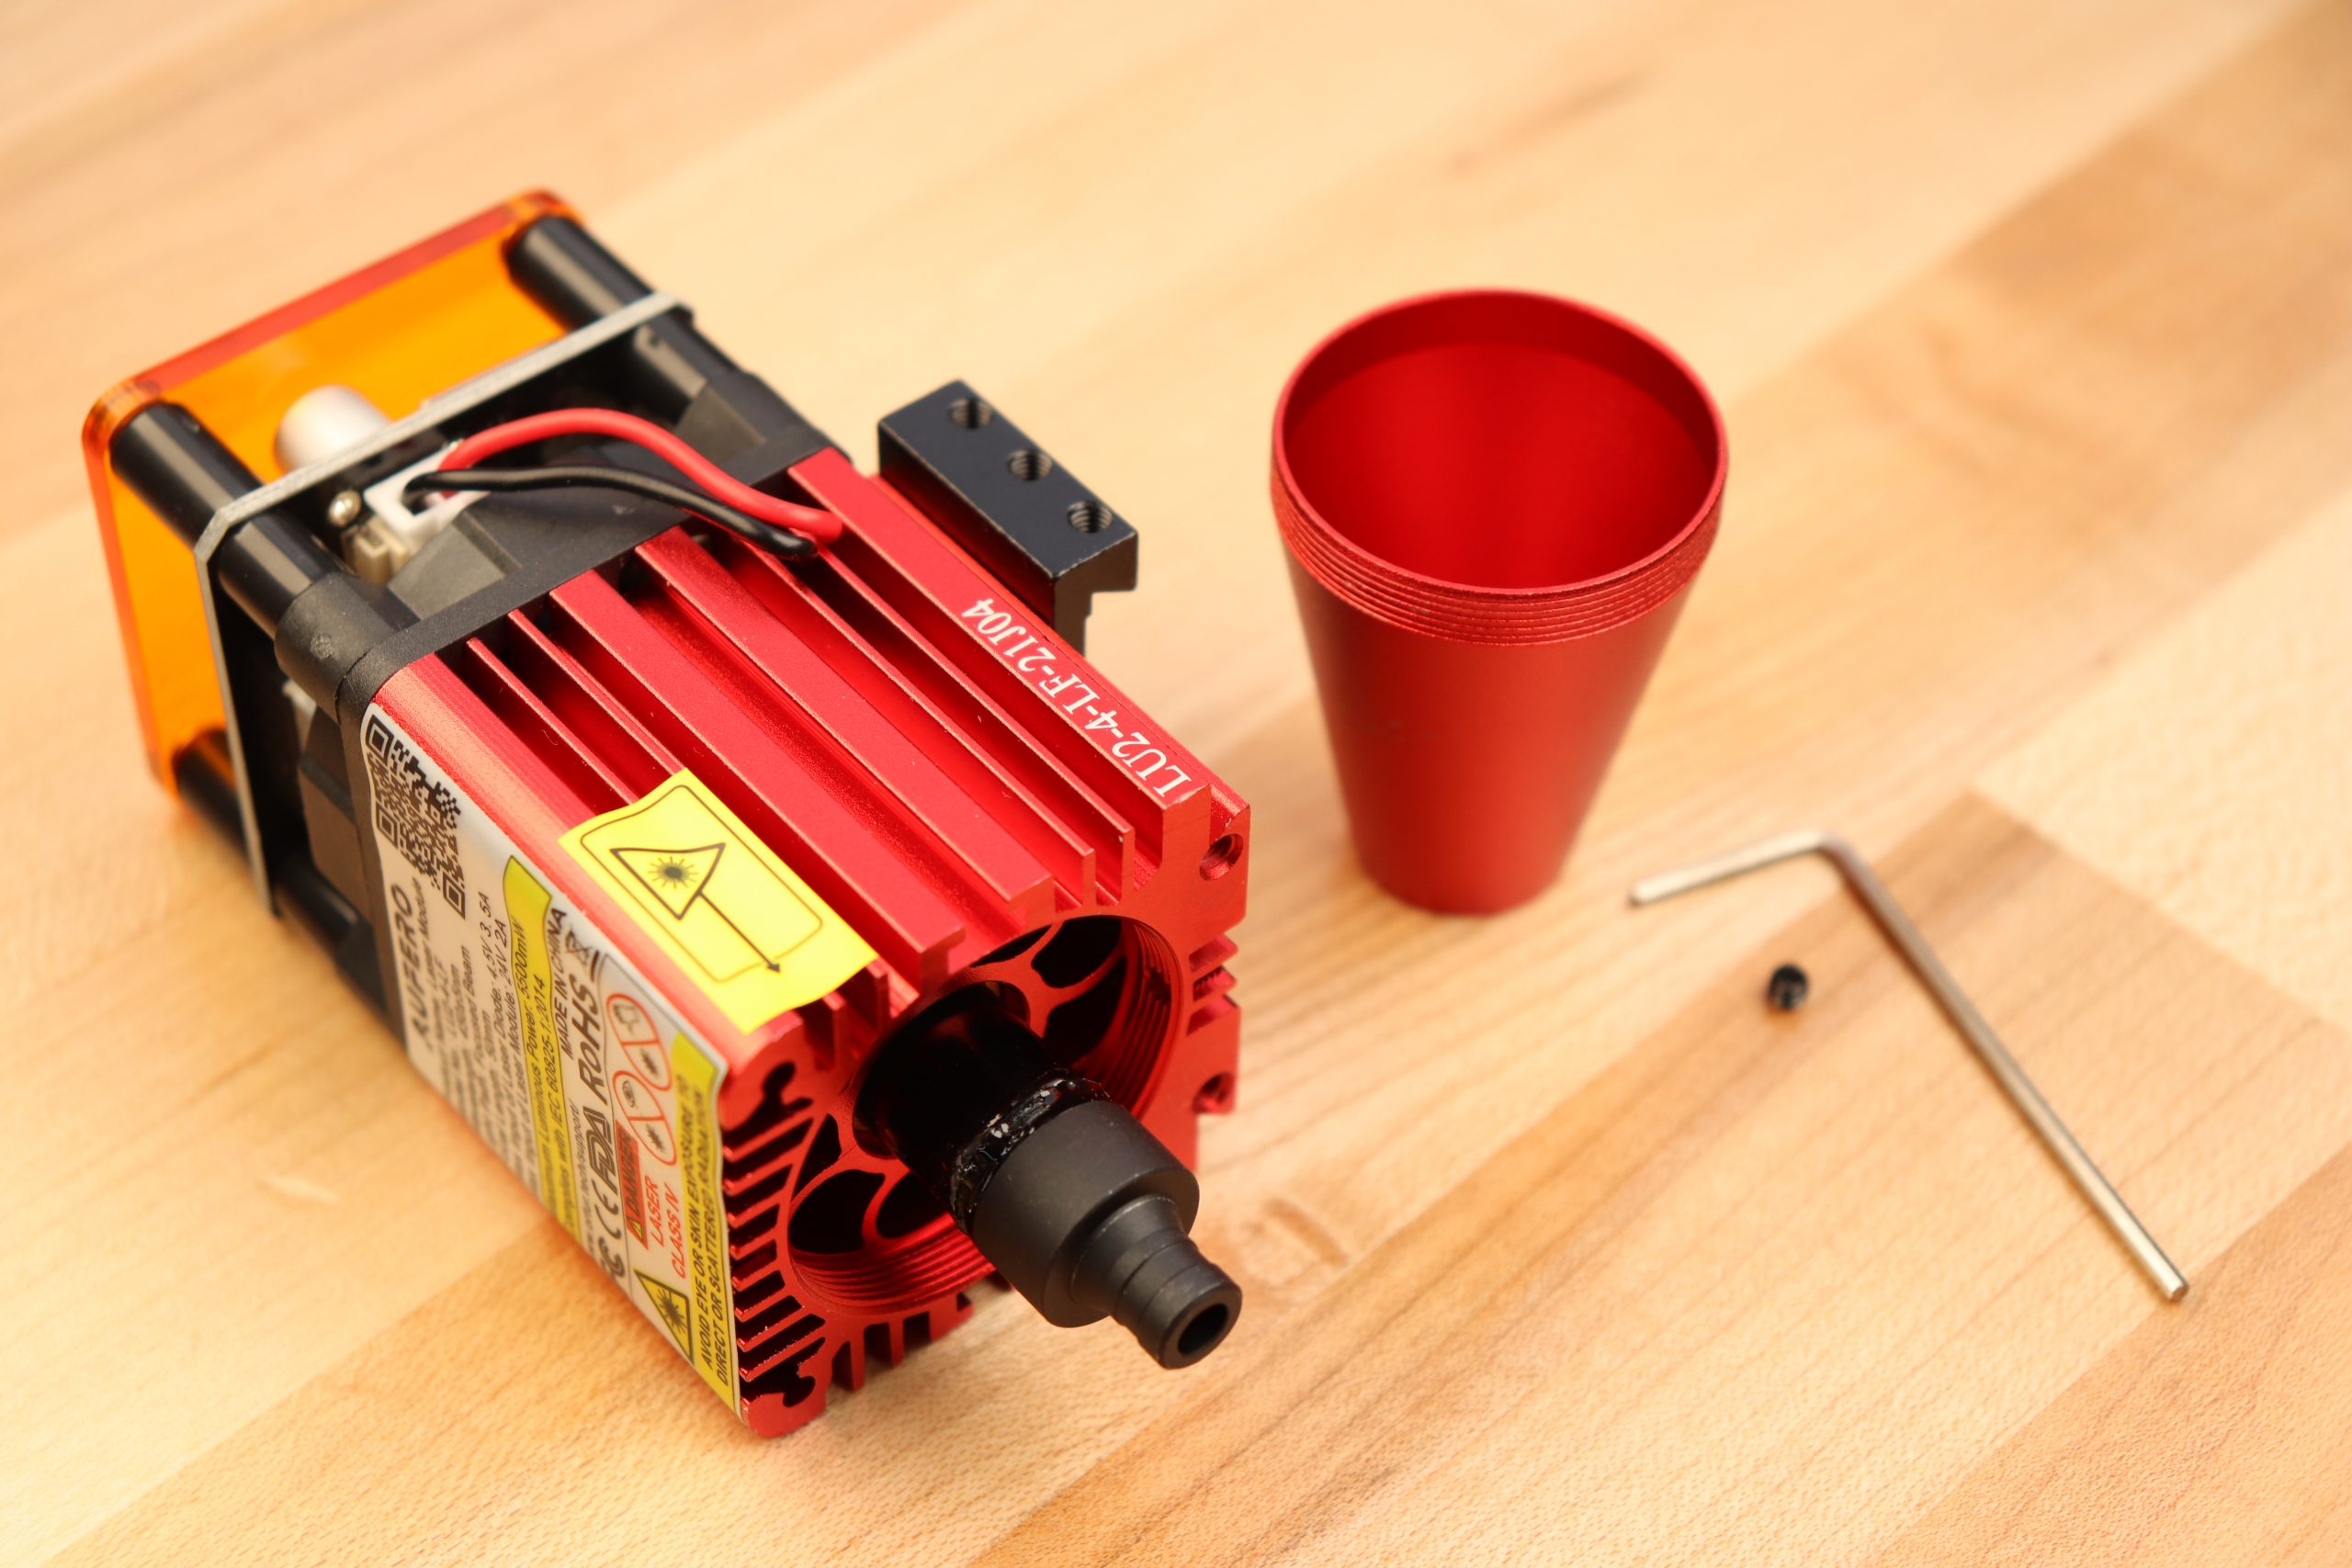
The Aufero Laser 2 has a good list of features. The most notable is the 10,000mm/m speed capability. As we found in the testing (watch the review video) I believe it needs a more powerful laser to really be able to capitalize on the speed. Some other notable features are the ability to swap laser heads. It’s nice that you can setup the machine for cutting or engraving specifically. That’s not to say that the “cutting” head can’t engrave though, we proved that it can the testing. Having the air assist is also a great feature. The adequate working area of 390×390 mm combined with it’s relatively small overall construction is a good combination of form and function. Focusing this fixed focus laser is very easy to do using the included focusing gauge rod. You place the guage on top of the material your working with and lower the rim of the laser head onto it. Then you tighten the laser head adjustment knob and remove the guage. Now the laser head is set to the proper distance. The controller is minimal but adequate, having a power and USB connector as well as a power and reset button conveniently located on the front.
Safety
The manual also covers the very important aspects of safety and they can’t be repeated enough. Though small, this is a laser that can cause serious damage. Read and follow all the safety warnings. As a basic rule, don’t look at the laser light at all, make sure what you’re cutting won’t give off toxic fumes (like PVC, ABS, Epoxies, etc.), Use only in an extremely well ventilated space and don’t stare at the beam. Safety is your responsibility.
Fume Extraction
I setup a basic fume extraction system with an 6″ inline fan, some 6″ ducting and a 6″ blast gate. I created a simple enclosure with some 24×36 inch sheets of corrugated plastic. I was pleased with how well it works. The fan pulls from the enclosure and vents to the outside. the blast gate is used to allow fresh air in from the outside (well away from the exhaust) so that the fan has the ability to pull freely.
Software
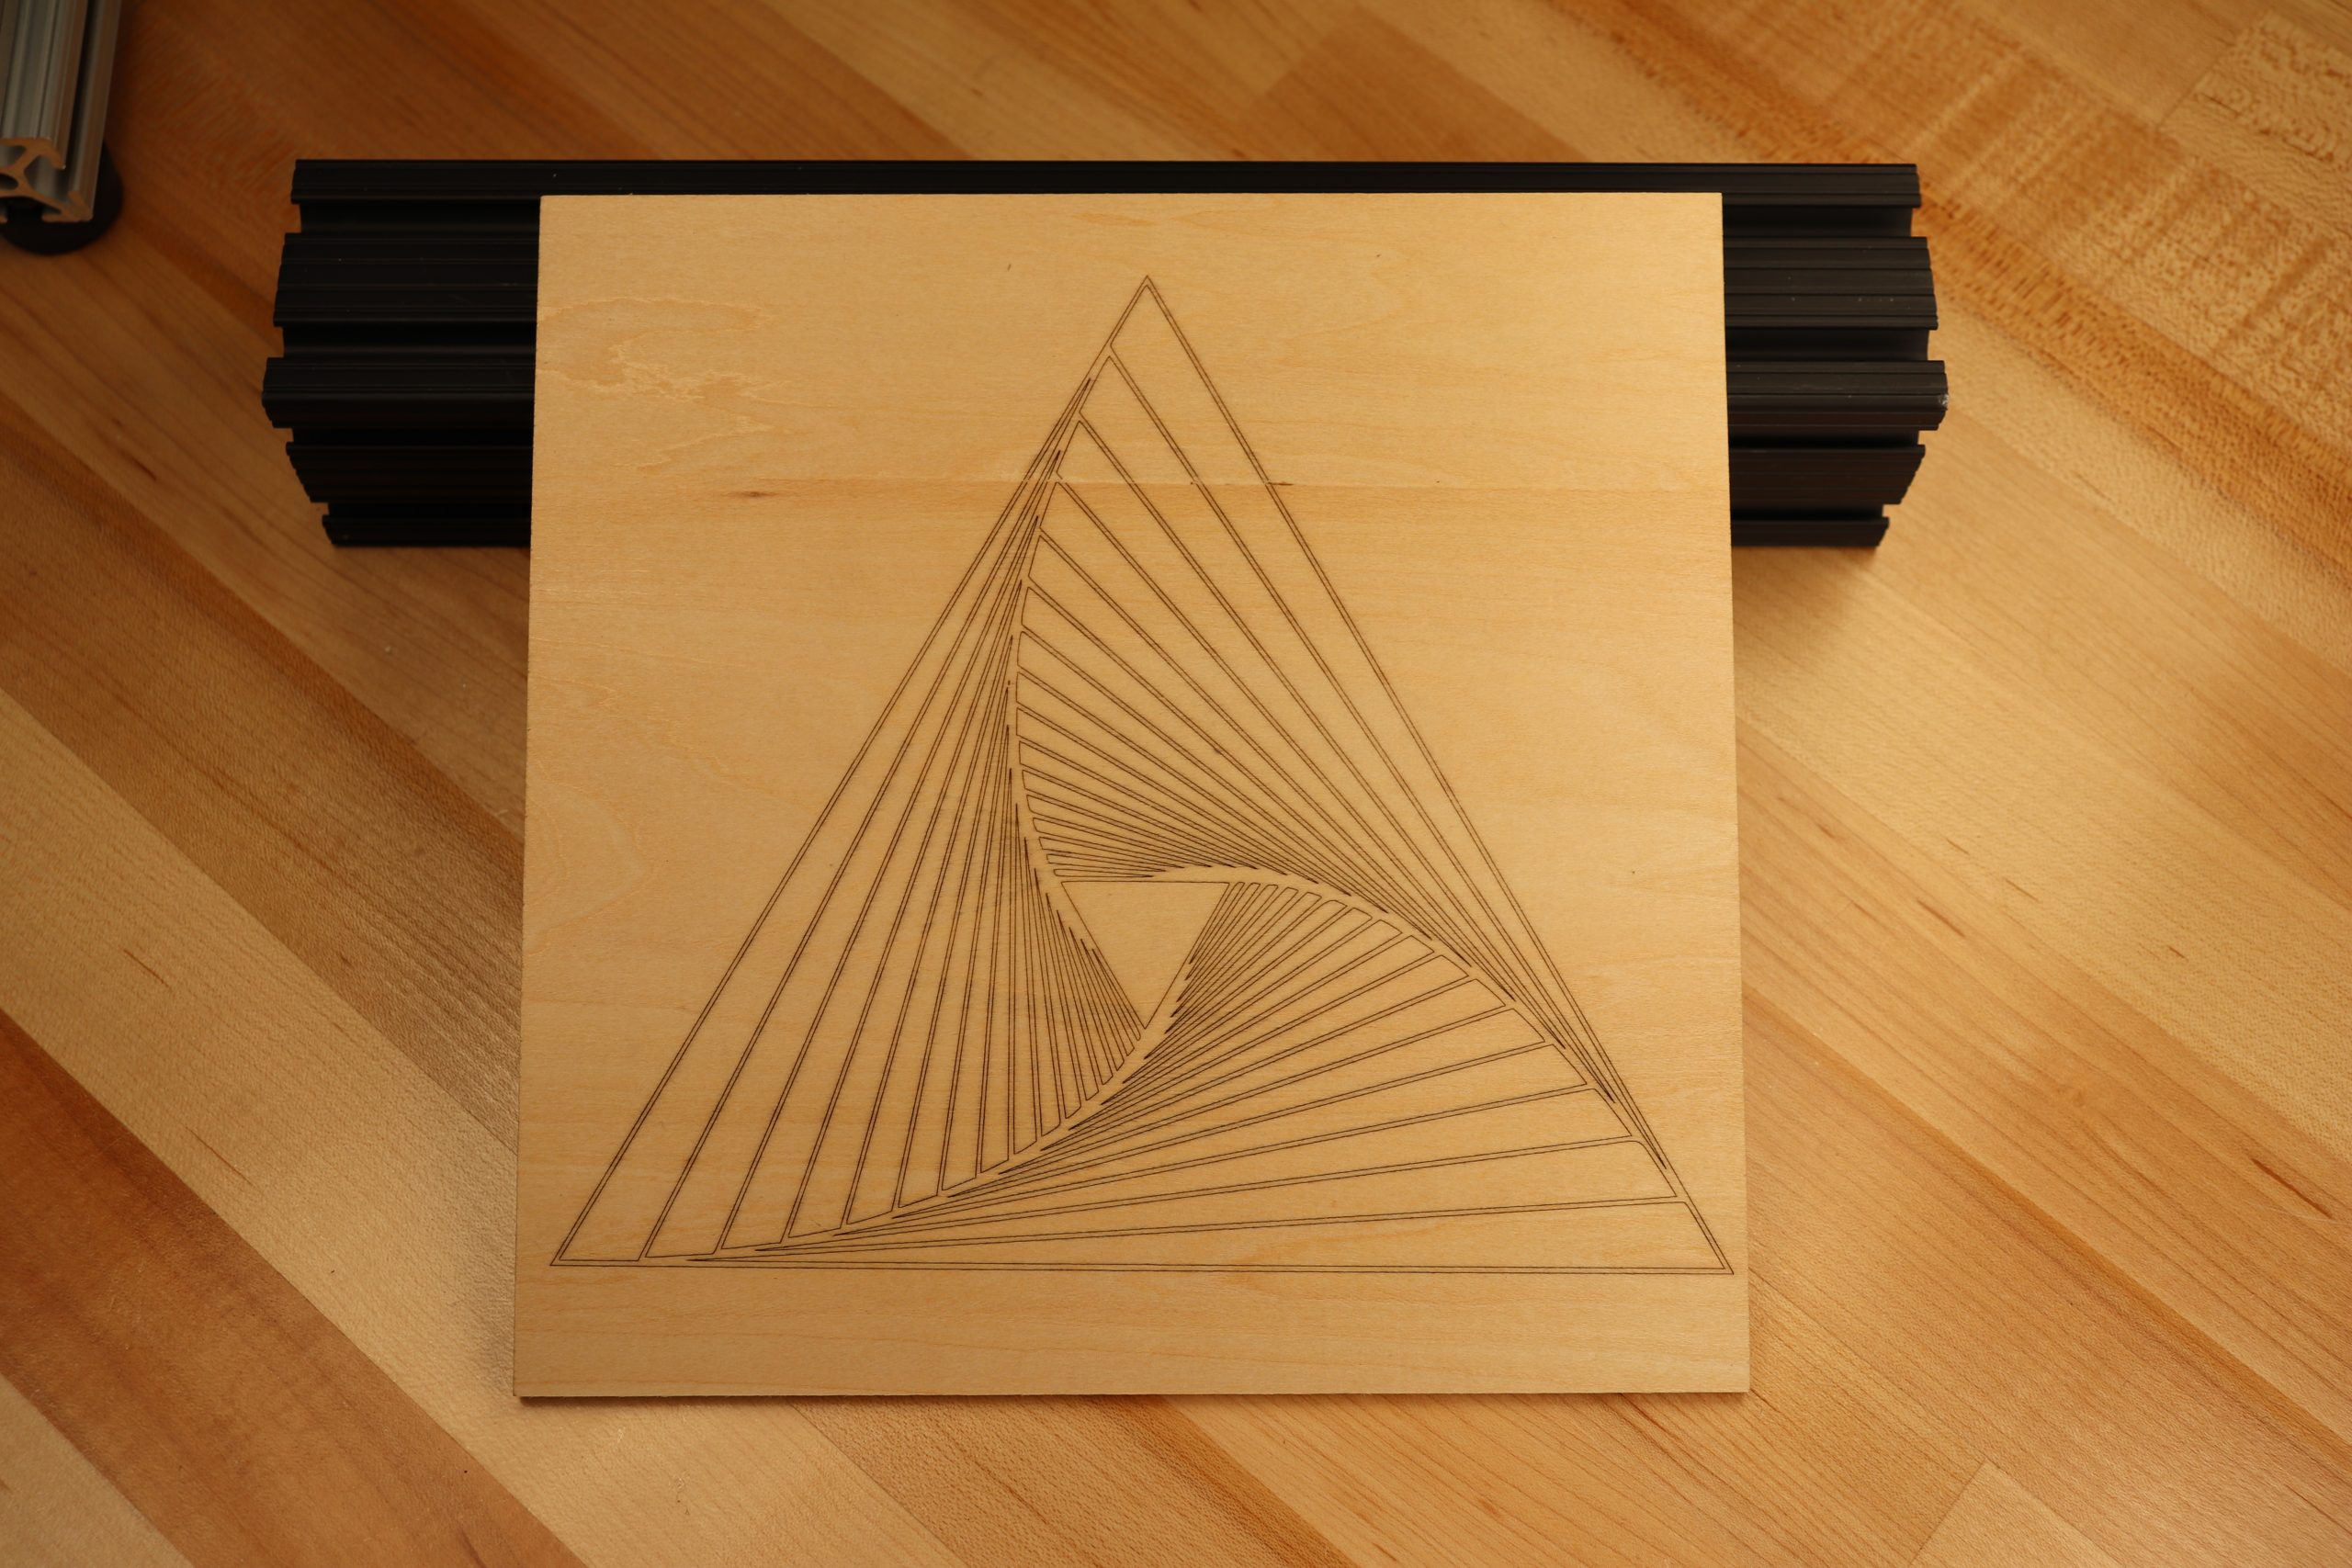
I used Lightburn ($40 version) for all these test jobs. It’s feature rich compared to LaserGRBL but both will work. I like Lightburn because I can create just about much anything inside it. It’s great for cutting or on the fly creation as it allows you to draw, type, scale, etc right in the program.
Summary
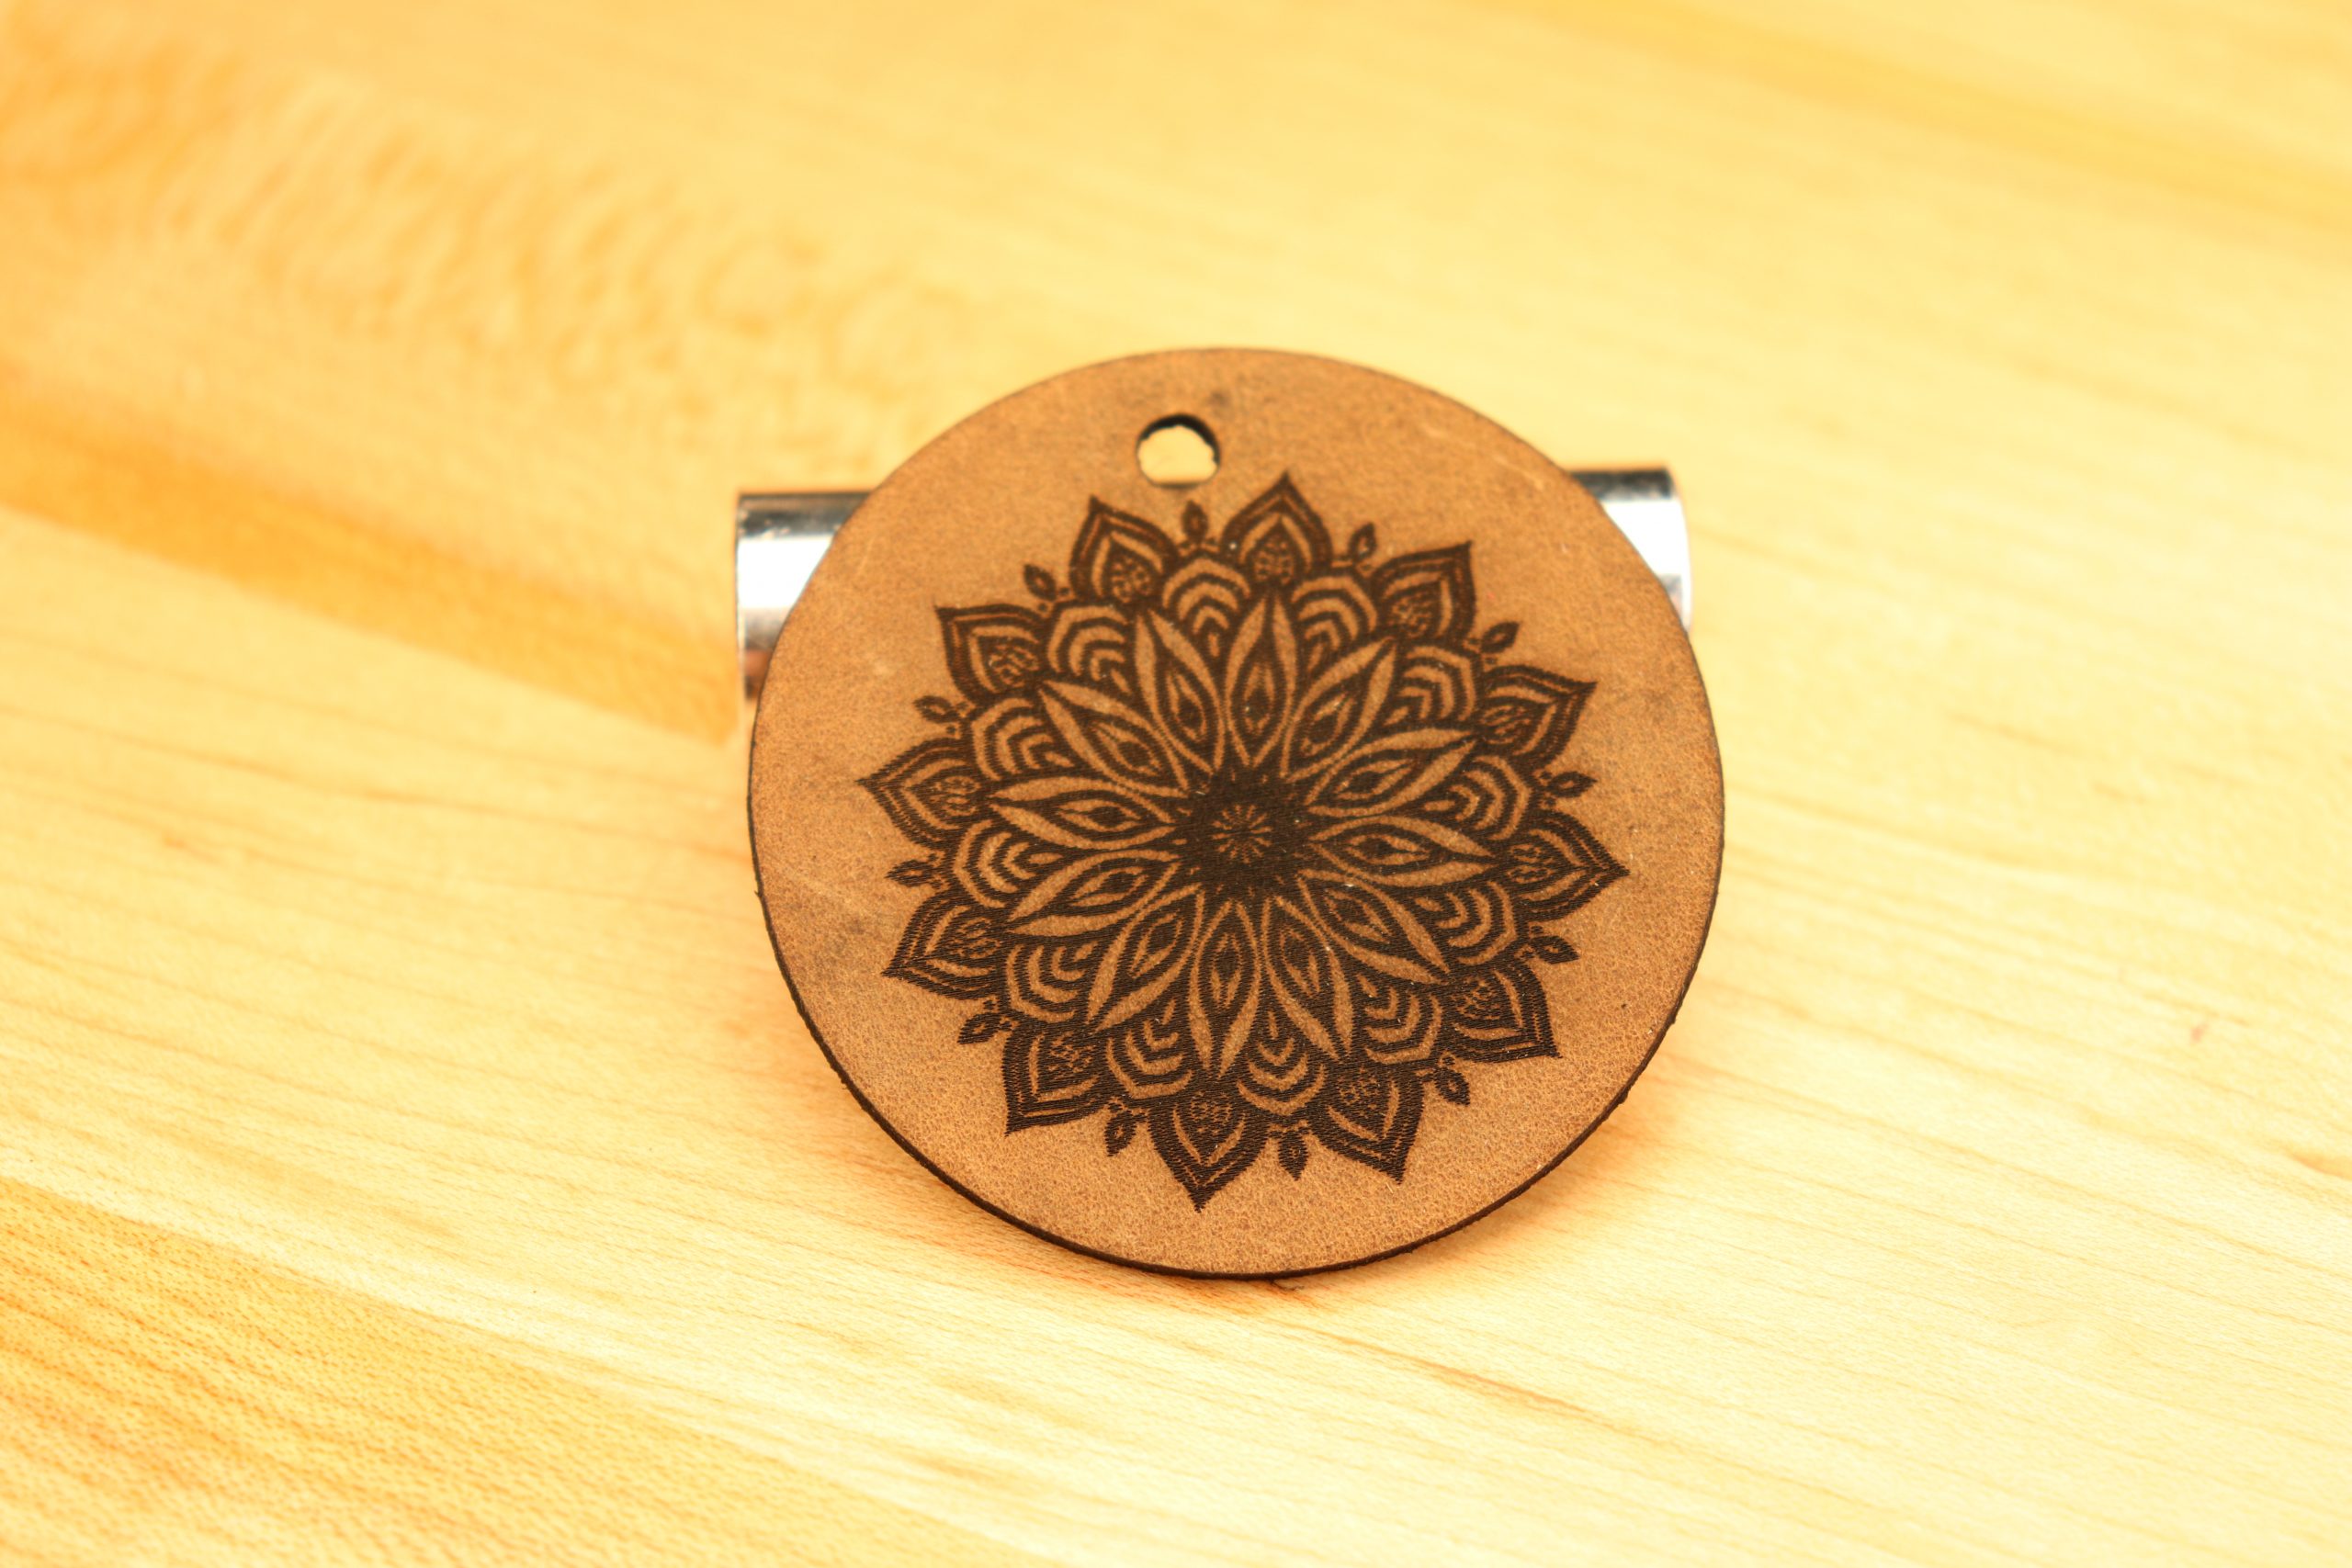
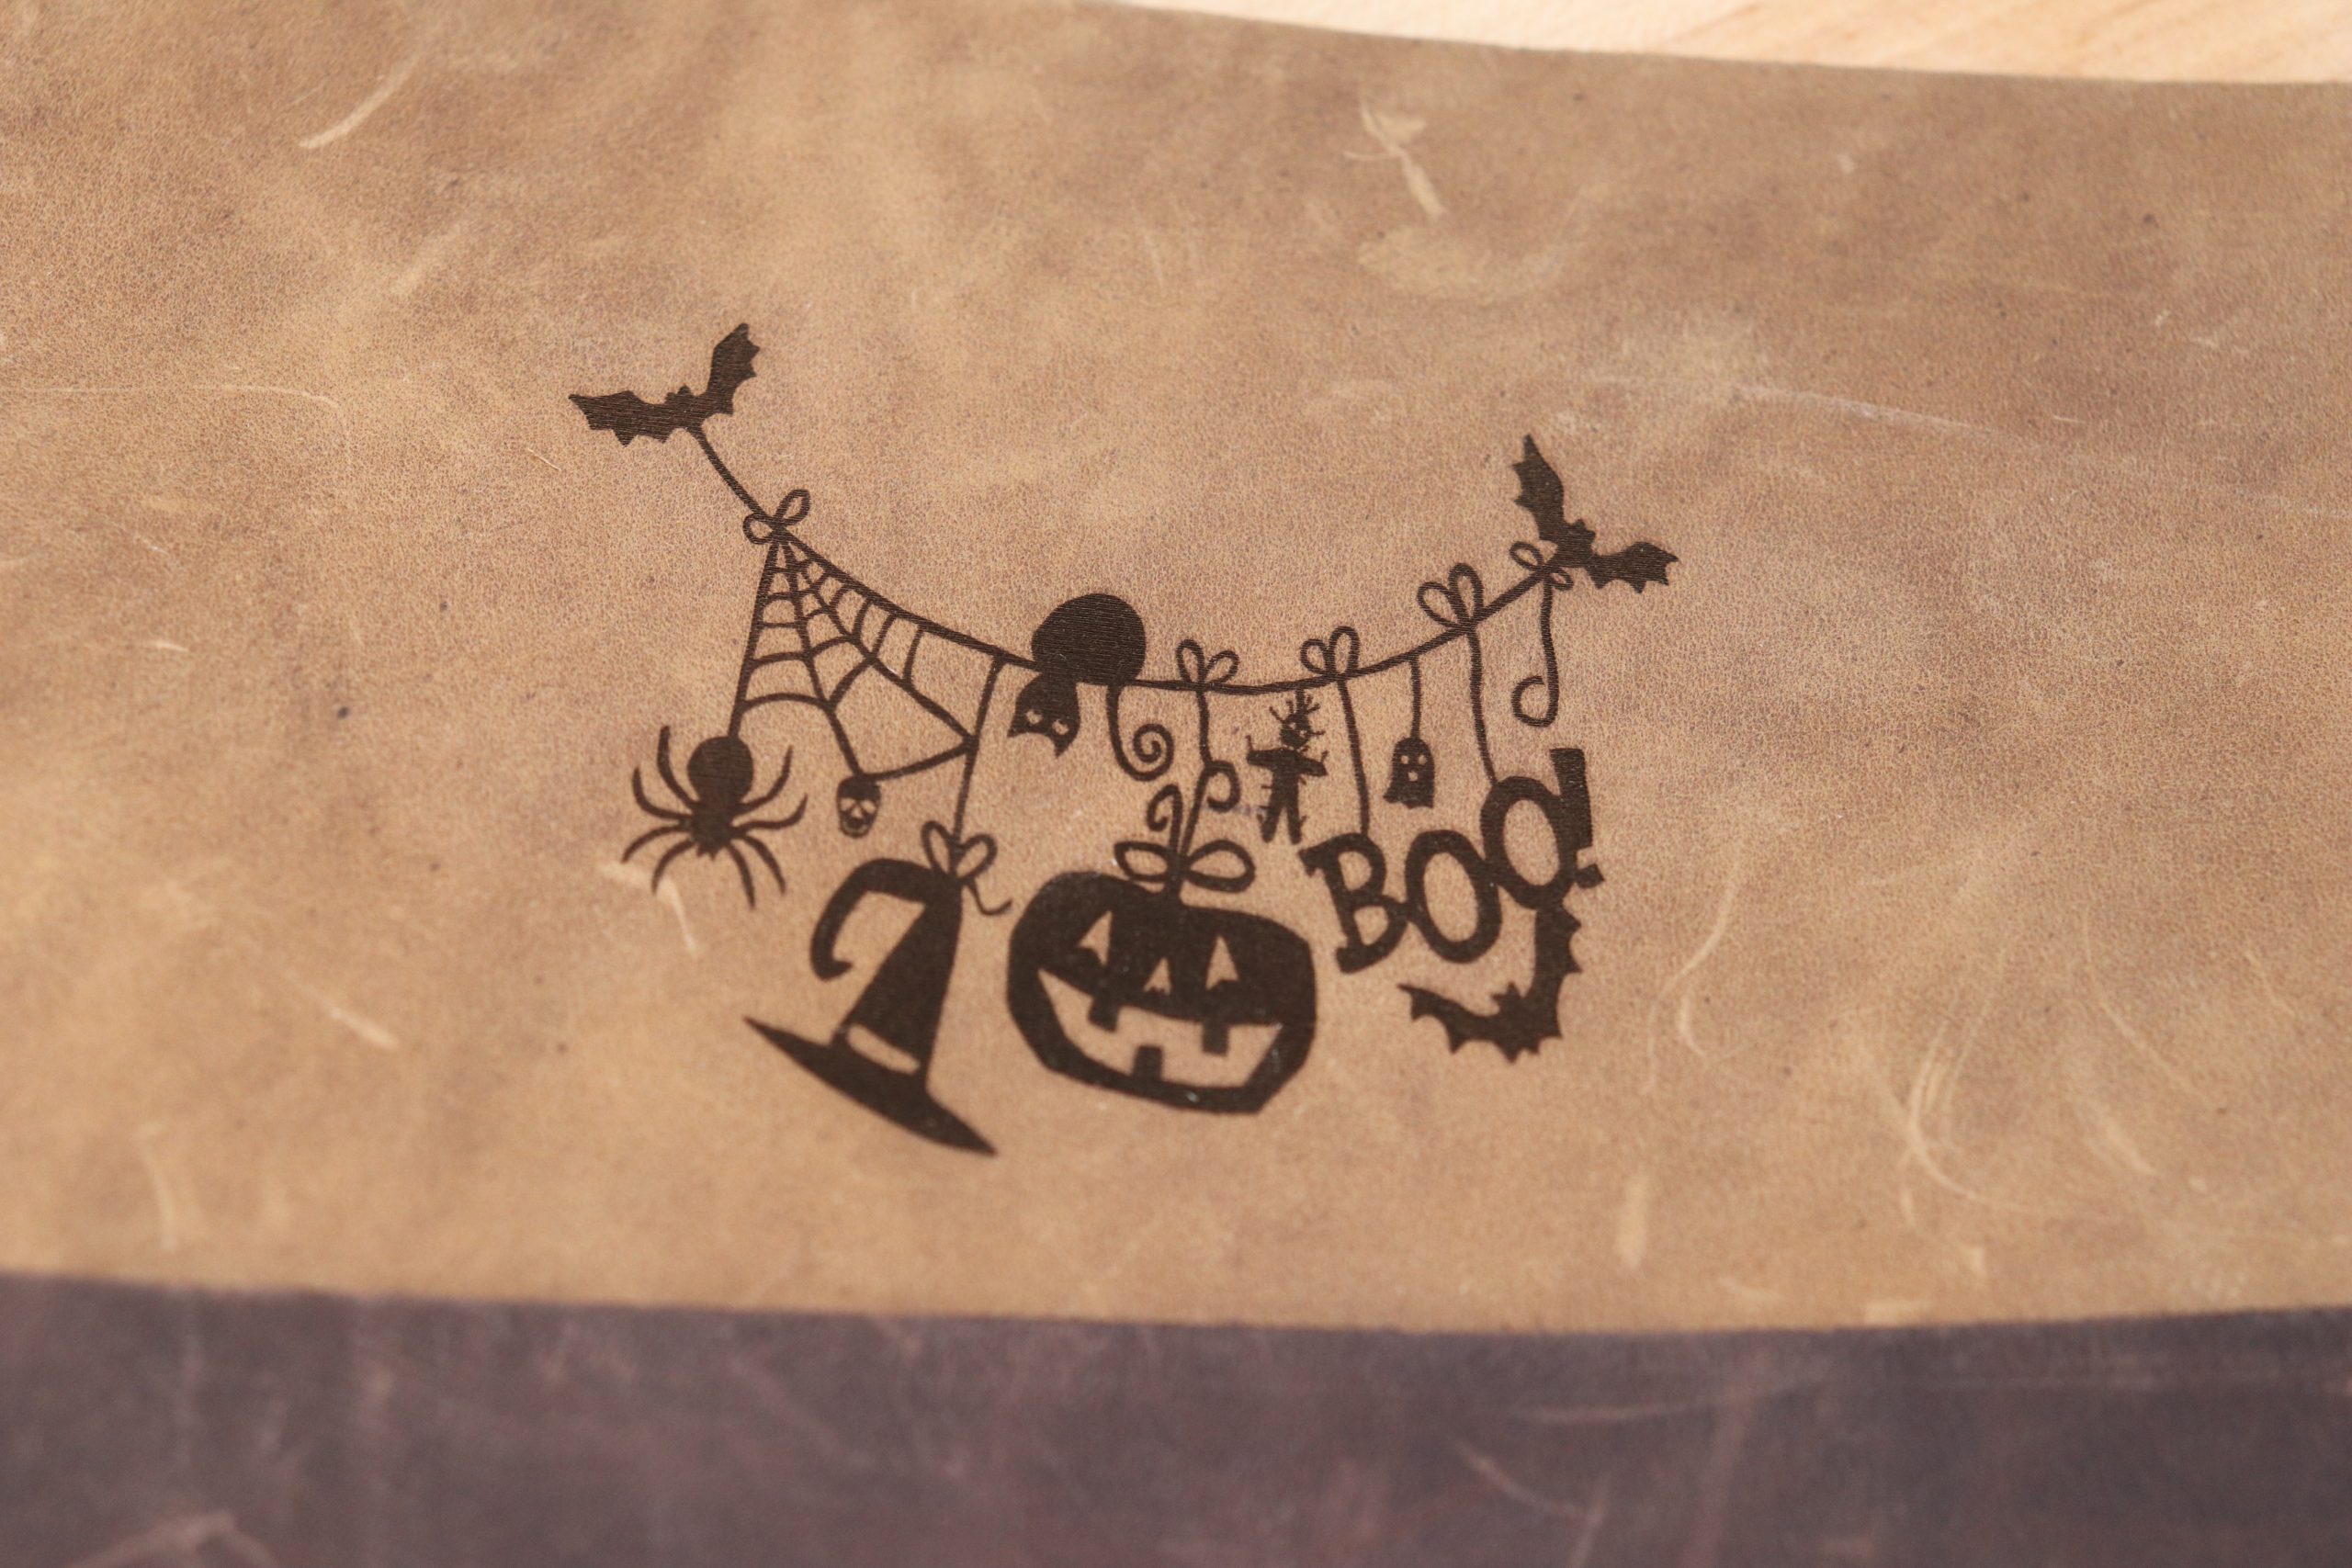
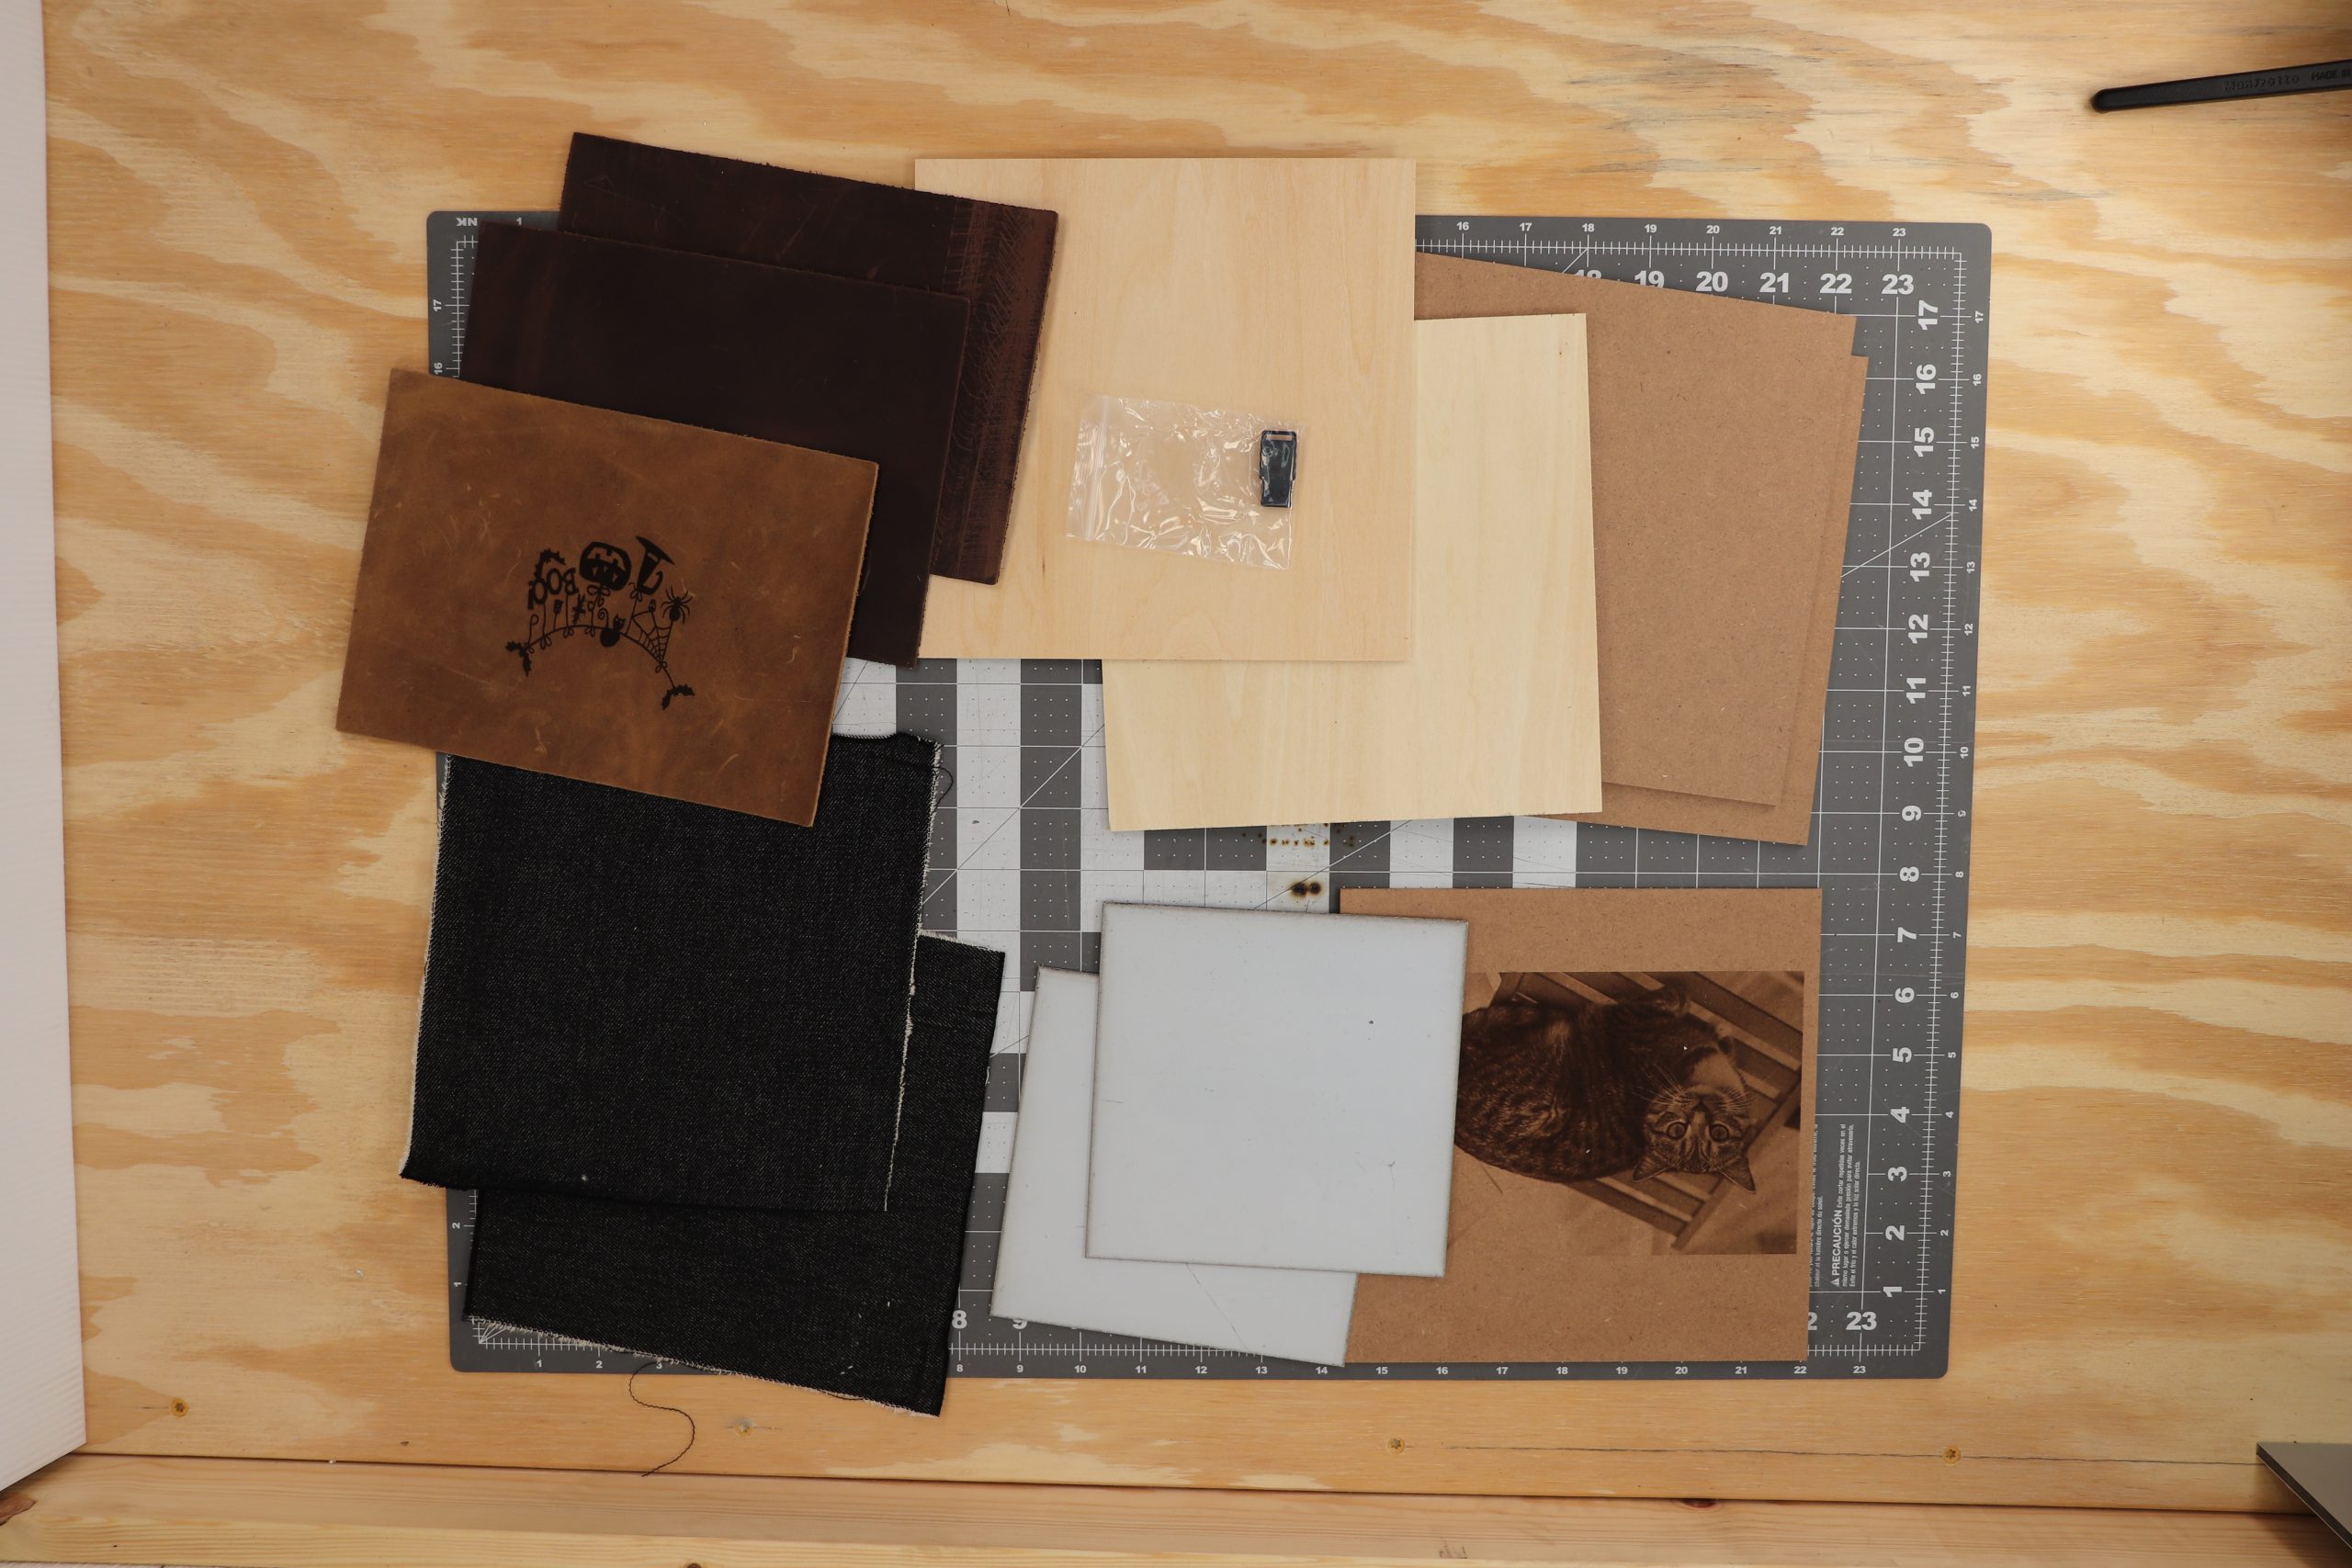
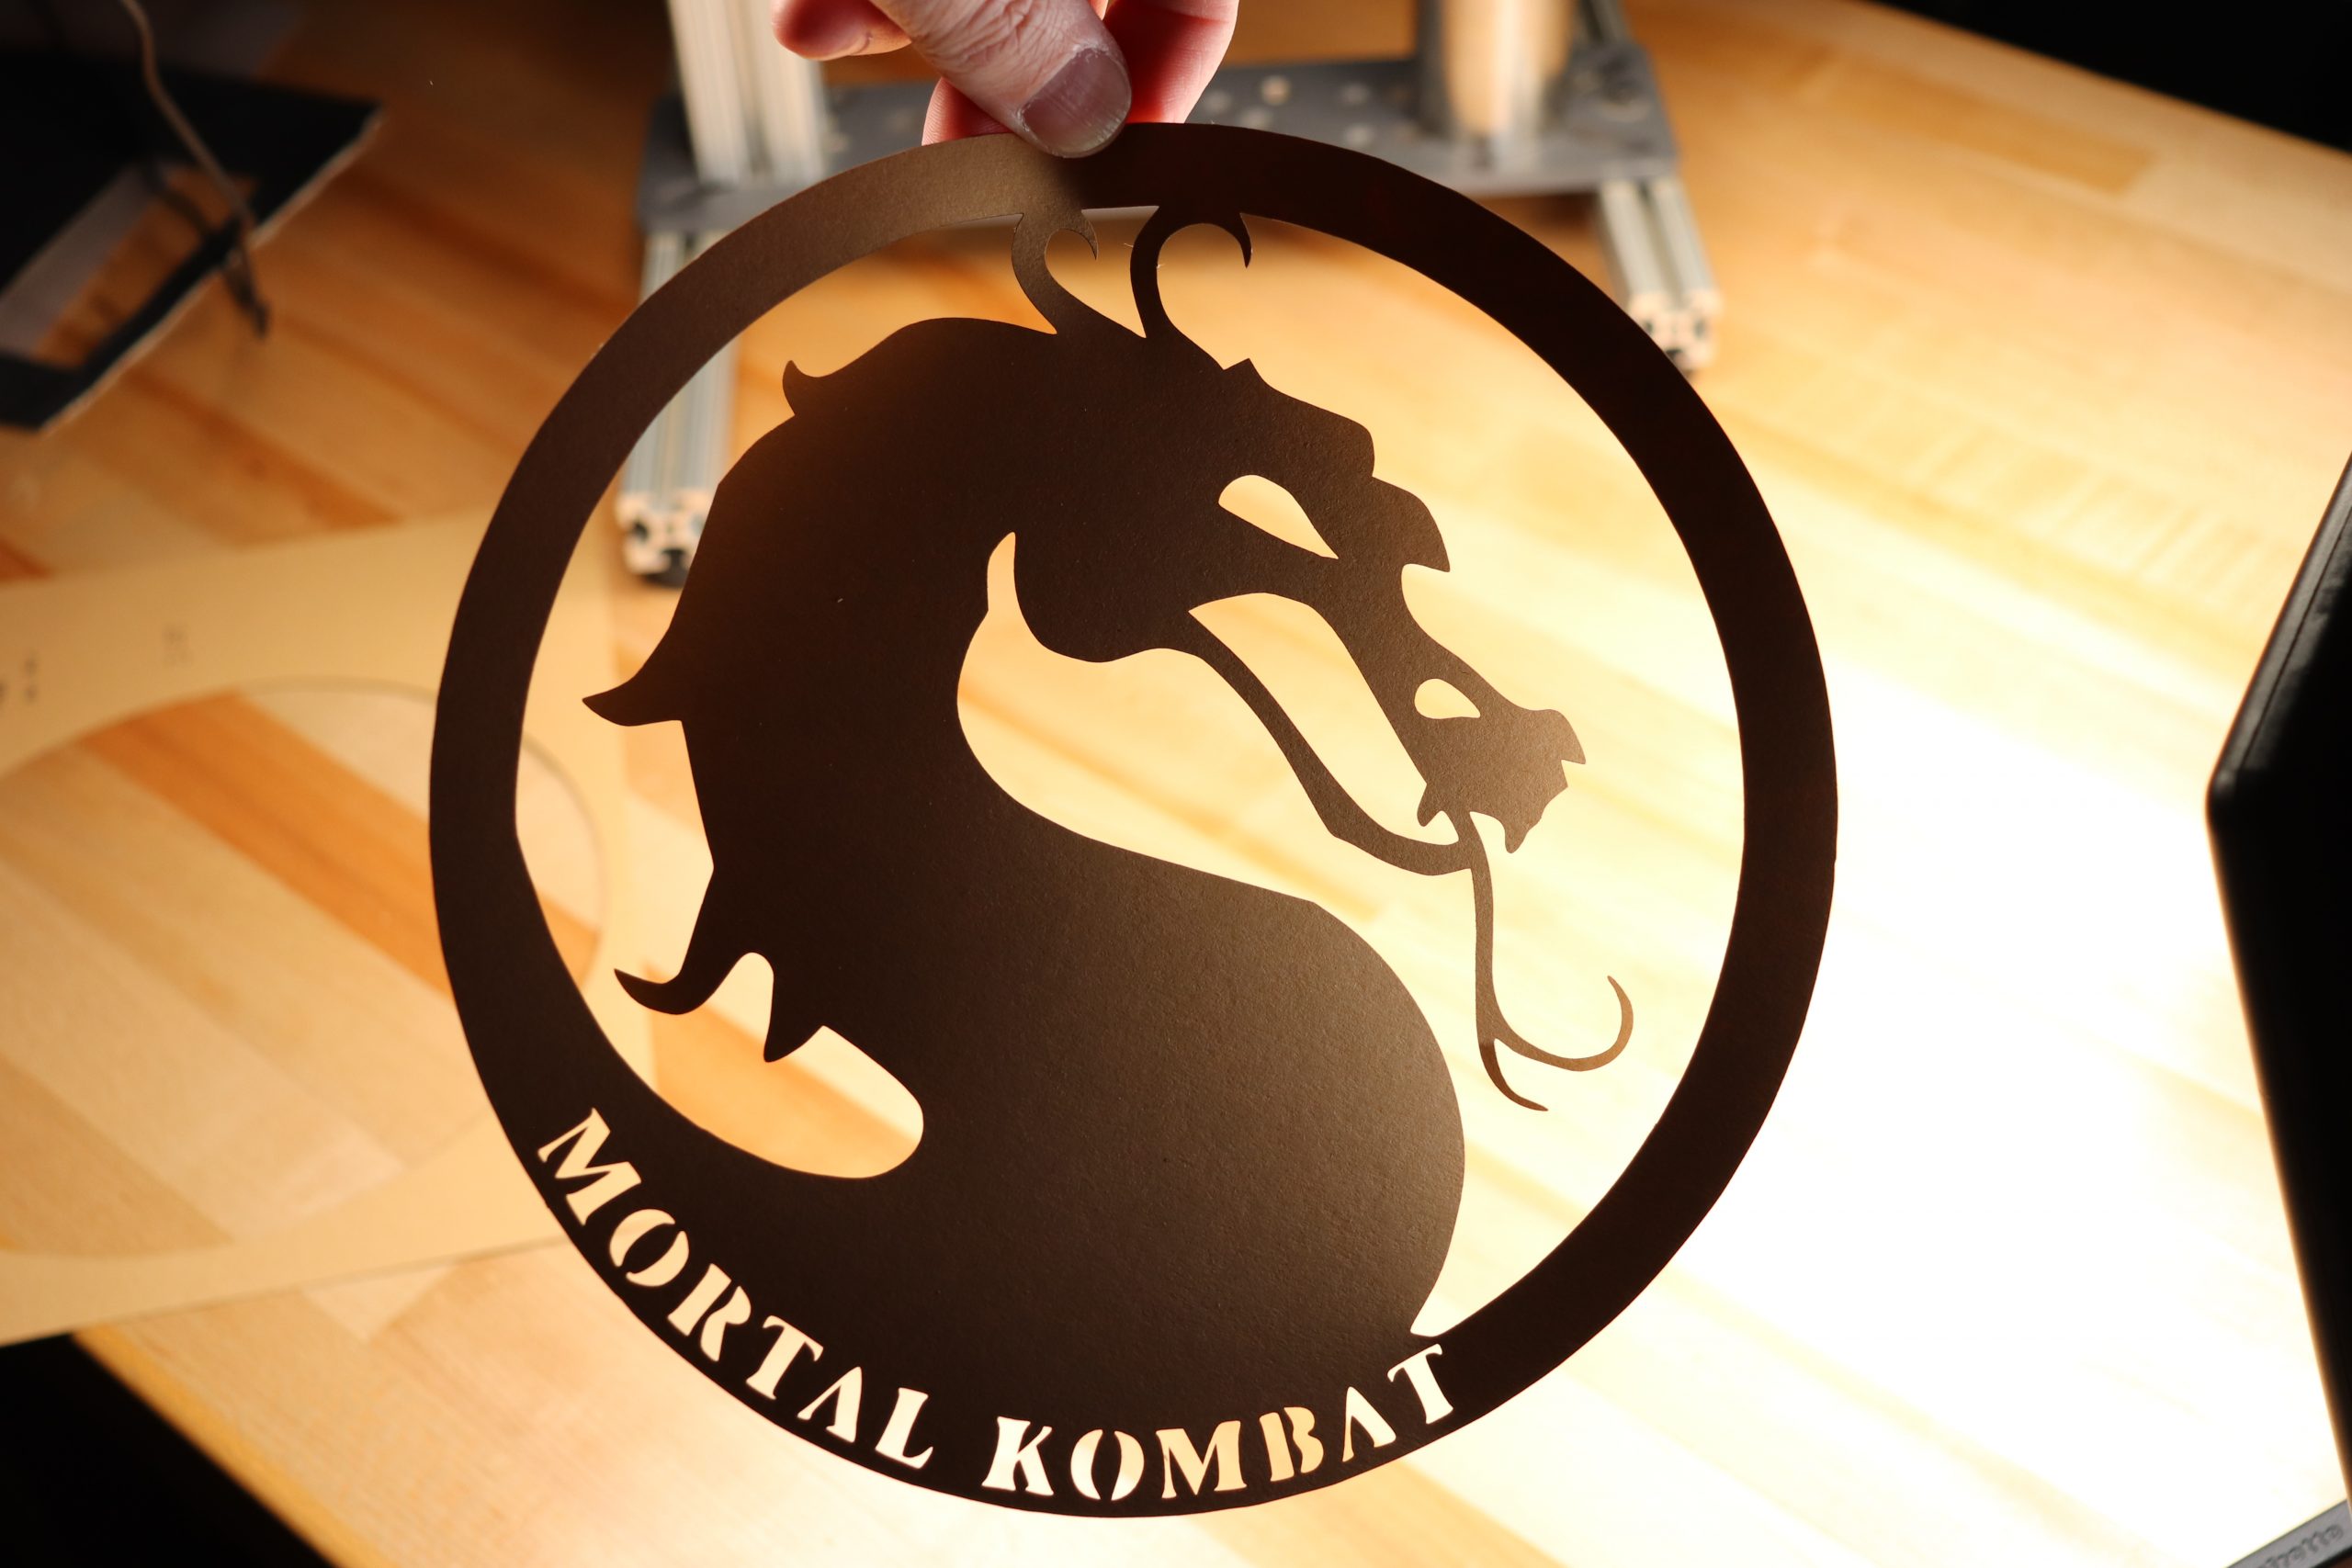
This machine was very easy to assemble and use. The Aufero Laser 2 is a good “Big Brother” to the previously reviewed Aufero Laser 1. The added work area and more stable construction over a cantilever style machine are great upgrades. Be sure to view the pictures below and watch the YouTube video if you haven’t already. As always links are below.
Aufero Laser 2 with long focus head – Laser Engraver HERE: https://s.zbanx.com/r/yN9Cjn7whsRU
Aufero Laser 2 Website: https://ortur.net/collections/laser-engraving-machine/products/aufero-laser-2
HAYEAR 26MP HDMI Digital Microscope https://bit.ly/3G20Owk
TWO TREES® Totem S Engraving Machine Honeycomb Working Table https://bit.ly/3ACK2D1
Software:
LaserGRBL Software (free) https://lasergrbl.com/download/
LightBurn Software (free trial/$40 to buy) https://lightburnsoftware.com/
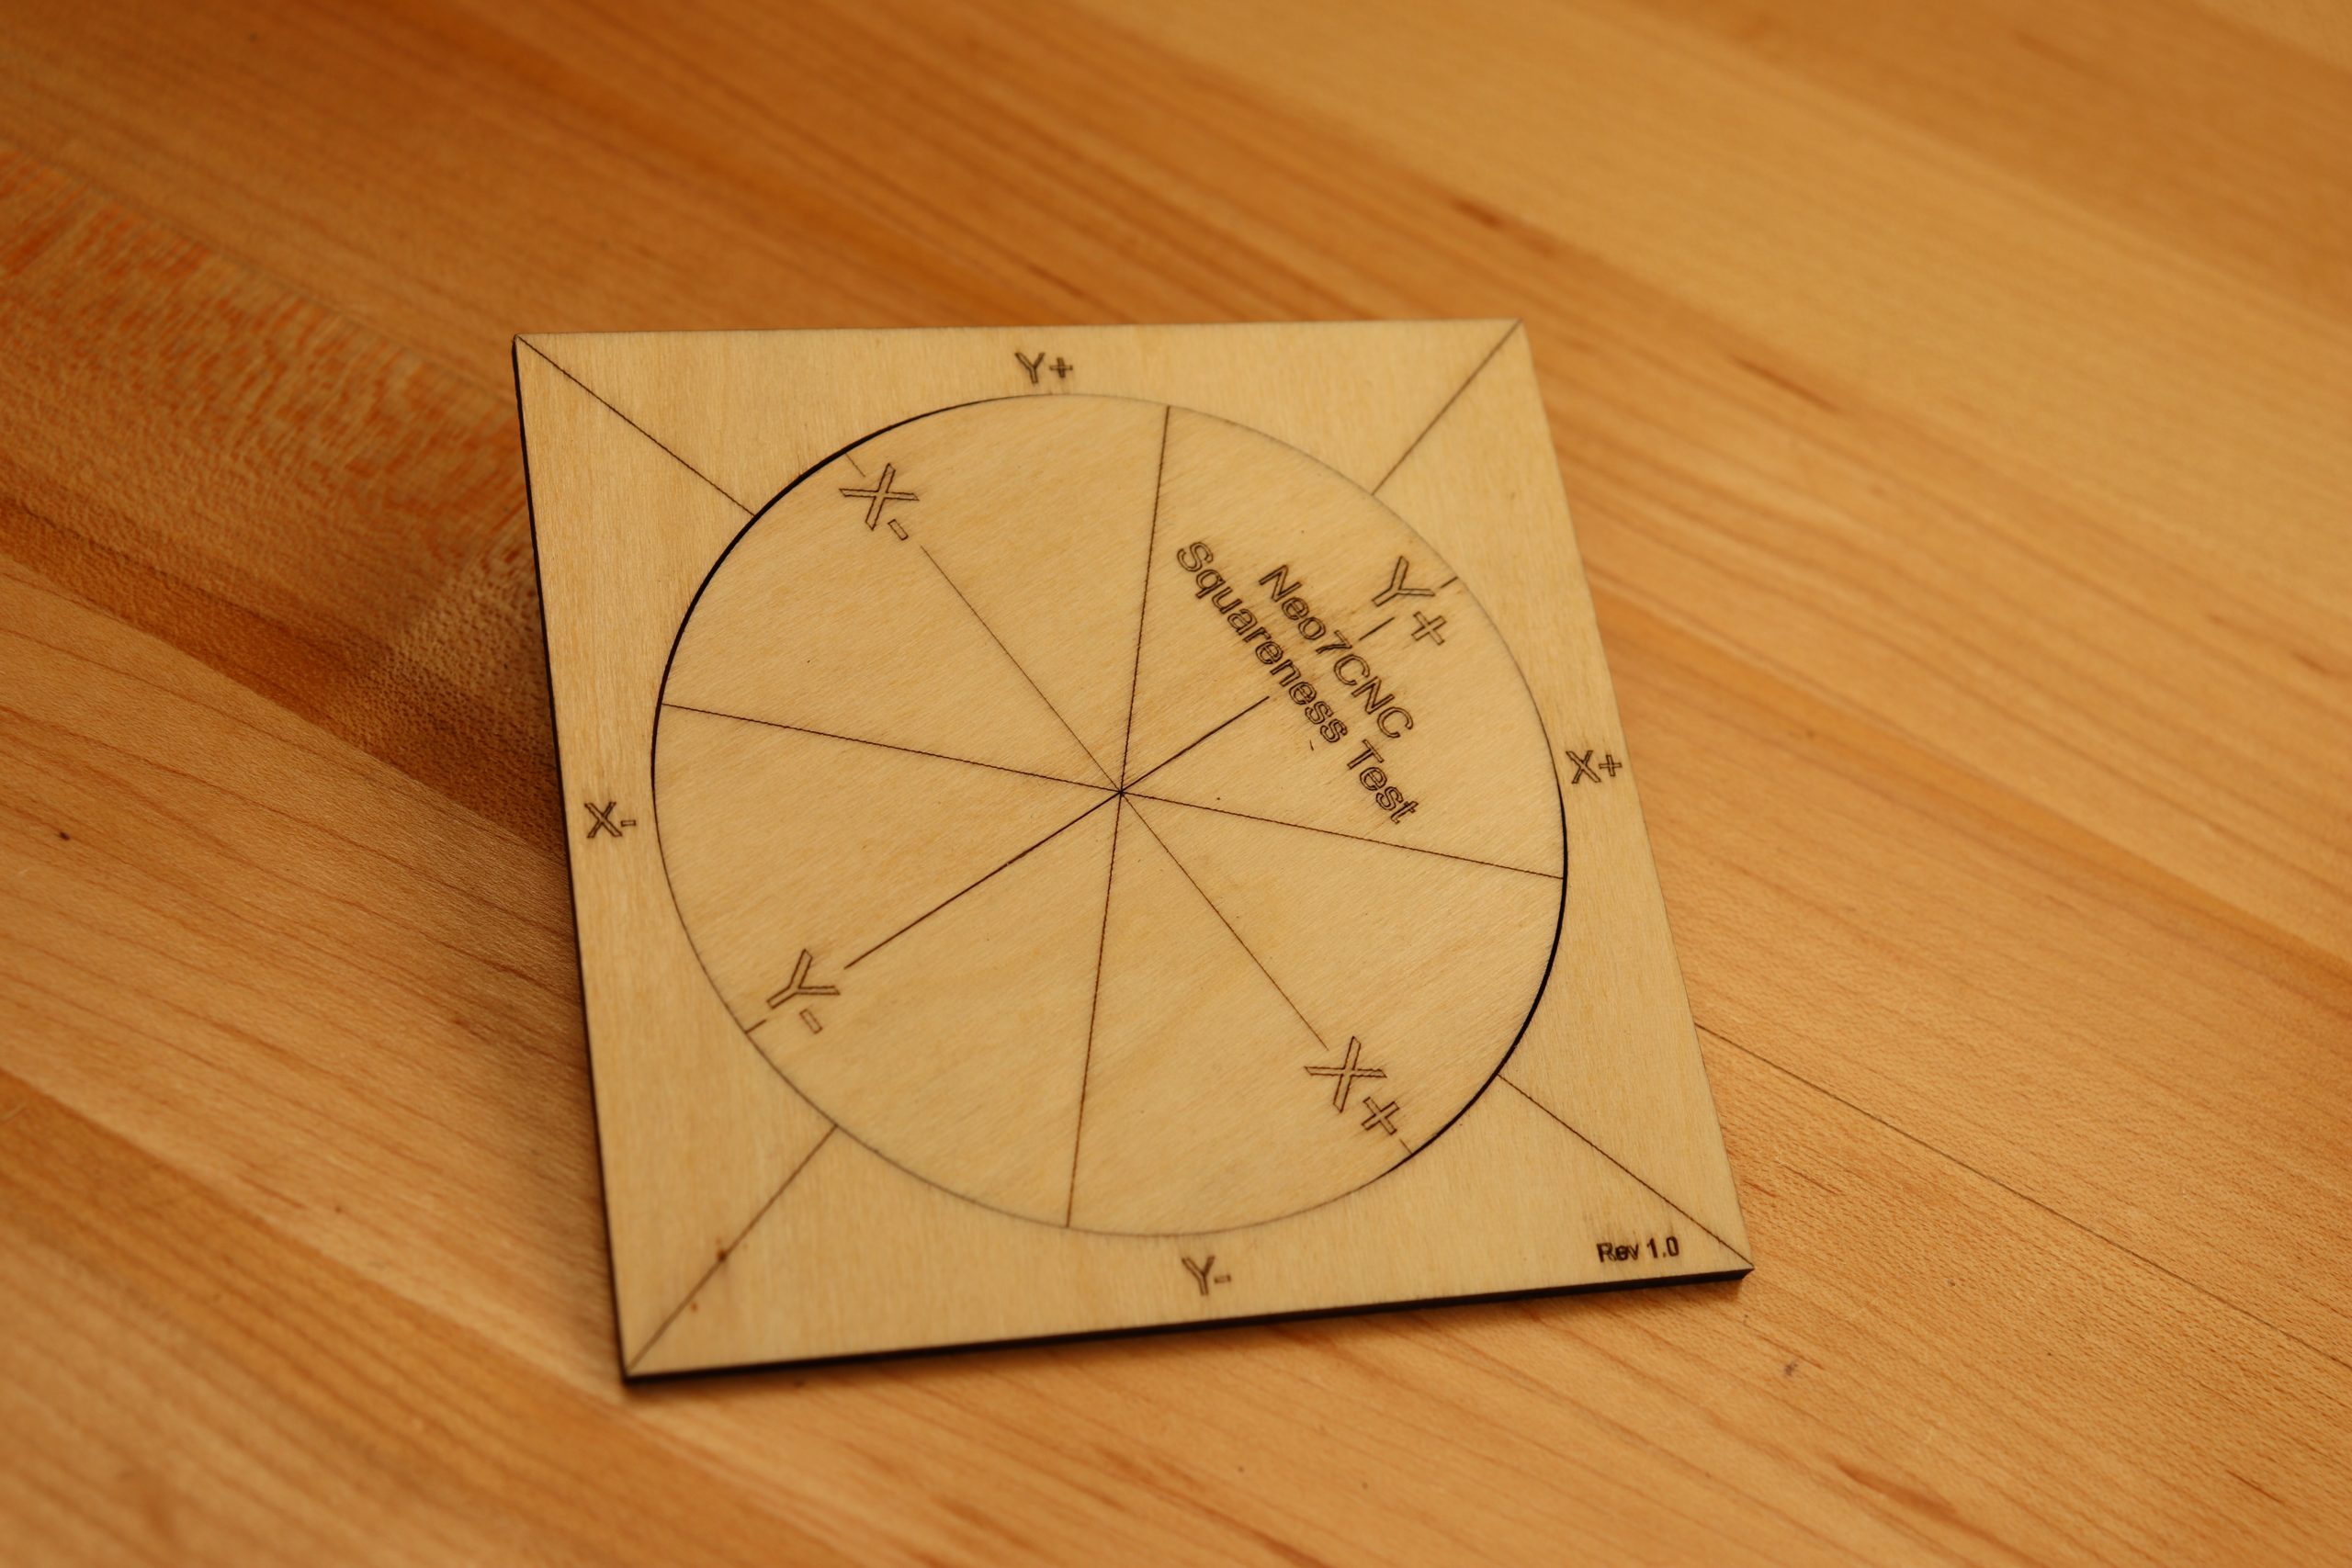
Download the Neo7CNC Squareness Test LightBurn File HERE
Addition items used in the video:
Stainless steel tumbler – https://amzn.to/3gwJoO4
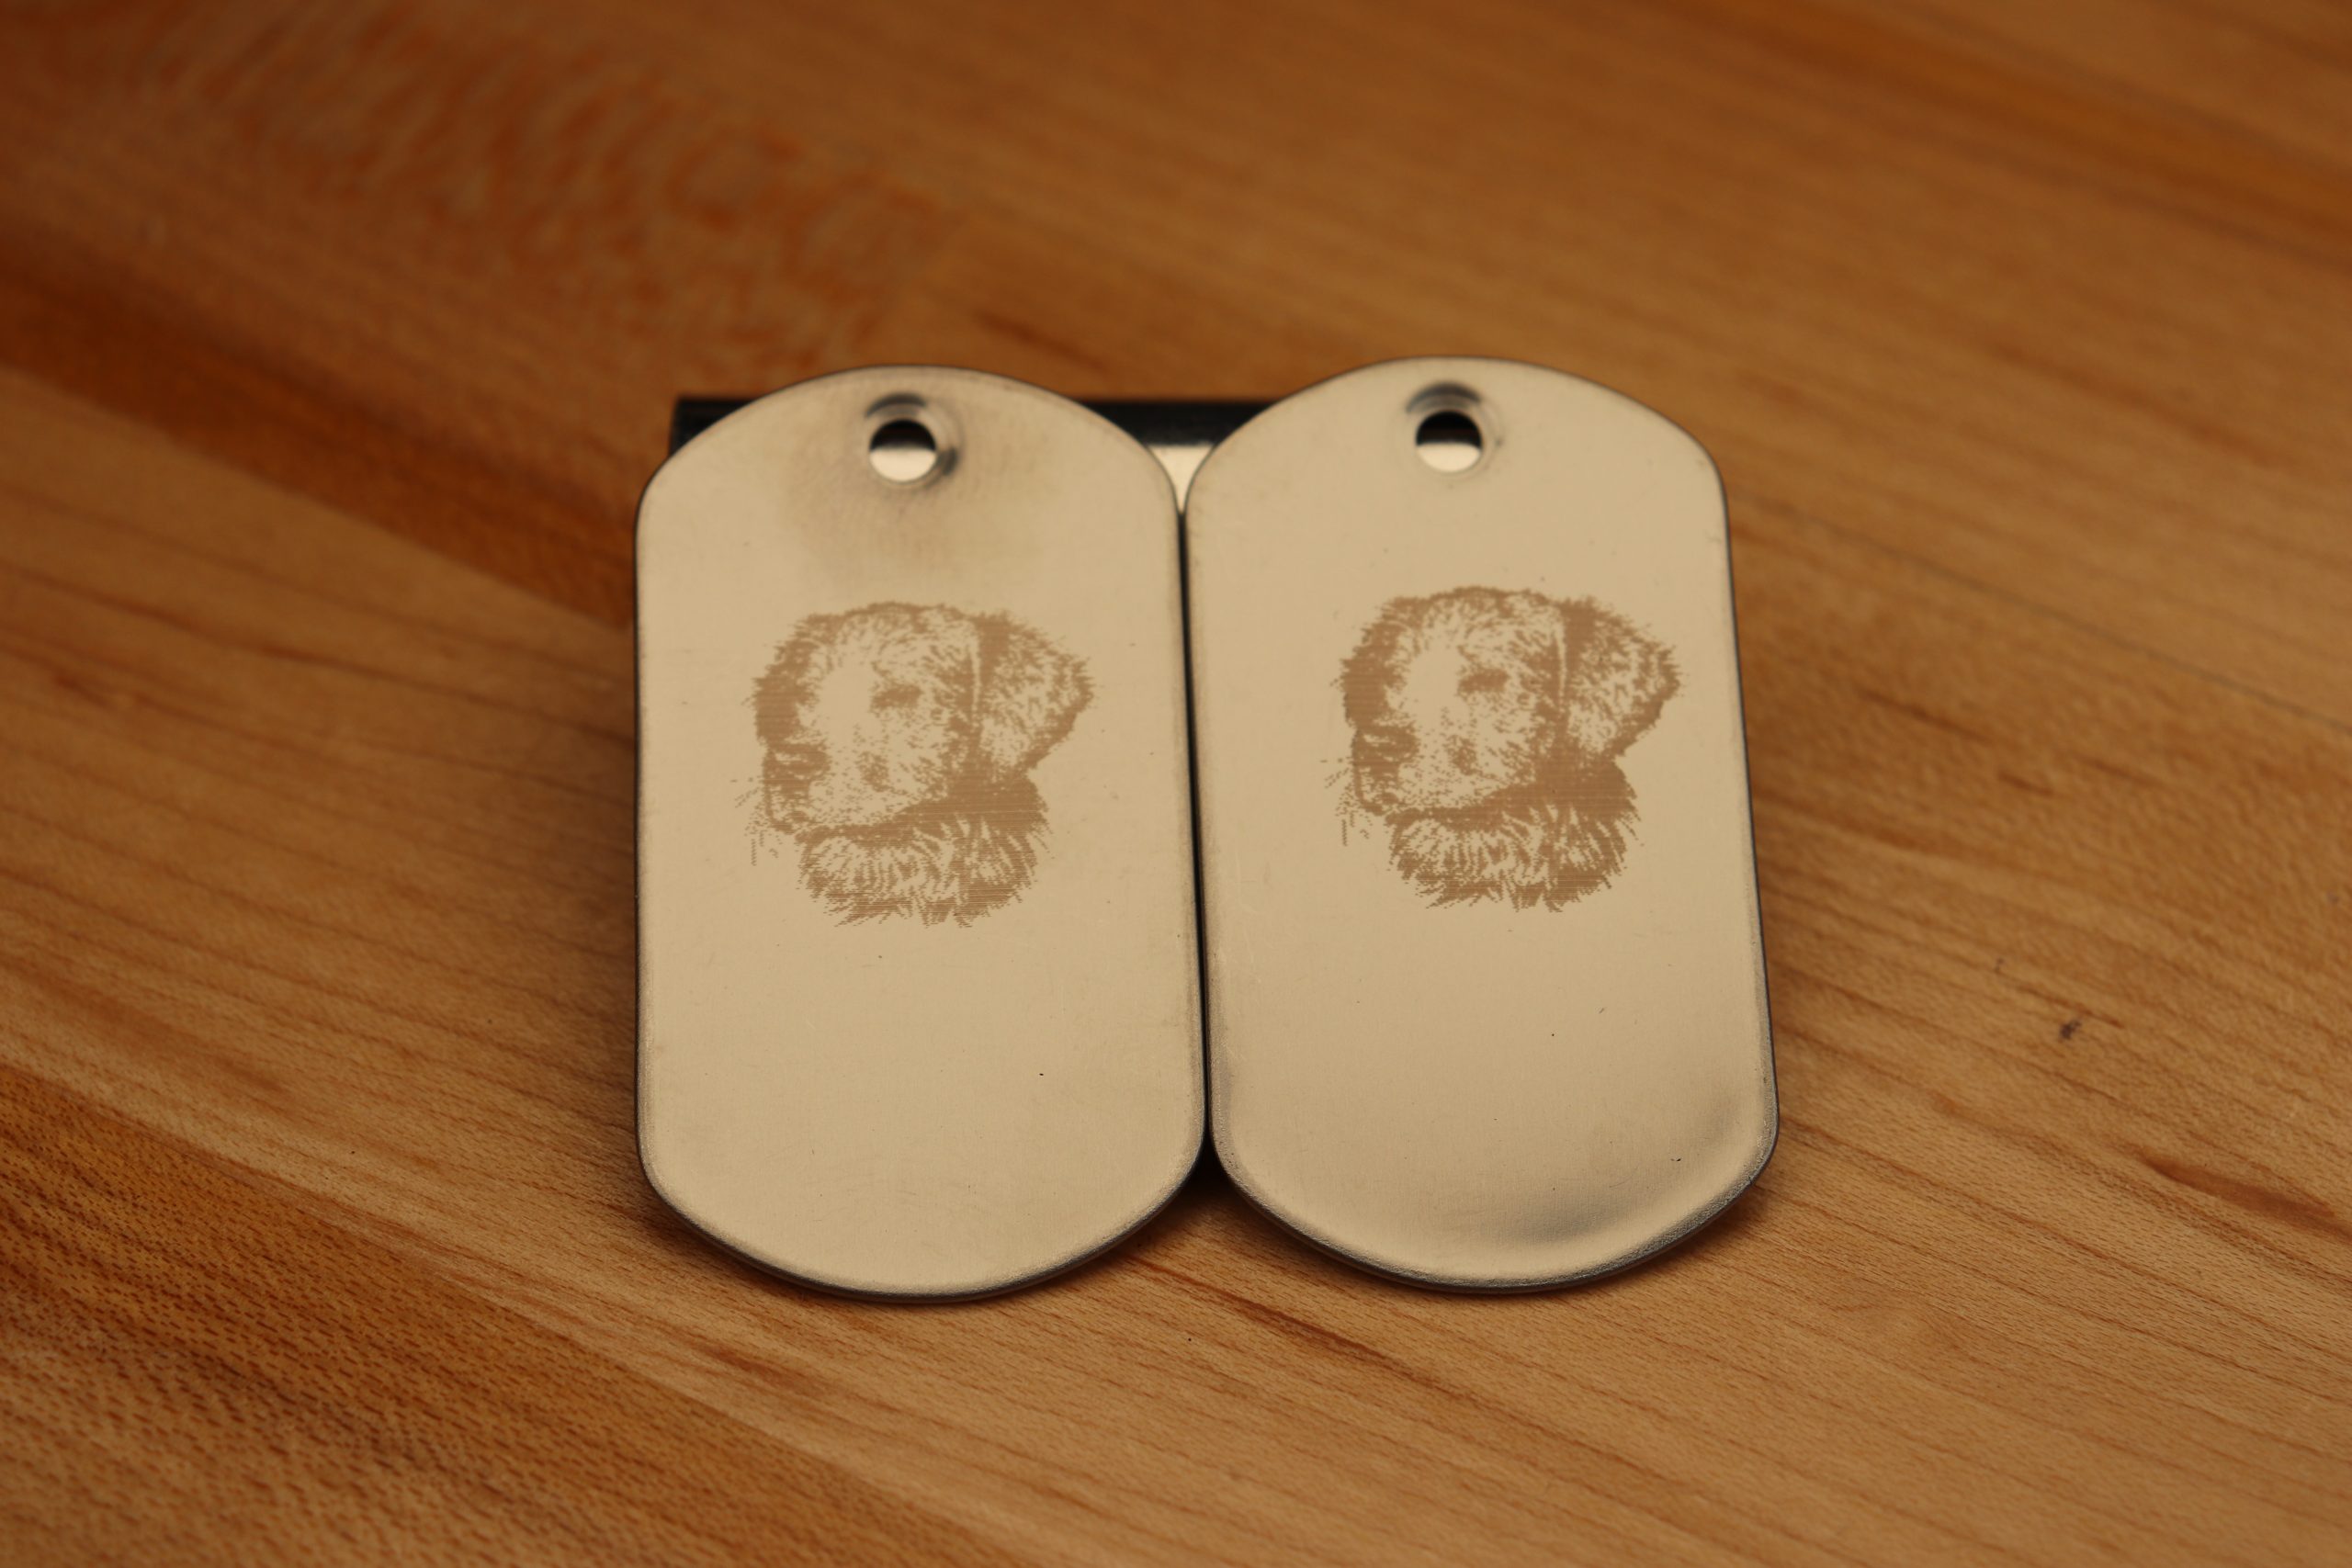
Stainless steel military style dog tags (qty 100) – https://amzn.to/3B7fVDY
Slate drink coaster set – https://amzn.to/3GQr3GF
Kydex 8×8 Sheet (x2) – https://amzn.to/35SAMzC
Wood squares – https://amzn.to/33RUNBW
Wood 3 inch circles – https://amzn.to/3Ic1vnM
Kraft paper tags – https://amzn.to/3foiLK9
Painted aluminum business card blanks – https://amzn.to/3yj6q2E
Stainless steel business card blanks – https://amzn.to/3bAn0RL
Anodized aluminum blank dog tags – 10 pack – https://amzn.to/33h8HAg
To create you own fume extraction system
6″ inline blower – https://amzn.to/3ftxCmu
6″ duct kit – https://amzn.to/3eWjVh0
6″ flange – https://amzn.to/33UlbuG
6″ blast gate – https://amzn.to/3hyPNKs
Like my He He He T-shirt? Find it and many more here – https://bit.ly/3HHEb25
Support the channel: – PayPal https://www.paypal.me/neo7cnc


