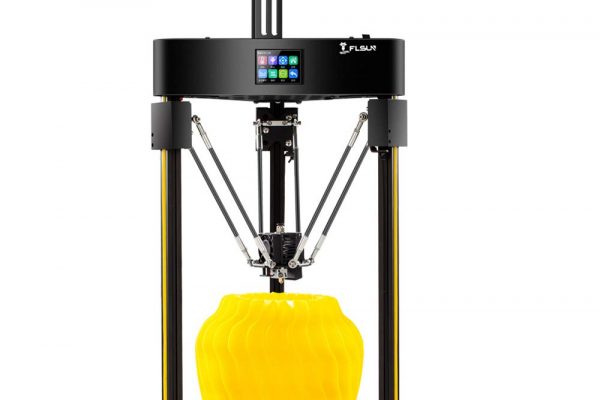
Hekka.com reached back out to me to see if I was interested in reviewing another 3D printer. This time they wanted me to take the Flsun Q5 for a spin. I was curious to take a look at a new delta style 3d printer since it has been many… many years since I reviewed the very large, Tevo Little Monster.
Packaging
As usual from Hekka, the printer arrived extremely well packed in a large, sturdy box. The custom foam packaging kept the Flsun Q5 well protected during shipping so there was no damage.
Assembly
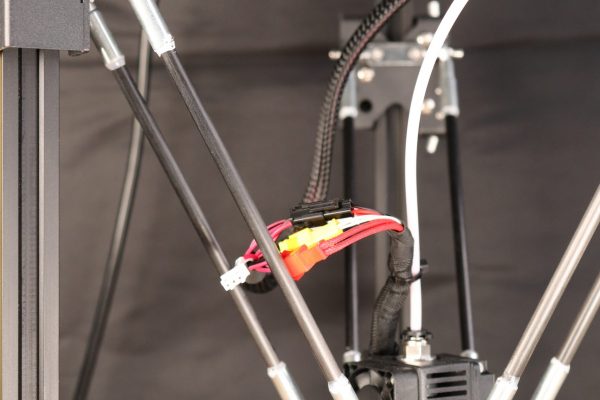
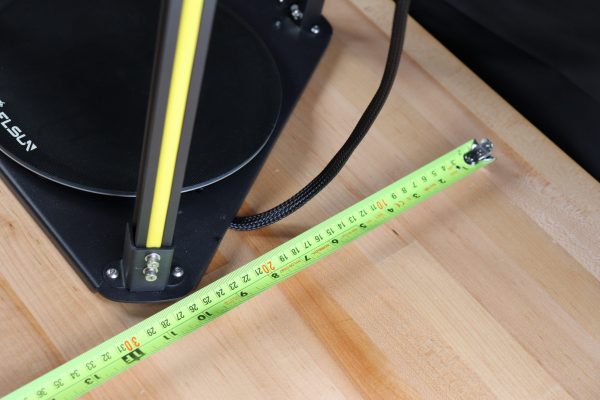
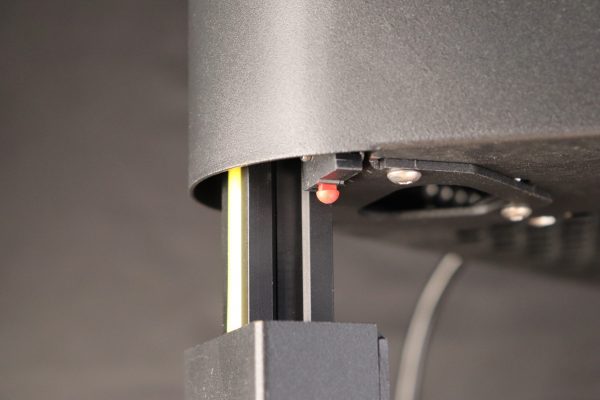
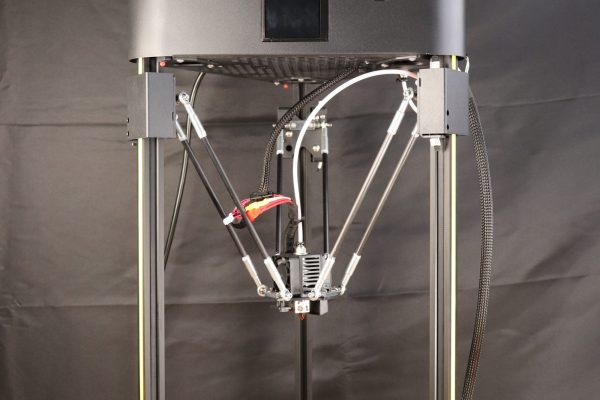
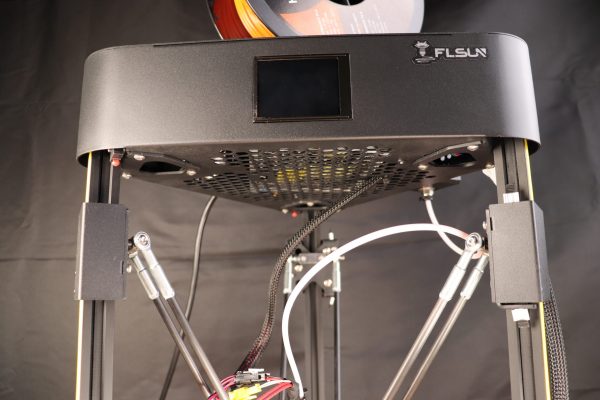
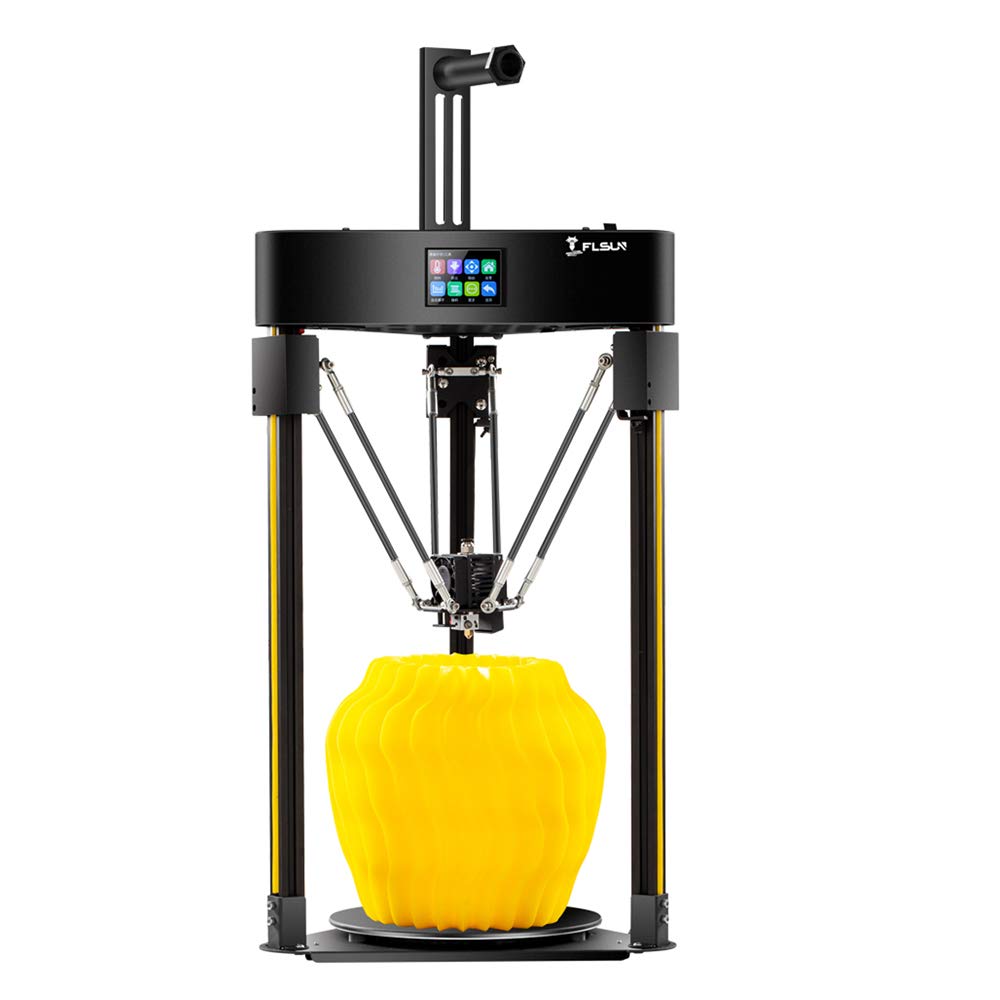
Assembly was easy, straightforward and rather intuitive if I can say that. The manual had all the instructions I needed to assemble the printer without me having to look it up on the Internet, which was nice. It took me about 15 minutes to assembled. The Flsun Q5 is in 7 main components. Those are the bed, top with power supply and controller, spool holder, the 3 linear actuators (legs) and the hot end. There was only one type of screw for the main components so that made assembly very easy. The parallel linkage arm were also easy to assemble with their own socket head cap screws. If you get this printer be sure to verify the power supply switch position to make sure it is set correctly for your area, US or 220. There are several areas in the manual and on the printer itself that remind you of this. Everything goes together well. All the tools you need are included which is very helpful.
Features of the Flsun Q5 3d printer
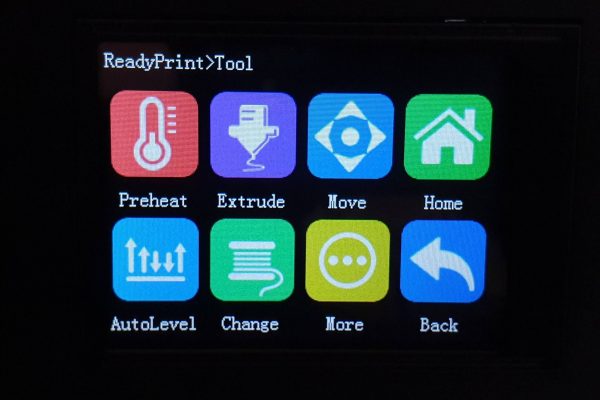
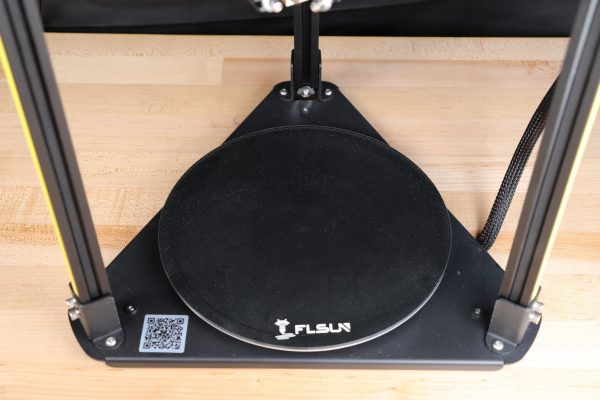
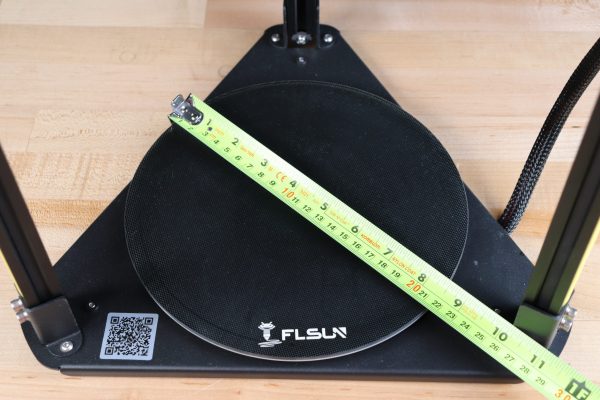
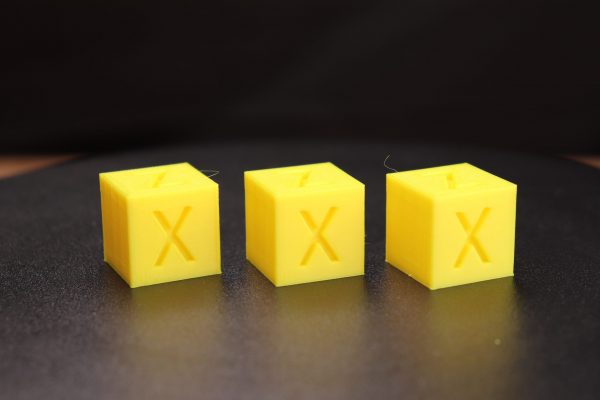
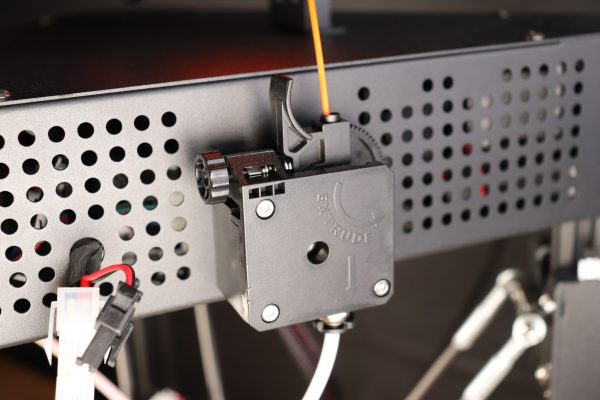
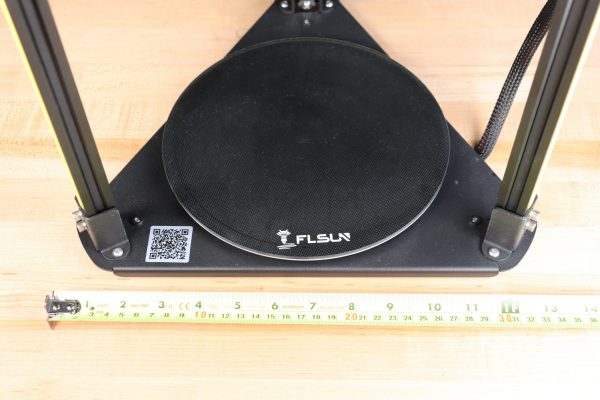
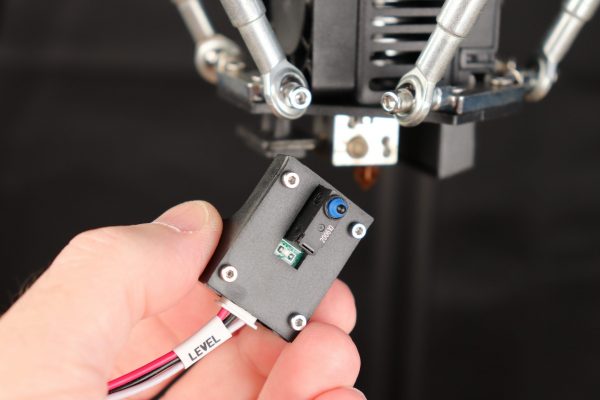
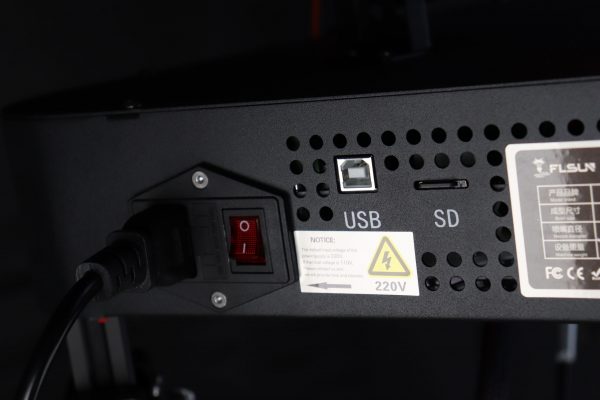
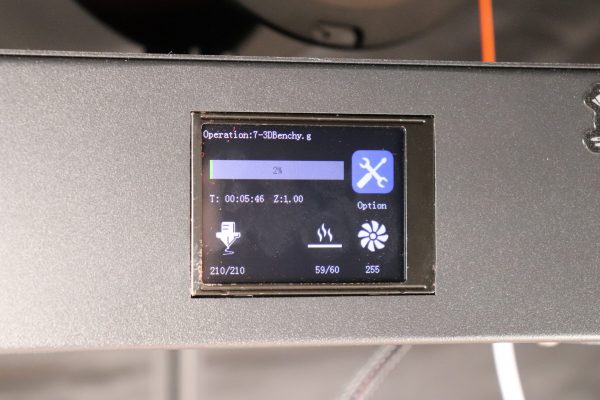
The Q5 has a heated bed that has a great texture. It did a fantastic job of holding on to the PLA prints I did for testing. I did have one 24hr print that failed. I’m not 100% sure why but air condition creating a draft and the bed needing to be cleaned with alcohol were contributing factors. I made a wall out of plastic to keep as much heat in as I could and cleaned the bed with an alcohol soaked cotton ball. After that I didn’t have a failure. The Q5 have a very nice touch screen that is responsive and easy to navigate. It also has a USB and micro SD card slot so you can run the printer connected to a PC or not. The Q5 printing speed range is 70-120mm/s. I tested those speeds with the calibration cube job and the printer did great. You can hardly tell a difference. Another interesting feature is the removable touch sensor. It magnetically attaches to a pedestal near the hot end. Once it’s installed, you just need to preheat the Q5 and run the bed leveling task. I did this once as the instructions said and I haven’t had to repeat it even with 150+ hours on the printer. All my testing was done transferring the jobs to the printer with the 4Gb micro SD card, micro SD to standard SD card adapter and SD USB card reader all of which are conveniently included with the printer. The printer has a respectable build volume of 200x200mm and is compatible with the very common 1.75mm sized PLA, PETG and TPU filaments.
What’s Included
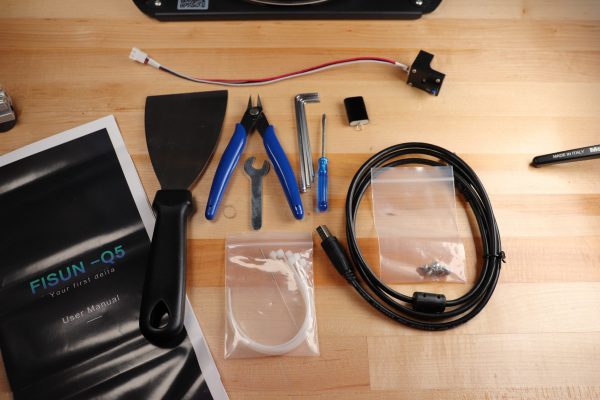
The Flsun Q5 Delta 3D printer comes with all the needed tools to put it together, You get several Allen wrenches, an open end wrench, flat head screw driver, a USB cable, power cable, zip ties, nozzle cleaner, paper manual, micro SD card, micro SD, SD card USB reader, spare 0.4mm nozzle, spare screws, starter filament, flush cutters and a print removal tool.
Setup
Setup was very easy. The Q5 comes with a copy of the Cura slicer software and a Q5 printer profile for Cura on the micro SD card. I will say to just go download the latest version of Cura from the website as the one that included, at least in my case, was very old. I added the printer profile to my install of Cura and created some test jobs. I then used the bed leveling attachment to setup the printer. I did what the instructions said and then hit the ground running. I printed 2 test prints that were included on the SD card with the included sample filament and they printed successfully right from the start.
Printing Tests
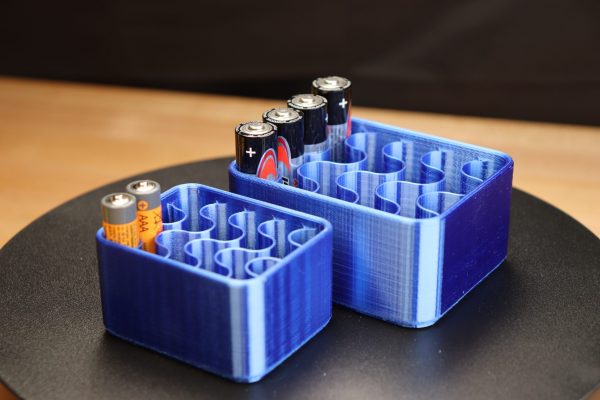
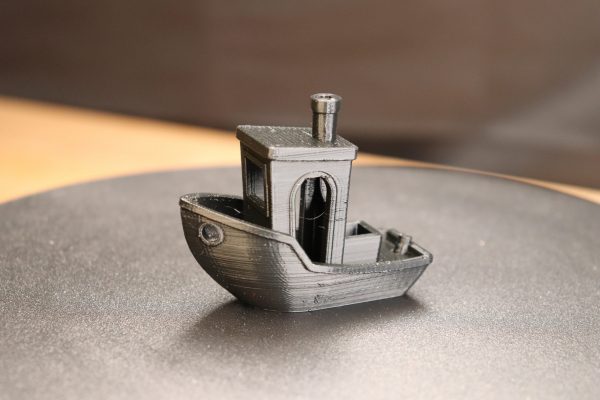
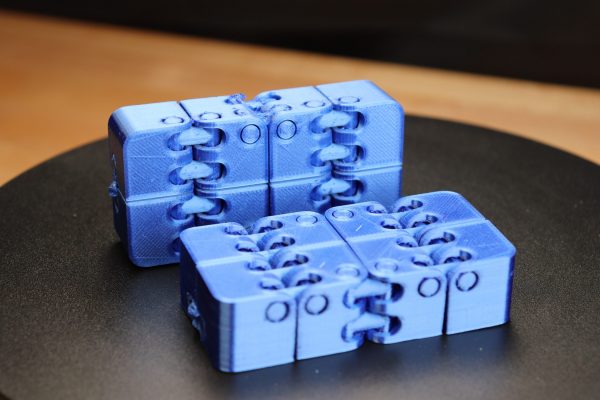
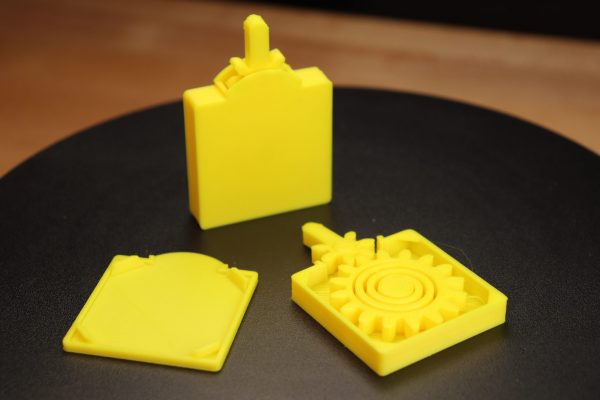
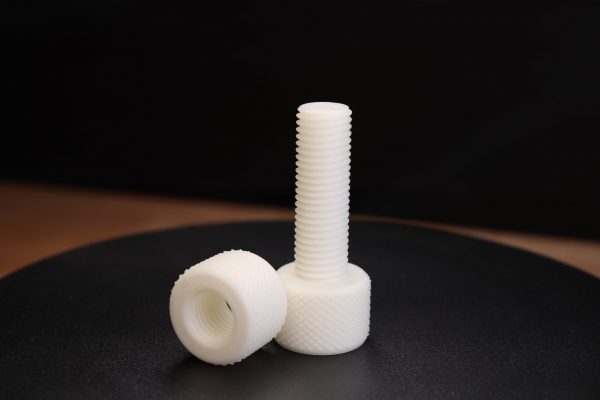
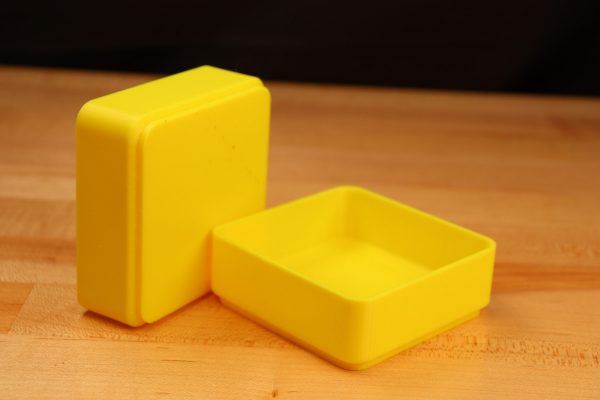
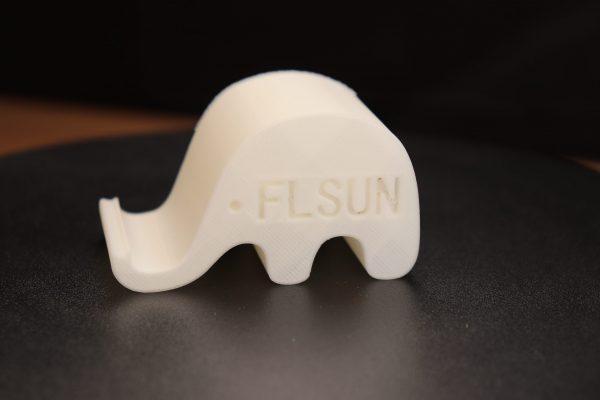
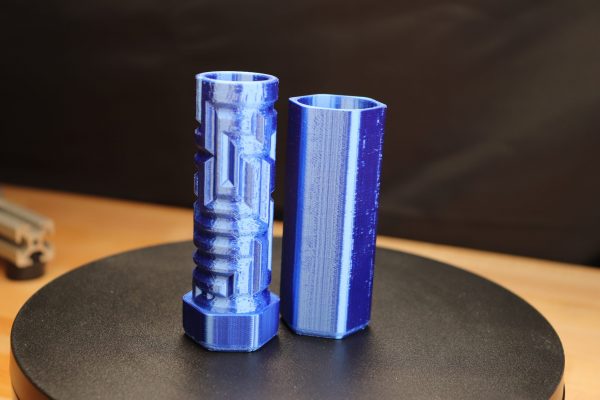
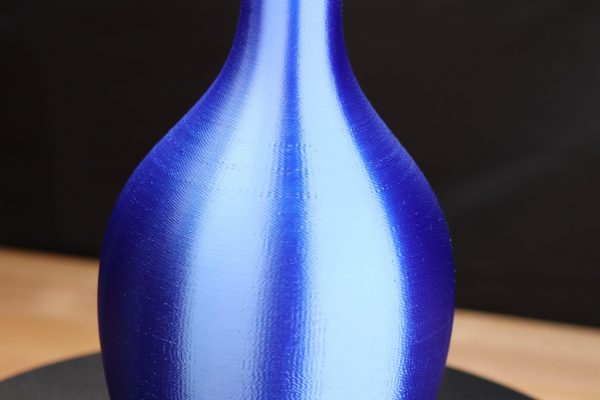
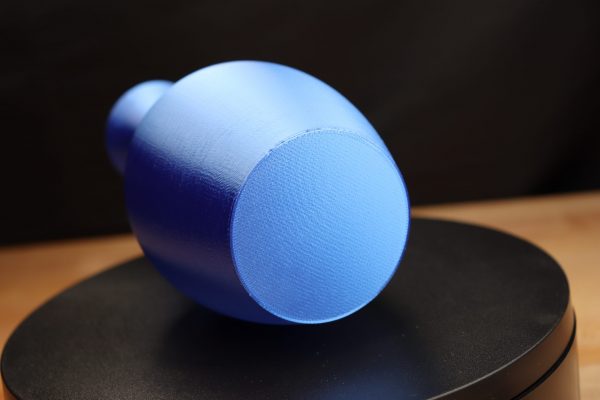
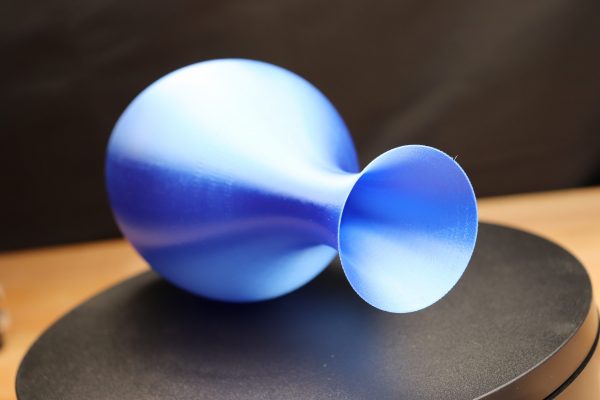
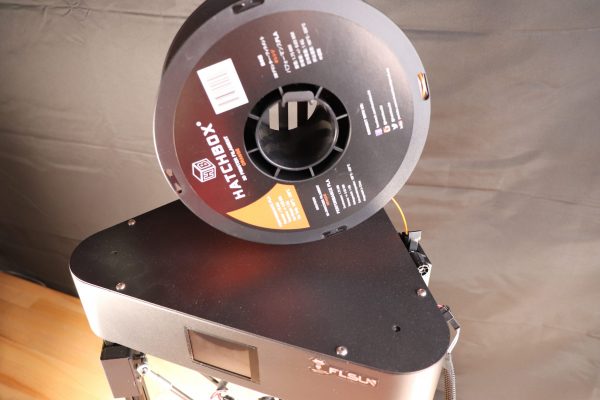
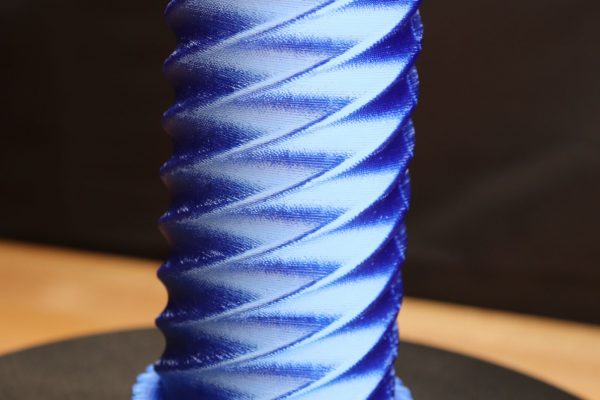
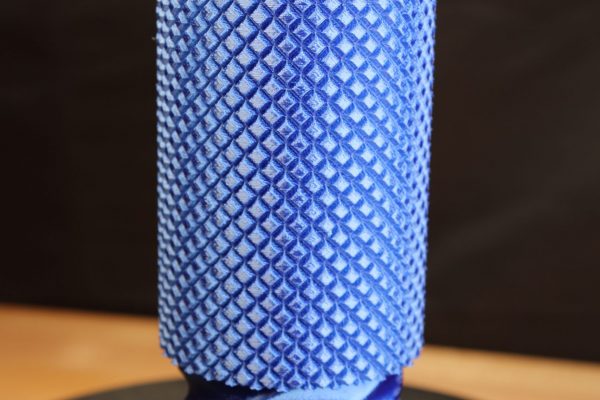
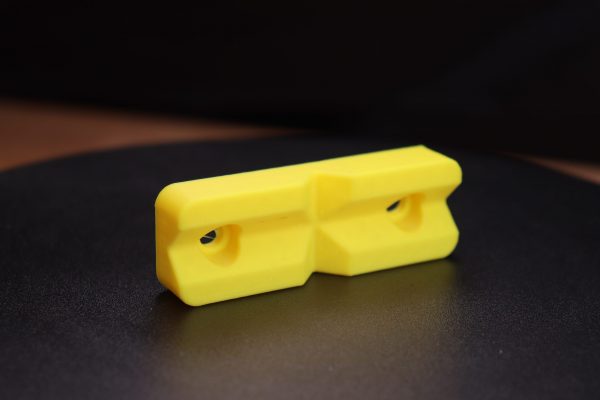
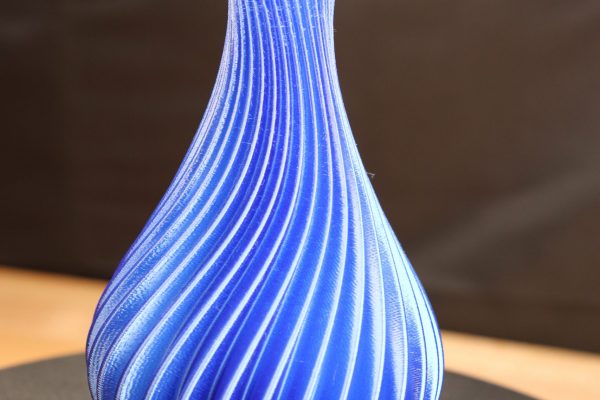
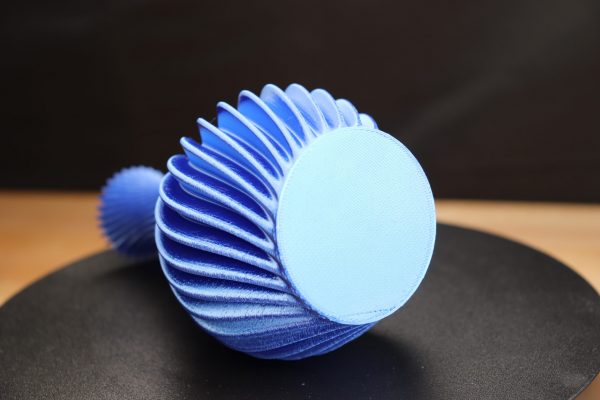
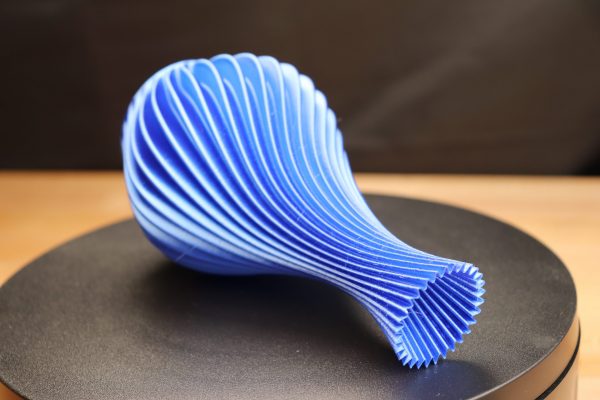
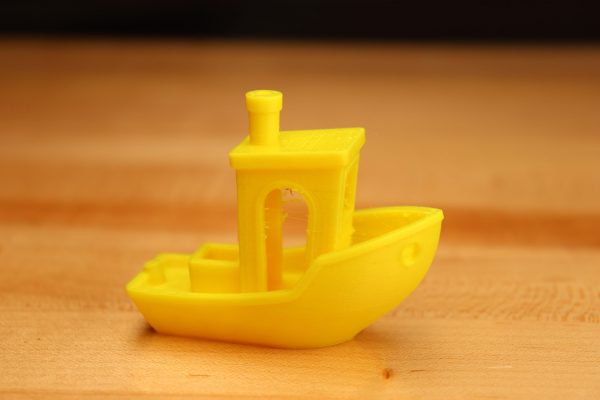
I used various types of Hatchbox PLA filament for the Q5 testing. 2 of the 3 were standard finish and one was a glossy or shiny type (first time I’ve used it). I got great results with the standard PLA but the shiny one proved to be a little temperamental. Watch the YouTube video linked below or click on the photo gallery below to get a better look at the prints. All in all I was pleased with the results, especially with the standard filament.
Software
I used the free slicer software called Cura. Slicing software is what you use to take your design file (commonly with an .STL file extension) and slice it into layers so the printer can print it (hence being called a “slicer” :). Think of the slicing software as taking your favorite Lego model and chopping it into slices that are 1 brick high. 3d printing is the same but your brick height is called the layer height in the slicer software. You can also modify a dizzying number of settings in the software, but for most prints I only change 1 or 2 default settings. All the Cura printer profiles (normal, fine and fast) you need for most prints are included on the micro SD card as well as the beginning and ending g-code snippets. The g-code snippets tell the printer what to do before the print starts like setting homing the printer and priming the nozzle. It also tells the printer what to do after the printing is finished like turning off the nozzle and bed heaters.
Summary
The printer was very easy to assemble and use. The printing results were really good right from the start. The Flsun Q5 from Hekka would make a great first delta printer. It’s a great value for the price. Be sure to view the pictures below and watch the YouTube video if you haven’t already. As always links are below.
Unfortunately the Flsun Q5 is out of stock at Hekka. An alternate delta printer would be the Flsun SR Delta with a larger build size of 260x330mm https://shrsl.com/3l2ok
Or the Artillery Hornet 3D printer I reviewed in an earlier video.
Artillery Hornet 3d printer from Hekka: https://shrsl.com/3l49t
Software:
Cura Slicer Software FREE: https://ultimaker.com/software/ultimaker-cura
Addition items I use with 3D printers:
3D printer spatula for getting prints off the build plate easier – https://amzn.to/3J2QENF
Duramic PLA Matte Black + Gray filament 1.75mm 2 Pack – https://amzn.to/35BuWCI
Duramic Premium PLA Plus black 1.75mm filament – https://amzn.to/3iUoMRd
Hatchbox PLA black 1.75mm filament – https://amzn.to/3qSirtW
Hatchbox PLA yellow 1.75mm filament – https://amzn.to/3uPYFjI
Hatchbox PLA blue 1.75mm filament – https://amzn.to/3IZSA9q
Hatchbox PLA silver 1.75mm filament – https://amzn.to/3LCX7AC
Hatchbox PLA green 1.75mm filament – https://amzn.to/3qREZLa
Hatchbox PLA red 1.75mm filament – https://amzn.to/3iSvjvE
Like my T-shirt? Find it and many more here – https://bit.ly/3HHEb25
Support the channel: – PayPal https://www.paypal.me/neo7cnc
