LaserPecker contacted me to see if I was interested in reviewing their LaserPecker 2 laser engraver. This is the first galvo type laser engraver I’ve had the chance to review so I jumped at it! I hope I get to review their Laser Peck 3 machine that’s coming out soon. It’s the same type galvo style but made specifically to work with metals and plastics.
Packaging
The main unit and rotary were packed in their own retail type boxes. They both arrived in one small, sturdy cardboard box. There was no damage to the boxes or products and nothing was missing.
Assembly
Two socket head screws to connect the baseplate to the stand…. That’s it. Everything else that screws together uses very large thumb screws.
Features of the LaserPecker 2
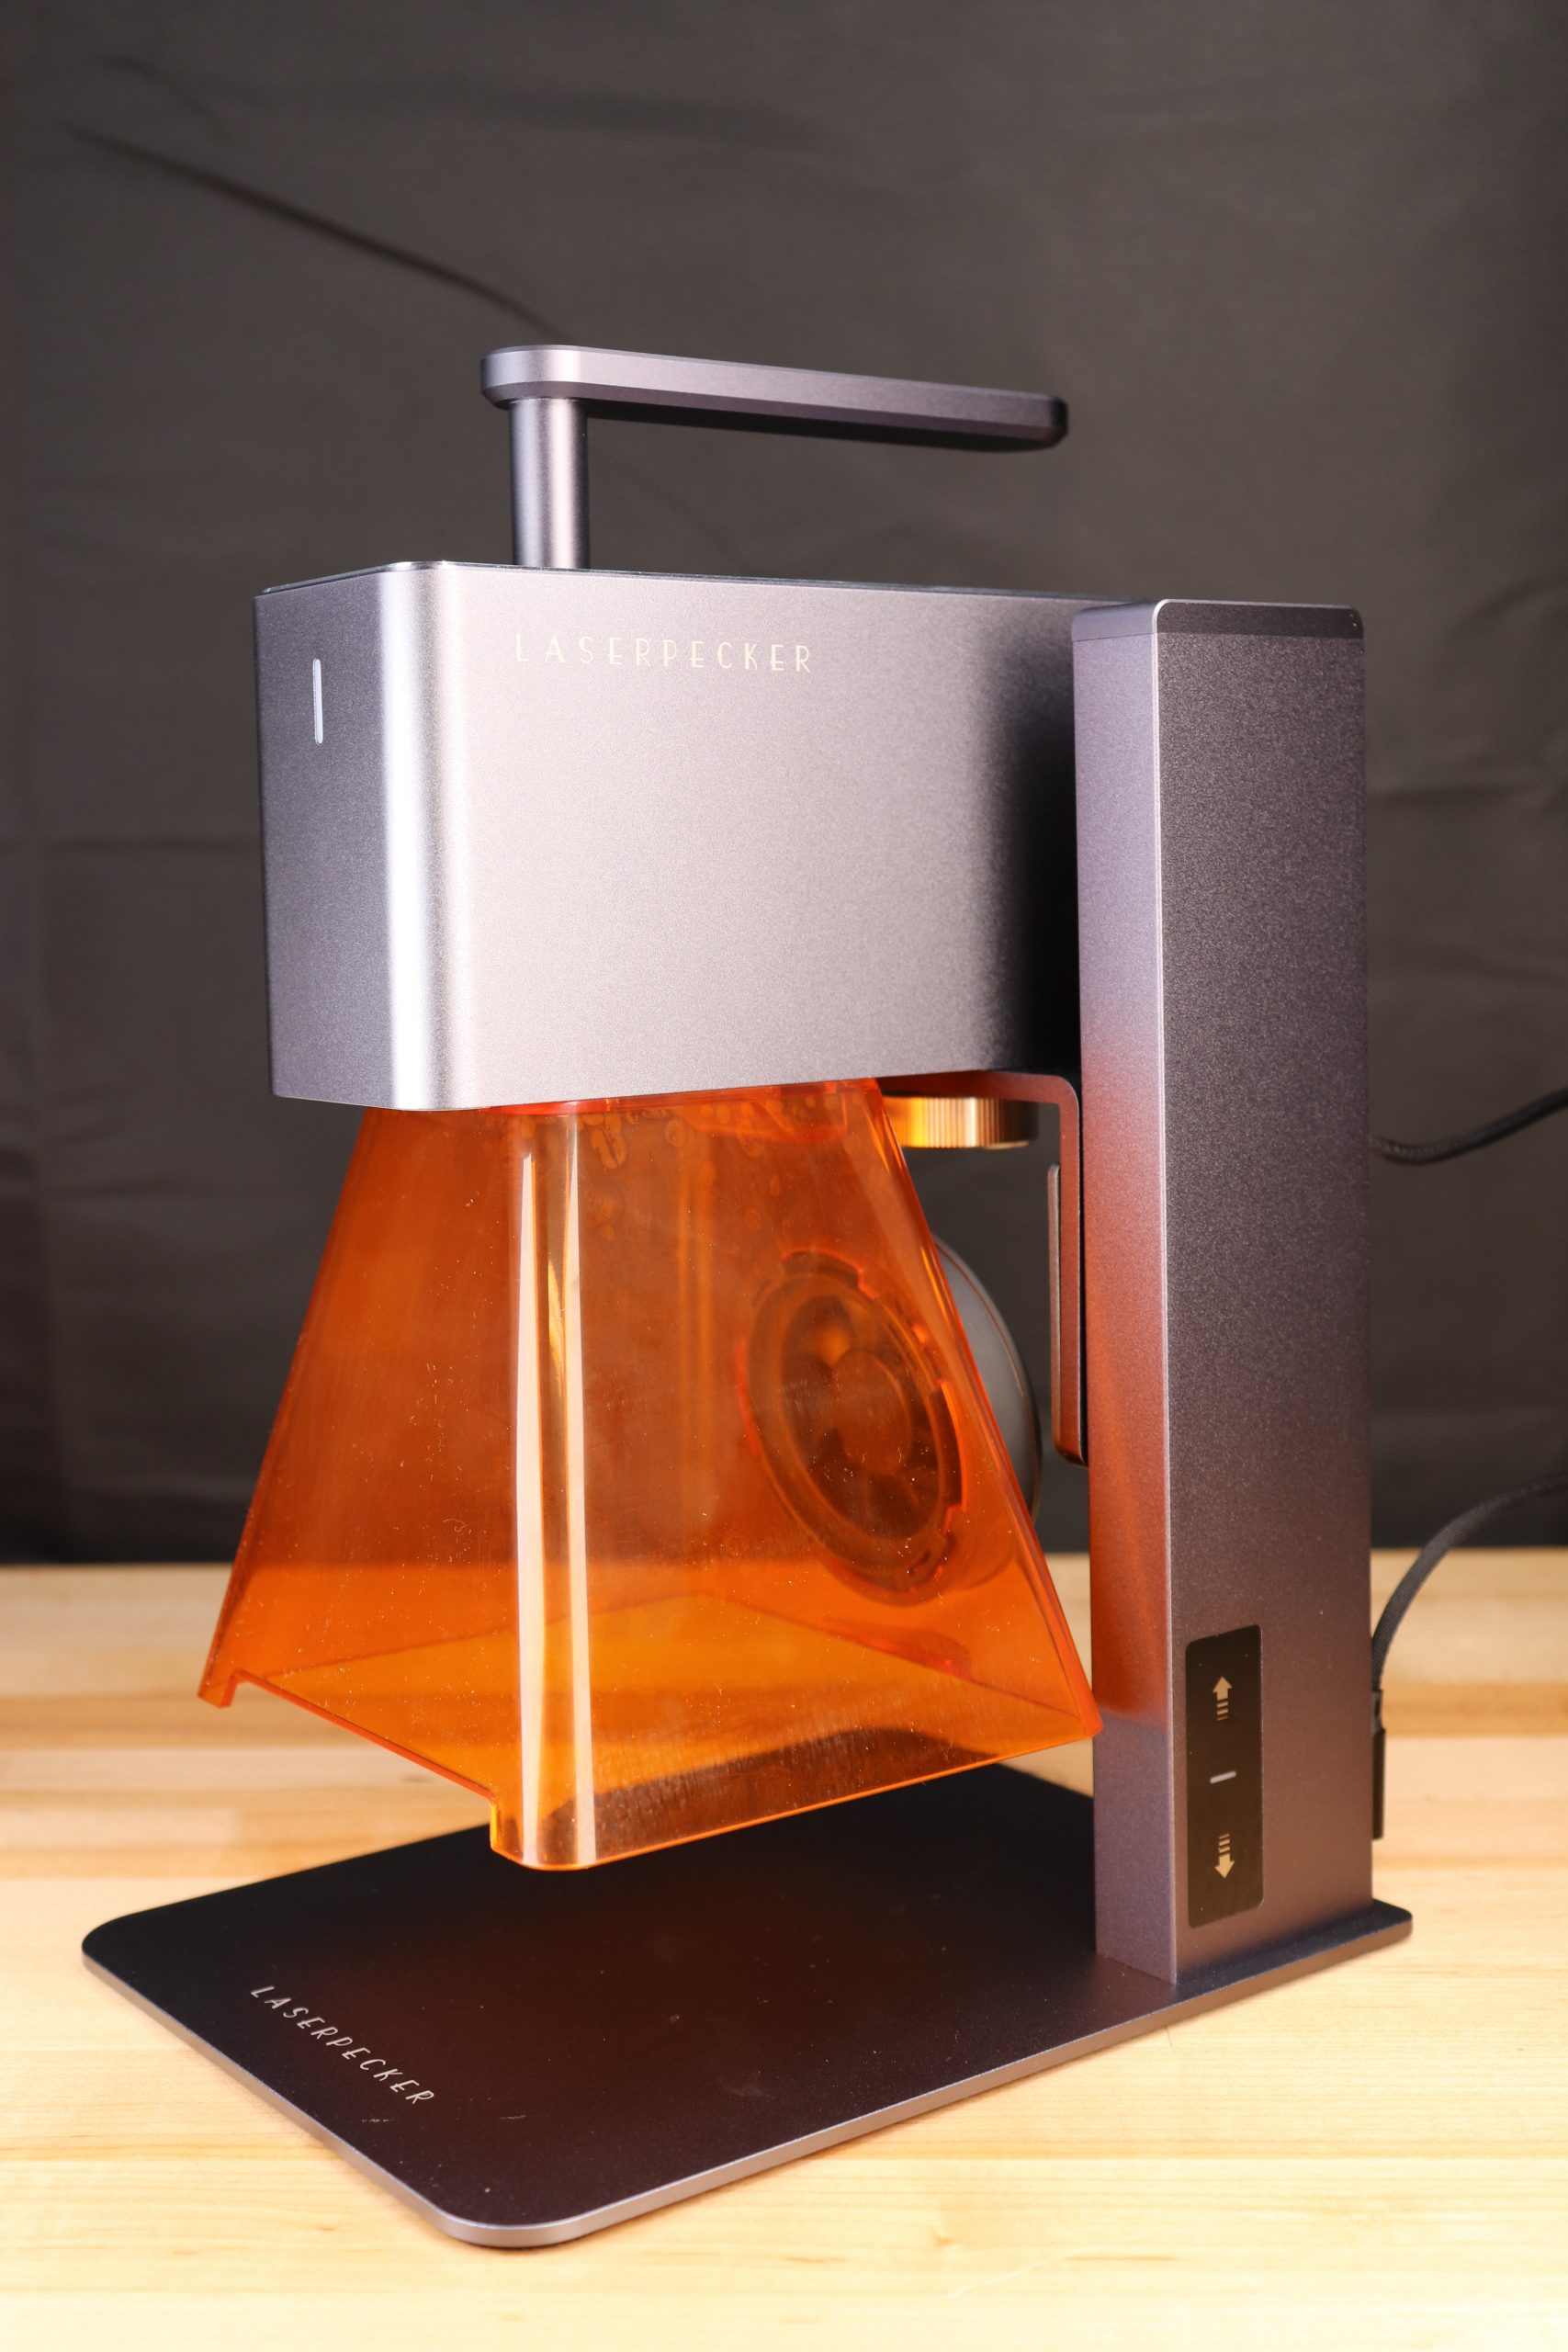
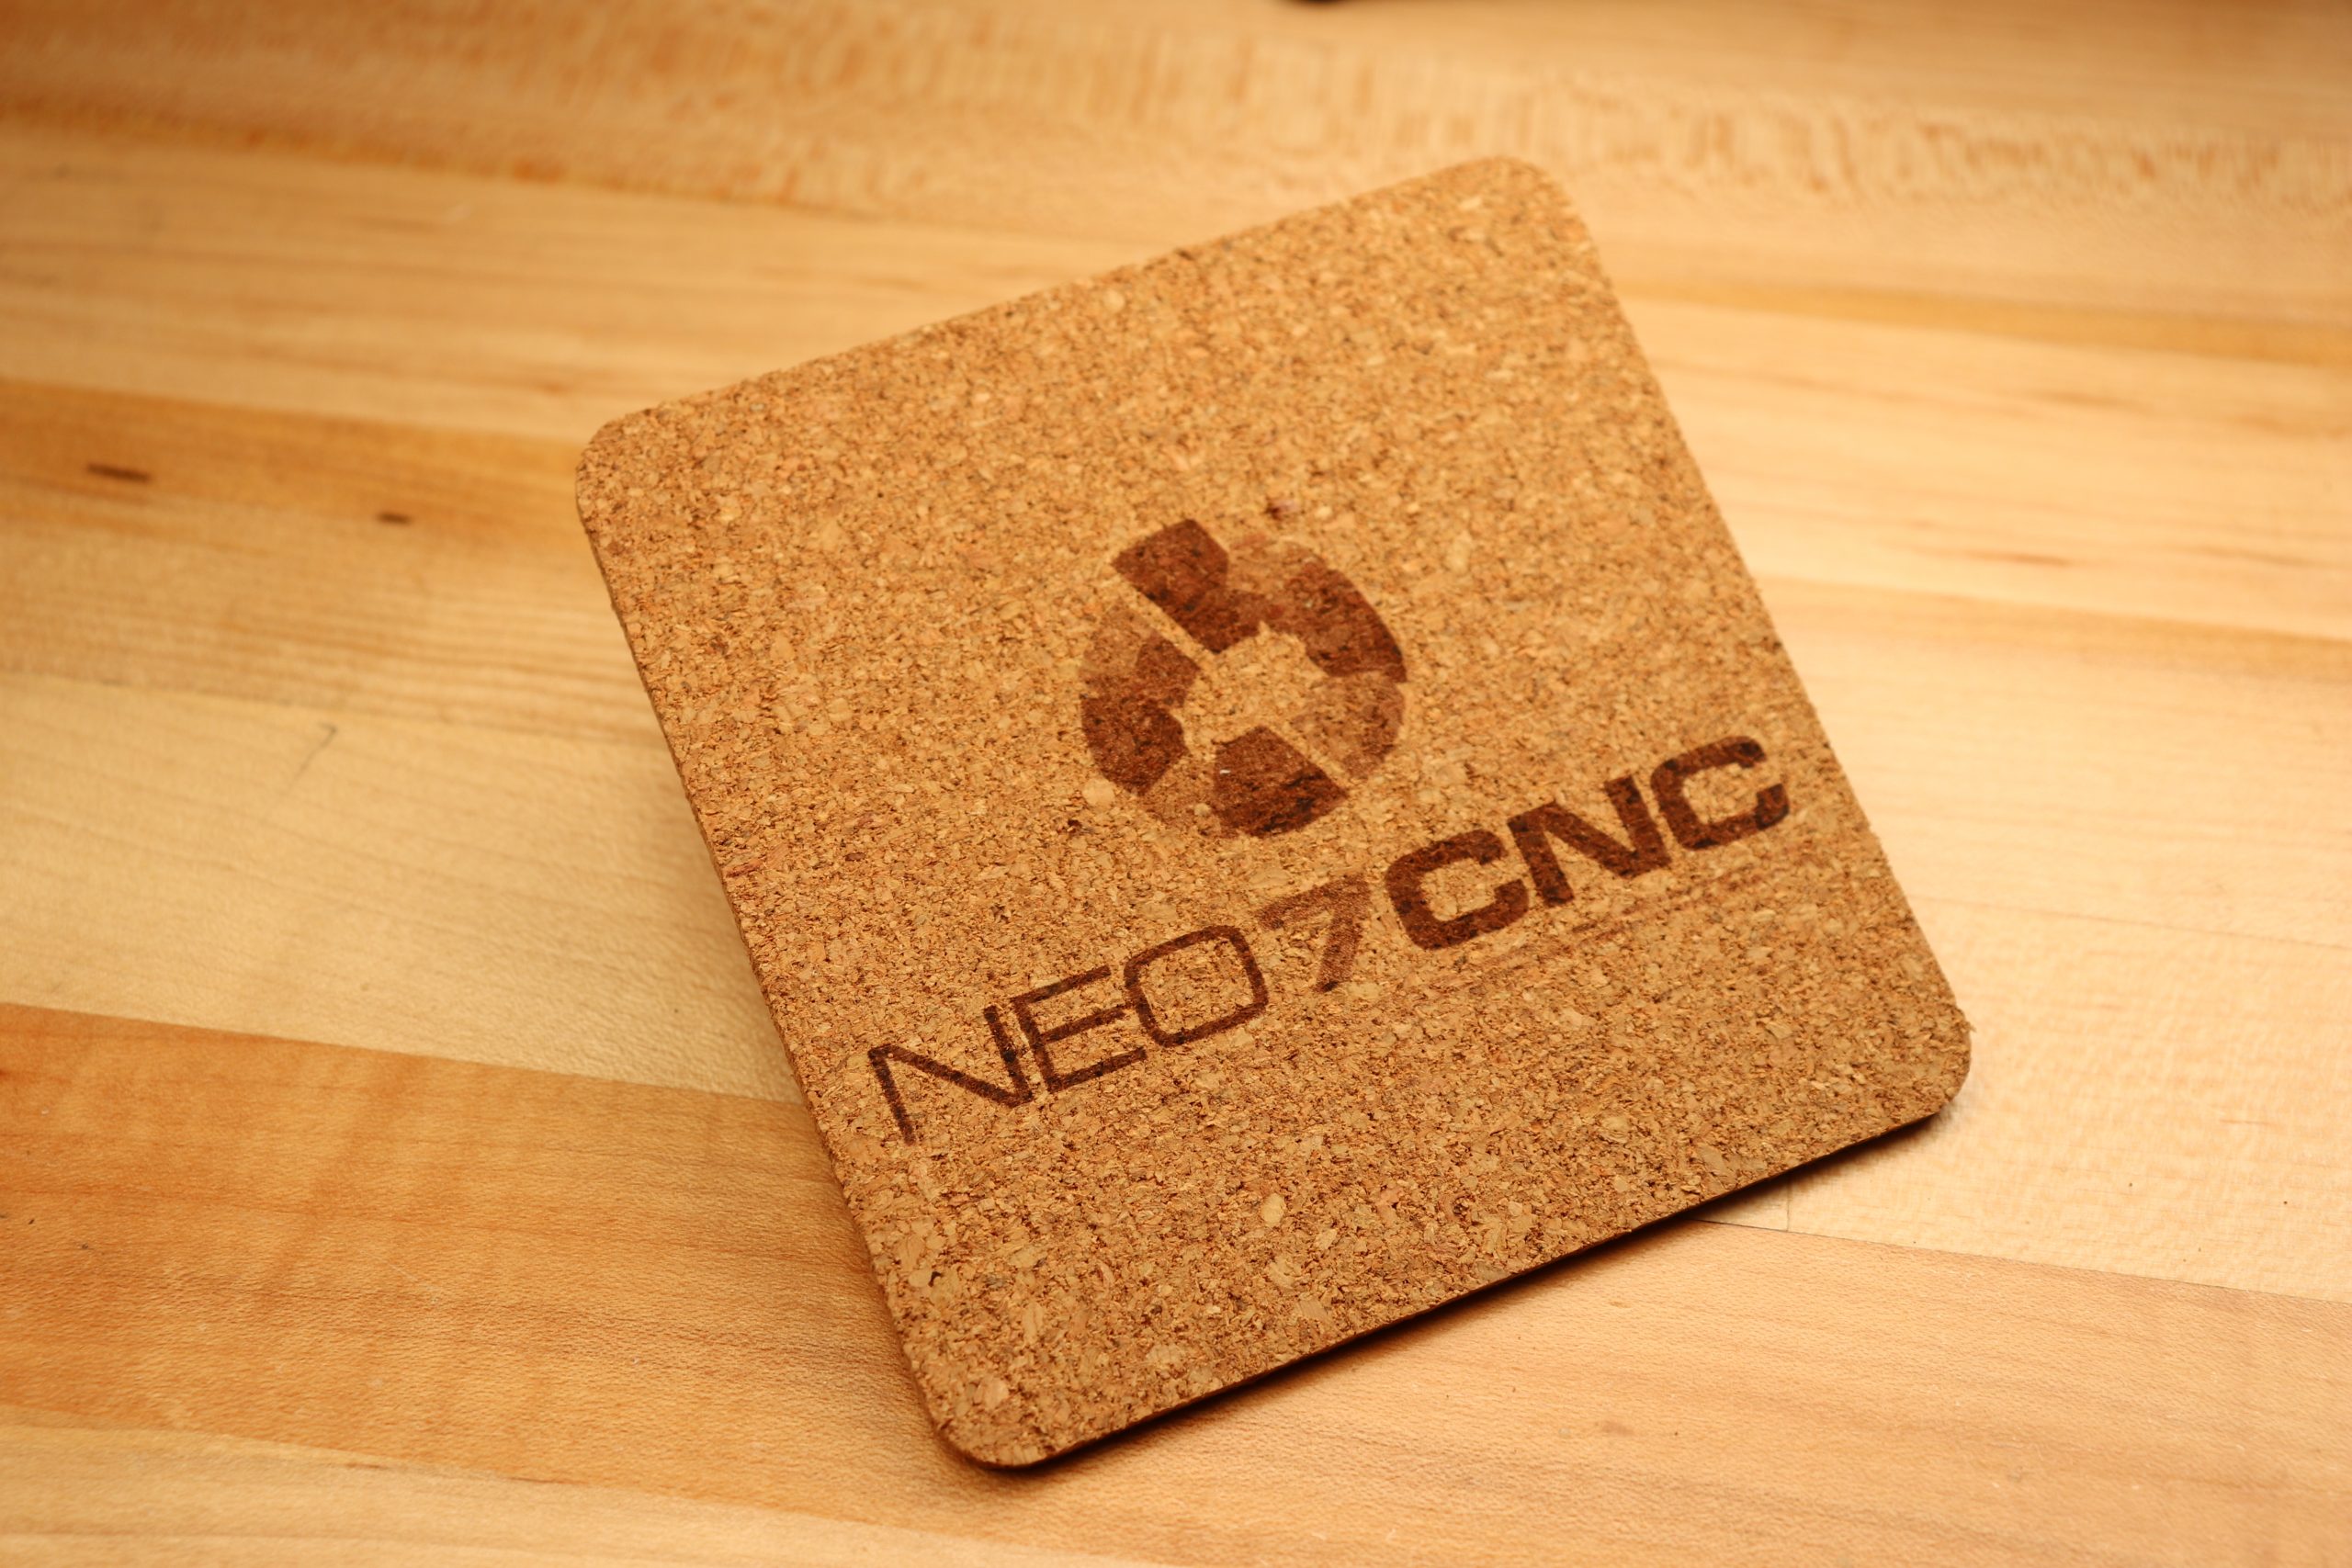
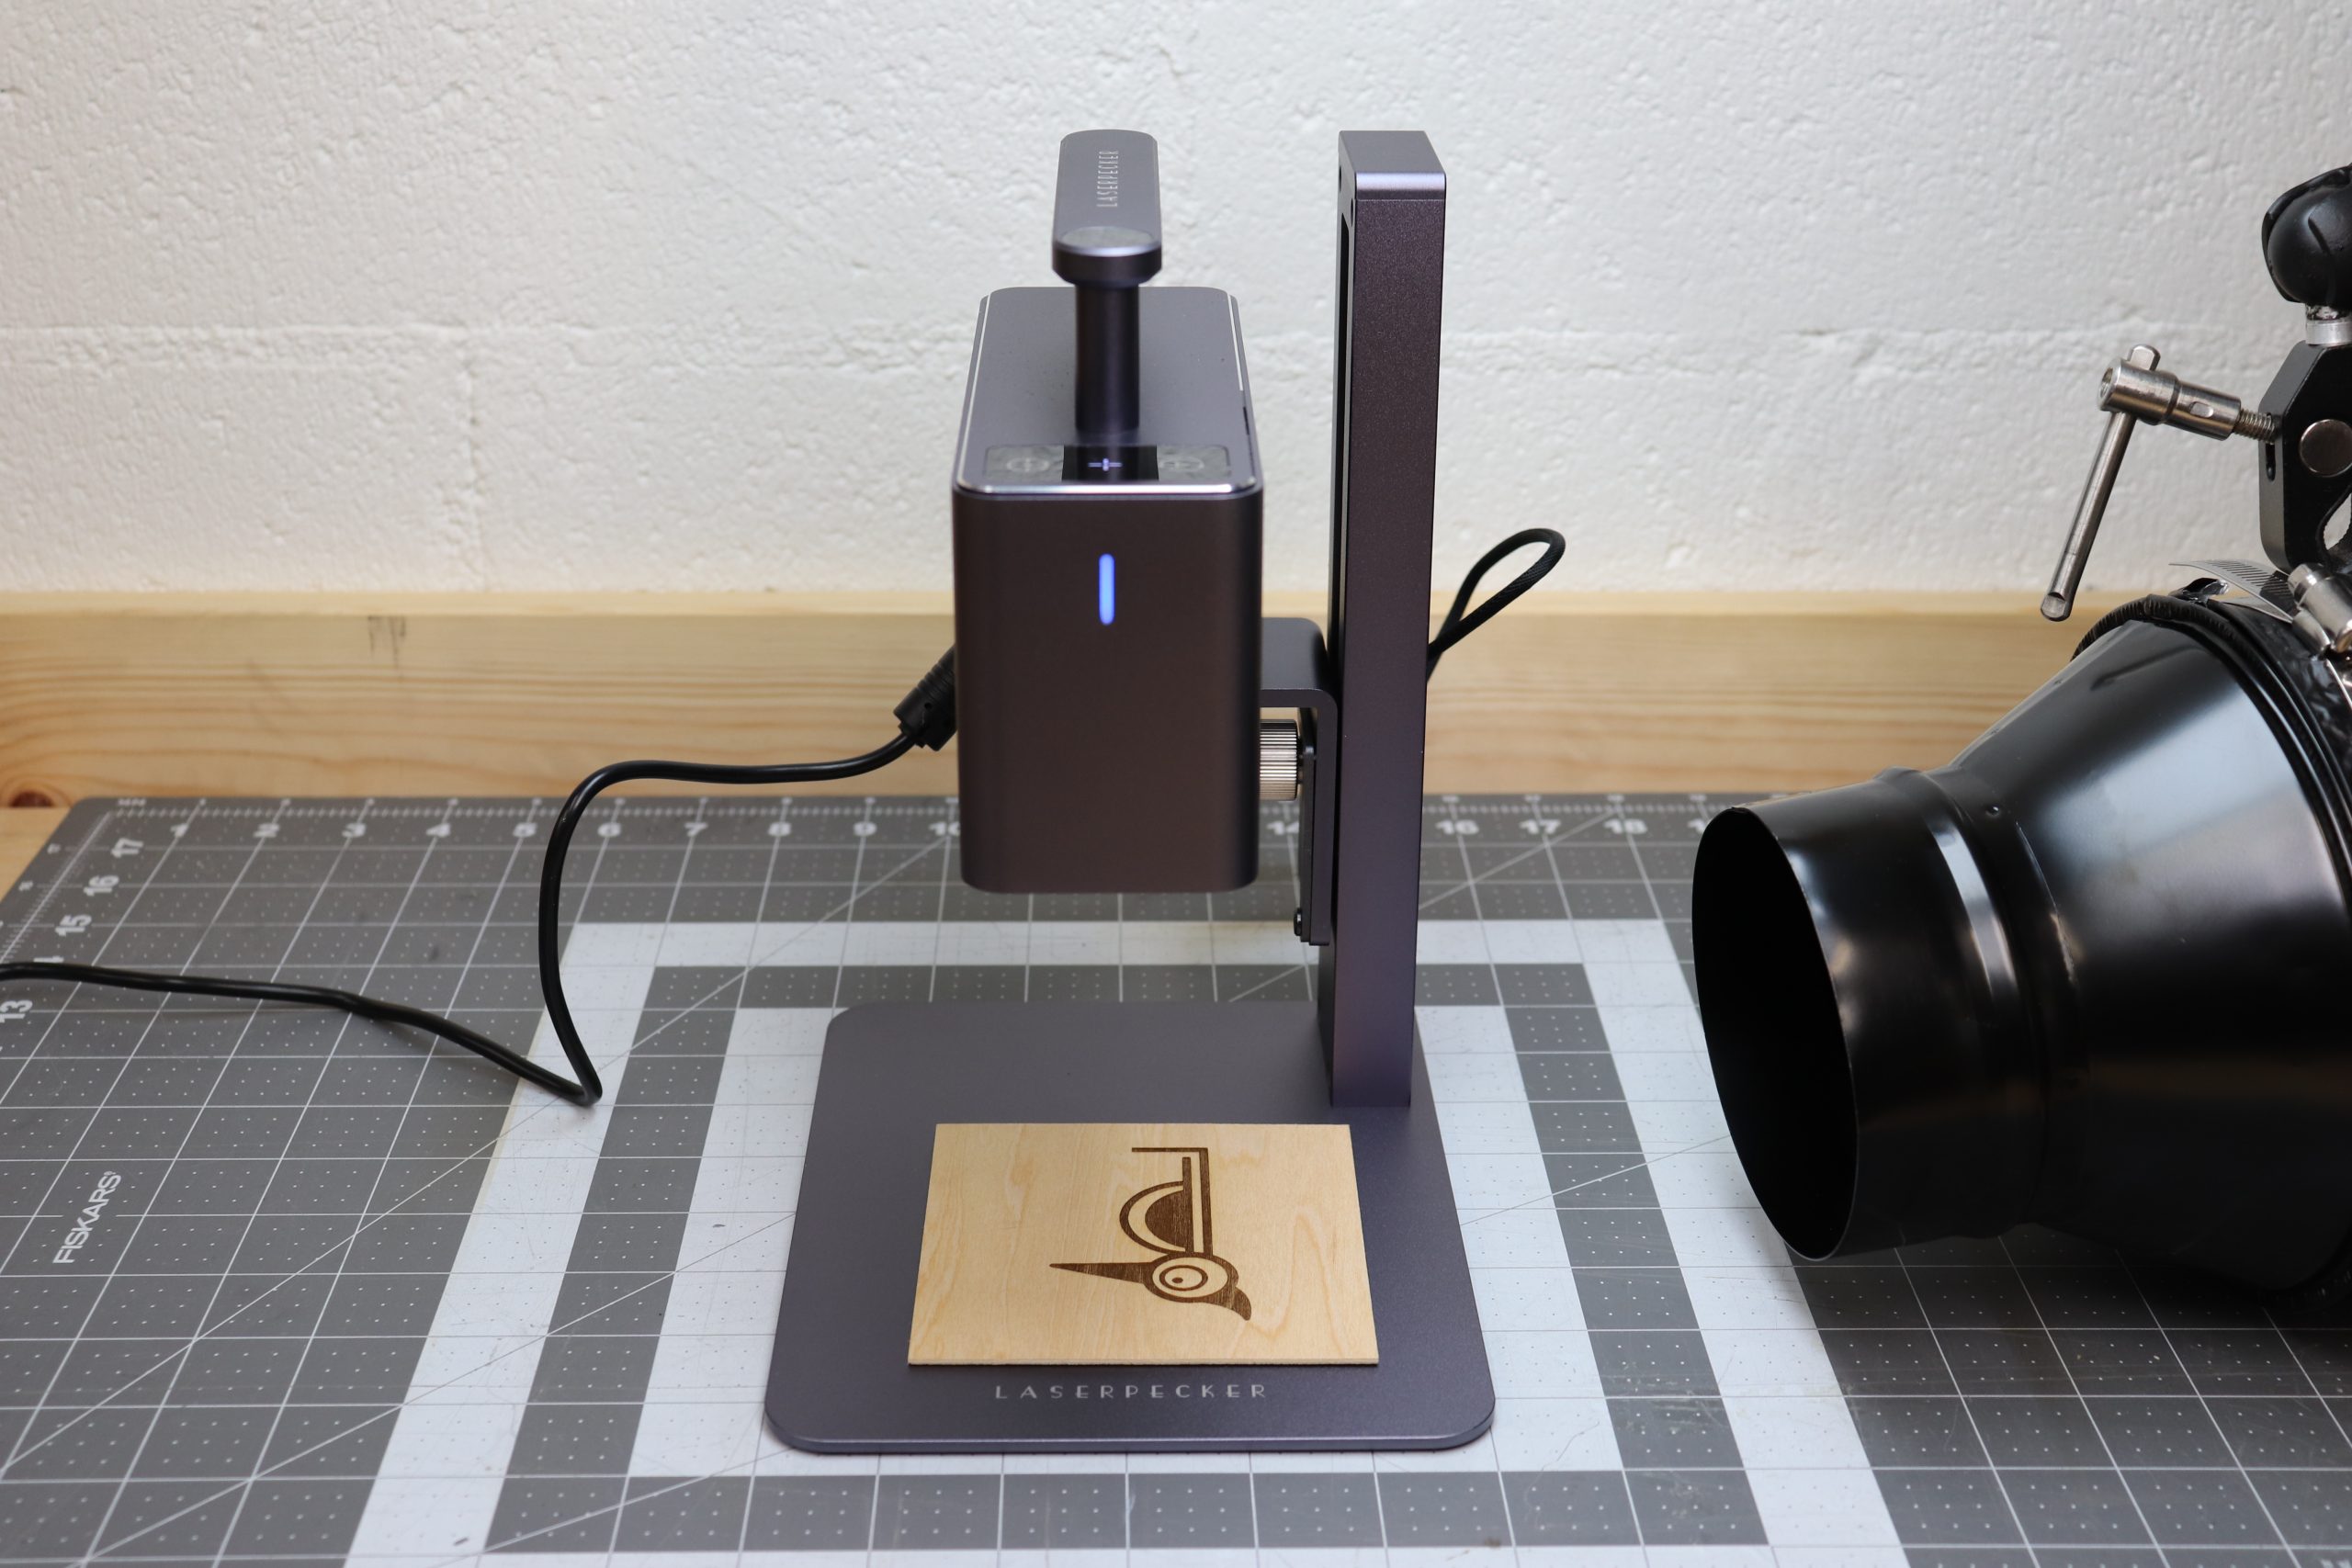
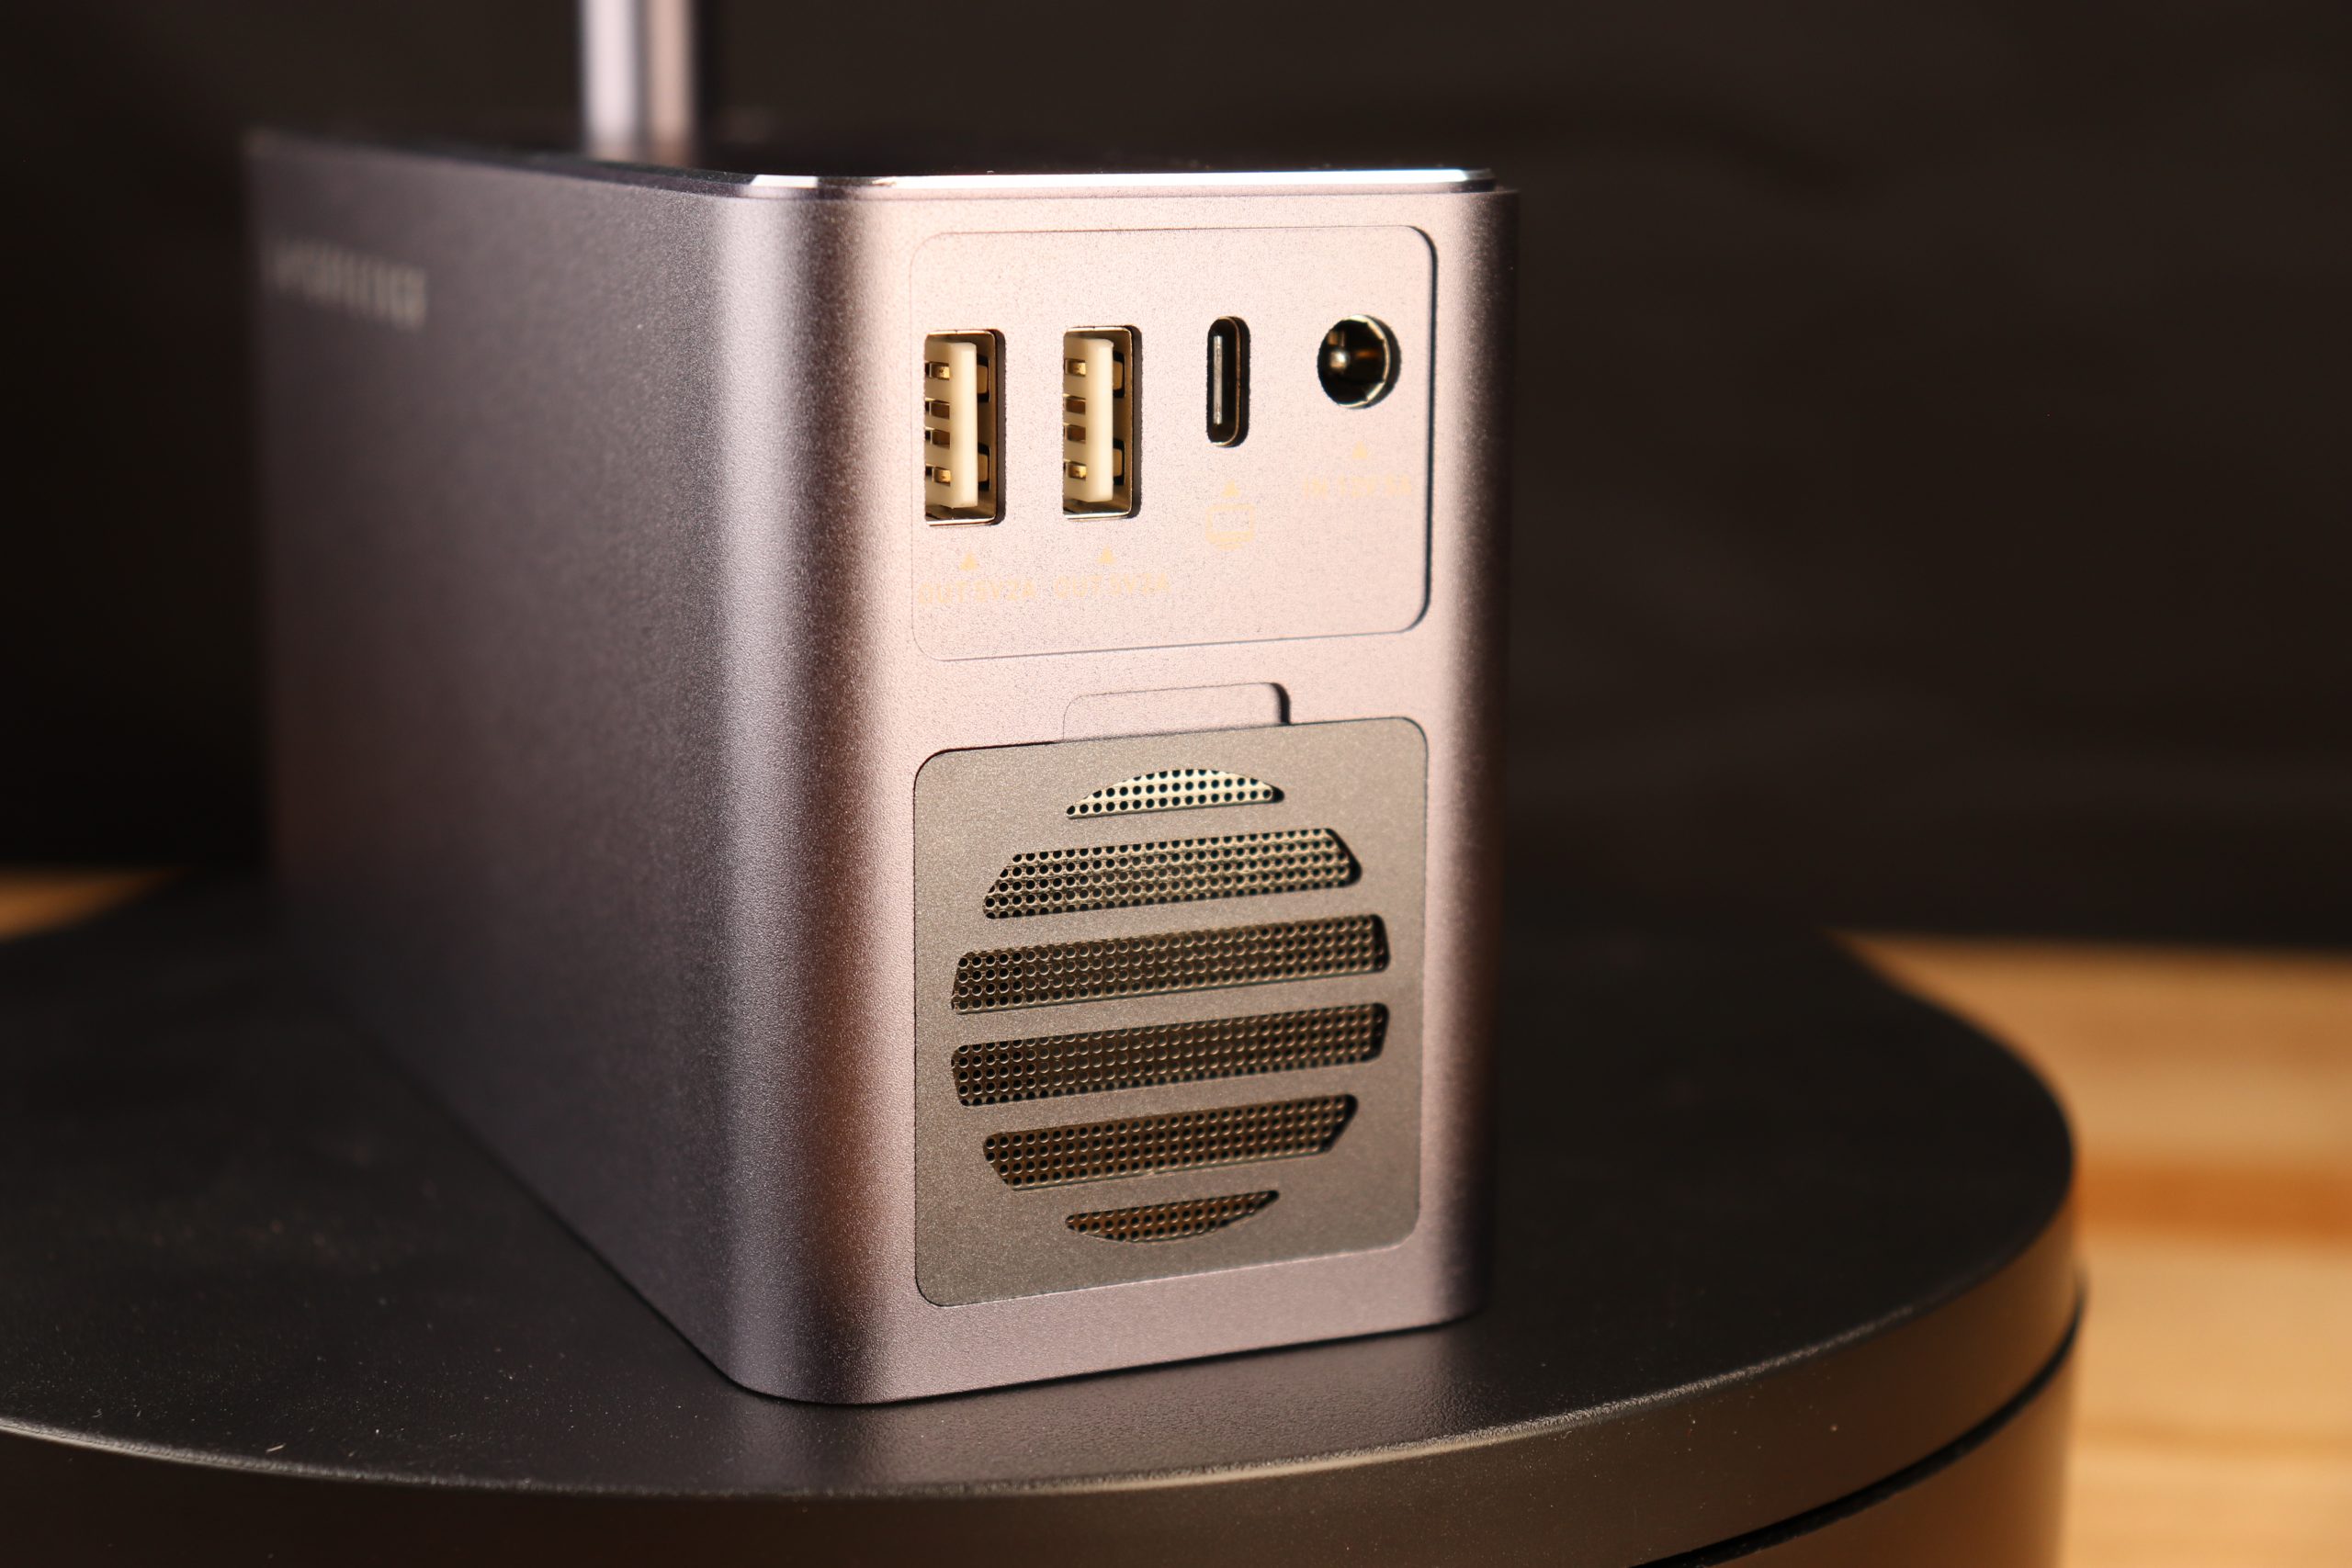
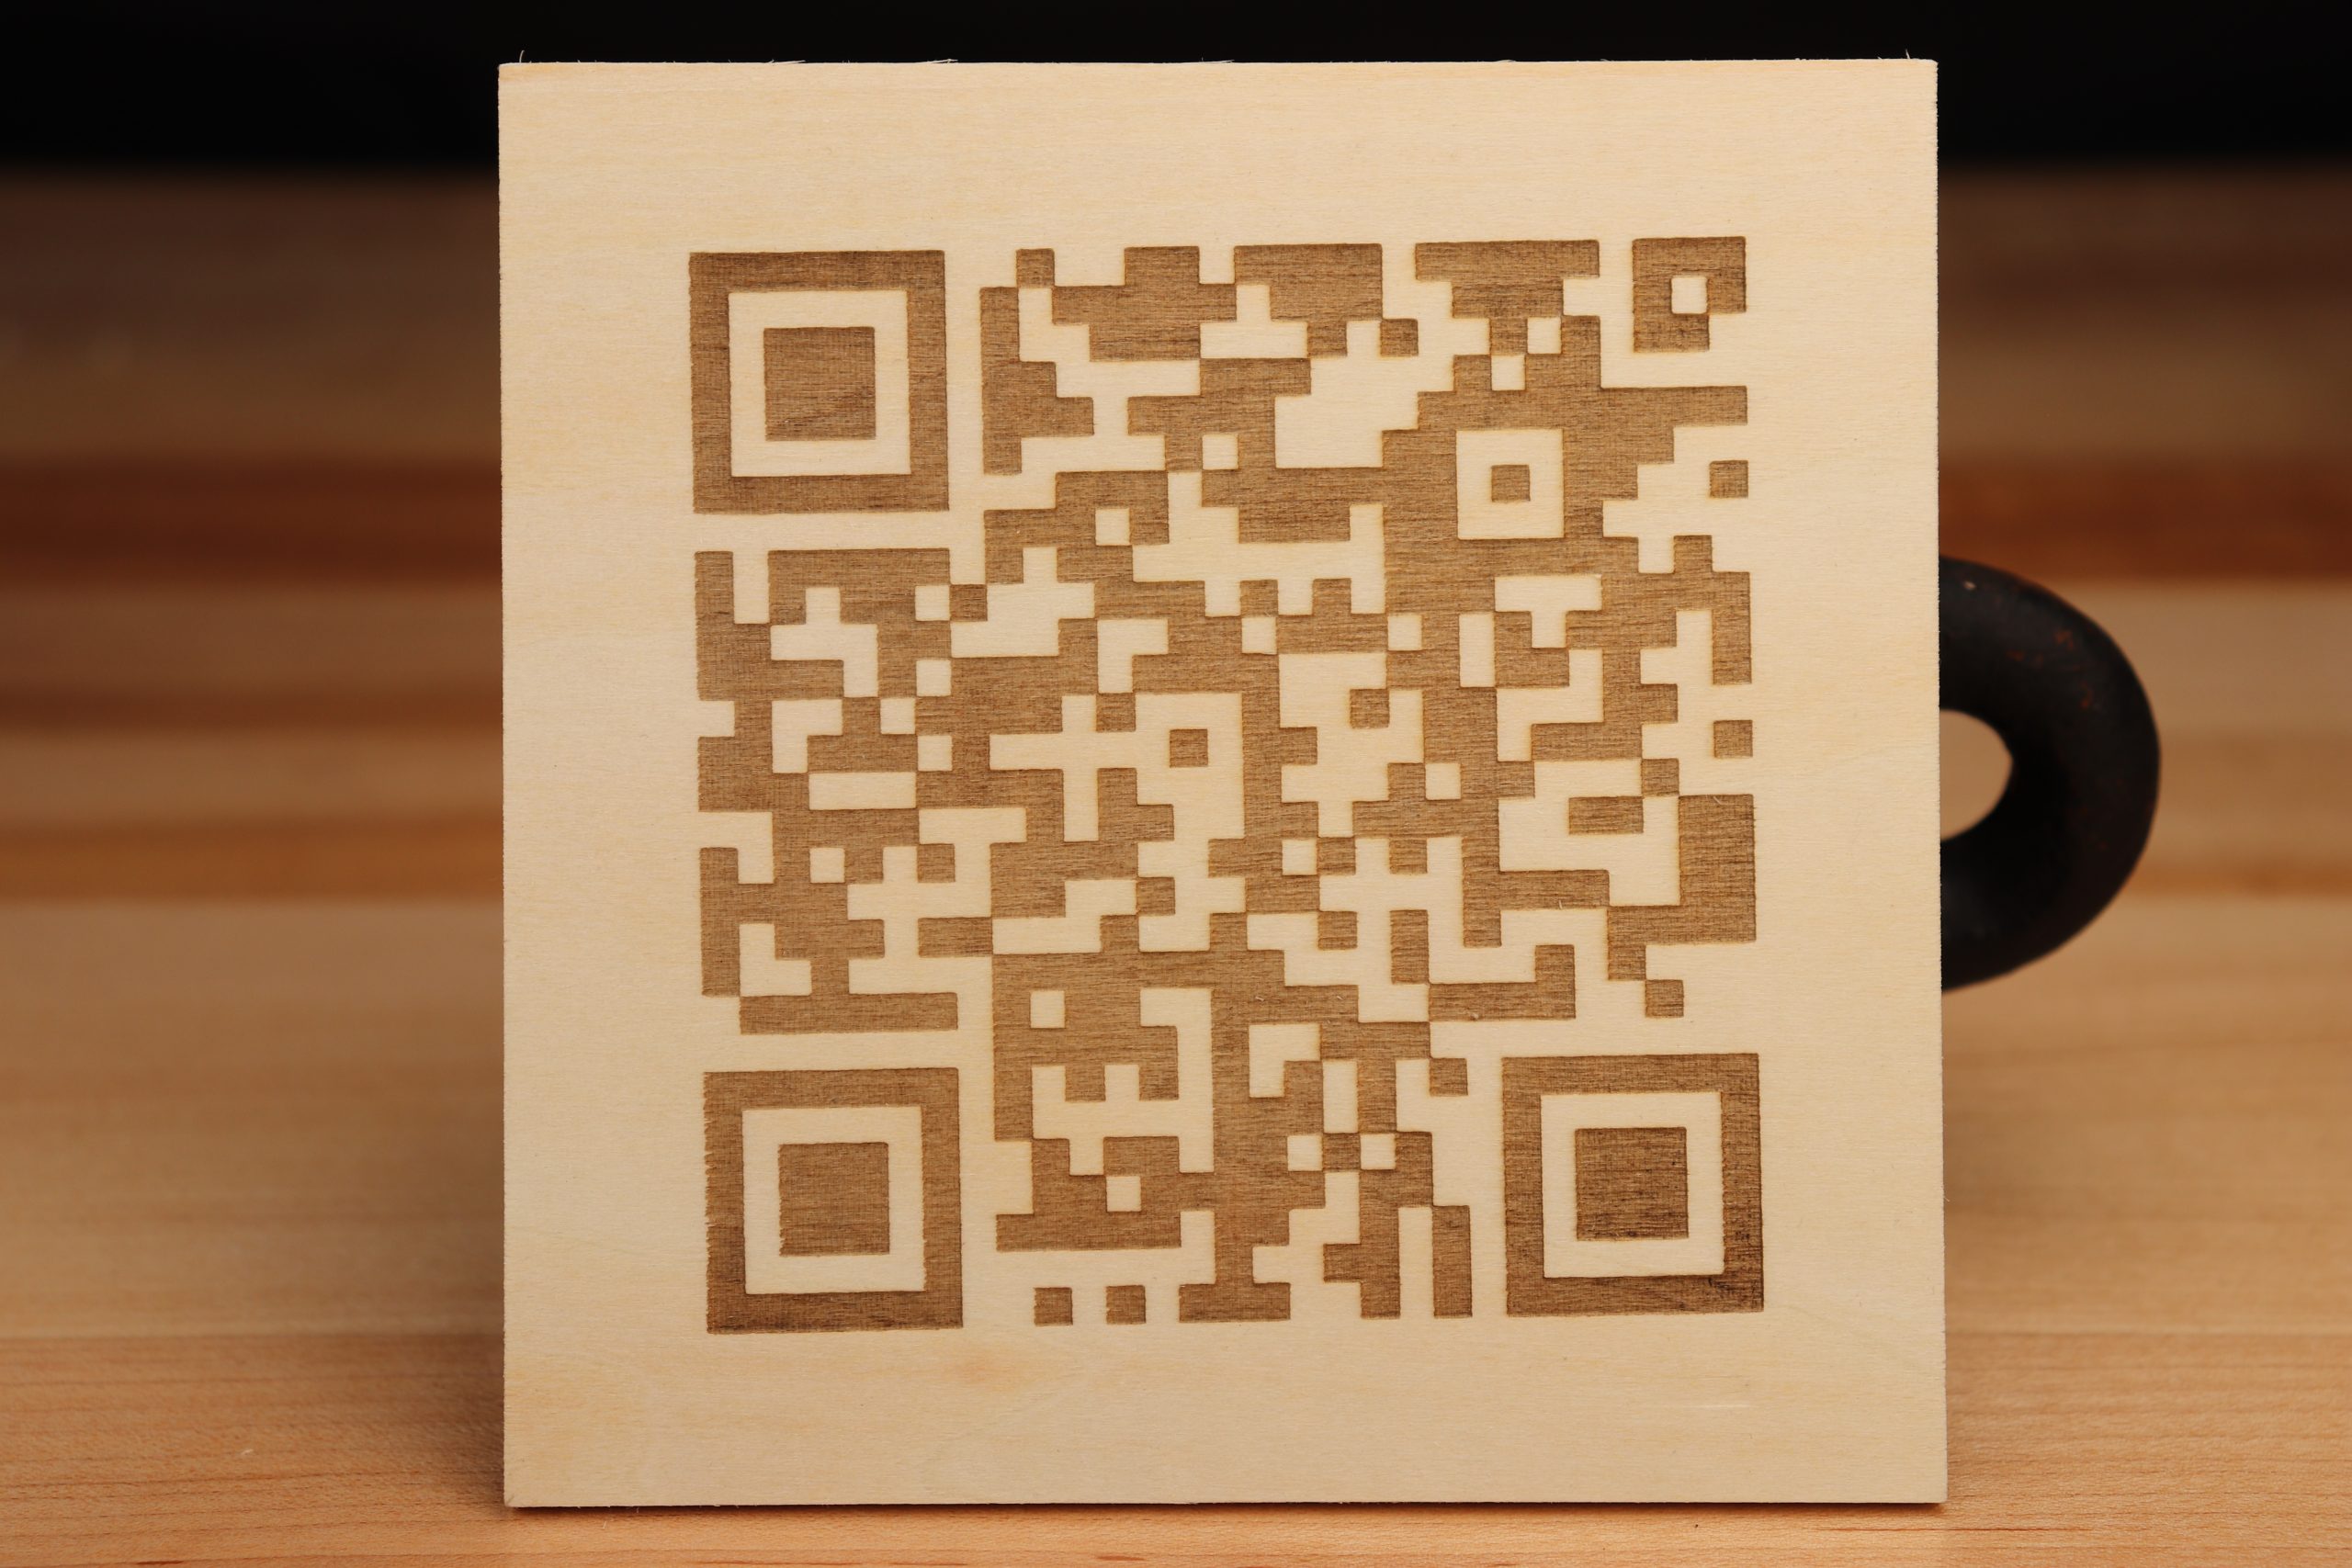
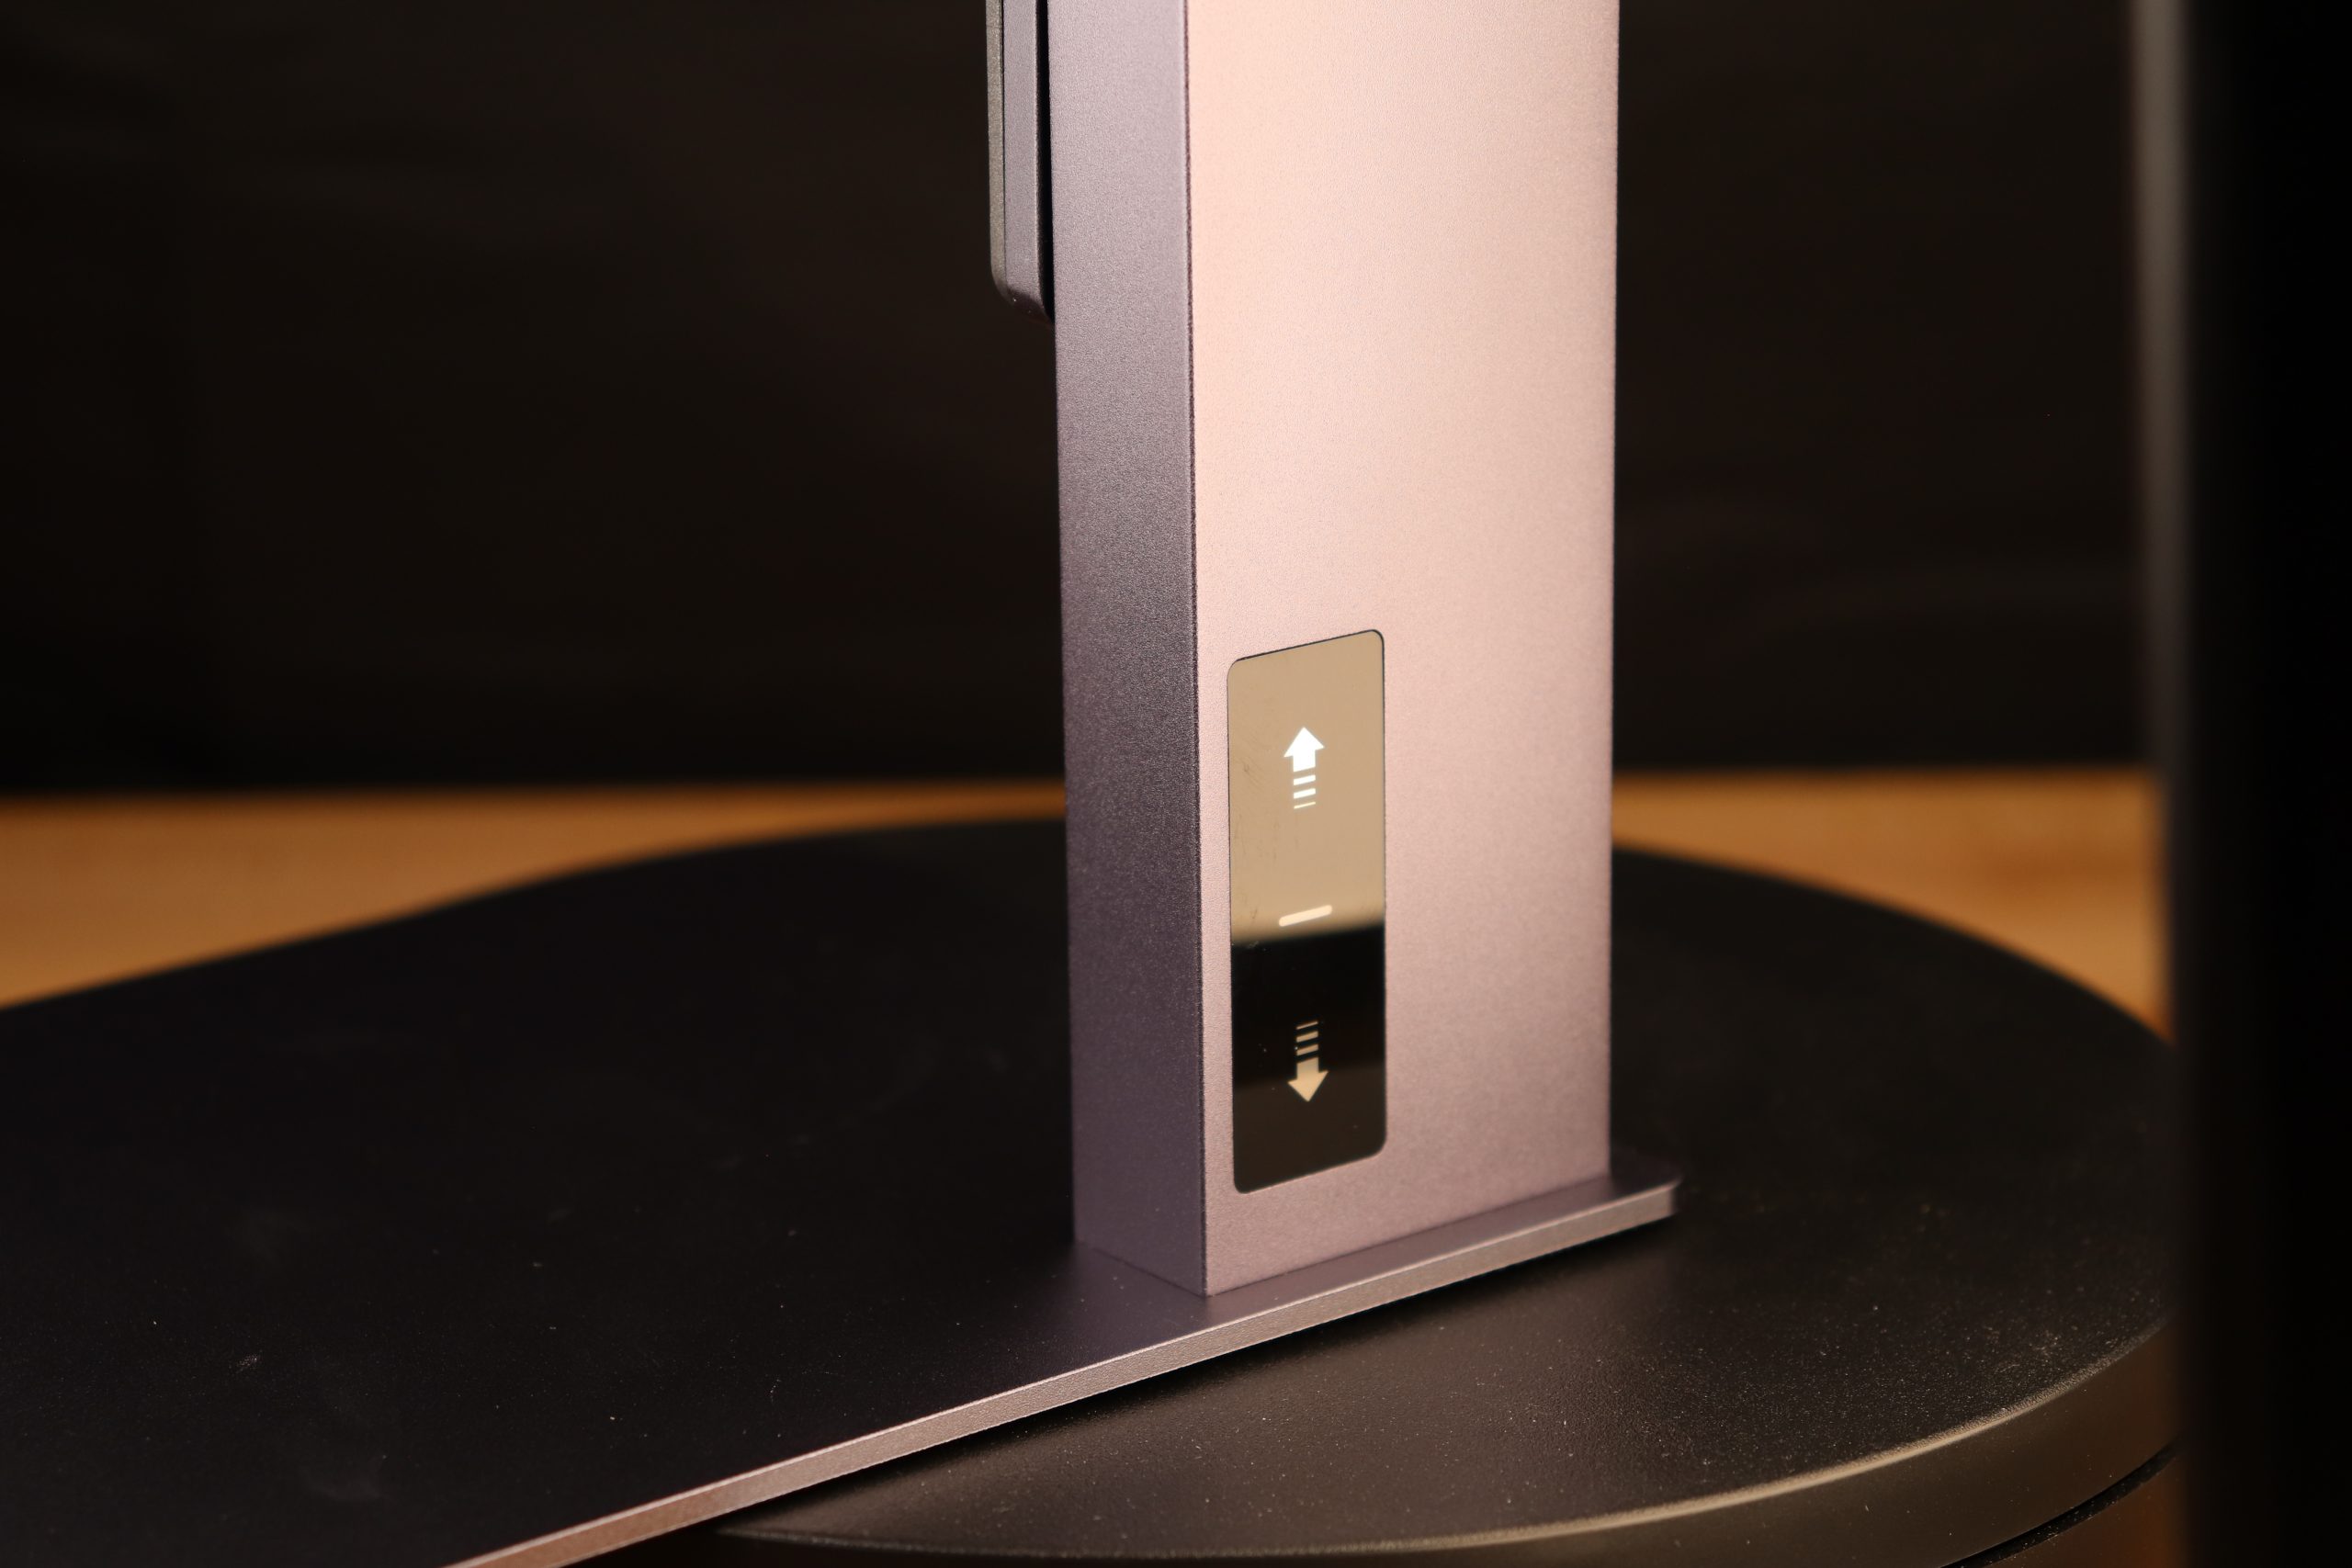
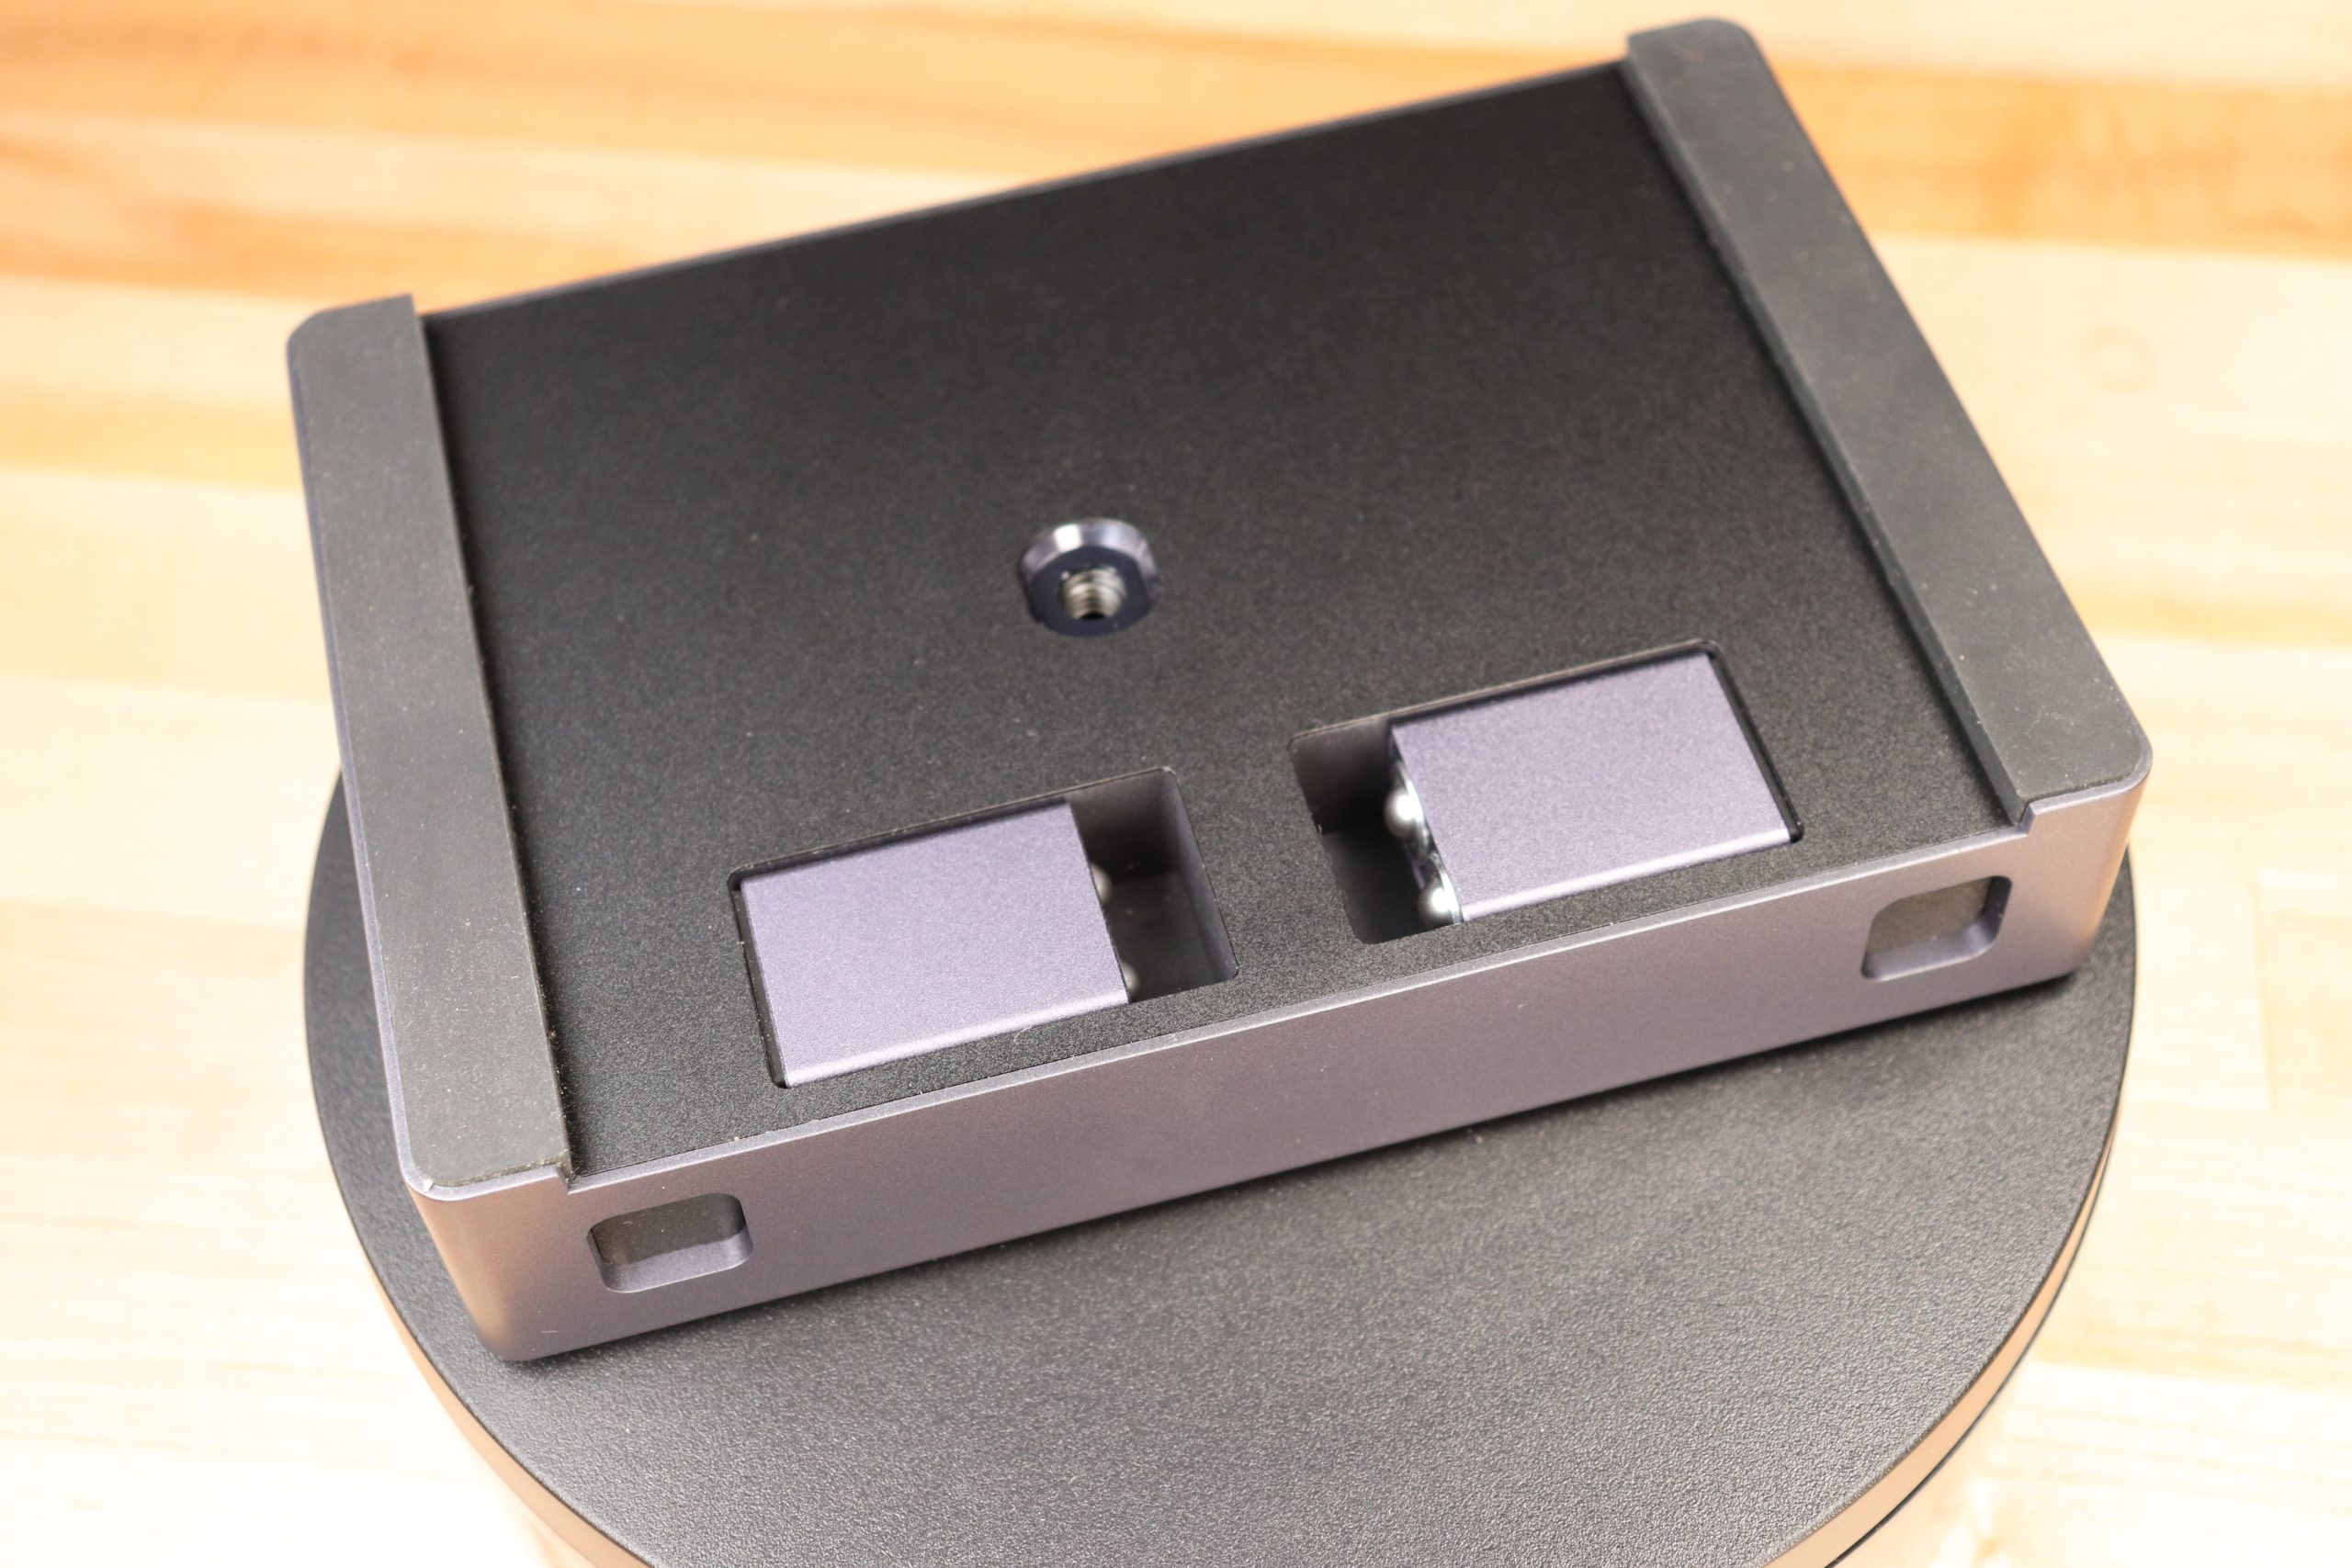
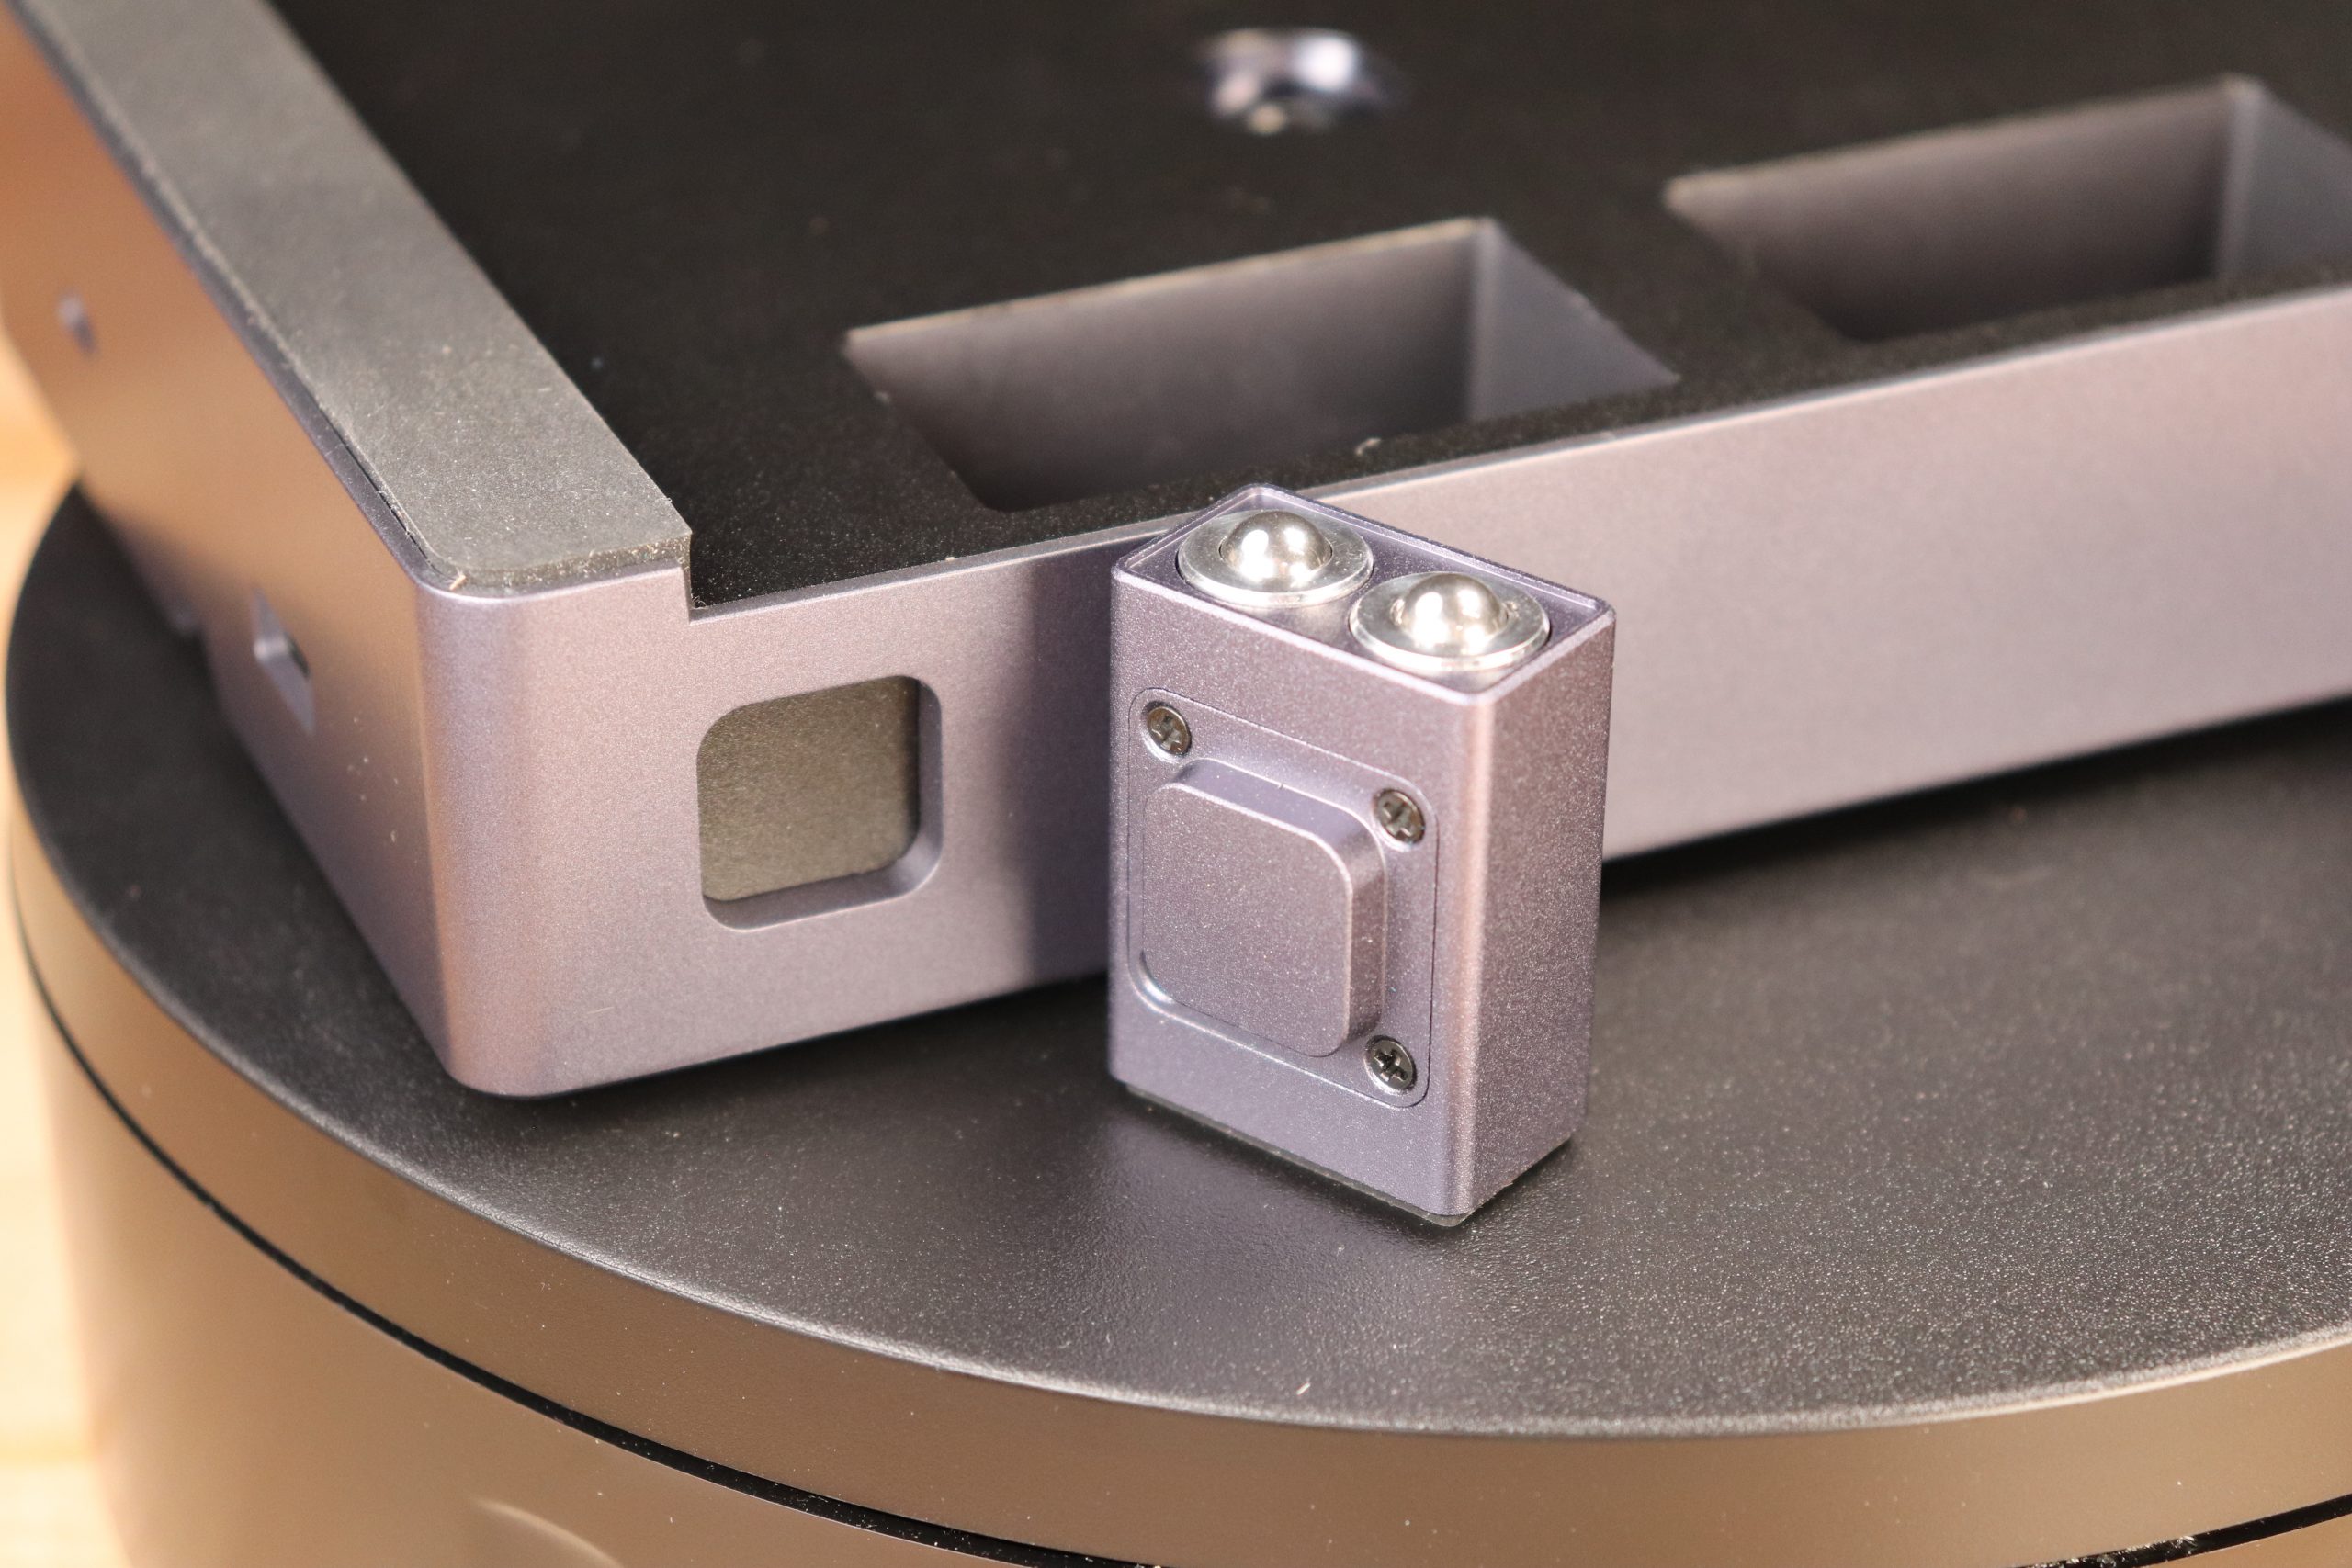
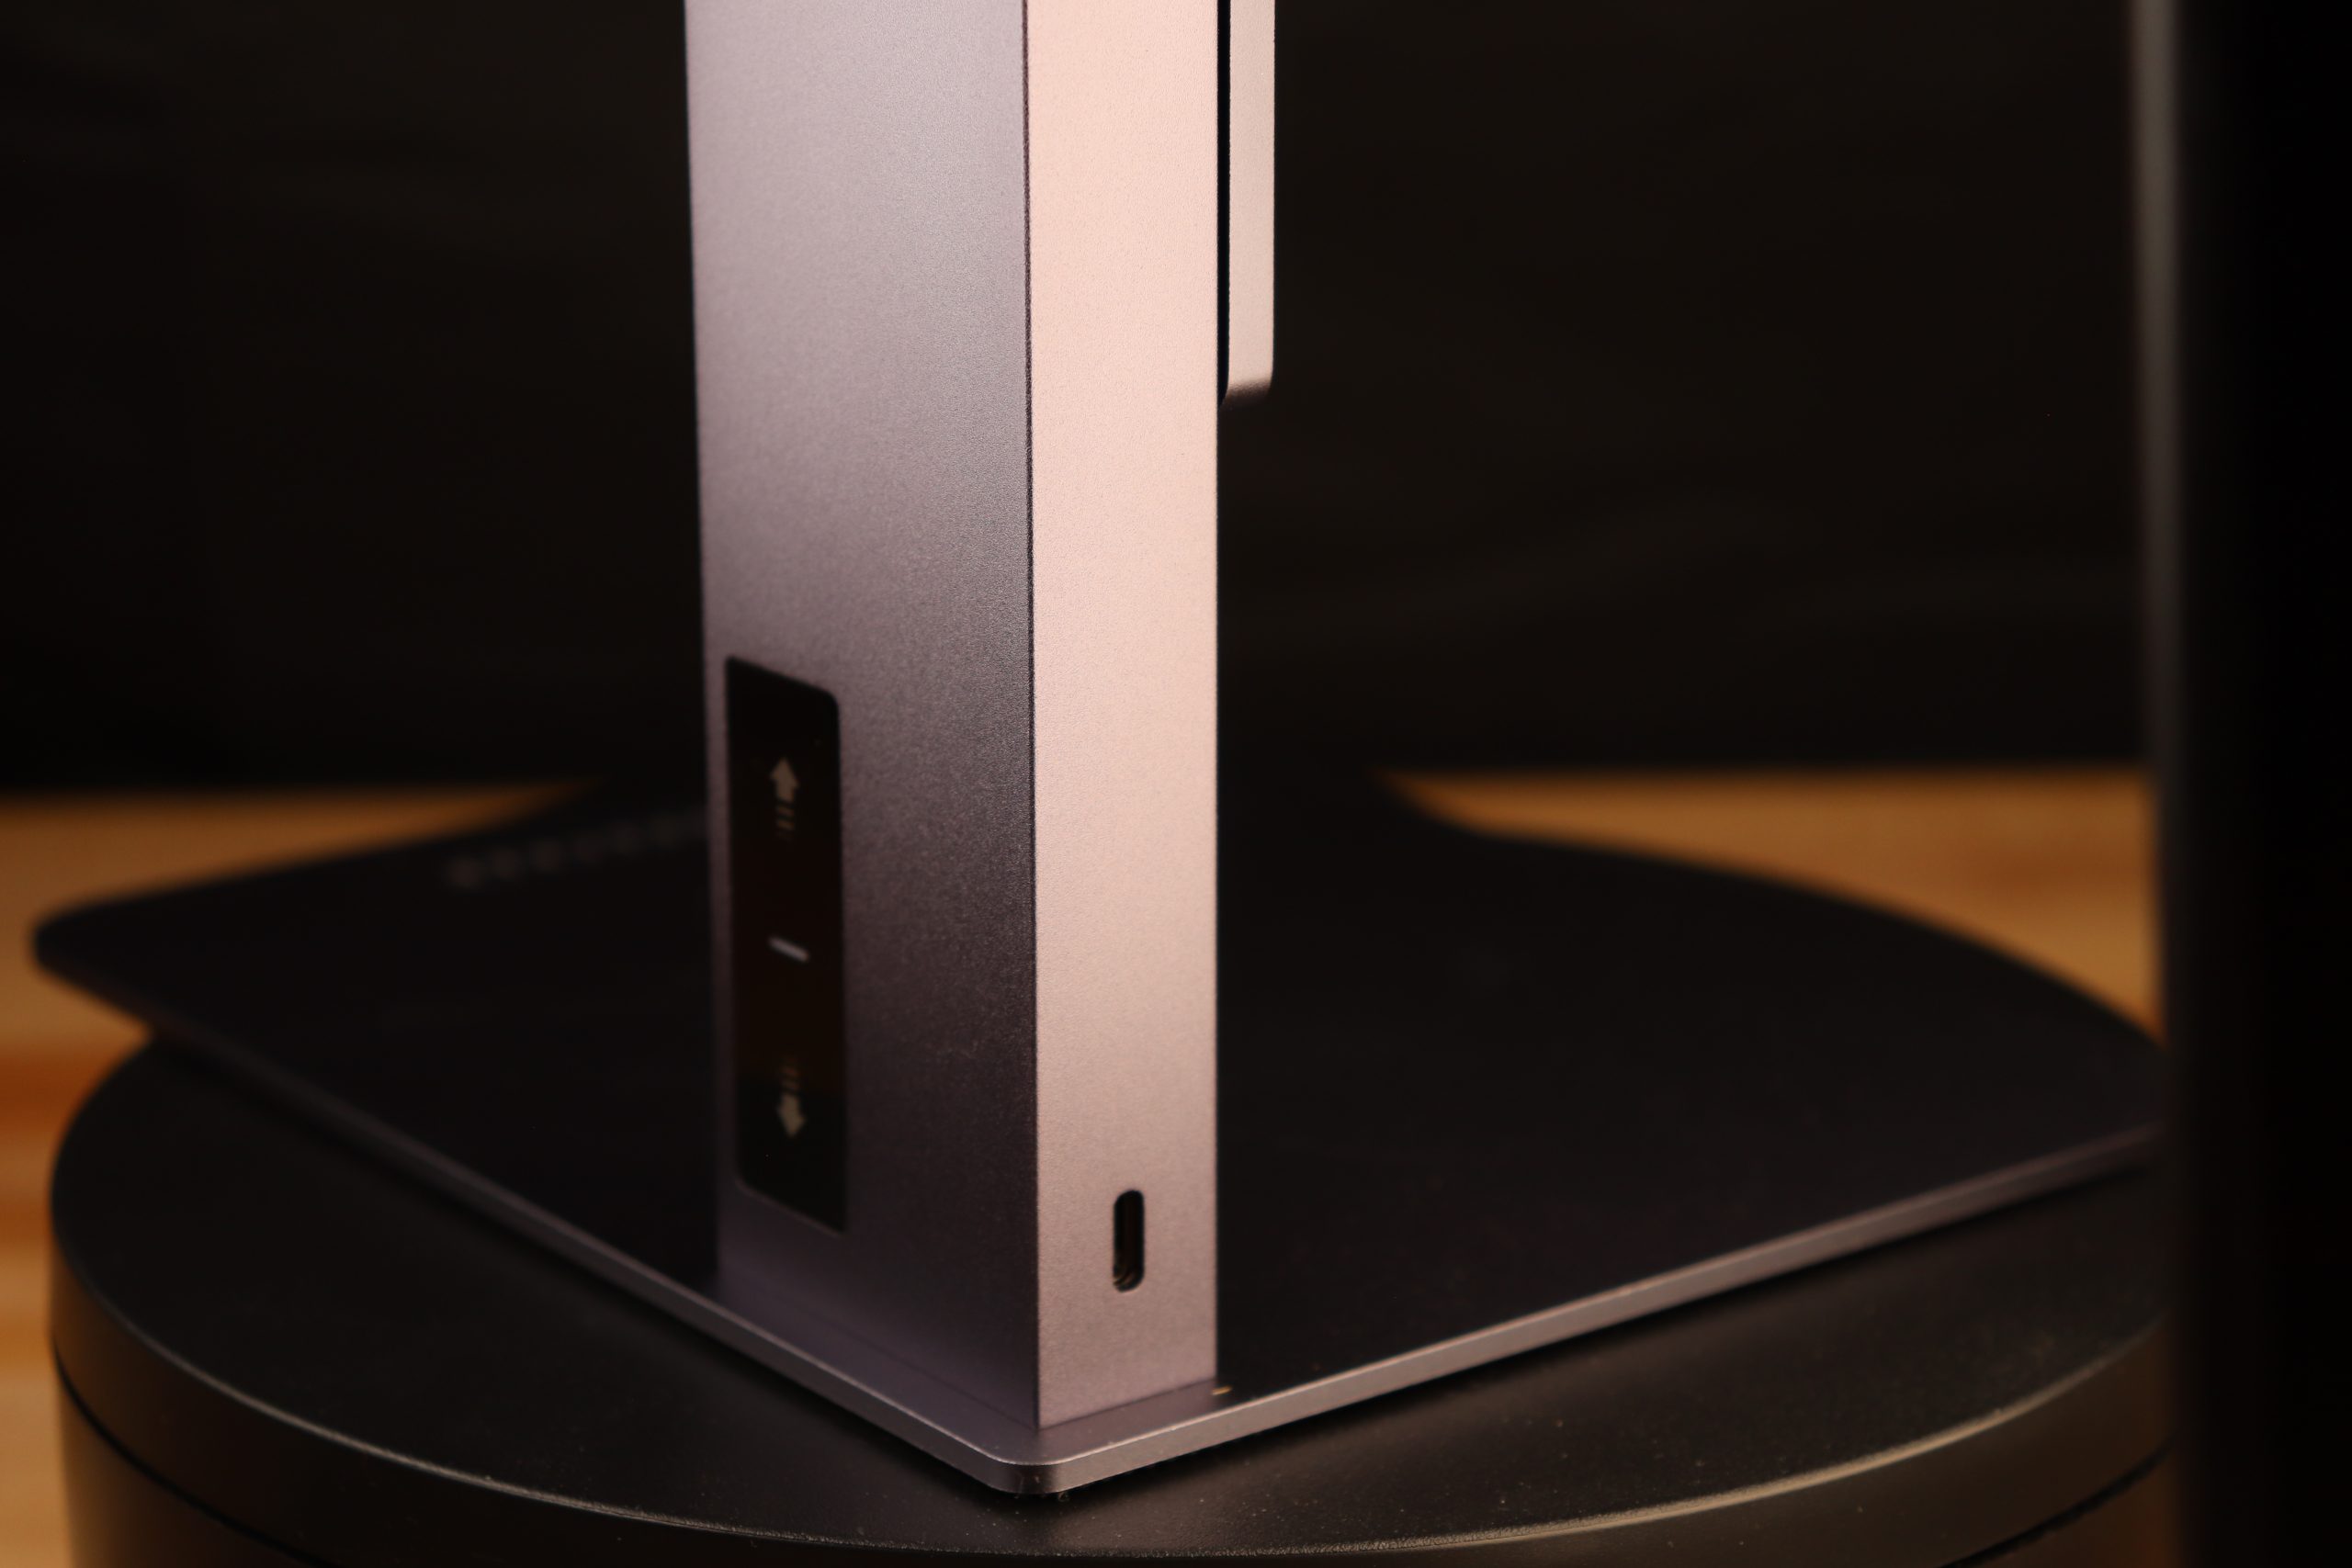
The LaserPecker 2 has many great features. Firstly, it’s very easy to setup. The 5w laser power is great for wood, paper, leather, fabric and more. The mobile app that’s used to control the LaserPecker 2 is easy to use and very intuitive. It allows you to create the laser engraver jobs very quickly and easily. The app has all the basic needed features. You can use the built in clip art library, import pictures, use the camera, create text, create barcodes and QR codes. You can adjust the engraving settings if you like but I found that I mostly just stuck with the stock settings and got good results. The only exception was when engraving cork. The base setting wanted laser power at 30% but I changed it to 50% to get a better mark. Along with the main laser unit, I also received the rotary attachment. Calling it a rotary attachment isn’t fair though because it does so much more. Not only can you use it as a standard rotary for round objects like cups but it also can be used to move a longer piece of material under the laser in what’s called slab mode. I found that the heavier and narrow materials worked better in this mode. The last mode is trolley mode (my favorite mode). In this mode, the rotary if flipped upside down so the rollers are on the bottom. you then attach the laser head to a special bracket and then attach the bracket to the bottom of the rotary. This turns it into a laser on wheels allowing the laser to drive across material and make a much longer mark than the standard 100x100mm or 4x4in mark. The included magnetic riser blocks clip into the square holes on the front of the rotary and act as support wheels to keep the unit from tipping. A very creative solution IMHO. In trolley mode, you can engrave 100×1000-2000mm (4×39-78in). Very impressive to say the least. Some other notable features are the fan hood. Not only does it exhaust the smoke out from the engraving area, but it also adds additional eye protection and also acts as a focus tool. When installed on the laser head, the bottom edge of the hood is the focal point of the laser. If you’re using the LaserPecker 2 without the hood installed, there’s a focus guide that folds down on the stand or you can use the included ruler to measure 110mm from the bottom of the laser head to set focus. The stand looks… well standard, but it’s not. It’s electrically raised and lowered using the 2 slick, touch buttons on the side of the stand. If you touch the up or down button, the stand will raise or lower the head by 1mm respectively. If you touch and hold (long press) the buttons, the head will move continuously until you touch the button again. The last feature I want to mention is probably the one that I noticed first and that is the build quality of not only the main unit but also the rotary. Every part down to the cables and power supply have a fit and finish that is the best I’ve seen to date. The touch buttons, the anodized aluminum, the ports, the fan grill, the carrying handle, the electronic lifting and lowering stand, the rotary, the rubber feet, the magnetic rise blocks with the ball bearing sliders on them, just every part has a quality and attention to detail that makes them so enjoyable to use. Color me impressed.
Safety
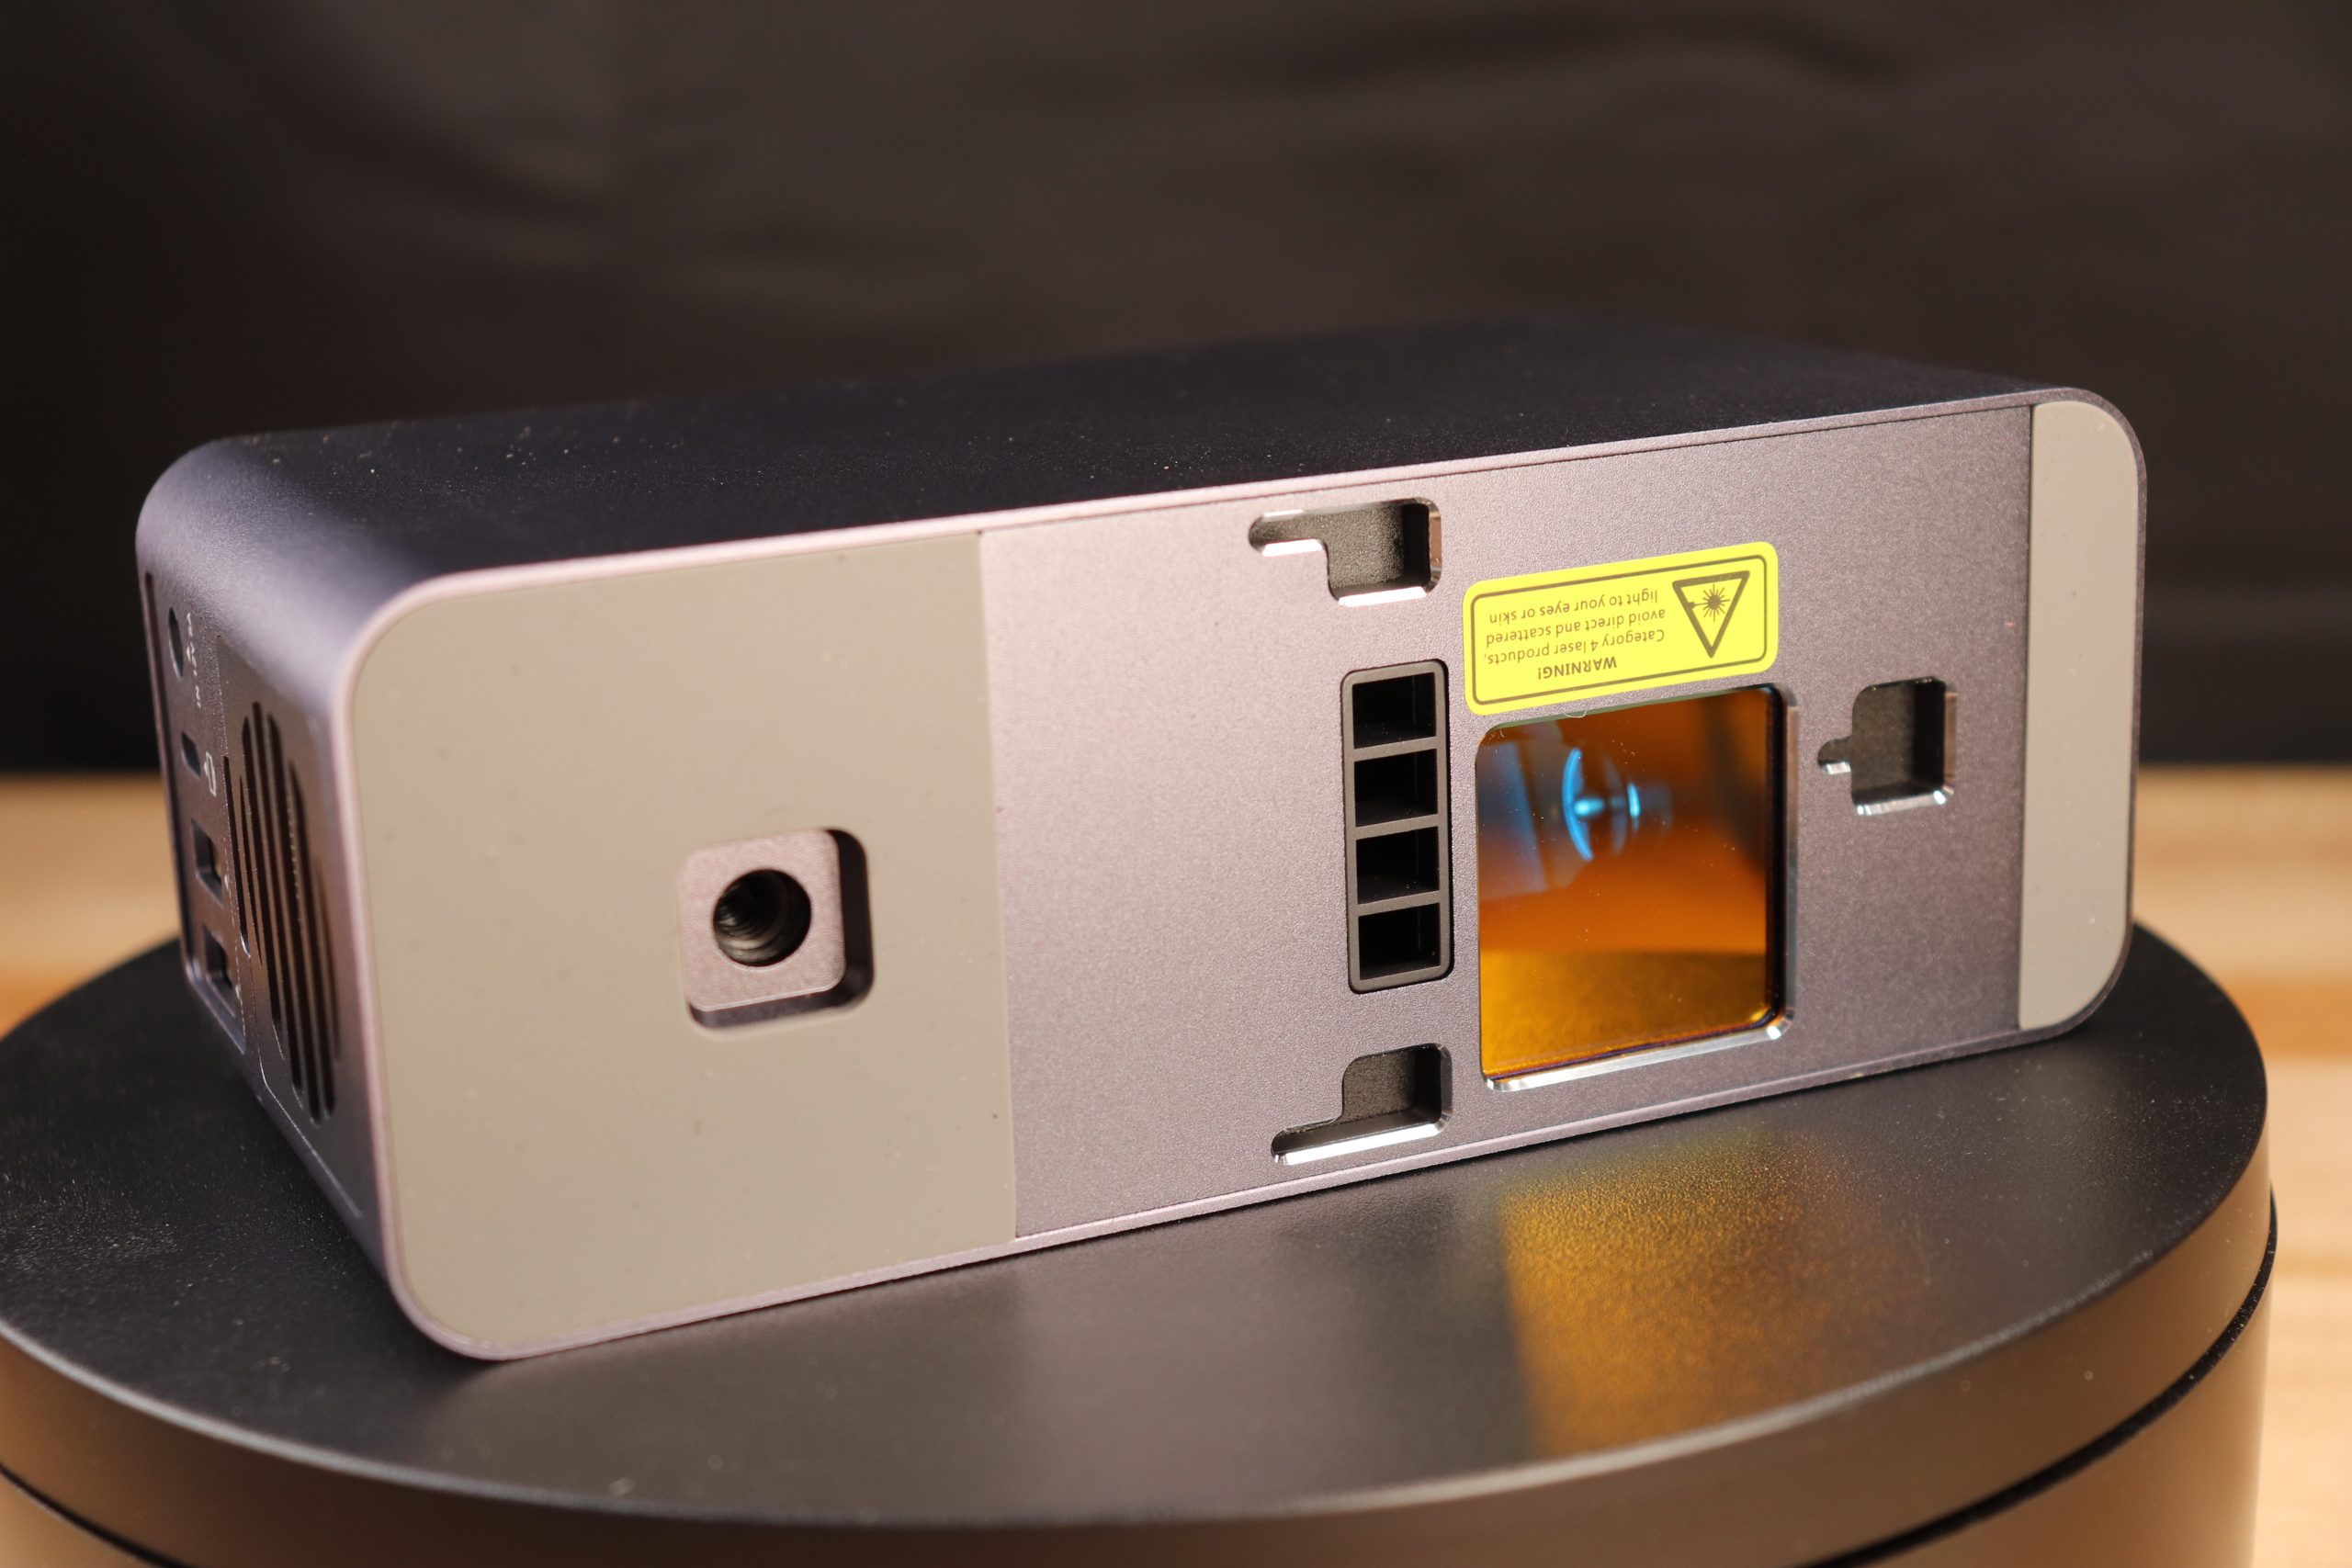
The manual also covers the very important aspects of safety and they can’t be repeated enough. Though small, this is a laser that can cause serious damage. Read and follow all the safety warnings. Wear your protective glasses and keep shields in place when you can. As a basic rule, don’t look at the laser light at all, make sure what you’re engraving won’t give off toxic fumes (like PVC, ABS, Epoxies, etc.), Use only in an extremely well ventilated space and don’t stare at the beam. Safety is your responsibility.
Fume Extraction
I setup a basic fume extraction system with an 6″ inline fan, some 6″ ducting and a 6″ blast gate. I was pleased with how well it works. The fan pulls from the laser work area and vents to the outside. A open blast gate is used in another part of my shop to allow fresh air in from the outside (well away from the exhaust) so that the fan has the ability to pull freely.
Software
The software used was the LaserPecker app from the IOS app store. I used my cell phone to run all the jobs for testing. There is a version of the LaserPecker app that is supposed to be available for Windows and Mac in late July 2022.
Wish List
There are a few things that I’d like to see added to the LaserPeacker 2 in future revisions (if it were up to me). The firsta would be at least a 10w laser power head. This would help the LaserPecker 2 work betted on metal and also help with cutting. I’d also like the laser preview (which is awesome) to use a low power laser pointer type laser to do the preview tasks instead of the actual engraving laser. This is more of a safety thought as the laser pointer lasers are generally lower power and not as potentially harmful to the eyes.
Summary
This machine was an absolute pleasure to use. It’s very intuitive, well designed and compact. You can tell a lot of thought went into it’s development with all the unique features an use modes. Thought it’s limited with it’s smaller work area, it makes up for it somewhat when you use it in trolley mode. It’s also the smallest in it’s foot print too. That is a welcome change and most of the machines I’ve tested take up ten times the space in my shop. The laser preview is a fantastic feature that I wish we saw more of in the laser engraver space. Over all, I’m very pleased with the LaserPecker 2. It screams quality and is so fun to use. Be sure to view the pictures below and watch the YouTube video if you haven’t already. As always links are below.
LaserPecker 2 laser engraver link: https://shrsl.com/3lvcc
Addition items and material used for laser engraver reviews:
4x4in cork coasters – https://amzn.to/3cCPnCn
Stainless steel tumbler – https://amzn.to/3gwJoO4
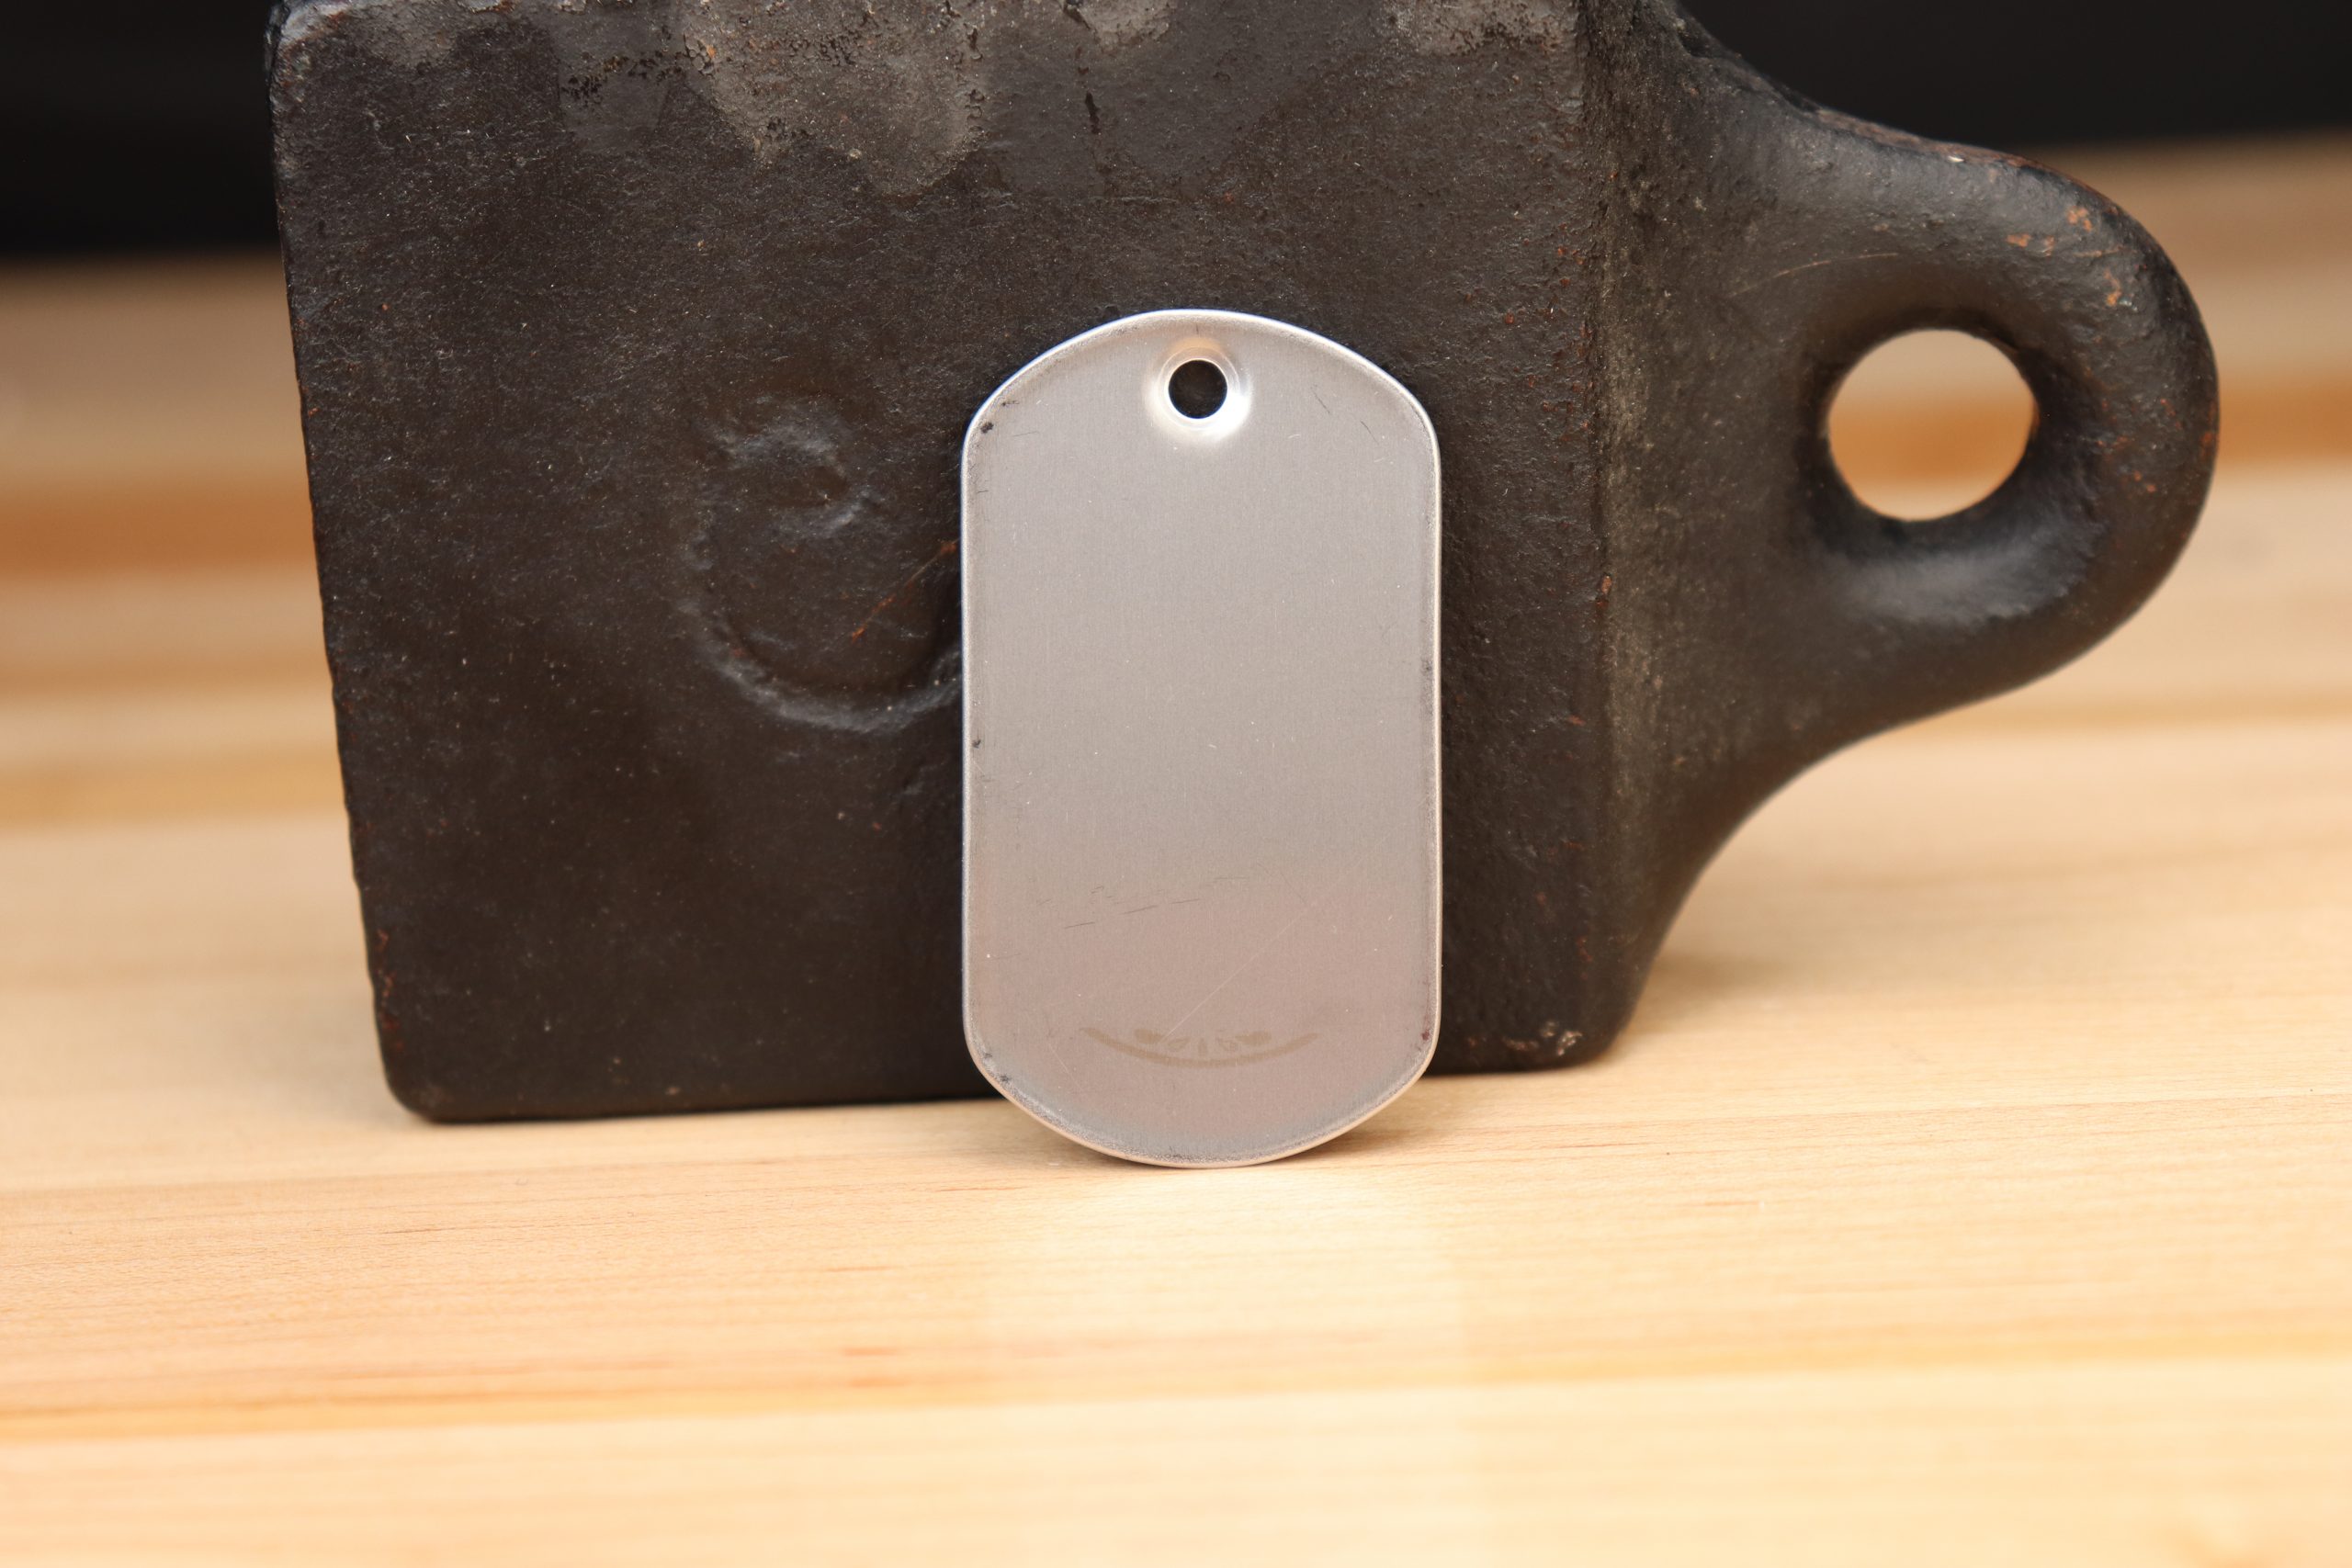
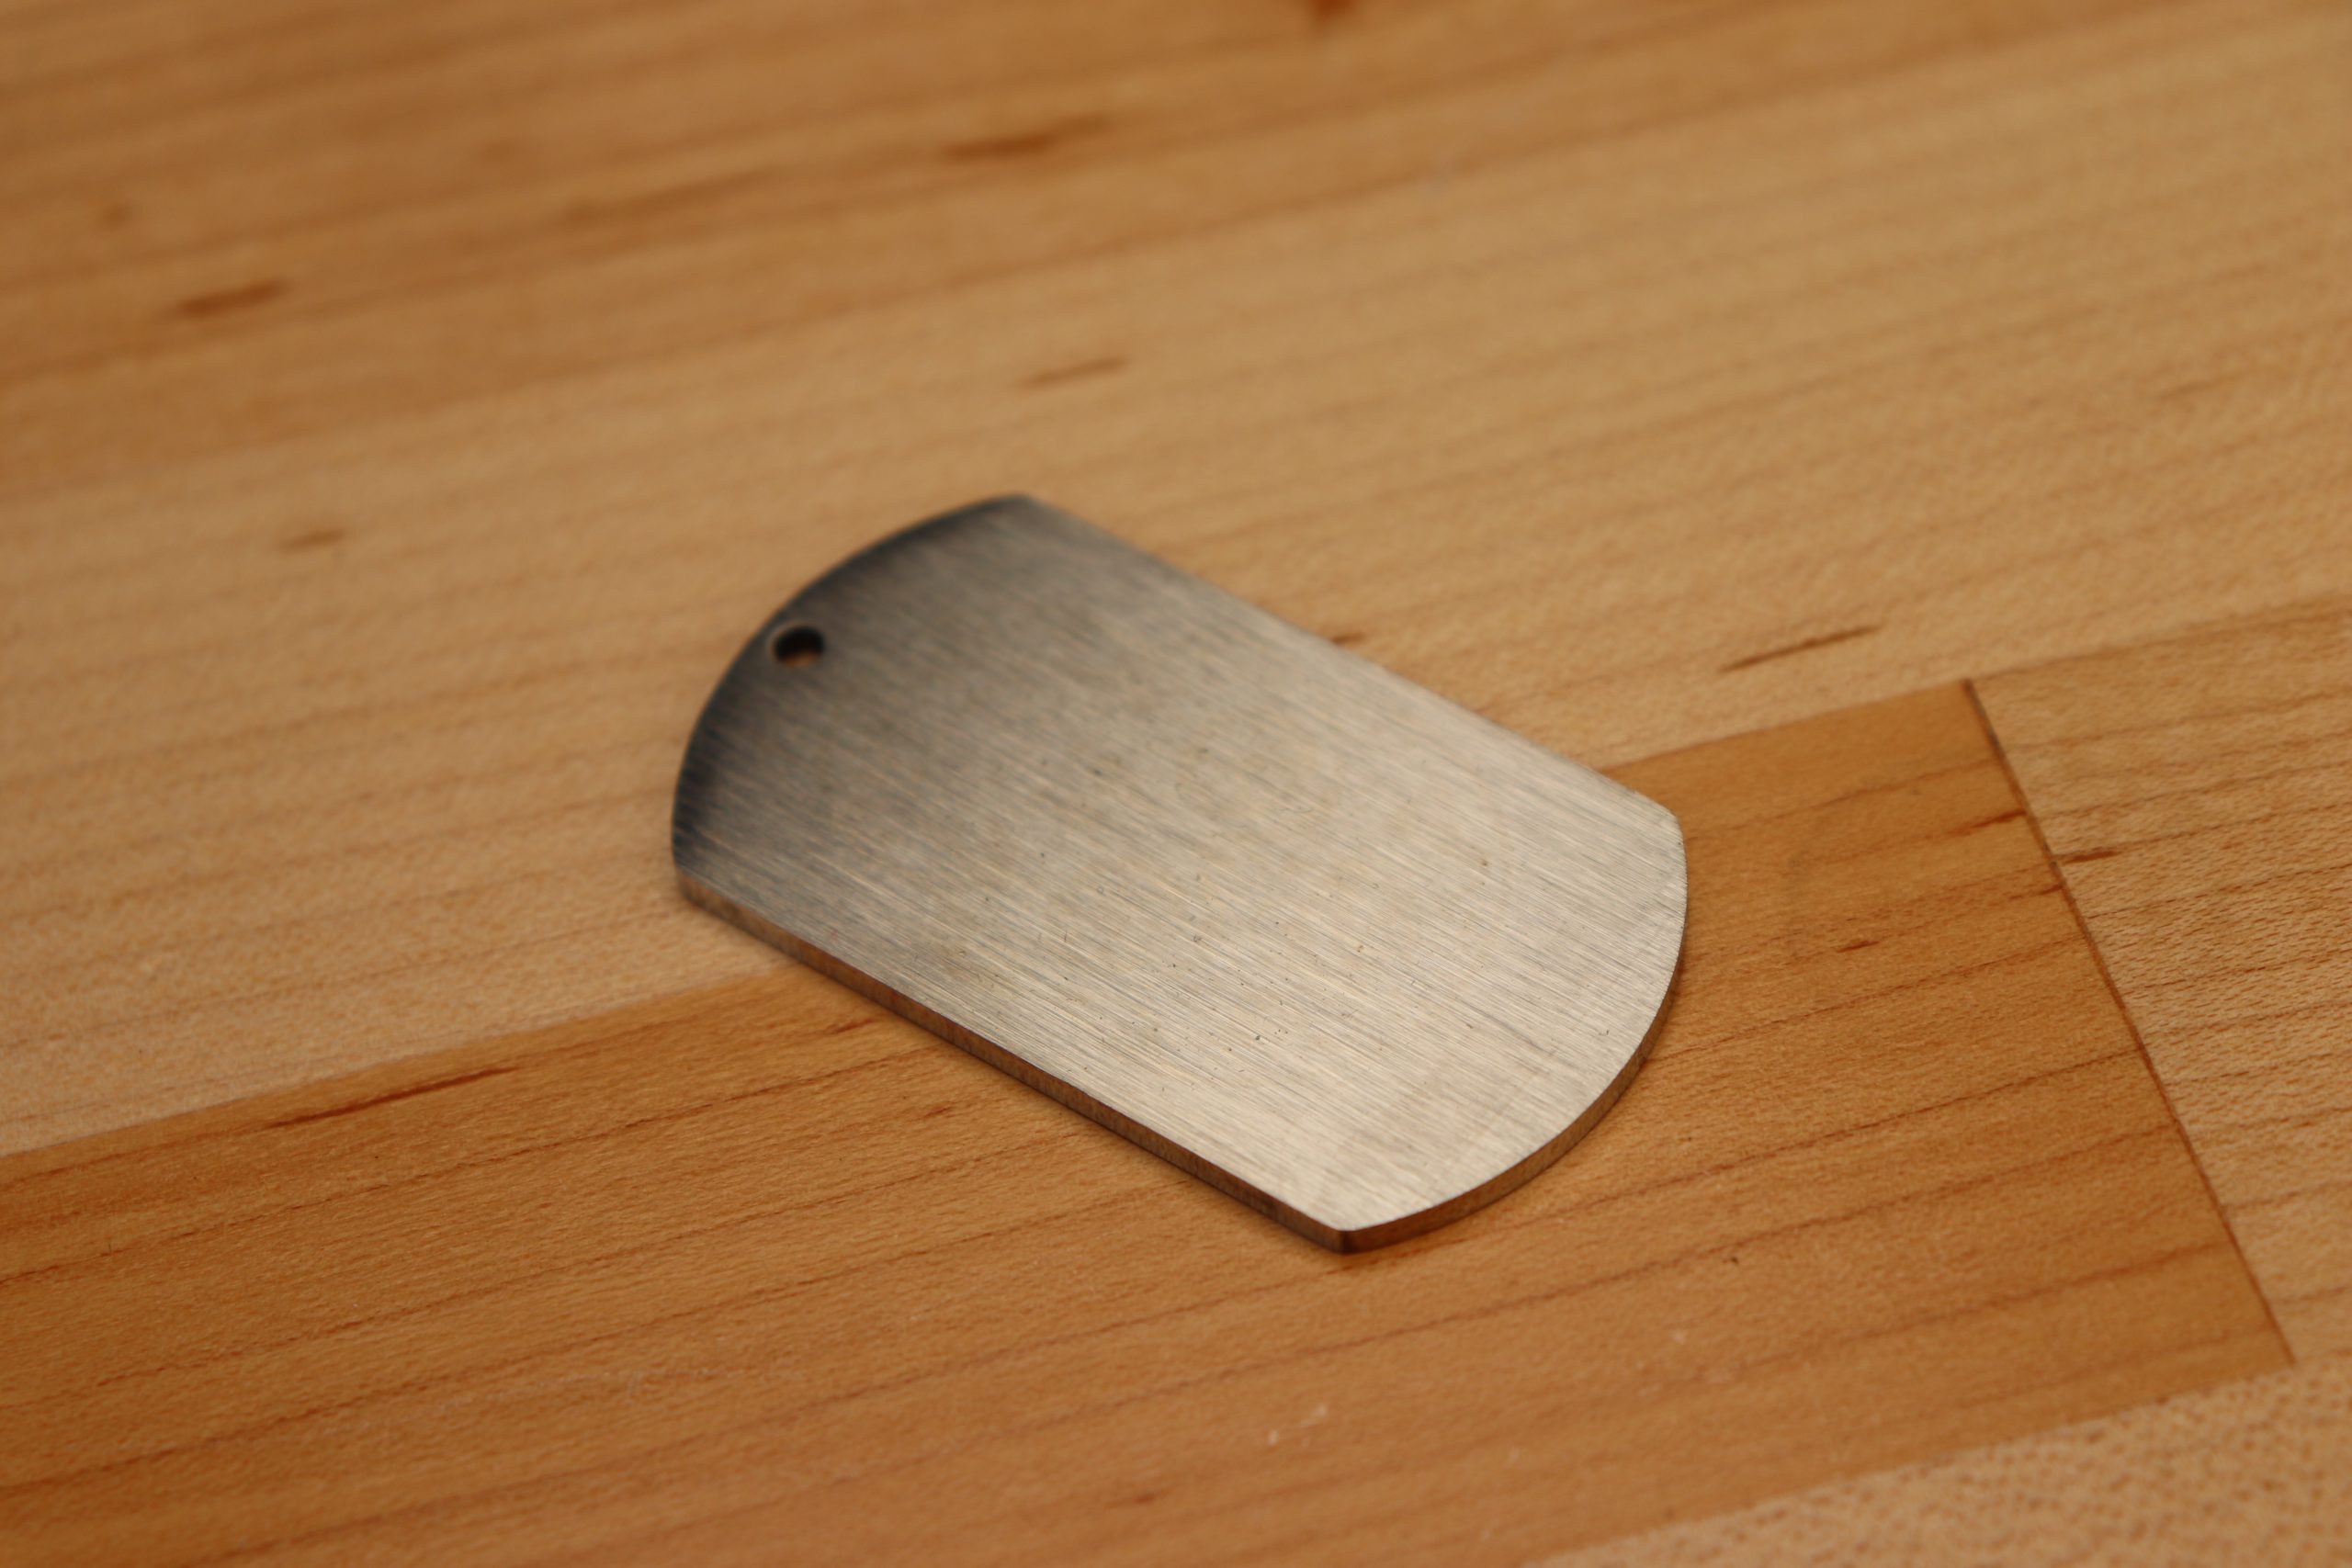
Stainless steel military style dog tags (qty 100) – https://amzn.to/3B7fVDY
Slate drink coaster set – https://amzn.to/3GQr3GF
Kydex 8×8 Sheet (x2) – https://amzn.to/35SAMzC
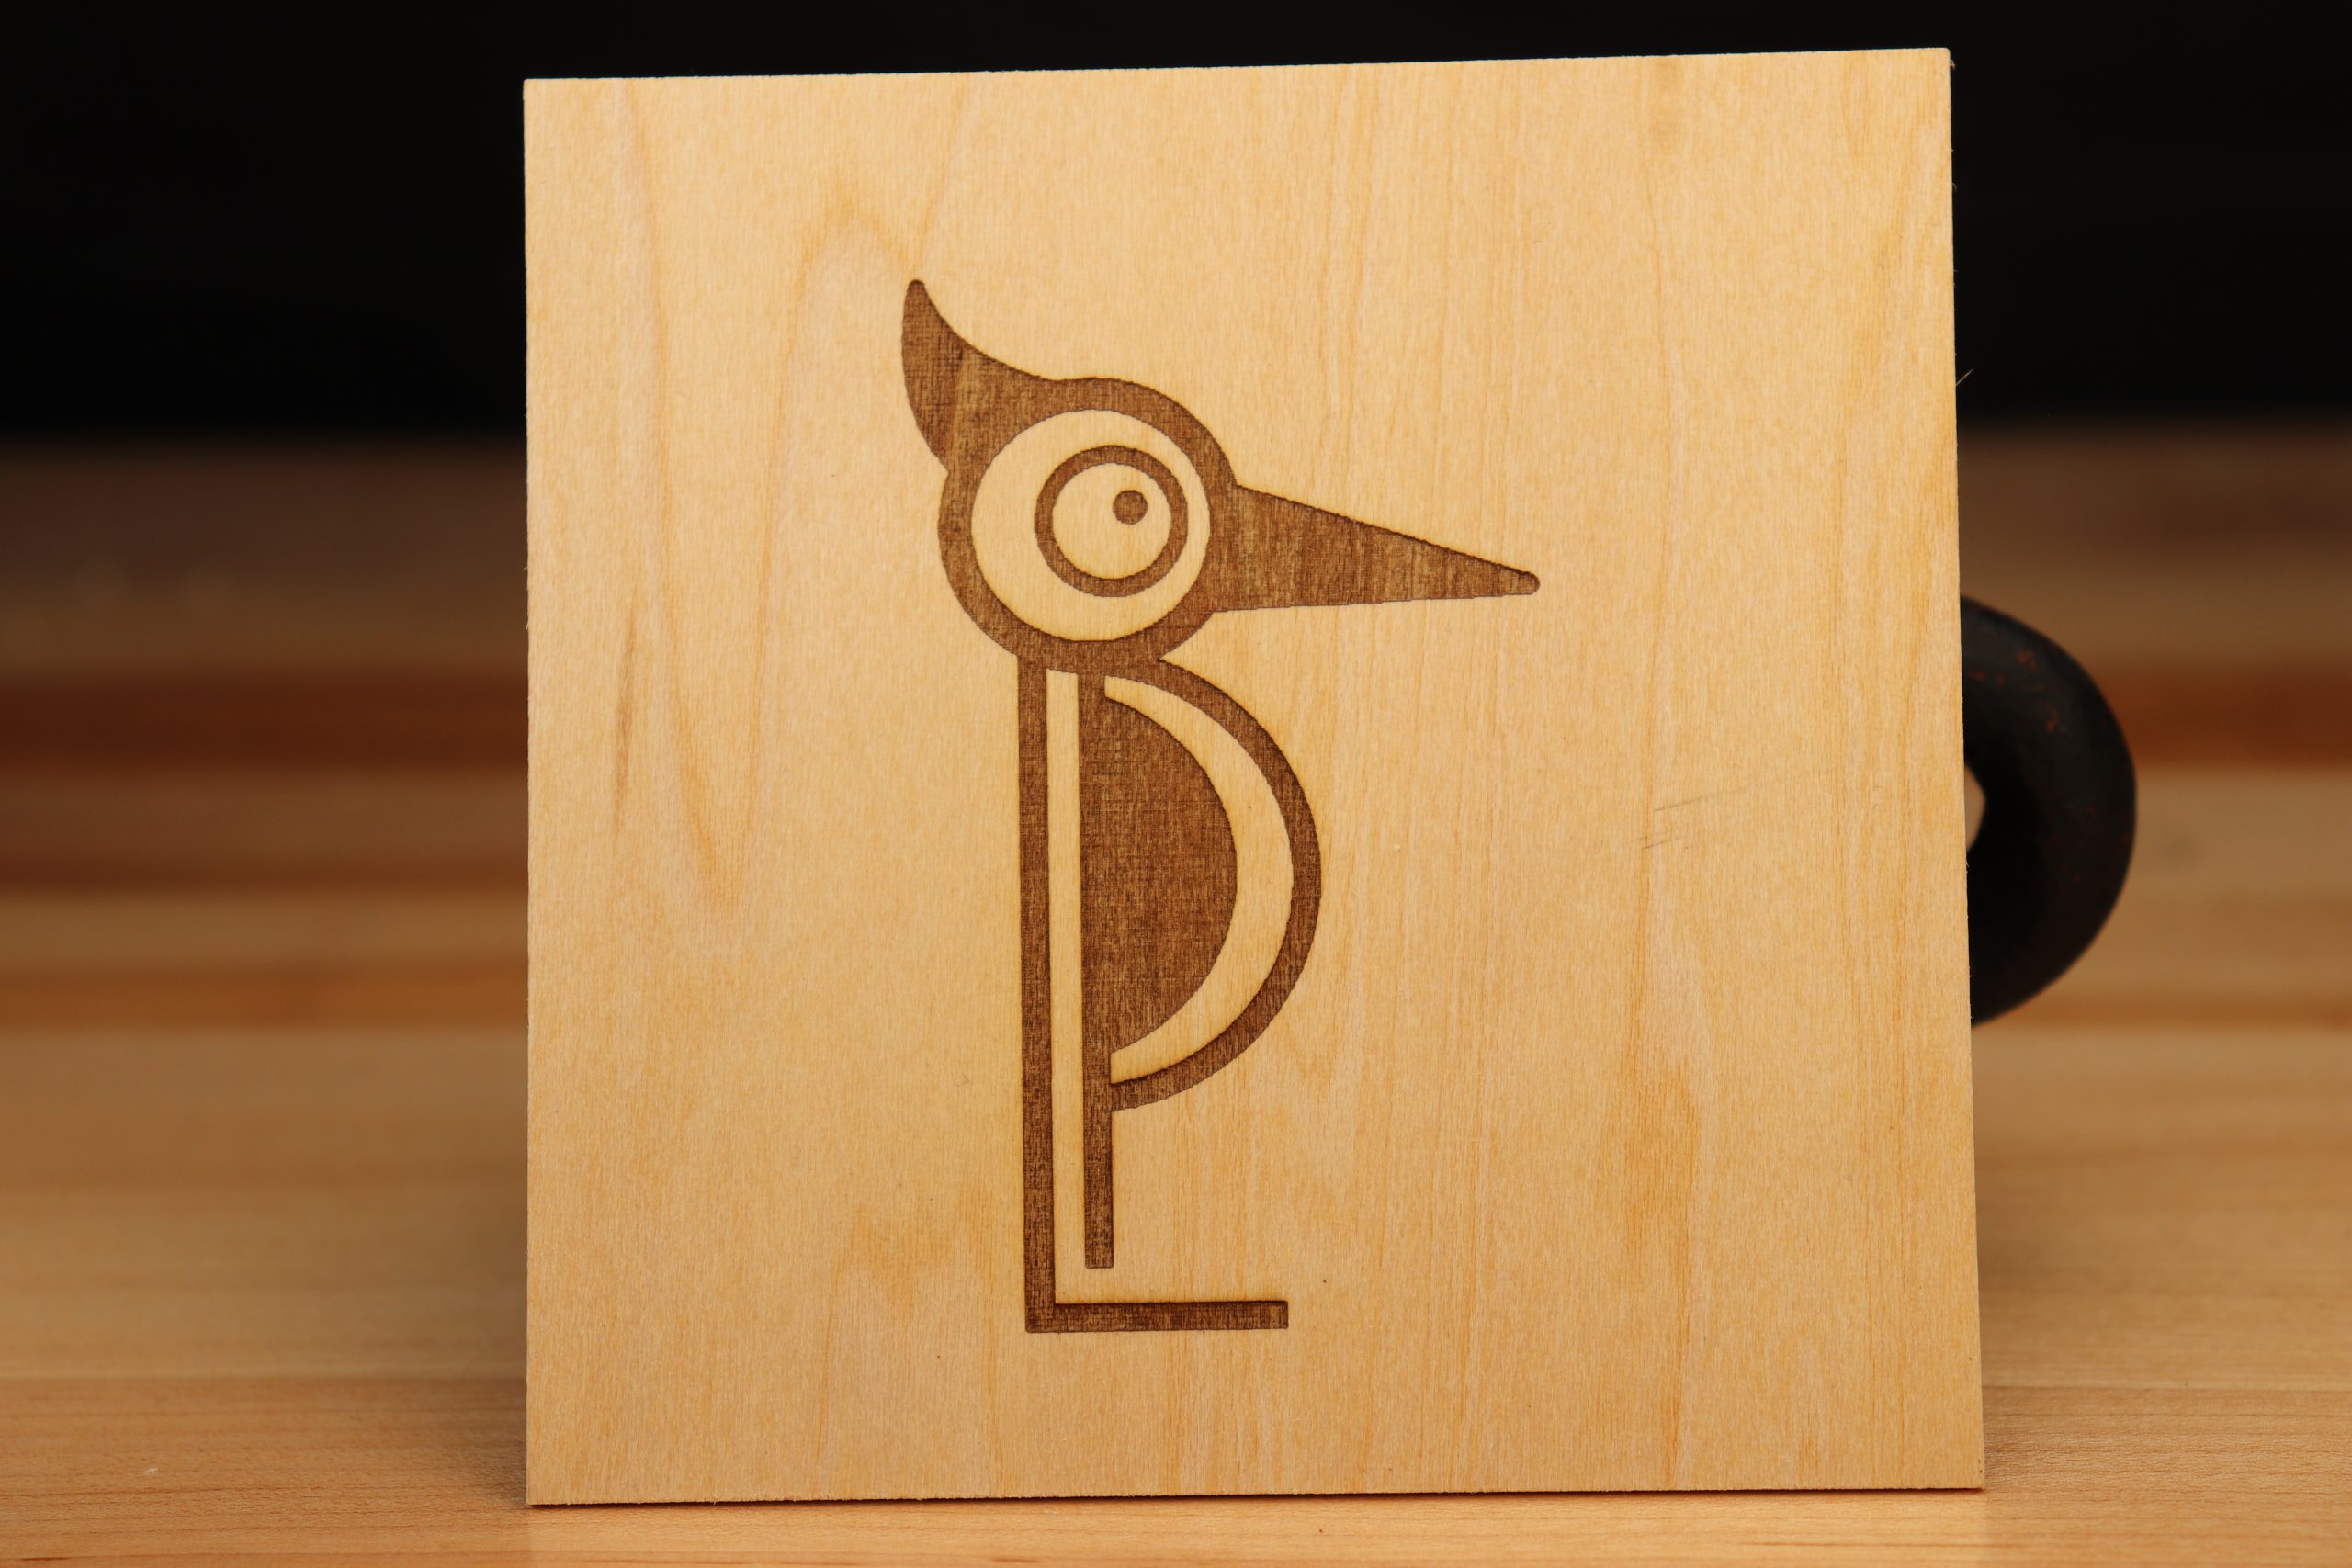
Wood squares – https://amzn.to/33RUNBW
Wood 3 inch circles – https://amzn.to/3Ic1vnM
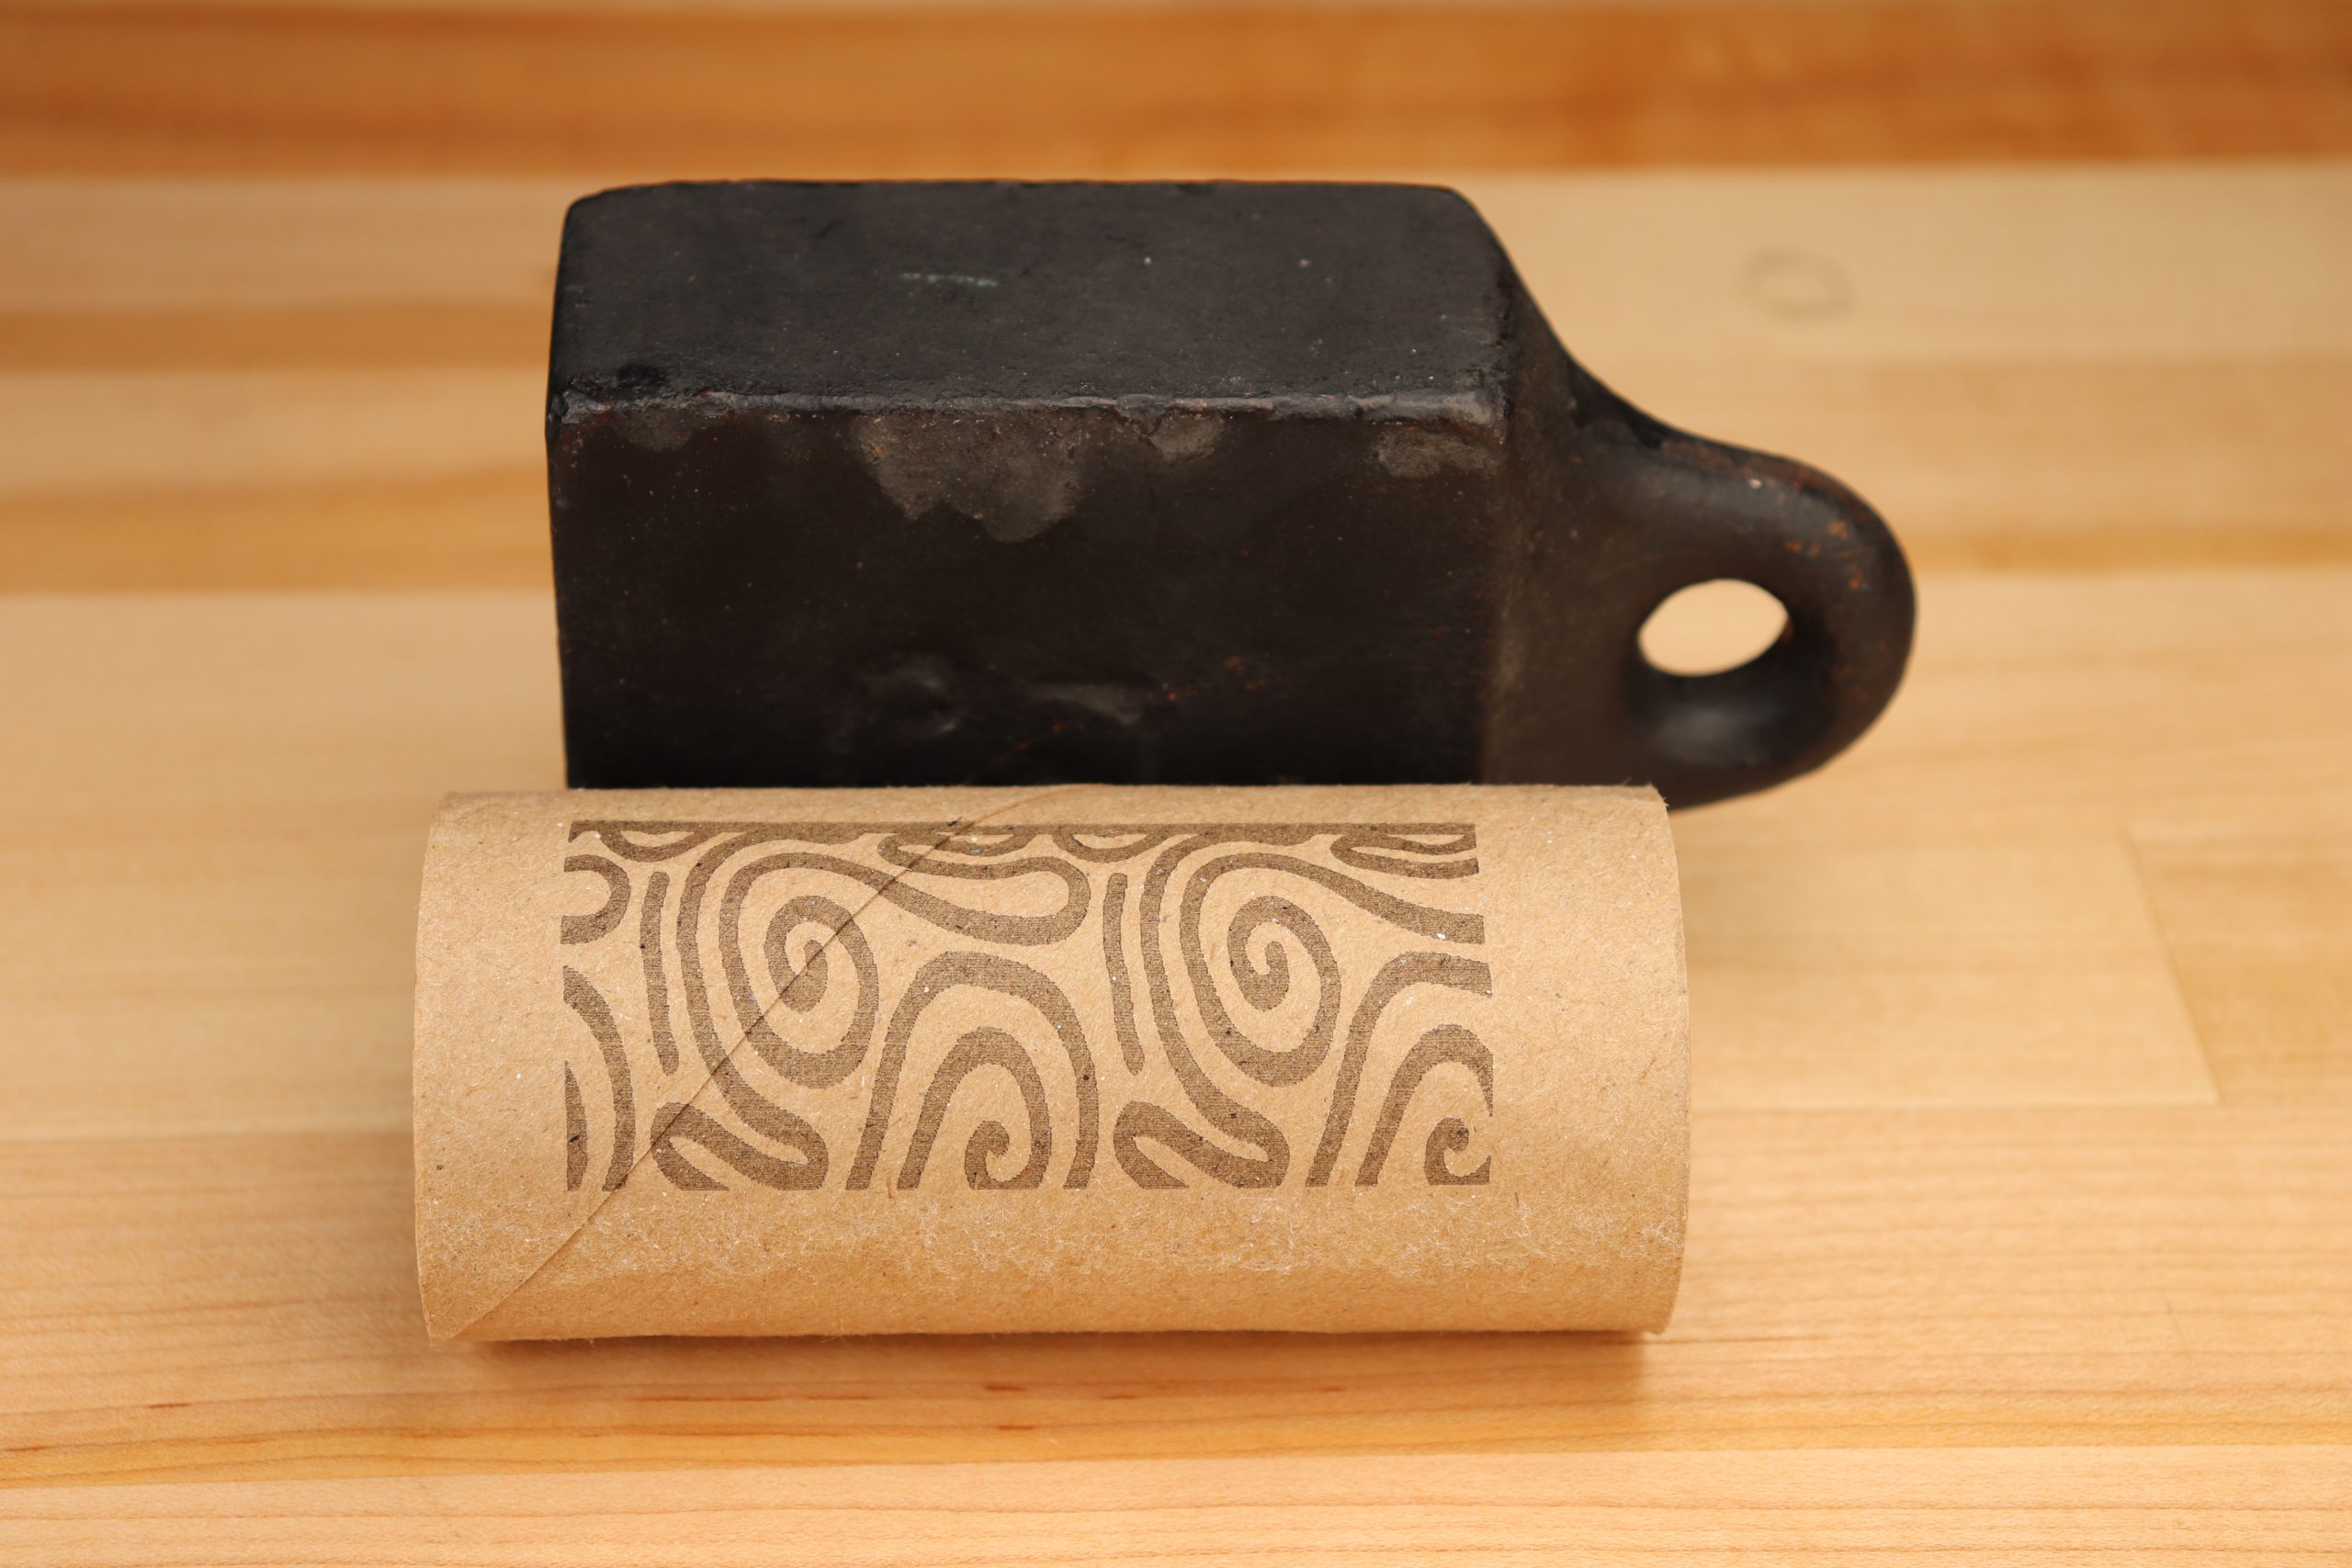
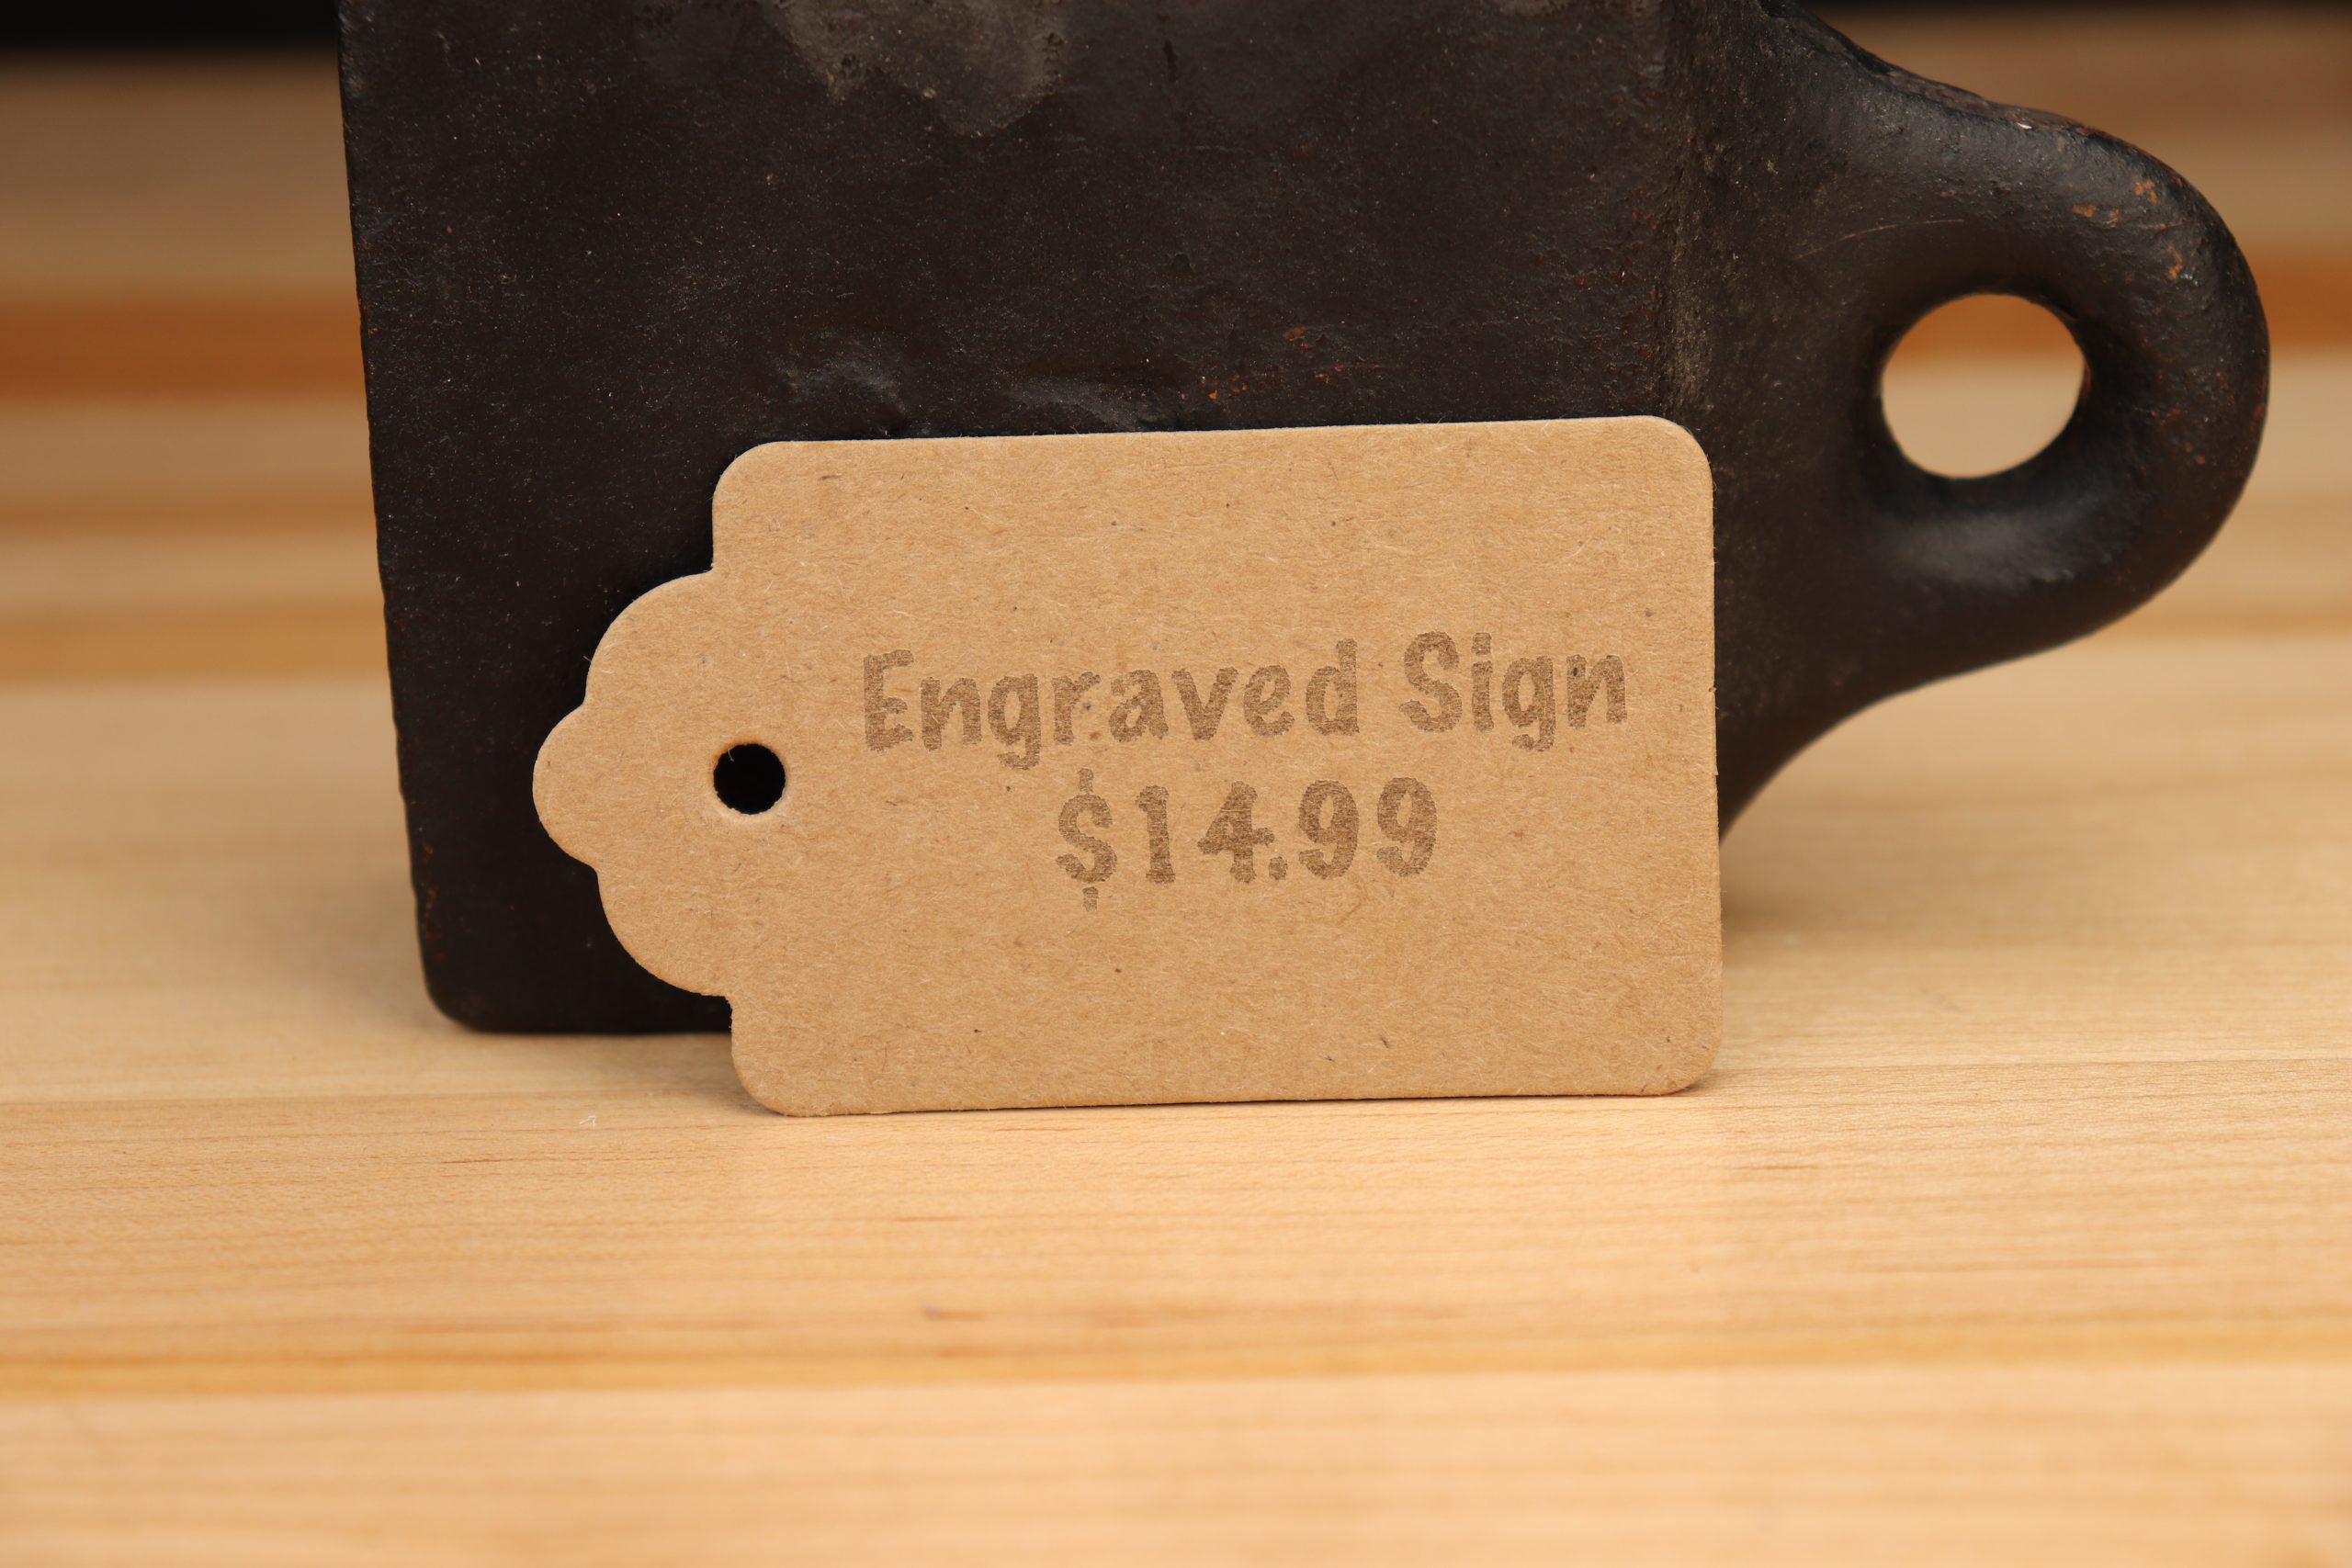
Kraft paper tags – https://amzn.to/3foiLK9
Painted aluminum business card blanks – https://amzn.to/3yj6q2E
Stainless steel business card blanks – https://amzn.to/3bAn0RL
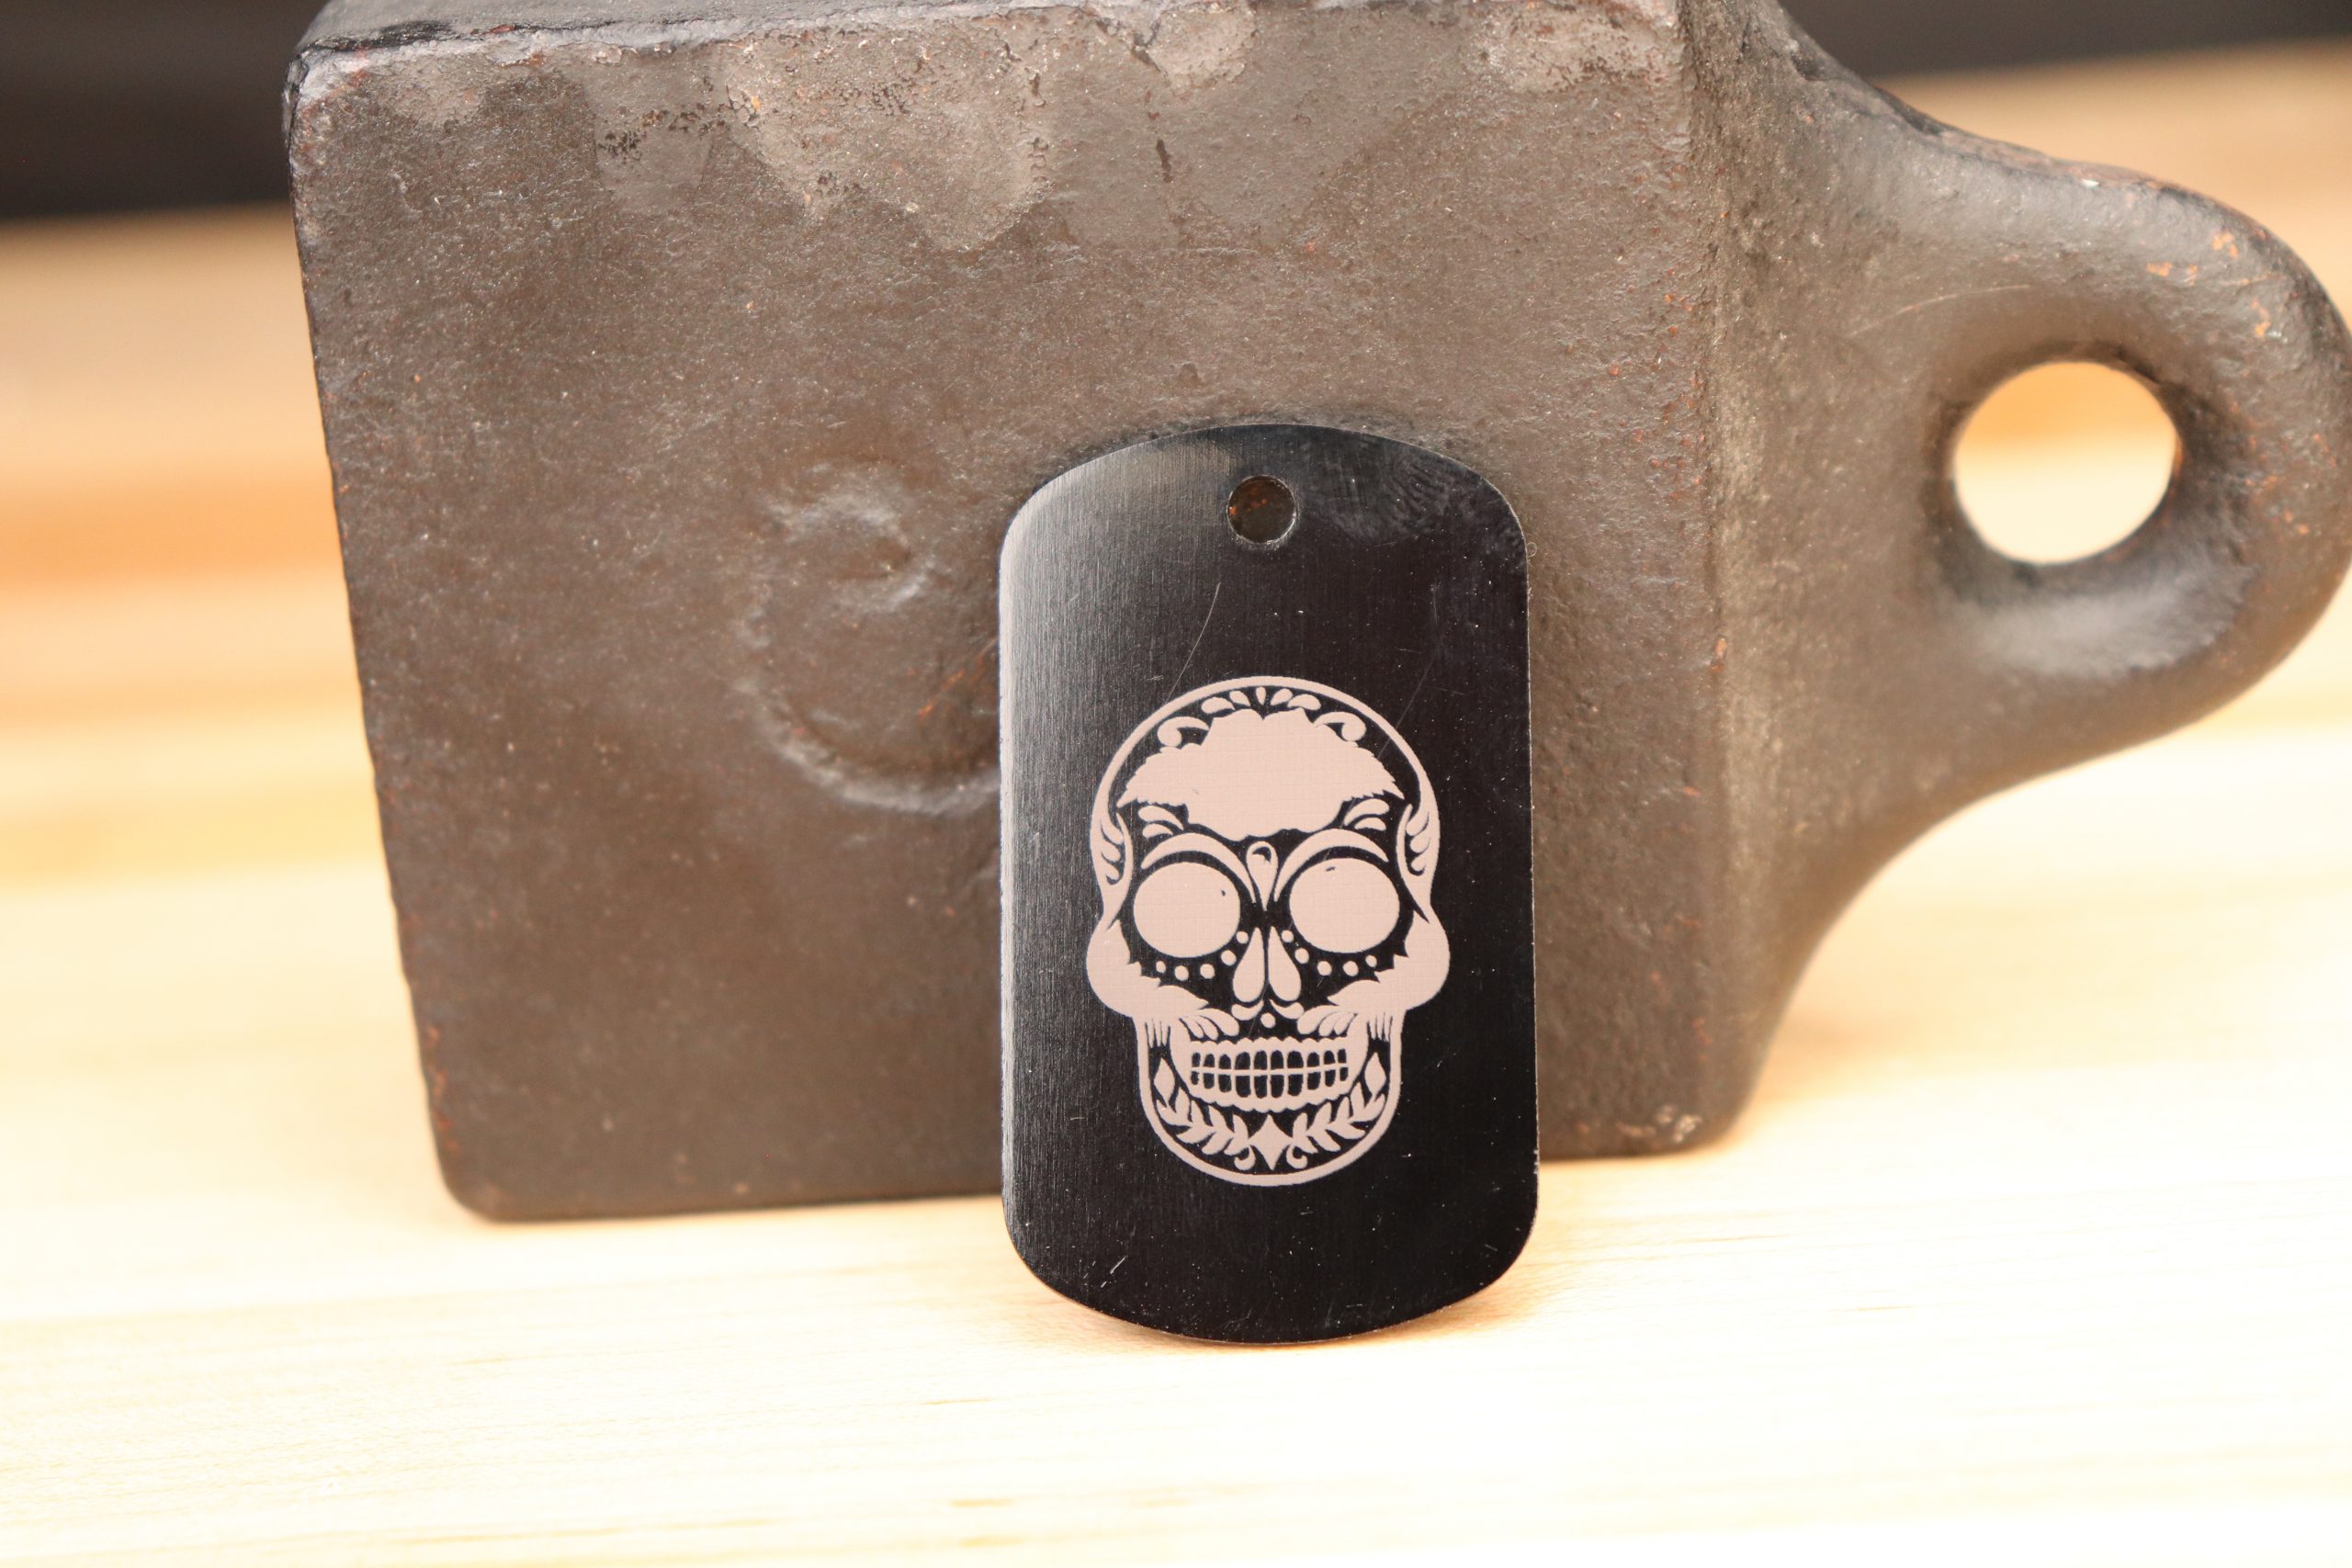
Anodized aluminum blank dog tags – 10 pack – https://amzn.to/33h8HAg
To create you own fume extraction system
6″ inline blower – https://amzn.to/3ftxCmu
6″ duct kit – https://amzn.to/3eWjVh0
6″ flange – https://amzn.to/33UlbuG
6″ blast gate – https://amzn.to/3hyPNKs
Like my T-shirt? Find it and many more here – https://bit.ly/3HHEb25
Support the channel: – PayPal https://www.paypal.me/neo7cnc


